Painted Buffalo Plaid Pumpkin
Jump to:
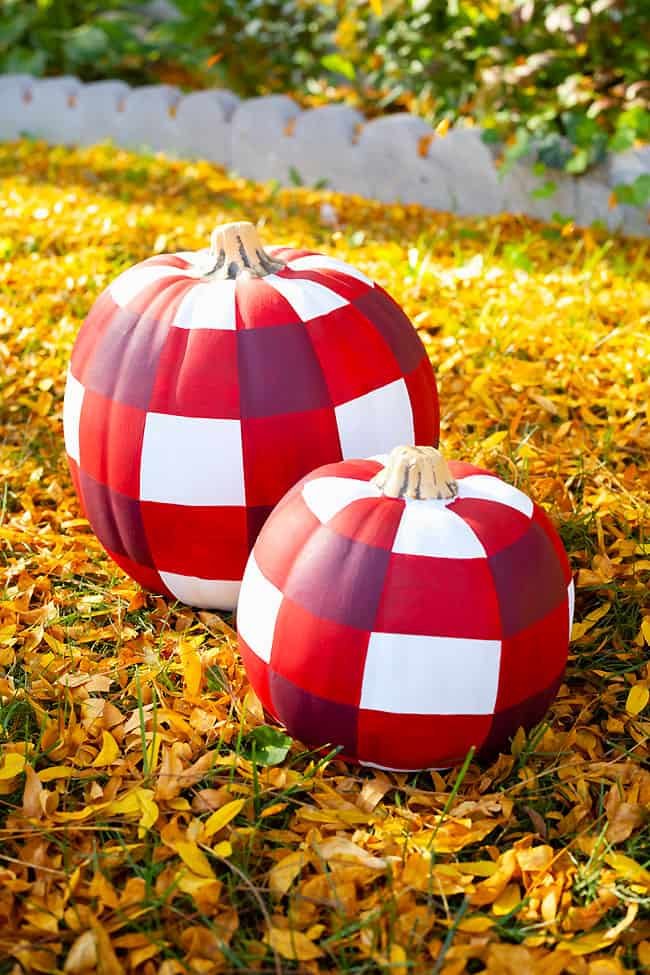
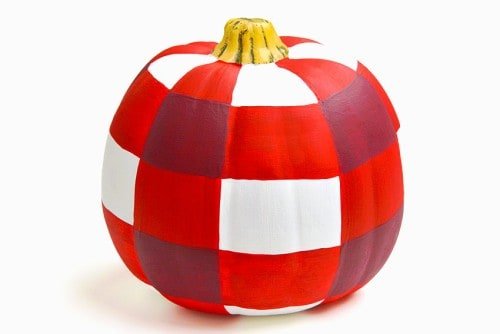
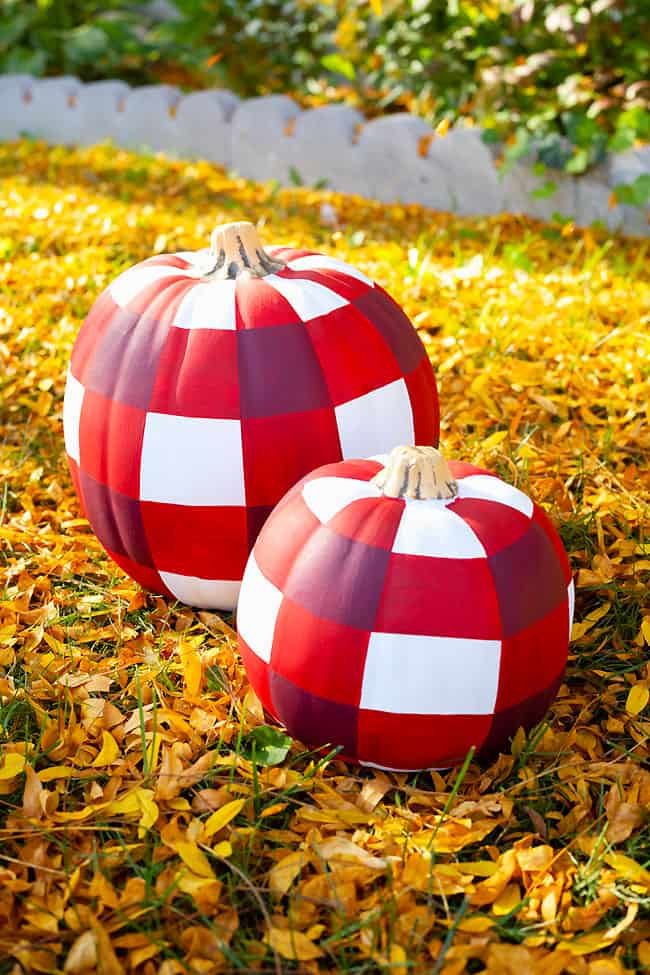
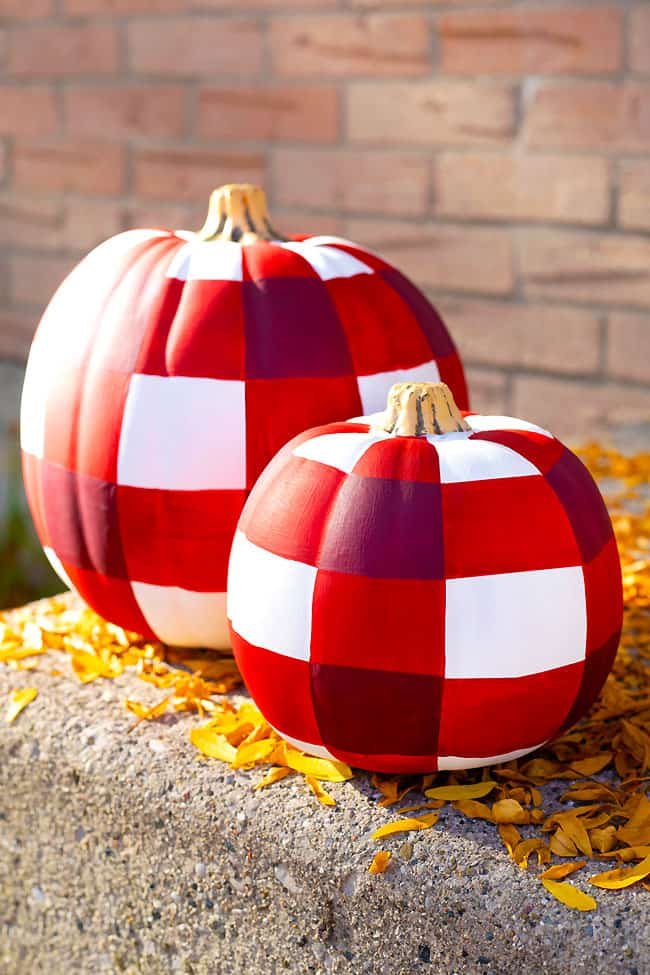
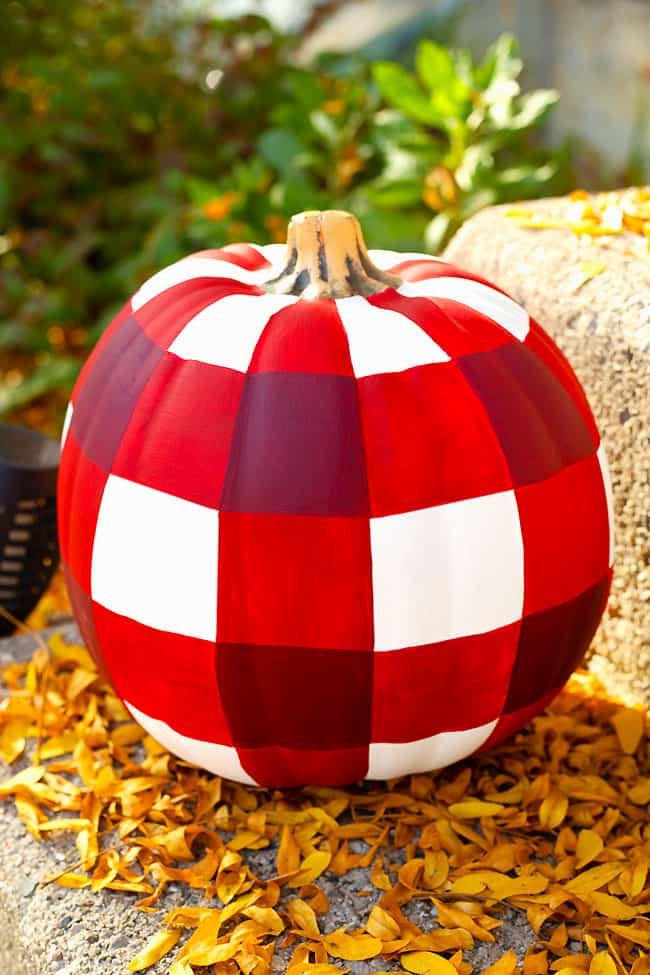
Add a touch of cozy charm to your fall decor with this painted buffalo plaid pumpkin! This painted pumpkin is SO EASY to make, and it looks so pretty sitting on the porch or on the mantle.
Use a foam craft pumpkin and paint it with a plaid pattern to create a long lasting, no-carve Halloween decoration. Or use a real pumpkin – it’s totally up to you! Either way, this DIY buffalo check pumpkin is sure to add beautiful autumn vibes to your home.
This post contains affiliate links. If you use these links to buy something we may earn a small commission which helps us run this website.
DIY Plaid Pumpkin
Materials:
- Craft pumpkin(6-1/2 inches; orange or white)
- White acrylic paint
- Red acrylic paint(or colour of choice)
- Dark red acrylic paint(or colour of choice)
Equipment:
Instructions:
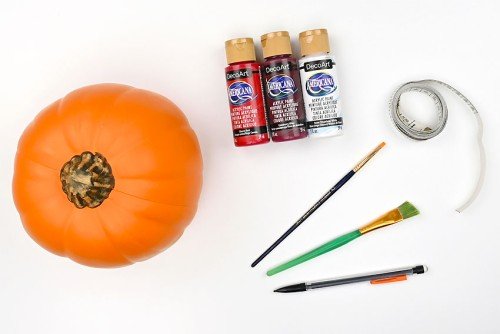
Step 1: Find what you need
- Gather your supplies and materials.

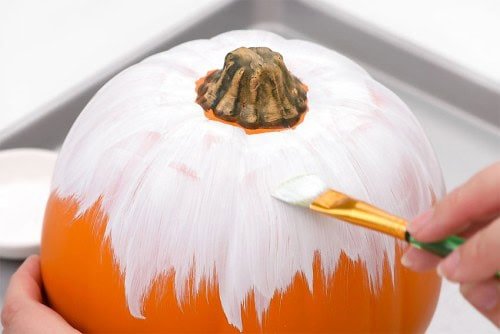
Step 2: Paint the pumpkin white
- Begin by painting your pumpkin white, using acrylic paint or primer. Allow this base coat to dry.

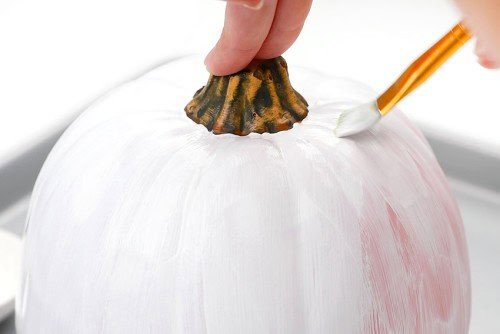
- Paint a second coat of white paint on the pumpkin, and allow to dry.Add a third coat of paint, if necessary.

Step 3: Divide the pumpkin into sections
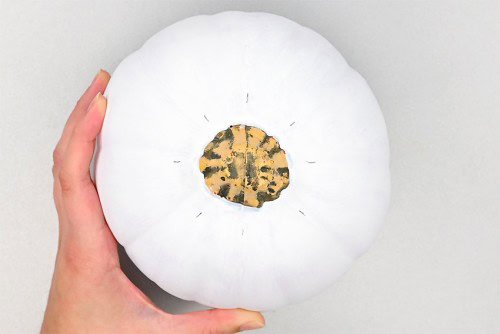
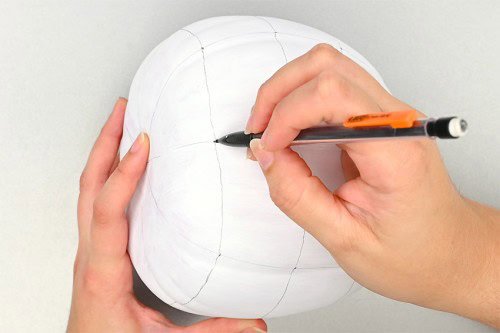
- Use a pencil to divide the top of the pumpkin into equal parts.Start by making pencil marks at the top, right, bottom, and left of the pumpkin. Then make a mark halfway in-between these marks.

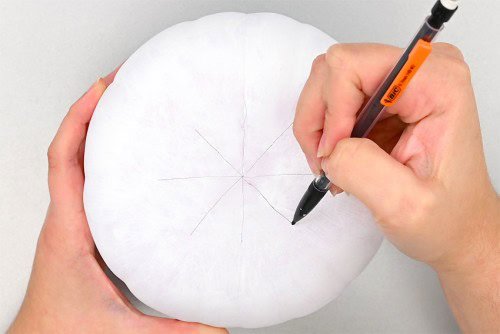
- Turn the pumpkin over and find the bottom center. Draw a pie shape, using lines to divide the bottom equally.

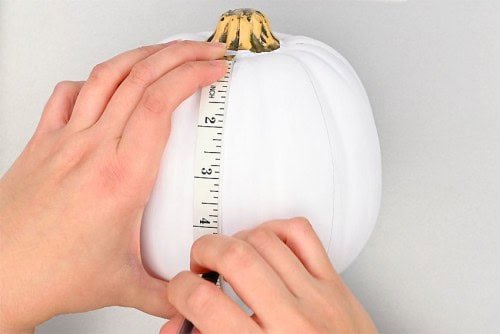
- Use a flexible tape measure to line up a top mark with the matching line on the bottom.Draw with pencil to connect them, continuing until you’ve created 8 vertical sections.

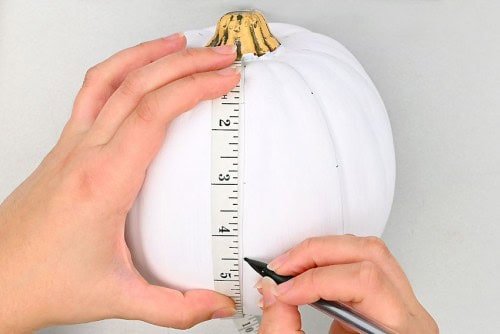
- Hold the tape measure against one of the vertical lines and make a mark every 1-1/2 inches down.

- Use the pencil and tape measure to connect the marks, drawing horizontal lines across the pumpkin.

Step 4: Paint a red pattern
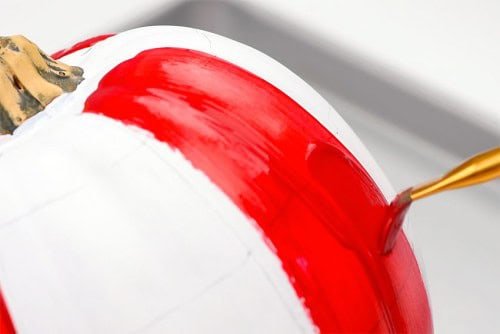
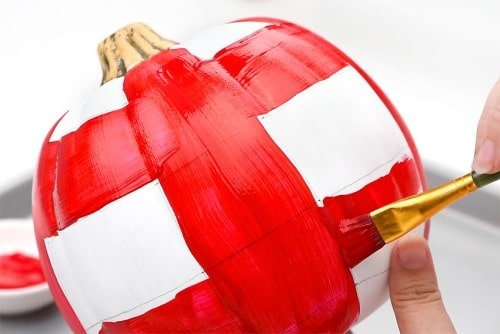
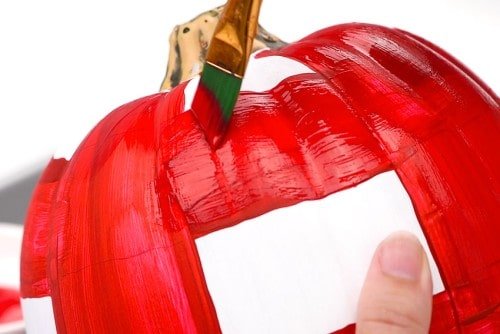
- Use a medium sized paintbrush to paint down every other section with the brighter red paint.It’s okay to be messy and not go to the edge of the section – we’ll fix that later.

- Use the same red colour to paint horizontal sections. Skip the top section, closest to the pumpkin stem, and then paint the next one down.Repeat, skipping the next section and painting the next.

- Use a smaller paintbrush to create clean edges on each of the sections.Allow to dry.

- Add a second coat of red paint, and allow to dry. Paint a third layer, if necessary.

Step 5: Add the dark red paint
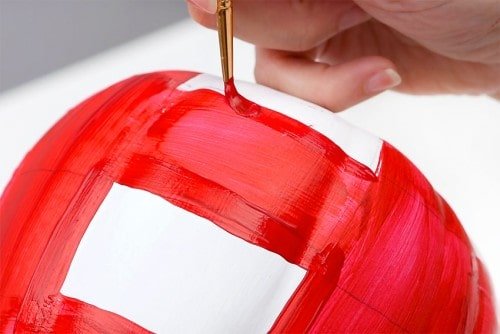
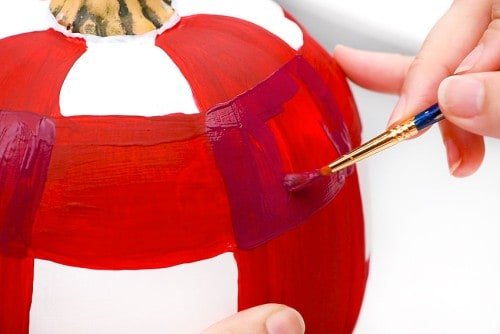
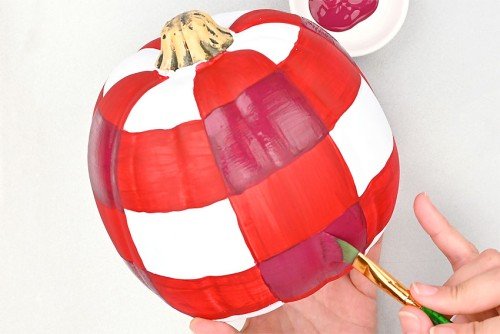
- Use the dark red paint to cover the squares where the horizontal and vertical red sections meet.In other words, start one down on a vertical red row and paint every other red square the darker shade.

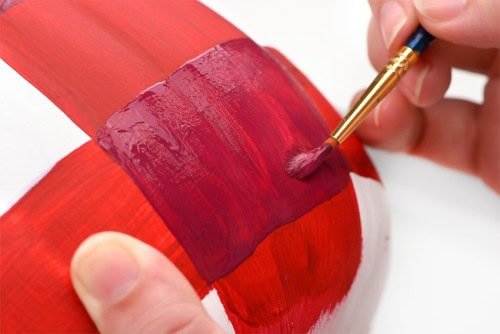
- Continue using the smaller paintbrush to neatly fill in these sections, keeping the edges as straight as possible.Allow to dry.

- Use a larger brush to add a second coat onto the darker red areas.Add a third coat, if necessary, and allow to dry.

- Your plaid pumpkin is complete!

Helpful Tips:
- Start with a white pumpkin so you don’t have to do the first base coats of paint!
- A larger pumpkin may need more vertical sections. Our larger pumpkin has 12 sections, compared to the 8 on the smaller pumpkins.
- To help the pumpkin dry without the paint smudging, balance the bottom of your pumpkin on a paint bottle or glass.
Should I use a real or fake pumpkin to make this plaid pumpkin?
We recommend using a foam craft pumpkin for this DIY project. Using a foam pumpkin allows you to re-use your decoration year after year!
However you can also use a real pumpkin if you want to change up your decor each Halloween season. Real pumpkins are also a lot less expensive than nice foam pumpkins.
Where is the best place to buy a craft pumpkin?
We recommend checking your local craft stores so you can see what the pumpkins look like and what their exact size is. We bought our pumpkins at Michaels, using a coupon, which made them quite reasonably priced!
You can also check the dollar store for craft pumpkins. The pumpkins at our dollar store were plastic-y feeling and they weren’t quite big enough, but sometimes they do sell decent pumpkins.
If you can’t find nice foam pumpkins locally, you can also buy buy them online on sites like Amazon.
What type of paint is best for making a plaid pumpkin?
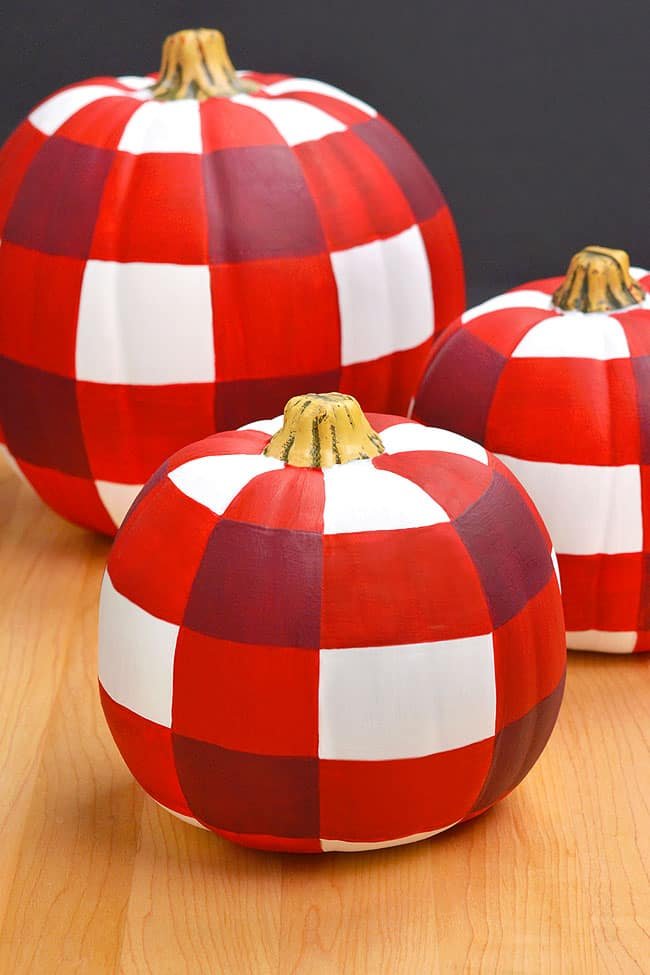
We used a matte acrylic paint to paint our plaid pumpkins. We used the DecoArt Americana brand in snow white, cherry red, and cranberry wine.
This paint is inexpensive and it sticks to the pumpkin quite well, though it does require a few coats to create nice coverage.
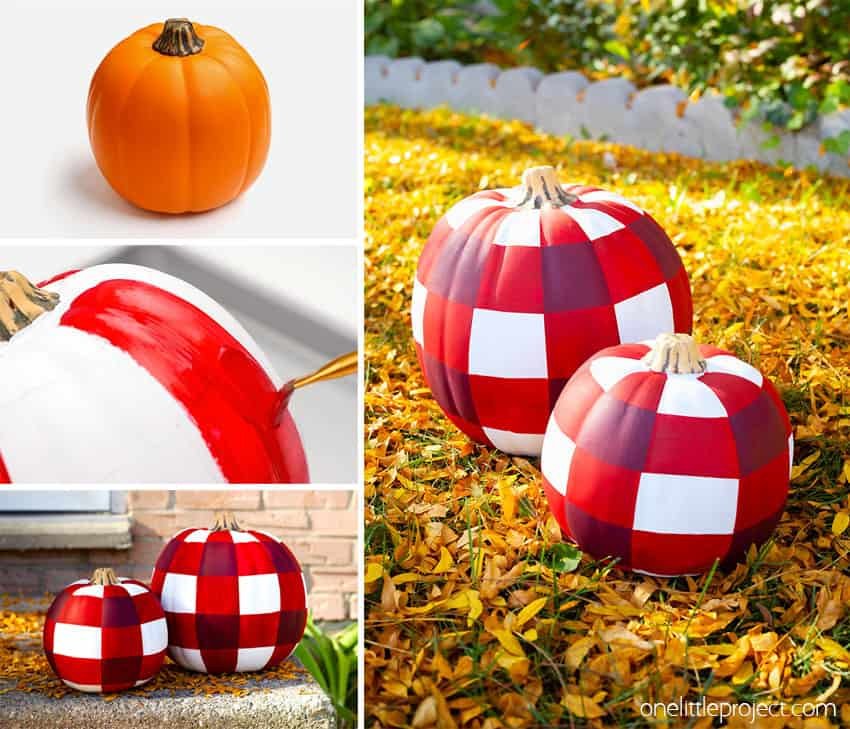
This buffalo plaid pumpkin is such a fun decoration for fall, Halloween, and Thanksgiving! Use two shades of red, or choose whatever colours will match your autumn decor.
We love the bold pattern on this painted pumpkin decoration and the rustic farmhouse vibes it has. It can take some patience to wait for all the layers to dry, but we think it’s worth it to make this festive project.
Here’s even more fall craft ideas:
Our book Low-Mess Crafts for Kids is loaded with 72 fun and simple craft ideas for kids! The projects are fun, easy and most importantly low-mess, so the clean up is simple!


