
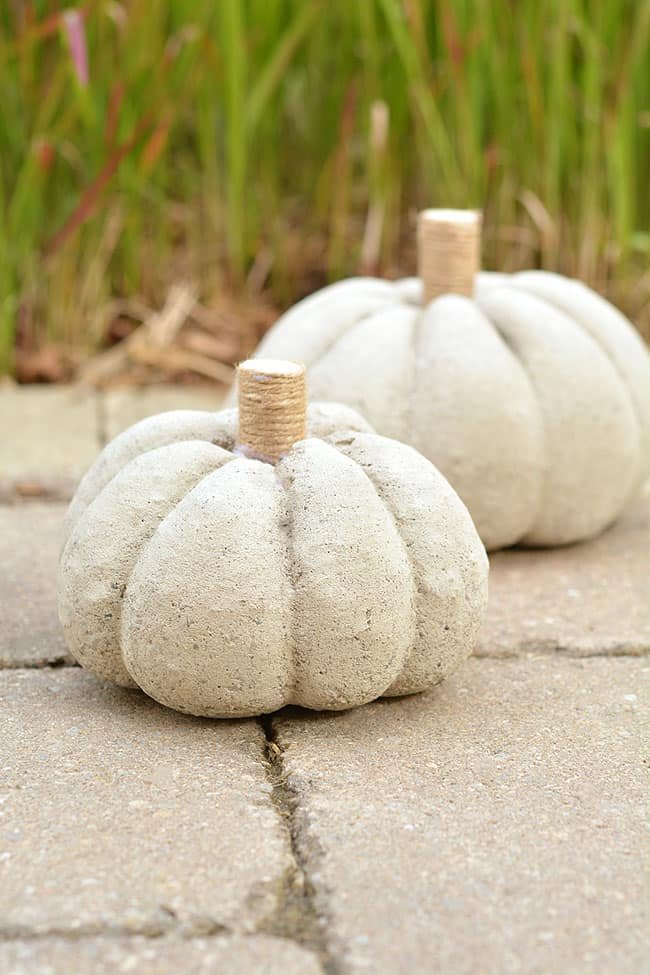
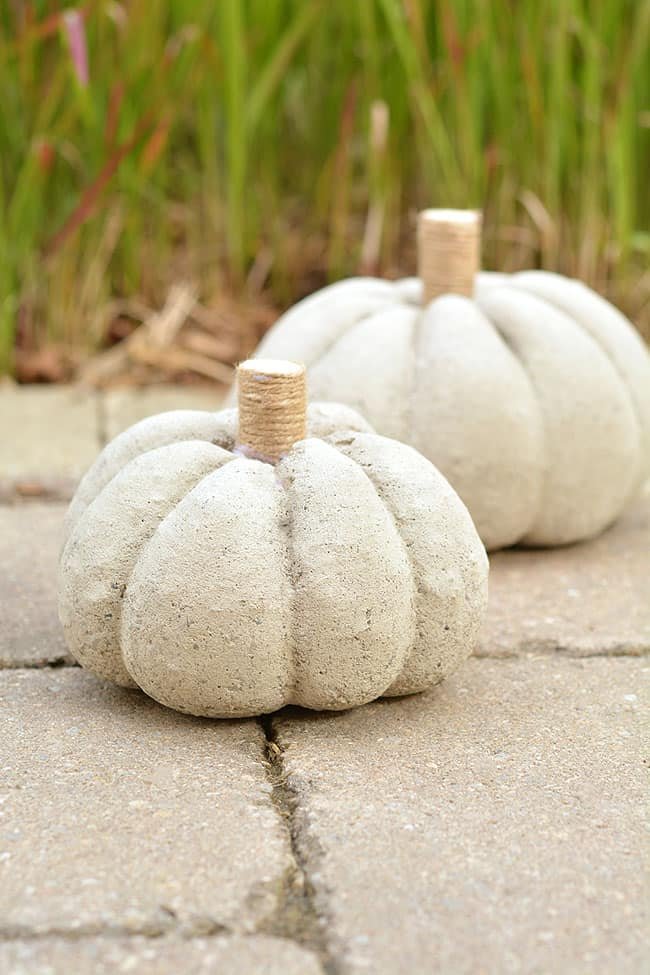
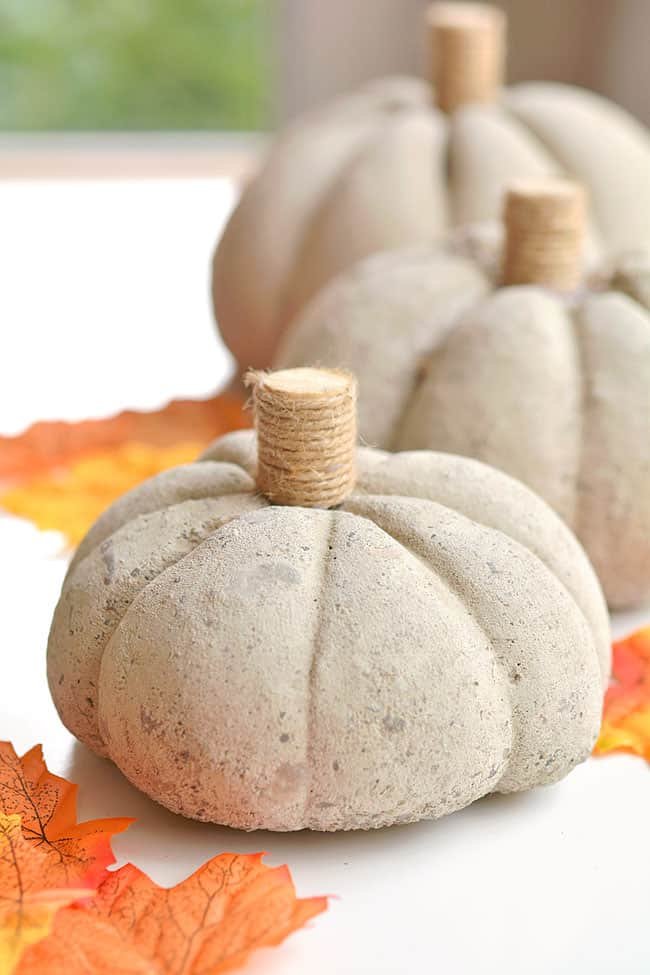
These concrete pumpkins are such a fun DIY project for Halloween and Thanksgiving! It’s surprisingly easy to work with concrete, and you’ll be able to use these handmade decorations for years to come.
Concrete Pumpkins
Jump to:
No need to worry about rotting pumpkins with these concrete pumpkins. You can display these DIY decorations for the entire fall season!
They’re made by pouring concrete into pantyhose and tying a pumpkin shape with twine. Concrete may be a little messy, but it’s SO EASY to work with – it just requires a bit of patience for it to dry.
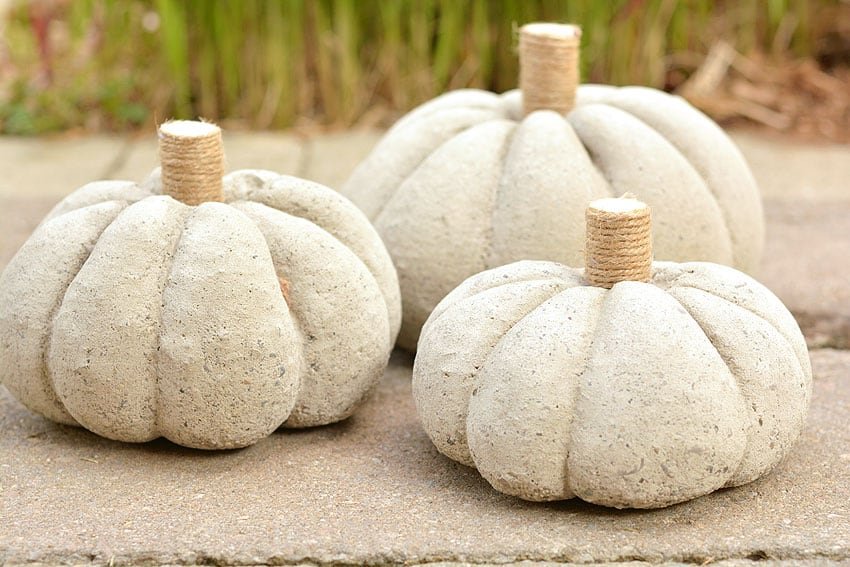
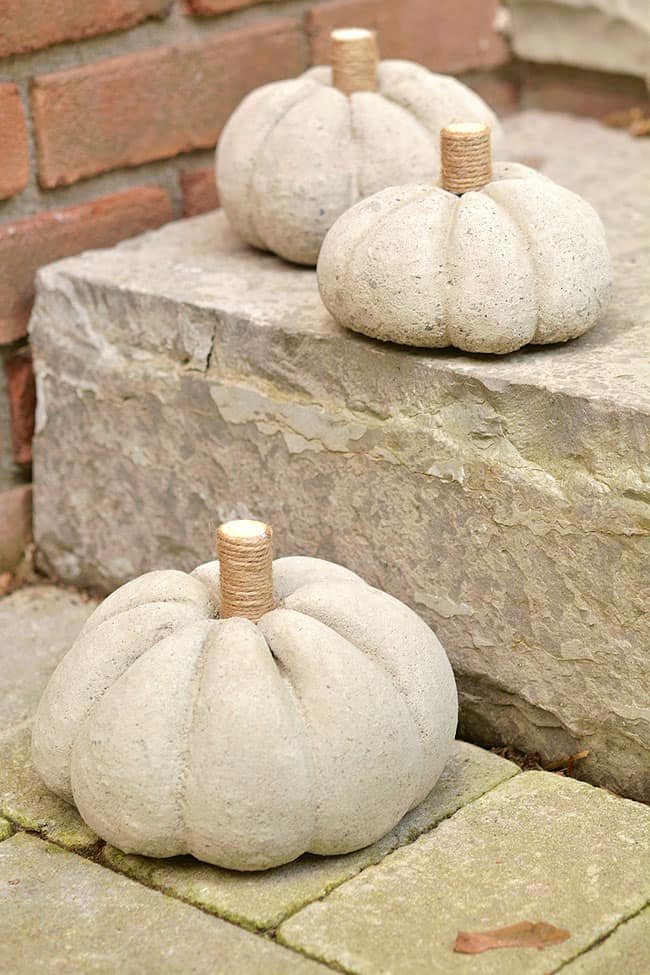
I love how each pumpkin is completely unique! They look great displayed outside on a porch, especially when surrounded by other fall decorations, like mums, corn stalks, and bales of hay.
Check out our Concrete Pumpkins video tutorial:
Looking for more pumpkin crafts? Here’s a few of our favourites:
Here’s what you’ll need:
This post contains affiliate links. If you use these links to buy something we may earn a small commission which helps us run this website.
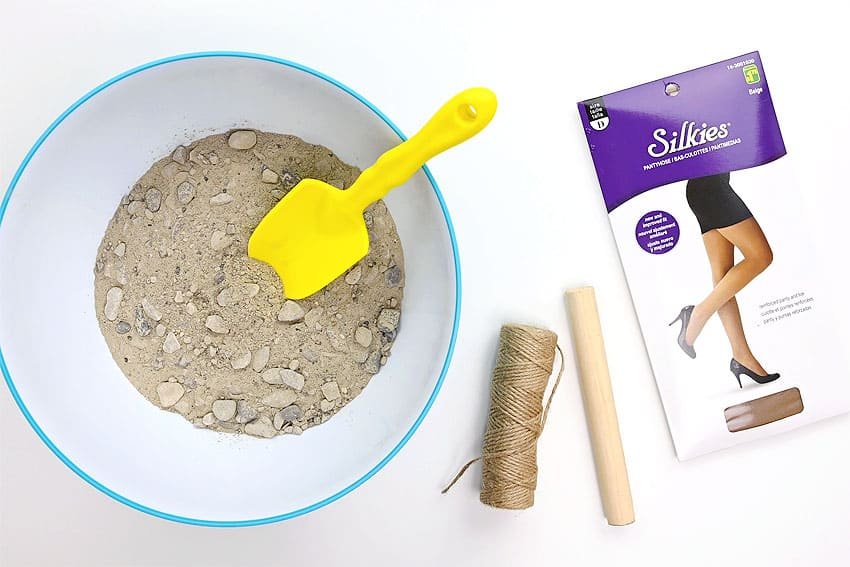
The full printable instructions are at the end of this post, but here’s a list of products on Amazon that are similar to the supplies we used:
- Concrete mix (it’s a lot cheaper at Home Depot!)
- Pantyhose
- Wood dowel
- Twine
What kind of concrete do I need?
We used a ready to use concrete mix called “Quikrete” and were happy with the results. You can buy a large bag at a home improvement store, like Home Depot, for around five dollars.
Sometimes you can check the shelves for broken bags of concrete, or you can ask at the store if they have any damaged bags. I’ve bought 1/2 bags of “damaged” Quikrete where half the concrete was missing. Not only was the open bag lighter to carry, I also didn’t have to store the full bag when I was done my project.
What else can I use for the stem?
Thick hemp rope looks great as a stem for the concrete pumpkin. You can also use a dried branch, or even loop twine and wrap it around itself in a stem shape. Jewelry wire bent into vines or tendrils also makes a great addition to the stem.
Can I colour these concrete pumpkins?
Yes, you can either add colour to the concrete mix or you can paint the concrete after the pumpkin is dry!
Acrylic paint, latex paint, or fabric dye are great for adding subtle colours to the concrete mix. Powdered oxide pigment made for dying concrete will give you the brightest colours.
What safety tips should I know for working with concrete?
You should always wear protective gloves when working with concrete. Safety glasses and a dust mask are also recommended.
Concrete contains abrasive chemicals that can be dangerous when they come in contact with your skin or if the dust is inhaled.
Artsy Pretty Plants has a great article about working safely with concrete if you want more information.
How to Make a Concrete Pumpkin
Materials:
Equipment:
-
Large bowl or bucket (preferably not used for food)
Instructions:
Step 1: Mix concrete
-
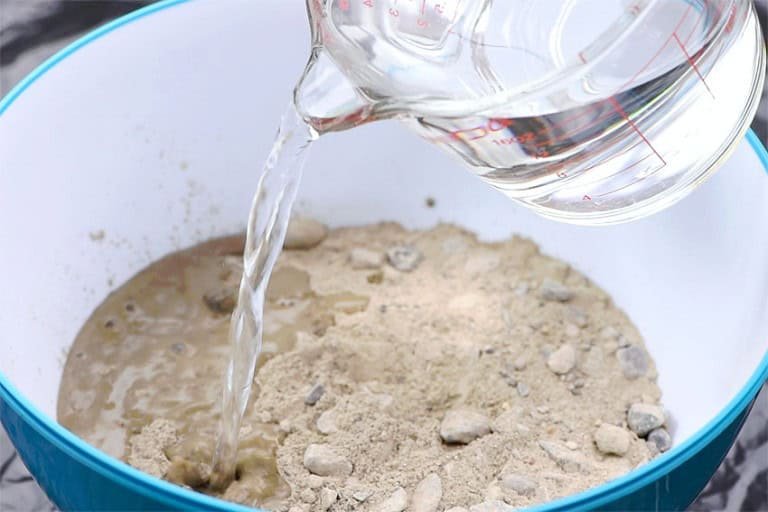
**Before beginning, make sure to read the tips section for safety information.**Add 3 – 4 cups of concrete to a large bowl or bucket. Slowly add water, starting with about 3/4 cup.(Follow the package instructions for exact water to concrete ratio.)
-
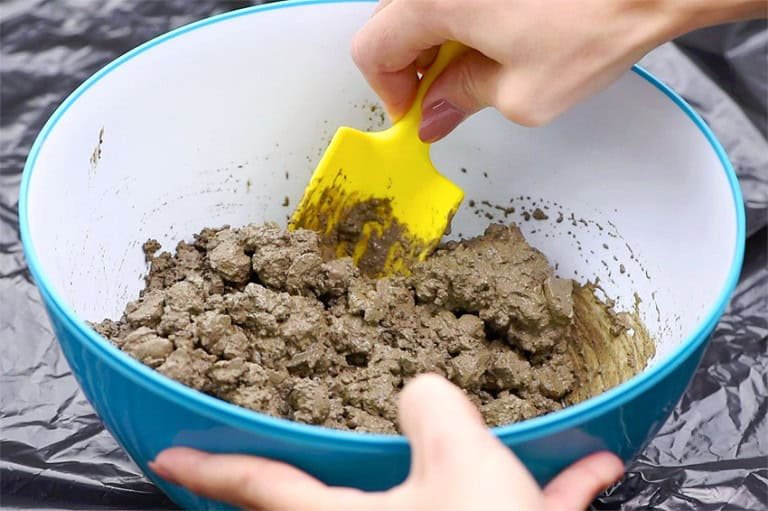
Mix the concrete with a garden trowel, adding more water if needed. The mixture should be the consistency of chunky peanut butter.
Step 2: Fill pantyhose with concrete
-
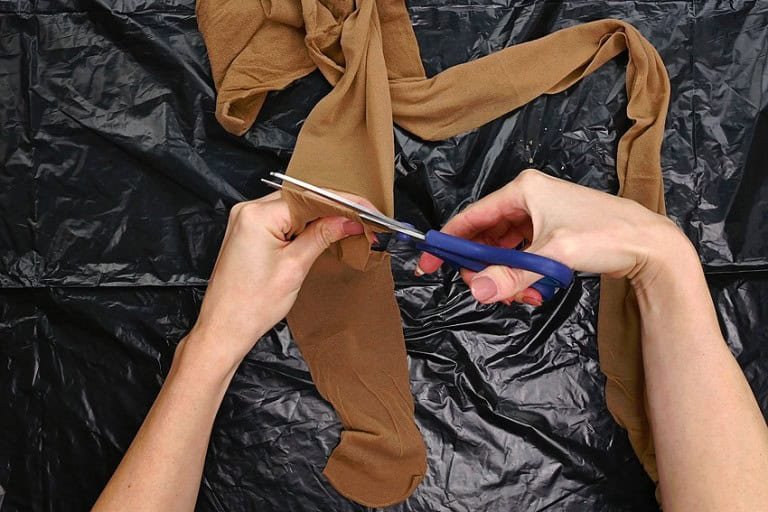
Cut the foot off a pair of pantyhose, about 8 inches from the toe.
-
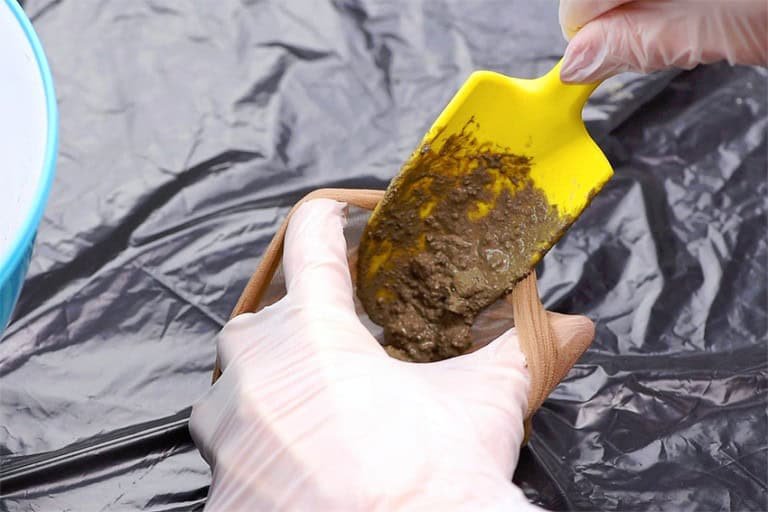
Stretch out the pantyhose foot with one hand and use the trowel to scoop concrete into it, a little bit at a time.
-
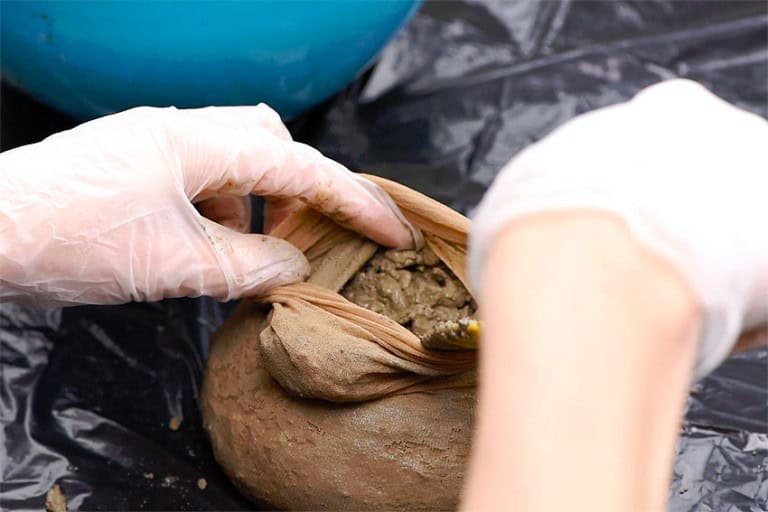
Continue filling the pantyhose until you’ve reached the size of pumpkin you’d like.
-
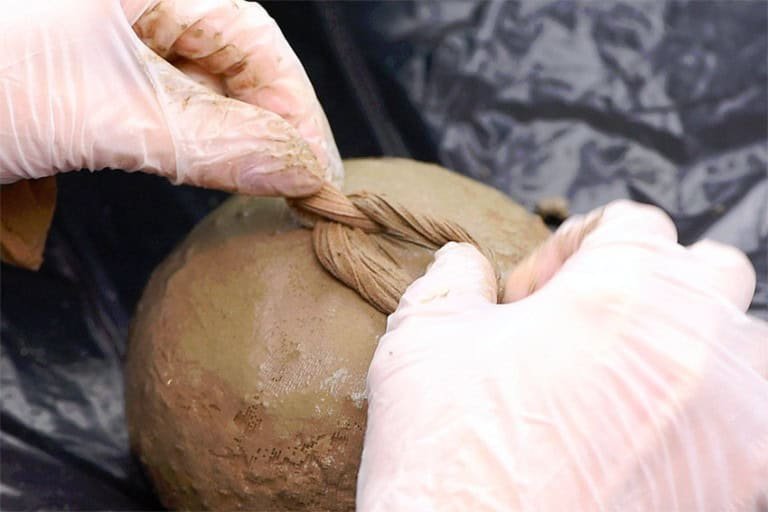
Tie a knot in the pantyhose as close to the concrete as possible.
-
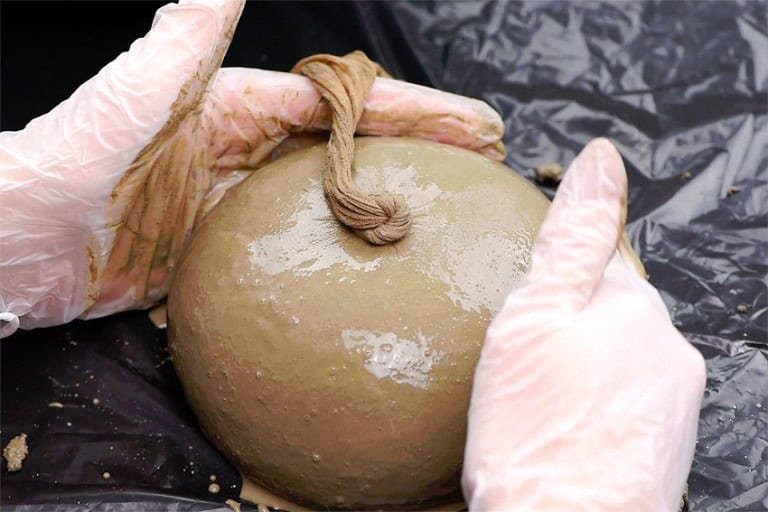
Gently rub around the outside of the pumpkin. This helps bring moisture to the surface and creates a smooth finish on the outside of your pumpkin.
Step 3: Form pumpkin
-
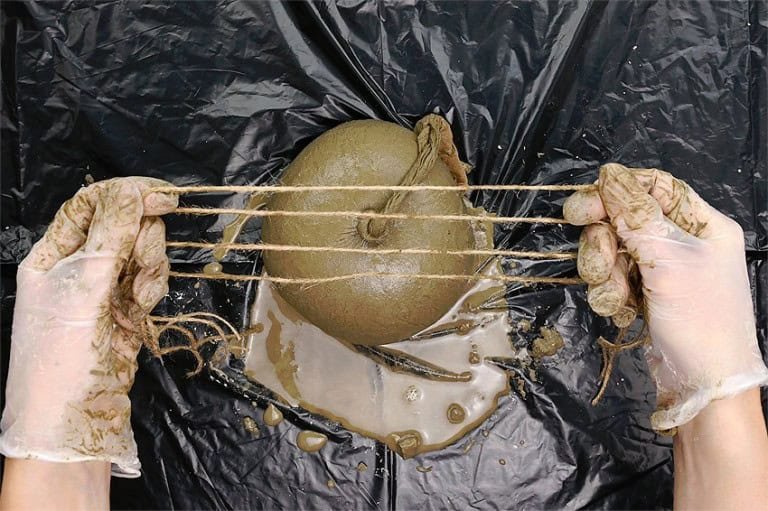
Cut four lengths of twine long enough to circle around the pumpkin.
-
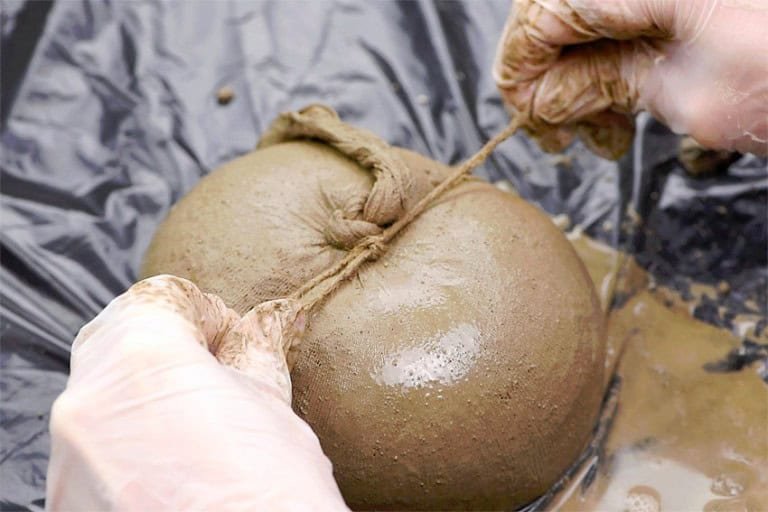
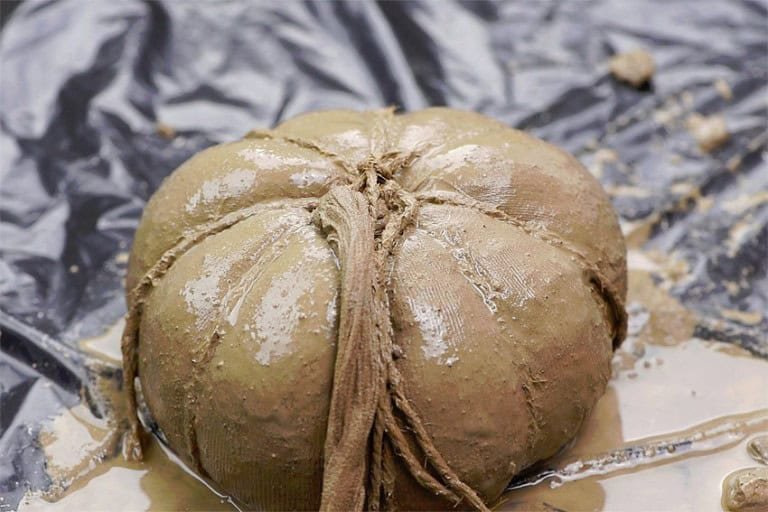
Lay one piece of twine on your working surface and place the pumpkin on top in the center.Pull it around the pumpkin, pulling it tight enough to create ridges in the cement. Tie a knot.
-
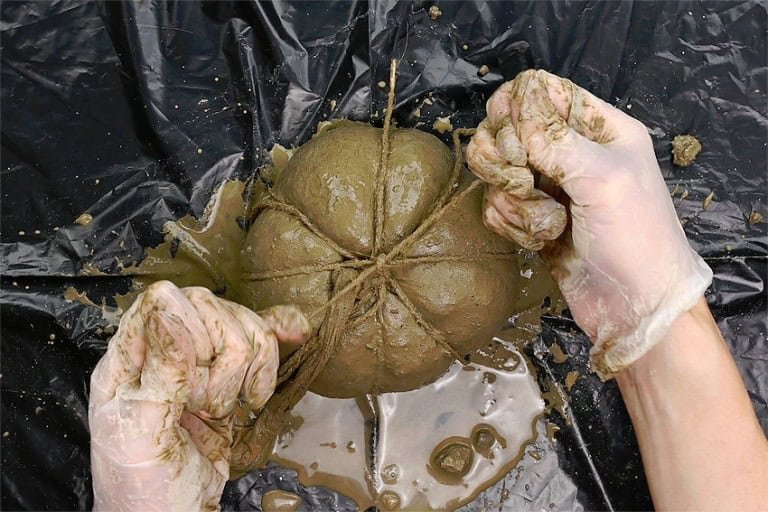
Add the other three pieces of twine at different angles, pulling them tight and creating the ribs of the pumpkin.
-
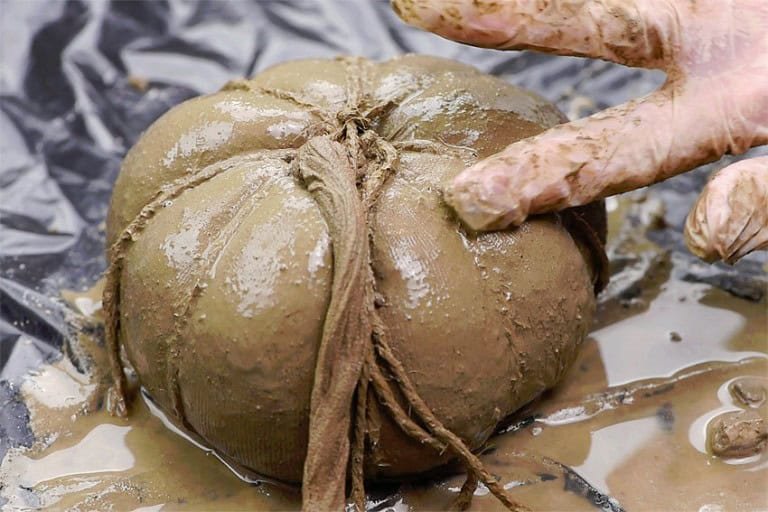
You’ll want to smooth out the surface of the pumpkin with your finger again at this point.
-
Allow the concrete pumpkin to harden. This will take about 24 – 48 hours (drying time will vary based on temperature and humidity).
Step 4: Remove twine and pantyhose
-
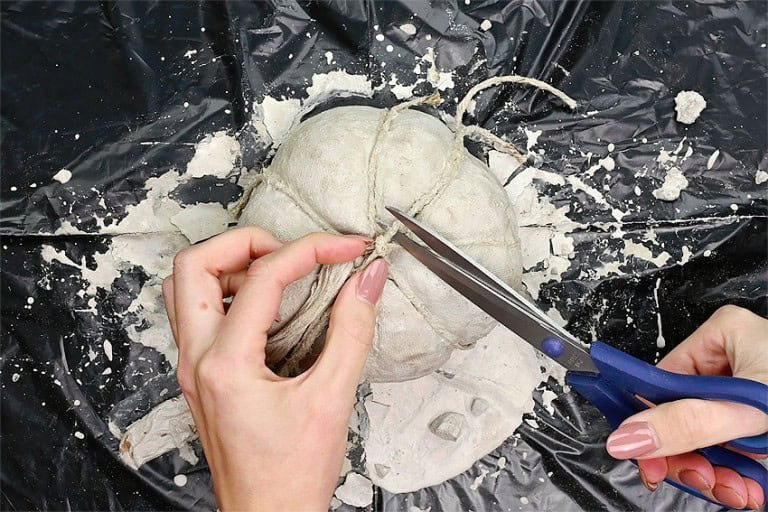
Once your concrete pumpkin has dried you can begin removing the twine. Cut each strand close to the top and begin peeling them off.
-
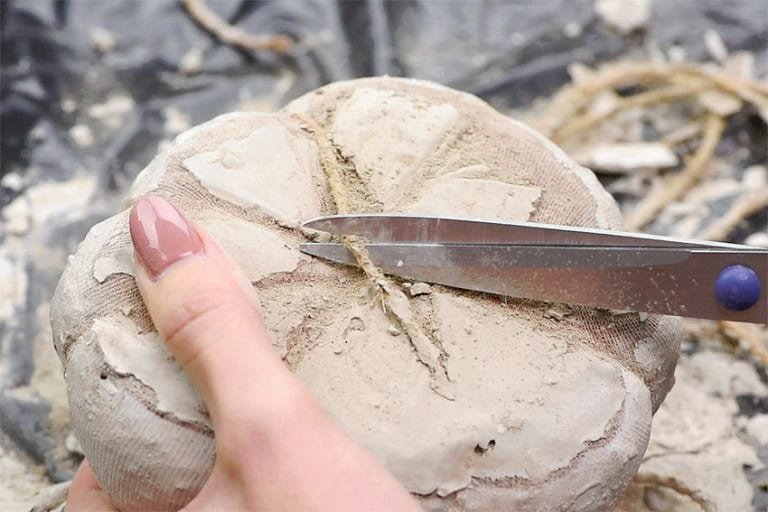
You can also cut the twine from the bottom to make it easier to remove.If the twine is stuck and you can’t remove it, cut it off as close to the concrete as you can.
-
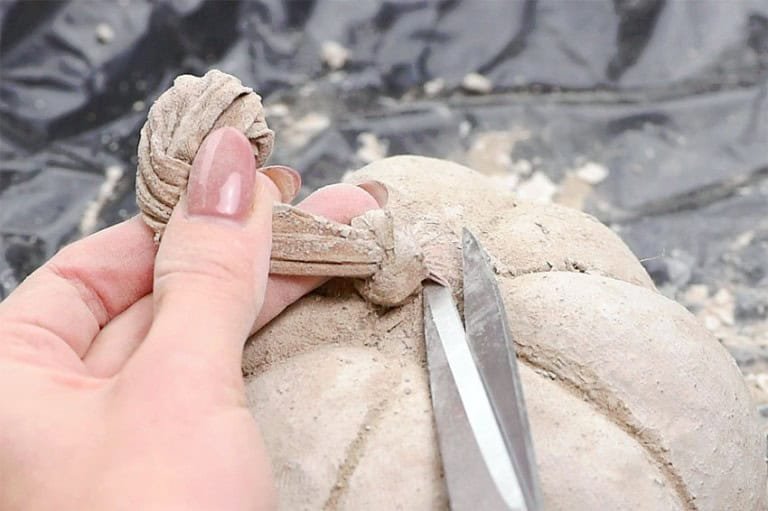
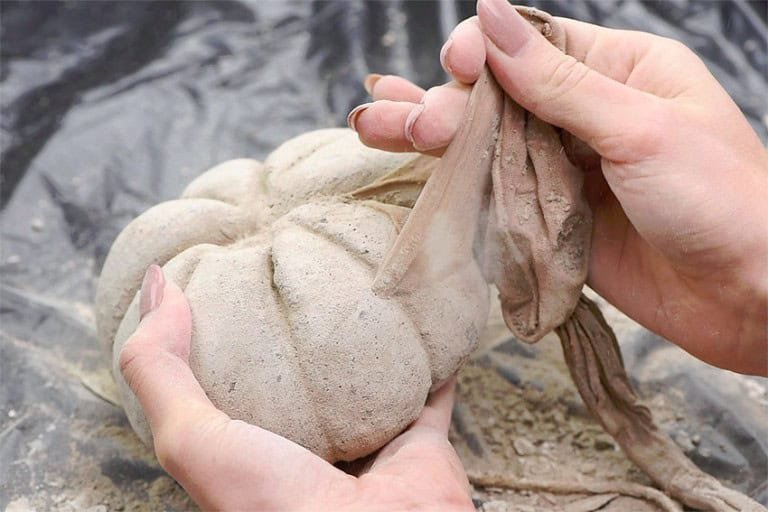
Now cut a hole in the pantyhose close to the knot you made.
-
Pull the pantyhose off the concrete pumpkin.
Step 5: Attach stem
-
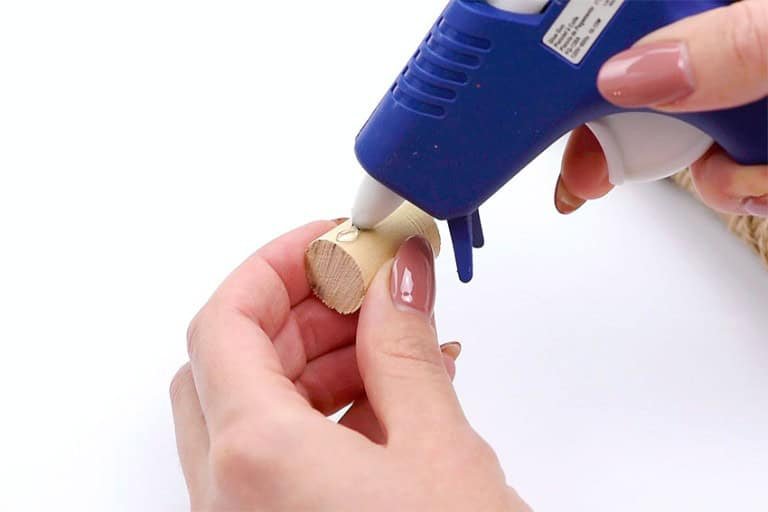
Cut a wood dowel to around 1 inch long. Place a bit of hot glue on the side of it.
-
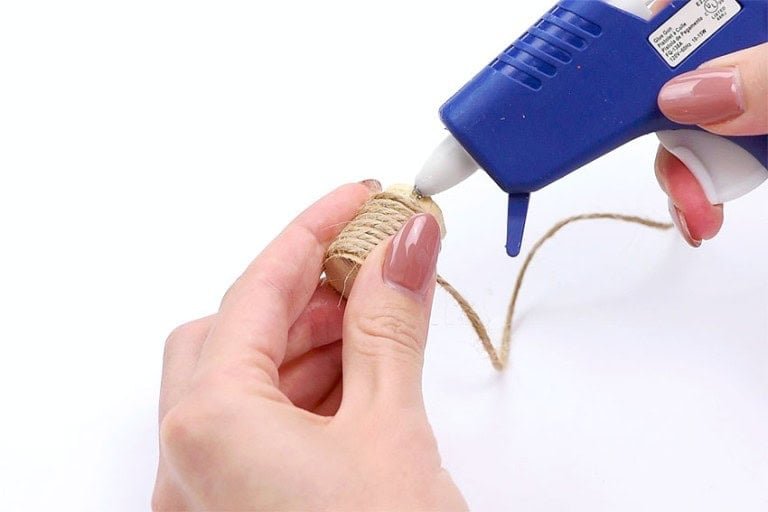
Wind twine around the dowel until it’s completely covered. Add a final dab of hot glue to hold the end of the twine in place.
-
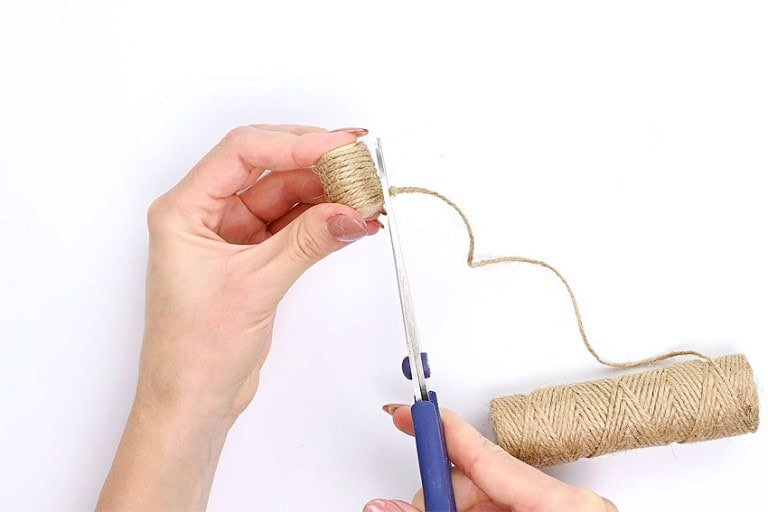
Cut the twine close to where you glued it.
-
Now add more hot glue to the end of the twine covered dowel.
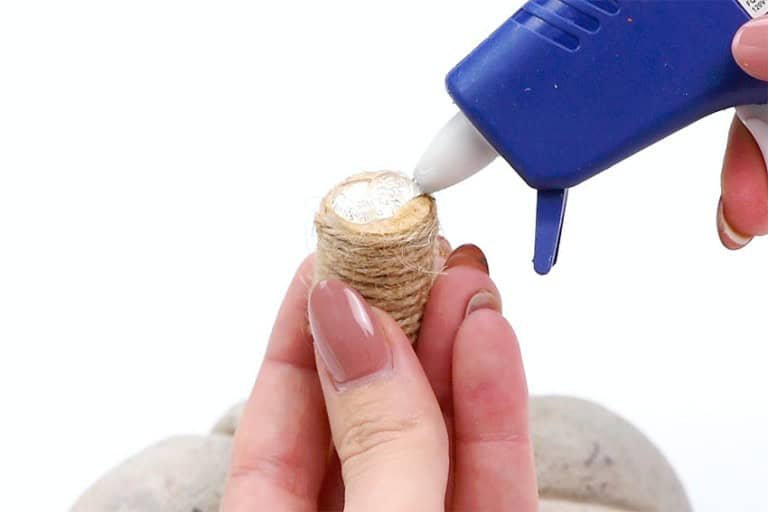
-
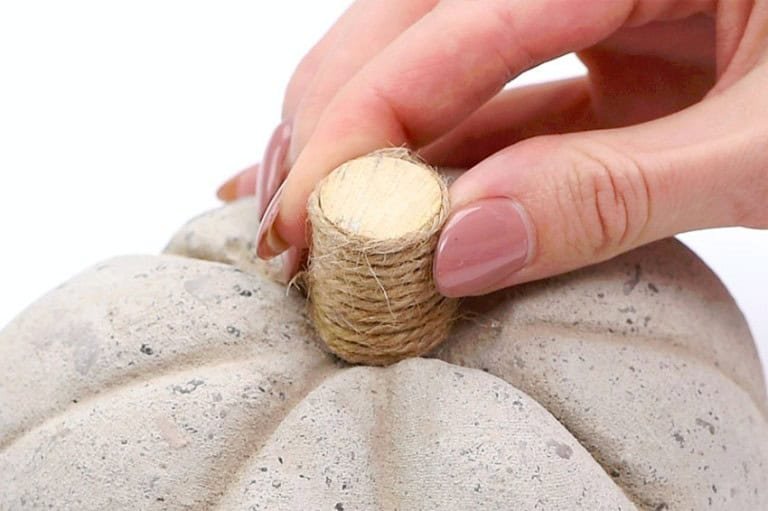
Place the “stem” in the center of the pumpkin.
-
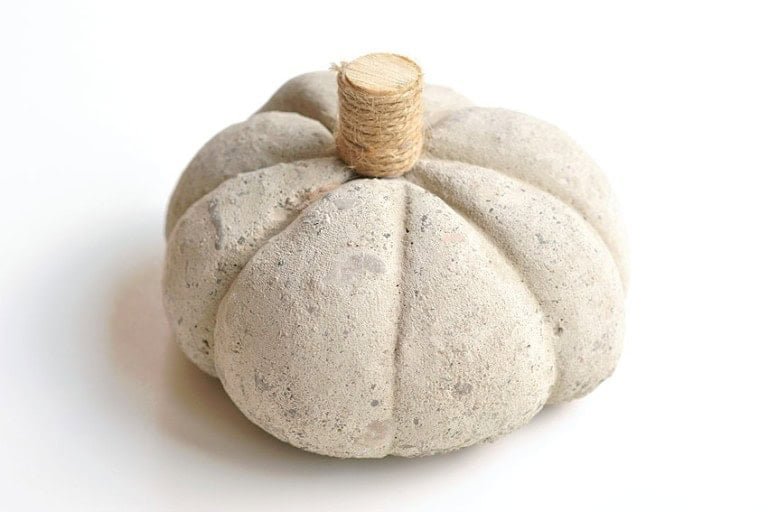
Your concrete pumpkin is complete!
Helpful Tip:
These concrete pumpkins are really inexpensive to make and they’re a great first project for working with concrete! Try adding moss to the grooves by the stem for a real outdoorsy look.
Frequently Asked Questions
How Do You Make Concrete Pumpkins?
Mix concrete according to the product instructions, fill a pantyhose mold, tie the top, wrap the form with twine to create pumpkin ribs, let it harden, then remove the twine and hosiery. Finish by attaching a decorative stem and painting if desired.
What Kind of Concrete Should I Use for Concrete Pumpkins?
The original Craft Ideas project used QUIKRETE ready-to-use concrete mix. If you use a different cement or concrete product, follow that product’s own mixing and curing instructions rather than copying the same water amount.
What Can I Use as a Concrete Pumpkin Mold?
Pantyhose or similar flexible hosiery is the mold used in this tutorial. It creates a rounded shape that can be cinched with twine. Plastic pumpkin forms are better suited to different casting methods such as hollow planters.
How Long Should a Concrete Pumpkin Cure?
The original project waited about 24–48 hours before demolding, but that is not the same as full curing. Concrete continues developing strength after it is hard enough to handle. Follow the current technical guidance for the exact concrete product and conditions.
Can You Paint Concrete Pumpkins?
Yes. Acrylic paint is one decorative option mentioned in the original project. Let the concrete harden sufficiently, remove dust, test the paint first, and follow the coating manufacturer’s directions for porous concrete.
How Do You Make a Stem for a Concrete Pumpkin?
Cut a short wood dowel, wrap it with twine using hot glue, then glue the finished stem to the center of the pumpkin. A small branch or wrapped rope can also create a rustic look.
Can Concrete Pumpkins Stay Outdoors?
Concrete itself can be used outdoors, but outdoor durability of this finished craft depends on the exact concrete, curing, paint, adhesive, stem material, sealer, and climate. Do not assume the complete decorated pumpkin is weatherproof unless every component is suitable for those conditions.
Do Concrete Pumpkins Need to Be Sealed?
Not automatically. A sealer may be useful for a particular decorative finish or exposure condition, but use one only when it is compatible with the concrete and any paint already applied.
Here’s even more pumpkin craft ideas: