DIY String Spinner Toy
Jump to:
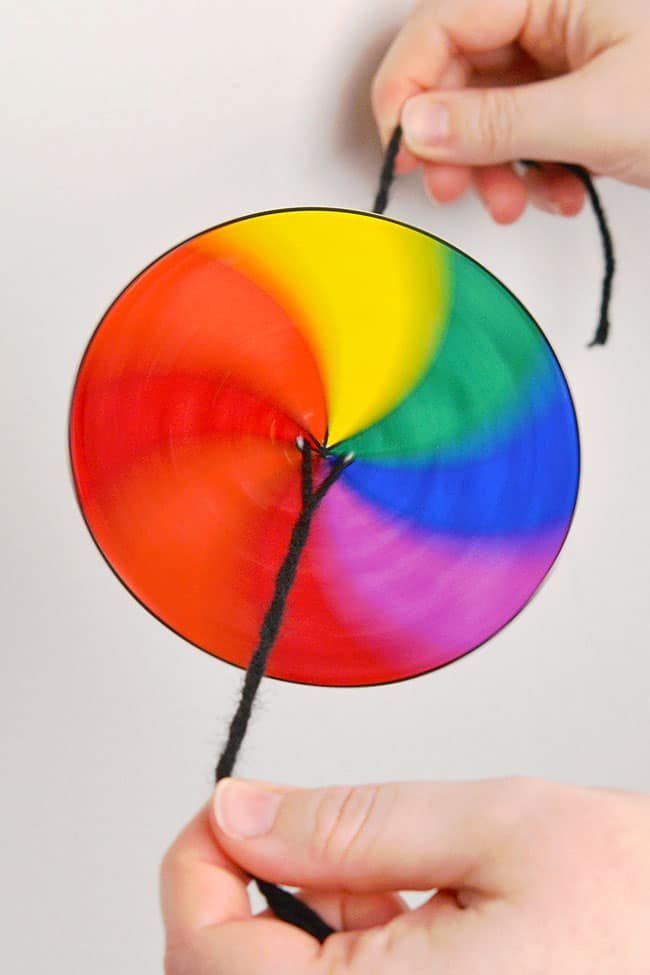
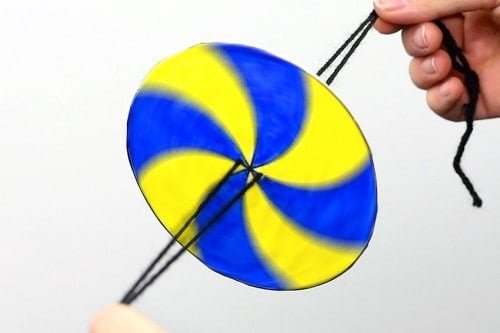
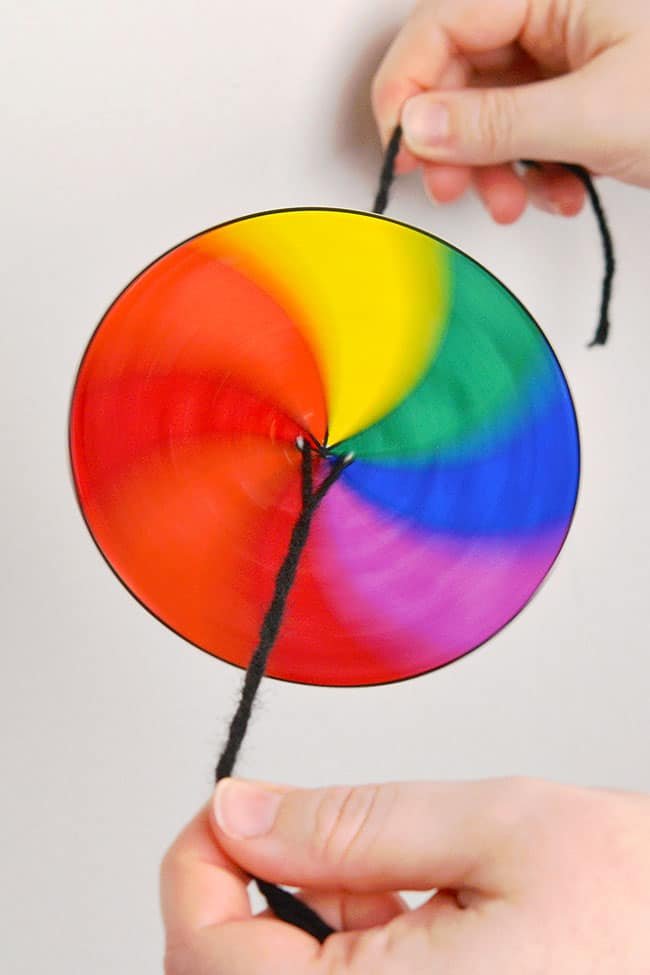
It’s so fun to make a DIY spinner toy! These spinner toys are so bright and colourful, and they’re so cool to play with! Watch the colours combine as the string spinner whirls through the air.
This is such an easy craft to make, especially when you download our free spinner templates (find the links below!). Decorate and colour your spinner disc however you’d like, and create hours of fun for mere pennies!
This post contains affiliate links. If you use these links to buy something we may earn a small commission which helps us run this website.
DIY Spinner Toy
Materials:
- Free Printable Spinner toy template(more template options below)
- Cardboard(cereal or cracker box)
- Glue tape
- Coloured markers
- Yarn(any colour)
Equipment:
- Thumb tack(or push pin, or skewer)
Looking for more DIY toys? Here’s a few of our favourites:Balloon CarCotton Ball Sheep CraftCaterpillar CraftHow to Make a Bouncy Ball
Instructions:
Step 1: Find what you need
- Gather your supplies and materials.


Step 2: Make the base of the spinner toy
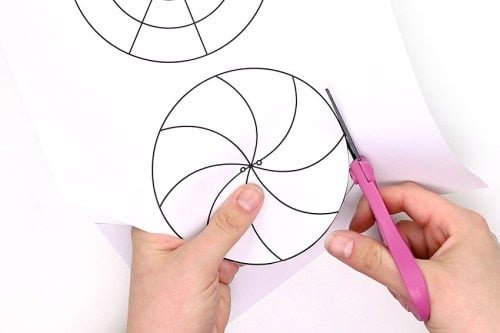
- Print out one of our free spinner toy templates (links below!) and cut out the two circles.


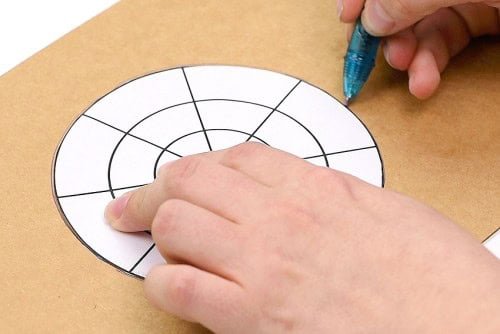
- Trace one of the circles on a piece of cardboard. We used the cardboard from an empty cereal box.


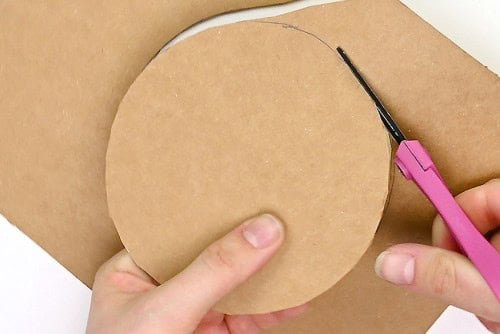
- Cut out the cardboard circle.


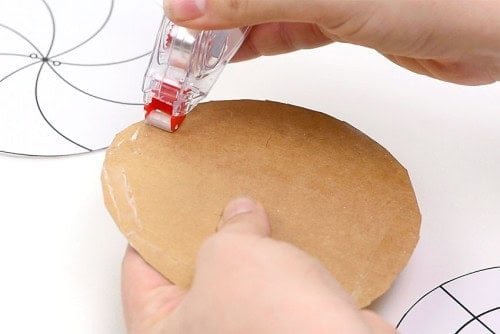
- Apply glue tape to the cardboard circle, especially around the outer edges.


- Line up the edges and carefully attach one of the template circles onto the cardboard.


- Apply glue tape to the other side of the cardboard. Attach the other paper circle so that the two dots line up with the two dots on the opposite side.


- CAUTION: Have an adult perform this step. Use a thumbtack to poke two holes where the two dots are marked on the template. Be sure to wiggle the thumbtack around to make the hole large enough for the yarn to pass through.


Step 3: Decorate the spinner toy and add yarn
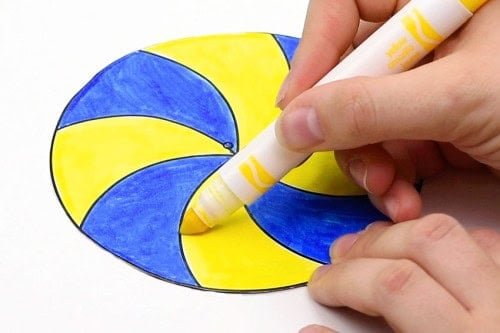
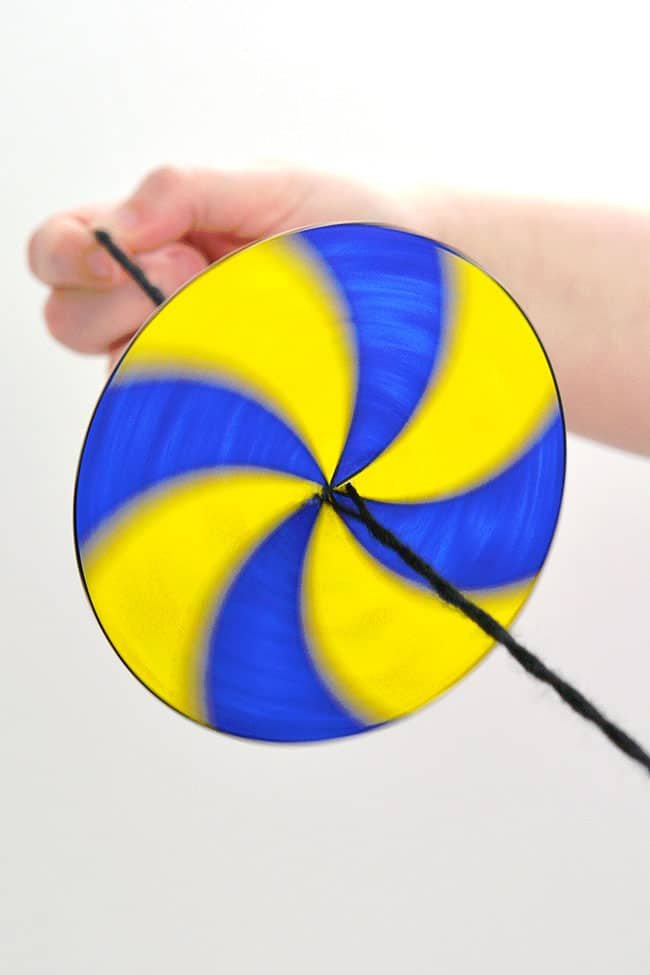
- Use washable markers, Sharpies, coloured pencils, or crayons to add colour to your spinner toy.Try using primary colours beside each other to create a whole different colour once the spinner is moving! (For example, the red and blue beside each other on this side looks like purple once the spinner is going.)


- Colour the second side of the spinner toy.


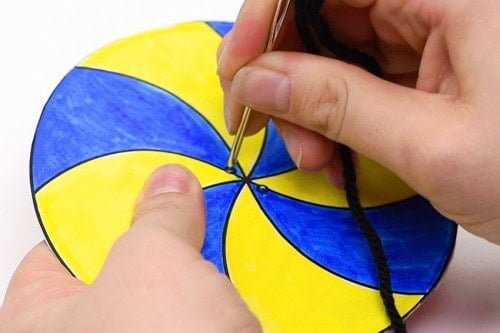
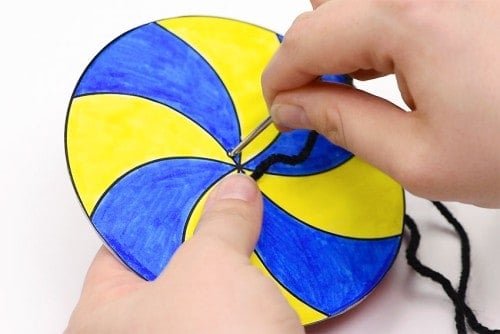
- Cut a piece of yarn, about 18 inches long, and use a yarn needle (or toothpick) to poke it through one of the holes in the center of the spinner. Pull the yarn half way through so there’s an equal amount on each side.


- Repeat with a second piece of yarn on the second hole.


Step 4: Enjoy the spinner toy
- To play with the spinner toy, hold the yarn on either side of the disc. Rotate one or both of your wrists in a fast circular motion, towards your body, to wind up the string.


- Now pull your hands away from each other so the yarn becomes taut. Watch the spinner toy swirl and twirl!You can control the speed of the spinner by moving your hands closer together and farther apart.Your spinner toy is complete!


Helpful Tips:
- Hold your hands at an equal distance from the cardboard circle before you start winding it up. This will help the spinner toy spin properly!
- If you don’t want to colour your own spinner toy, glue patterned scrapbook paper to each side of the cardboard circle instead.


Do I have to use the spinner toy templates?
No, you can definitely draw your own circles and make your spinner toy without using the templates. Use a compass to draw a circle, or trace any larger circular object, like a small bowl, empty coffee tin, or a wide mug. (Our spinner toys have a 4-1/2 inch diameter.)
Also be sure to poke the holes for the yarn at least 1 cm apart! Any closer, and the spinner toy won’t work properly.

What type of cardboard or paper makes the best spinner toy?
You can choose any type of cardboard from your recycling for the center of these spinner toys! But we did find that thin cardboard (from a cereal box, for example) worked and looked the best.
What yarn or string is best to use in a DIY spinner toy?
We tested a few different types of yarn and string and found that medium weight yarn worked best for making these spinner toys. It’s easy to hold onto and it winds up really easily.
That being said, you can definitely still use cotton twine, ribbon, or embroidery thread if that’s what you have on hand. It will just take a tiny bit more effort to get it to wind properly.
What glue do you recommend to attach the spinner toy templates to the cardboard?
We found glue tape, or crafter’s tape, to be the best option. It sticks well, and makes the craft faster and easier to make. A glue stick is another good choice.
Regular white glue will also work, but it tends to warp the paper, which doesn’t look as nice, and then you have to wait for it to dry.
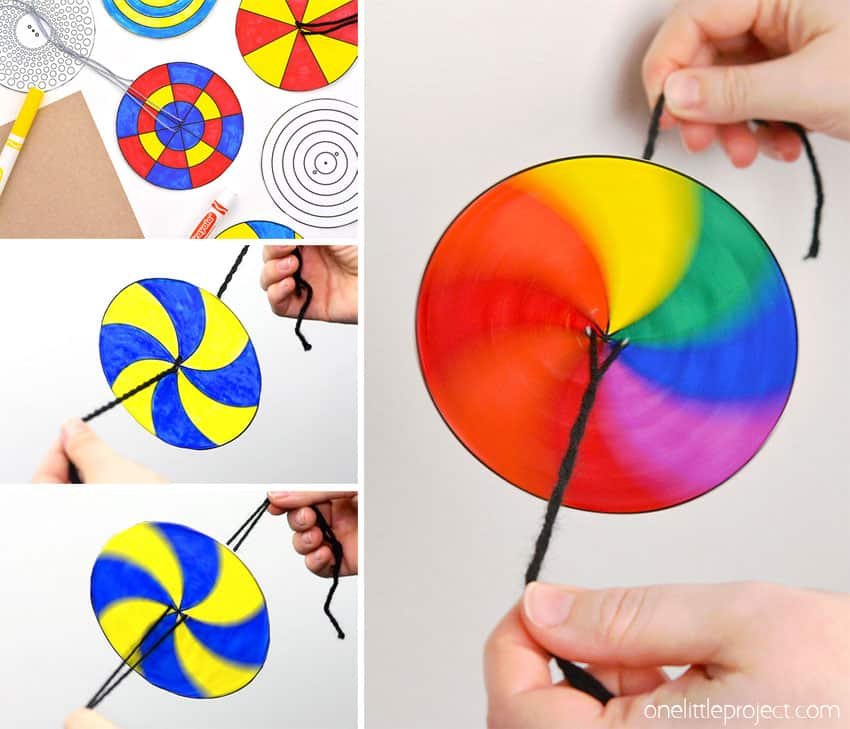
It’s so much fun to make and play with these string spinner toys! When the disc twirls fast enough you’ll be able to feel the vibration of the string and hear a buzzing or humming sound. It’s so cool!!


