How to Make Glitter Ball Yarn Ornaments Using Balloons
Jump to:
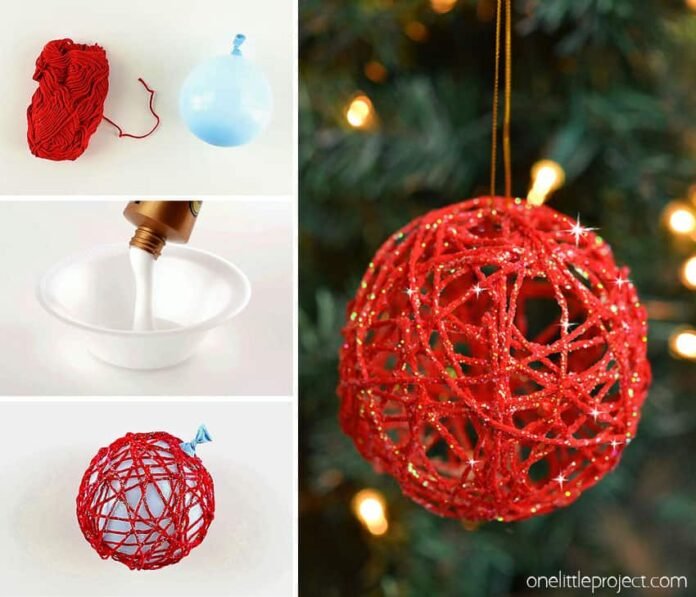
These glittery ball yarn ornaments are so much fun to make! All you need is some yarn, some white glue, a balloon – AND LOTS OF GLITTER! They’re pretty, they’re sparkly, and they’re a super inexpensive way to make your own Christmas ornaments.
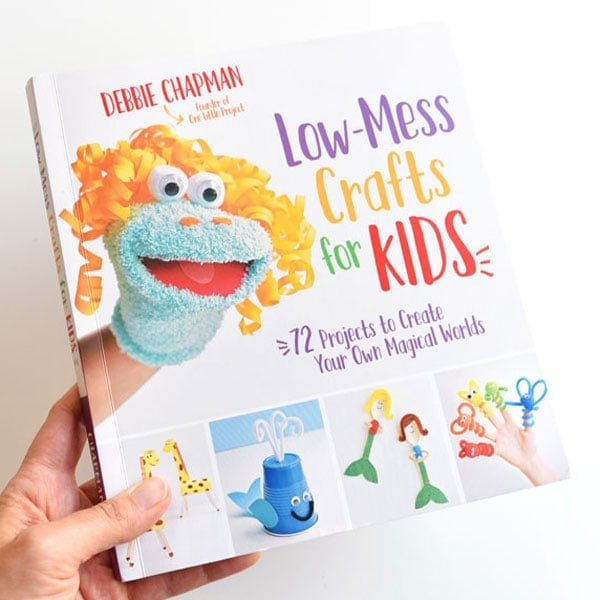
I have to admit, I do get a little frightened by glitter. Just the mess of it. (Which is why I wrote a book full of Low Mess Crafts for Kids…) But honestly, when you pour glitter into glue, there’s really nothing to worry about because the glitter is stuck in the glue so it’s not going to end up everywhere. (Like that random fleck of glitter that always seems to end up on your forehead 2 days after doing a glitter craft…).
And at Christmas time, when everything is supposed to be sparkly and pretty – it just feels festive to use as much glitter as you can!
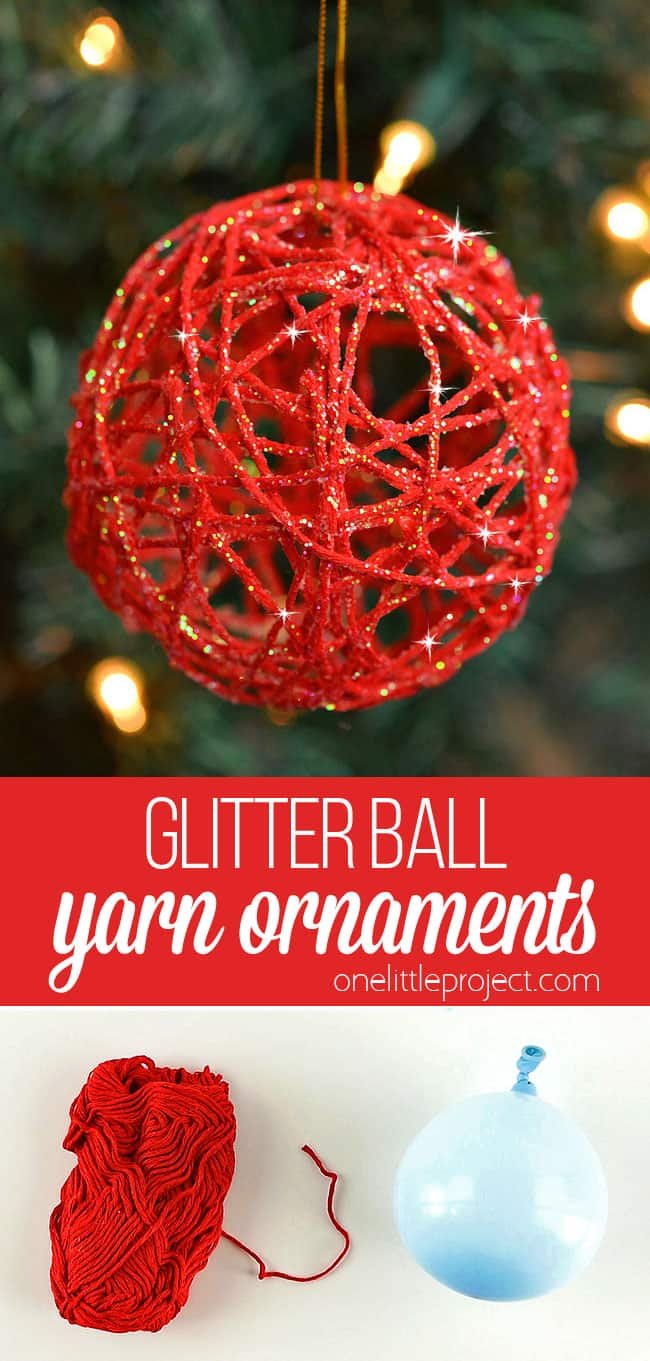

If you’re worried about getting a little bit messy, I’ll tell you right now, this might not be the craft for you. You have to wrap yarn that’s been soaked in white glue around a balloon. There’s really no way for your fingers to not get a little messy! (It’s not that bad though, I promise.)
These yarn ball ornaments actually look beautiful on the Christmas tree too. The sparkle is so pretty with Christmas lights in the background!
I brought up our little 3 foot tree (mostly so I could take photographs), and the next thing I knew, my 4 year old had found all the Christmas ornaments we’ve made for the blog this year and he decorated the little tree – and he was so happy to do it! Super cute.
Check out our video for how to make Glitter Ball Yarn Ornaments:
If you’re looking for more fun ways to make homemade Christmas ornaments, here’s a few more of our favourite crafts:
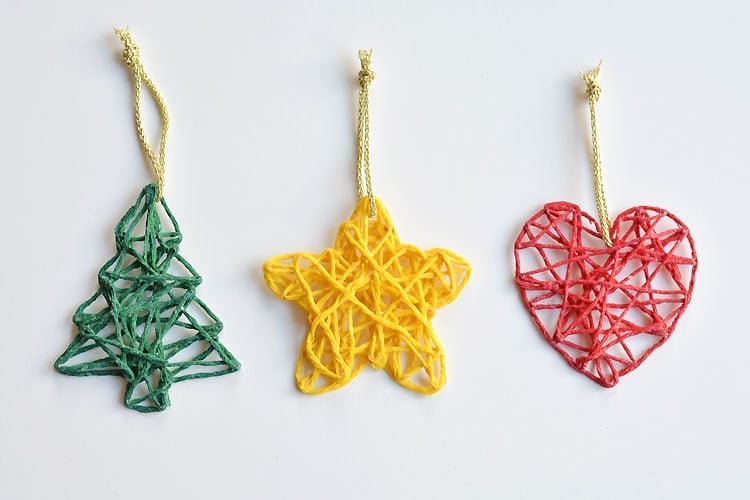
Wrapped Yarn Ornaments Using Cookie Cutters
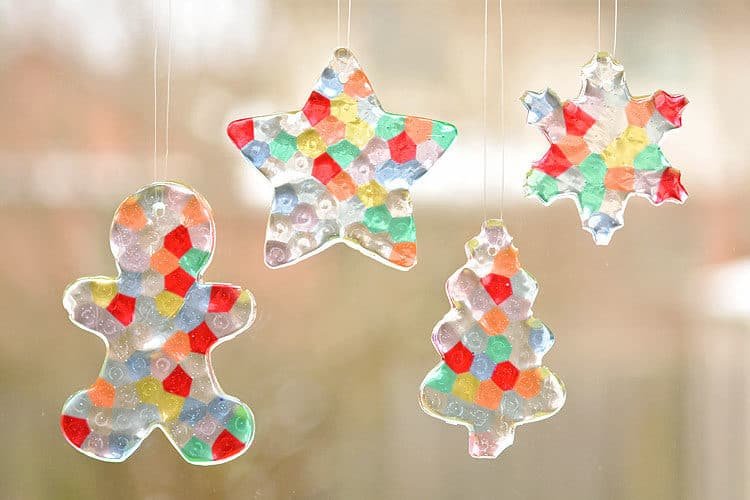
How to Make Melted Bead Ornaments
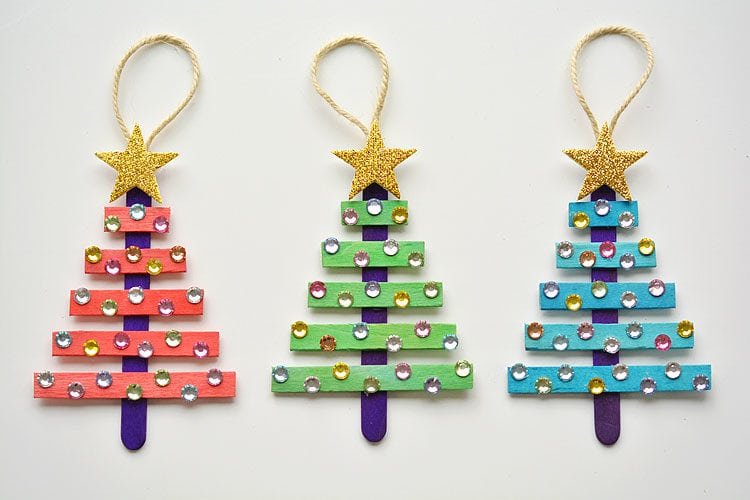
Glittering Popsicle Stick Christmas Trees
How to make Glitter Ball Yarn Ornaments:
The following is a list of affiliate links to Amazon products that are similar to the materials we used. Here’s what you’ll need to make them:
- Small Balloons (I used 5″ balloons)
- Cotton yarn
- Aleene’s Tacky Glue
- Iridescent Glitter
- Disposable Bowl
- Plastic Fork
- Metallic Cord
- Scissors
I used 5″ balloons for this craft (they’re much smaller than regular balloons).
But before you go out and buy small balloons, test your regular balloons to see if you can get a nice small ball shape from them – they might work? I just didn’t test it.
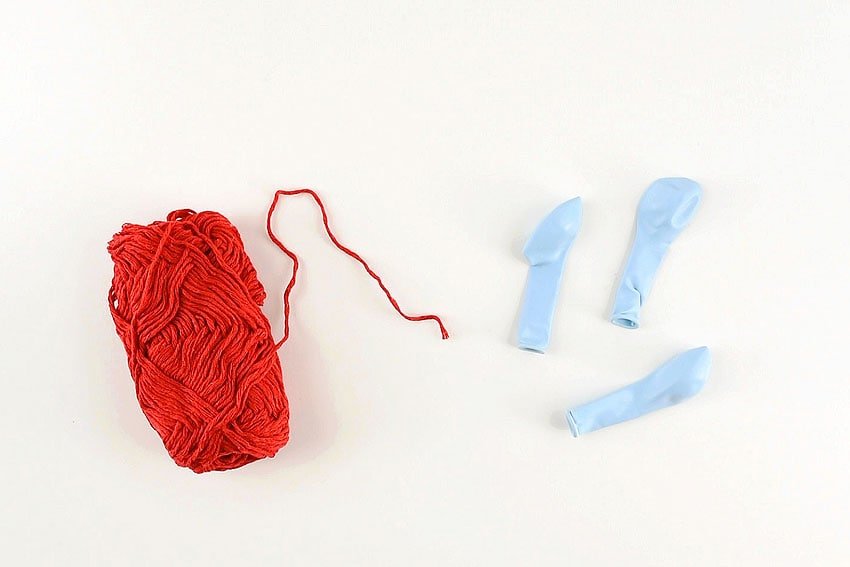

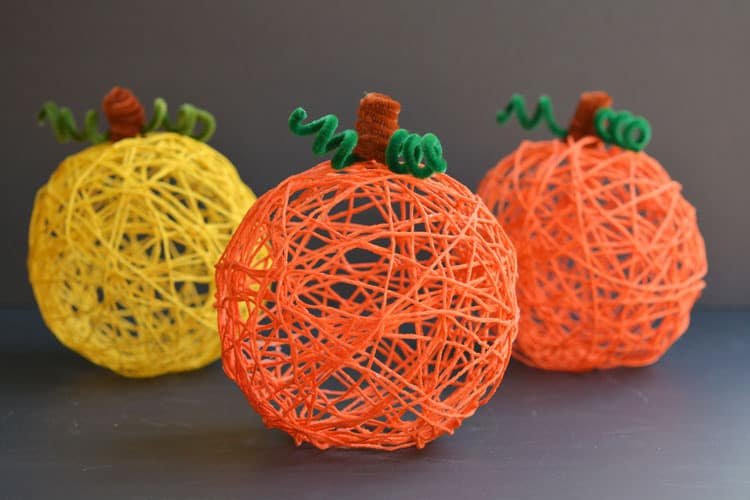
I also used cotton yarn (as opposed to acrylic yarn). It’s the same yarn I bought when I made yarn pumpkins a few years ago. I’m sure acrylic will also work, I’ve just never actually tested it.
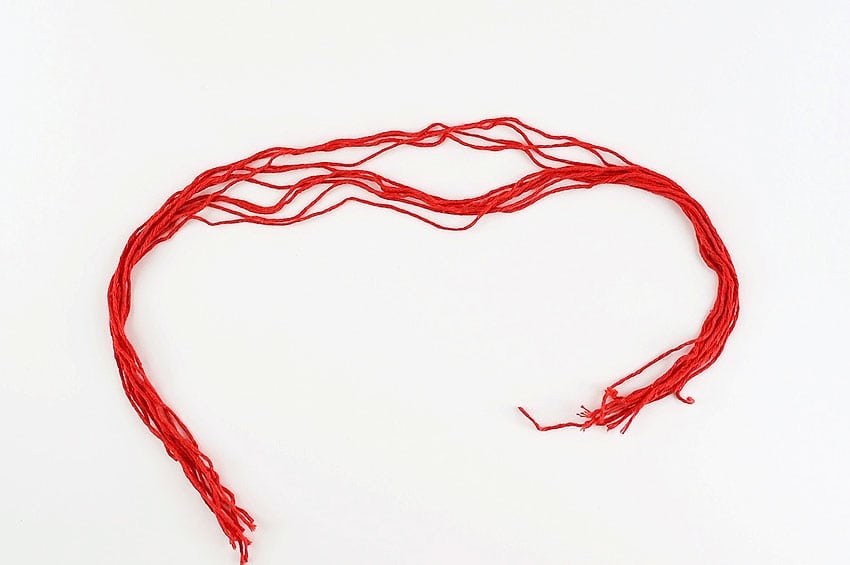
Cut the yarn into pieces that are 2.5 feet long. I used about 15 to 20 yarn pieces (that were each 2.5 feet long) per ball ornament. I lost count, but the more yarn you use, the better your ornament will look in the end.

What Type of Glue To Use?
I used Aleene’s Tacky Glue and it worked sooooooooo much better than dollar store glue! I’ve also read that Mod Podge works really well (although I’ve never tried it).
The Aleene’s Tacky Glue made the yarn ornaments much more sturdy than the yarn pumpkins I made!
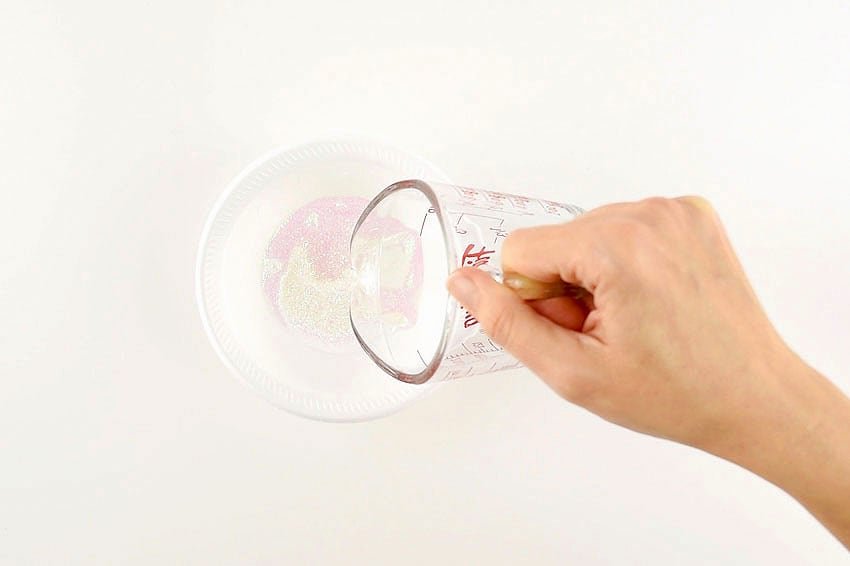
I didn’t measure anything, but I mixed together about 1 part glue with 1 part water. Without the water, this glue is just waaaay too sticky.
Then I added lots of glitter… it might have been about a Tablespoon of glitter? Possibly more? I was VERY generous with the glitter.
Helpful tip: Mix your glue, water and glitter in a disposable bowl so you can just throw it out when you’re done. Trust me…

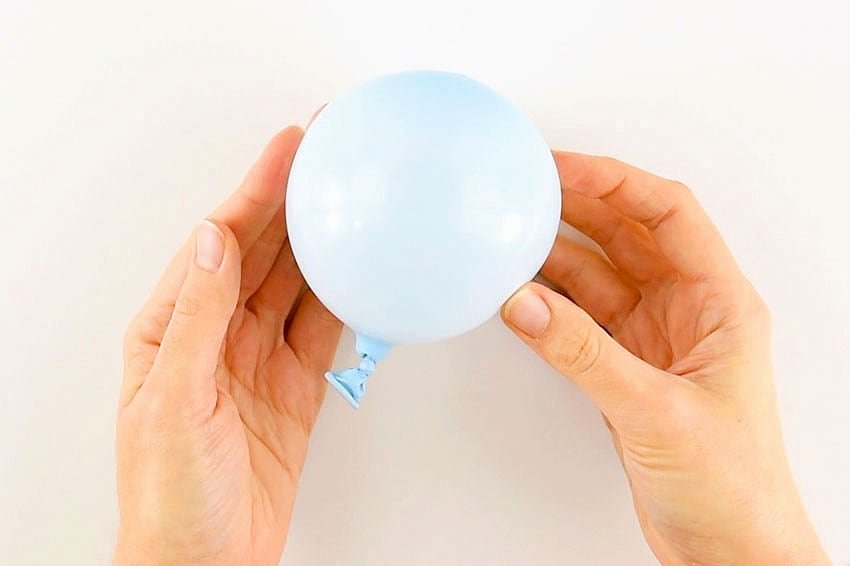
Inflate your balloons! I used 5 inch ones (water balloons are the perfect size!) You can blow them up and slowly let air escape until you find the size you like.
Hang your balloons from the kitchen cupboards, or from the light fixture above your table. Just make sure you protect the table/counter with newspaper or a drop cloth, because the glue can get a little drippy!

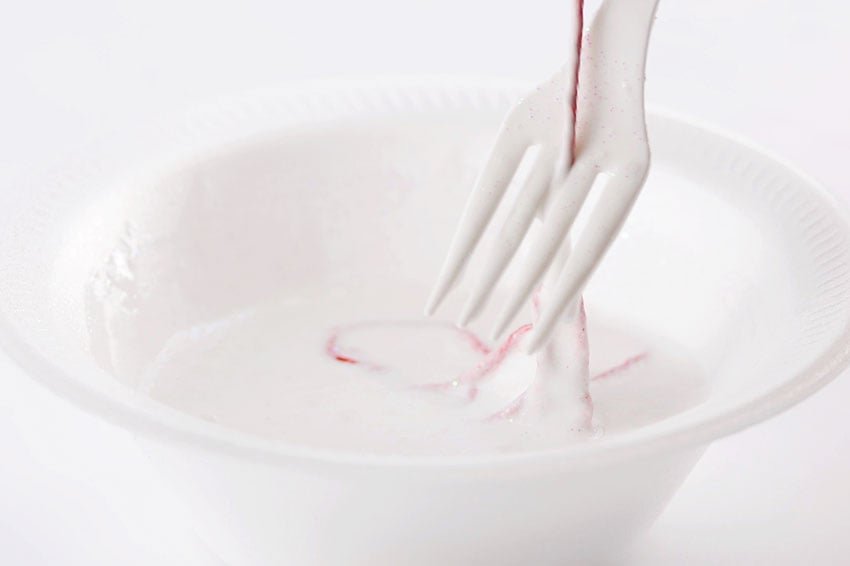
Now for the fun part! Add one strand of yarn into the bowl of glue and mix it with a plastic fork until it’s completely covered with glue.
Find the end of the yarn, then run it through the fork as shown in the video above and the photo below. Forks work so well to remove the excess glue!

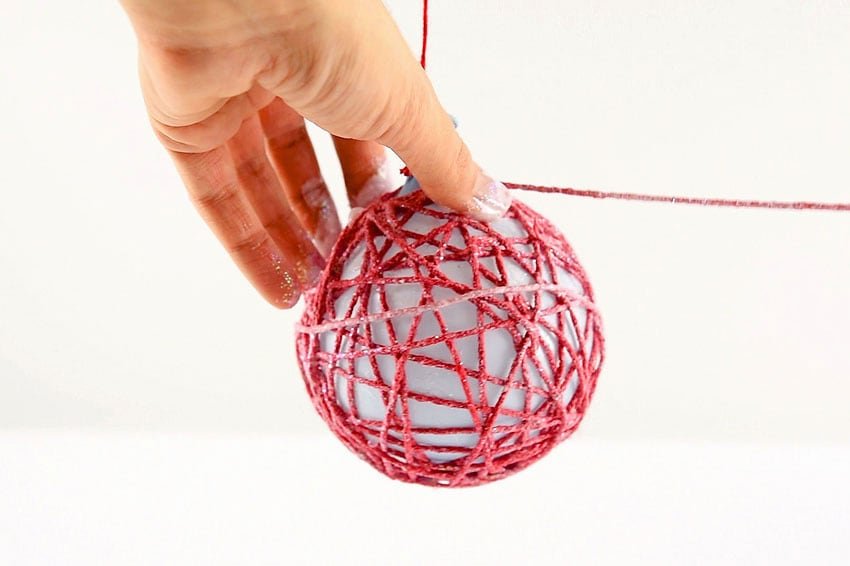
Carefully wrap the strand of yarn around the balloon. When you get to the end of the yarn, dunk another strand of yarn into the bowl of glue, then run it through the fork to remove the excess glue.
When you finish wrapping a strand of yarn, make sure you tuck the end under another piece of yarn so it doesn’t fall down when you let go of it.
Keep adding more and more glue covered yarn in different directions until you’re happy with the way it looks. The more yarn you add, the sturdier your ball will be. As I said above, I used about 15 to 20 strands of yarn that were each 2.5 feet long.

How to Dry the Yarn Ornaments
If you can leave your yarn balls hanging from your kitchen cupboards overnight, that’s great! Otherwise, maybe find an empty closet to hang them from? I hung mine off a sturdy pipe in my basement with some newspaper underneath. Ours took almost a full 24 hours to dry completely.
Where ever you hang them to dry, make sure you protect the floor underneath – the balloons may drip glue as they dry.
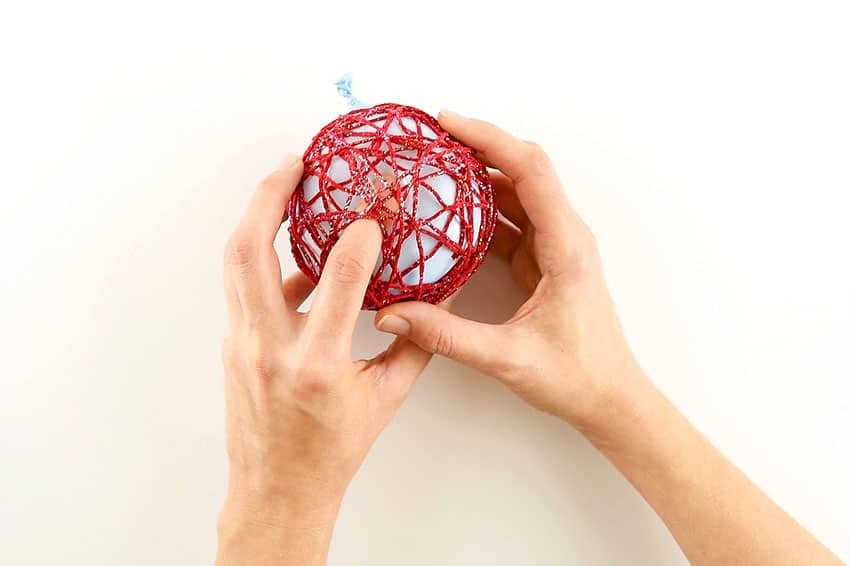

Before you pop the balloon, you need to make sure you separate the glued yarn from the balloon. Poke your finger under the yarn (it should be fairly stiff, but it will have a little give to it). You need to make sure you separate the glue under ALL of the yarn.
For the areas that were too small to fit my finger into I used the back of a fork to pull the balloon away from the yarn. If you miss any spots, they will pull inwards when you deflate your balloon, and it might wreck your ball shape.
Then make a small cut in the balloon, very close to the knot (It will just deflate, rather than pop if you cut close to the knot).
When the balloon is deflated, you can pull it out from the yarn ball!
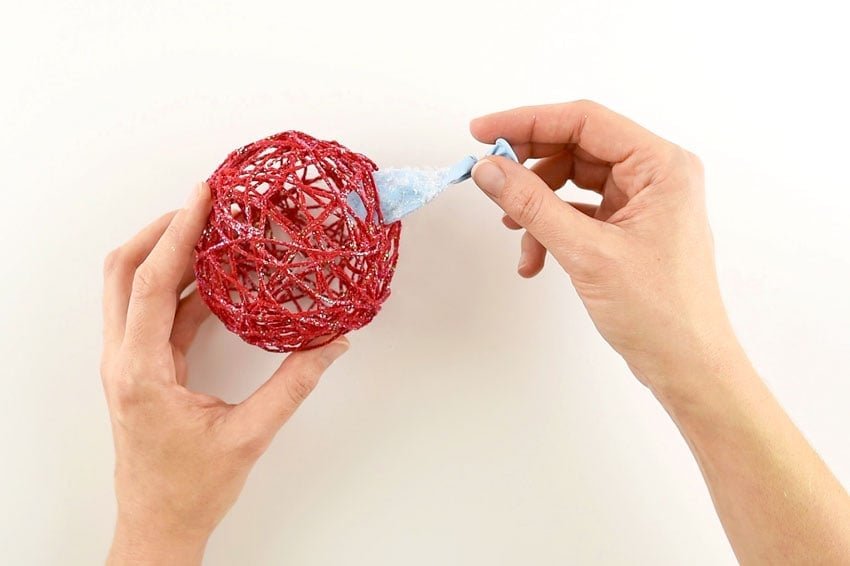

Tie a piece of string around the yarn, and the ball ornament is complete!
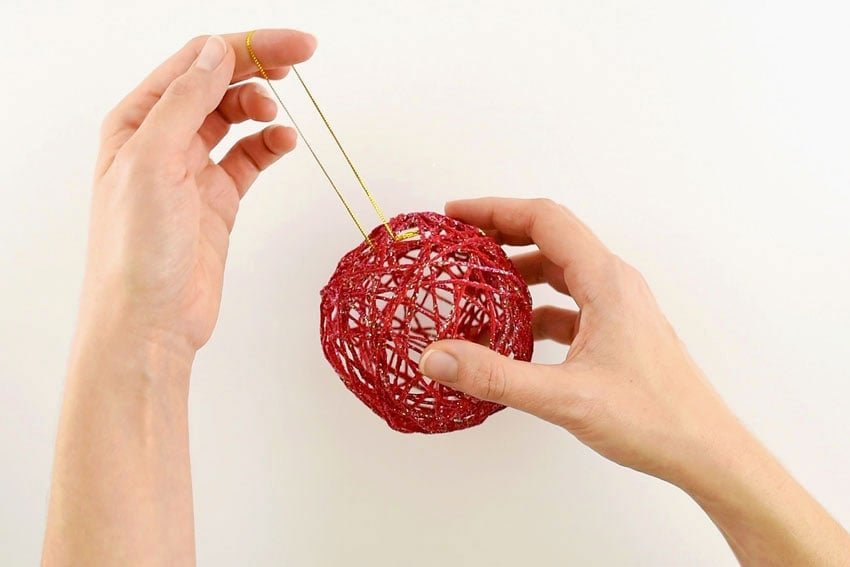

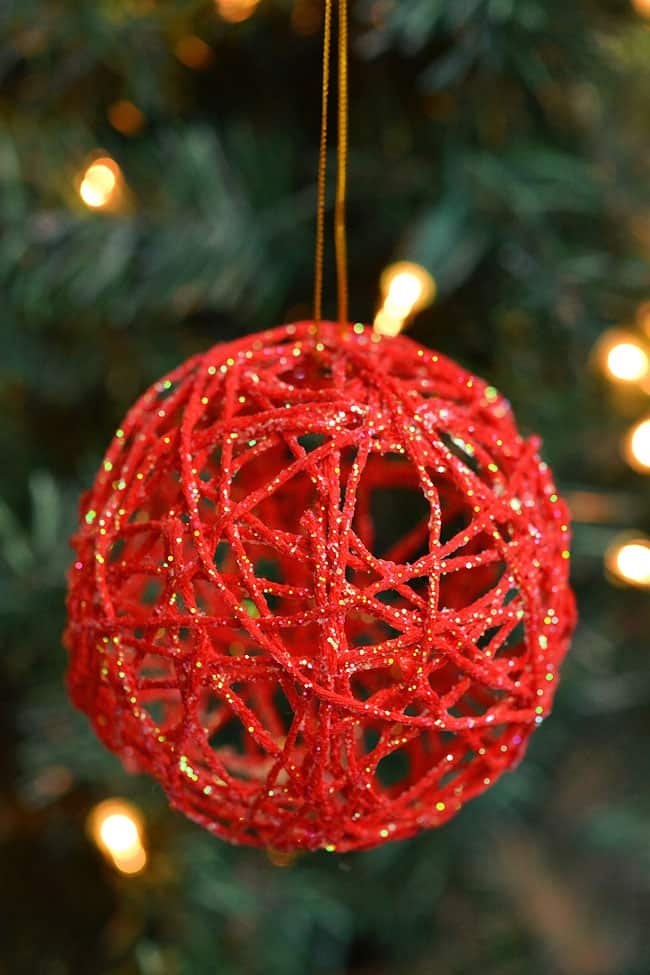
It’s hard to show just how glittery it looks in the photographs, but you can see the glitter in the video above. SO PRETTY!

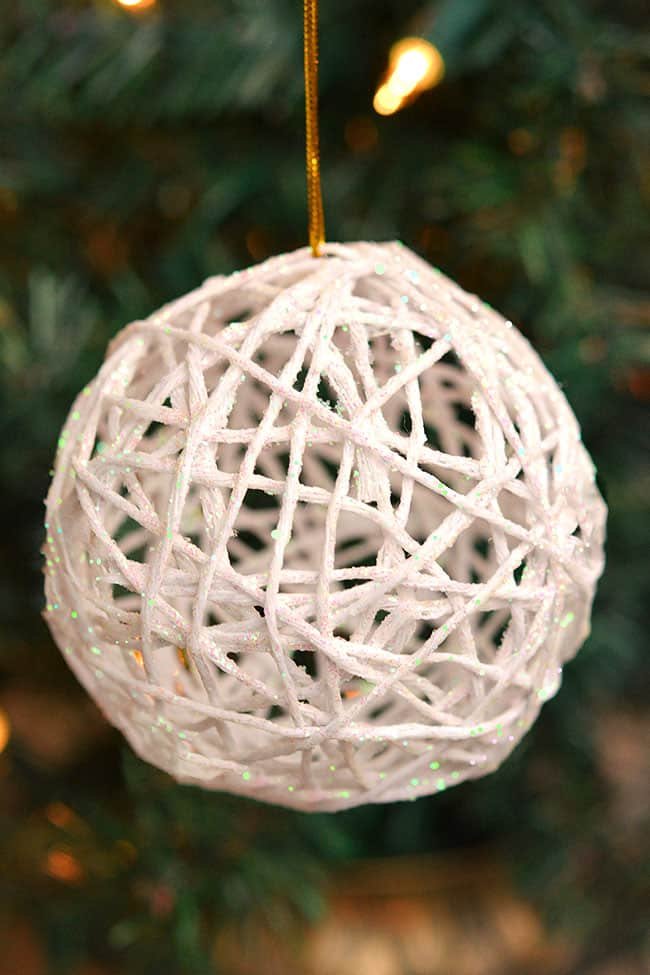
I also made a white ball ornament (I LOVE how the iridescent glitter looks against the white yarn! Just like a snowball!) and a green ball ornament.

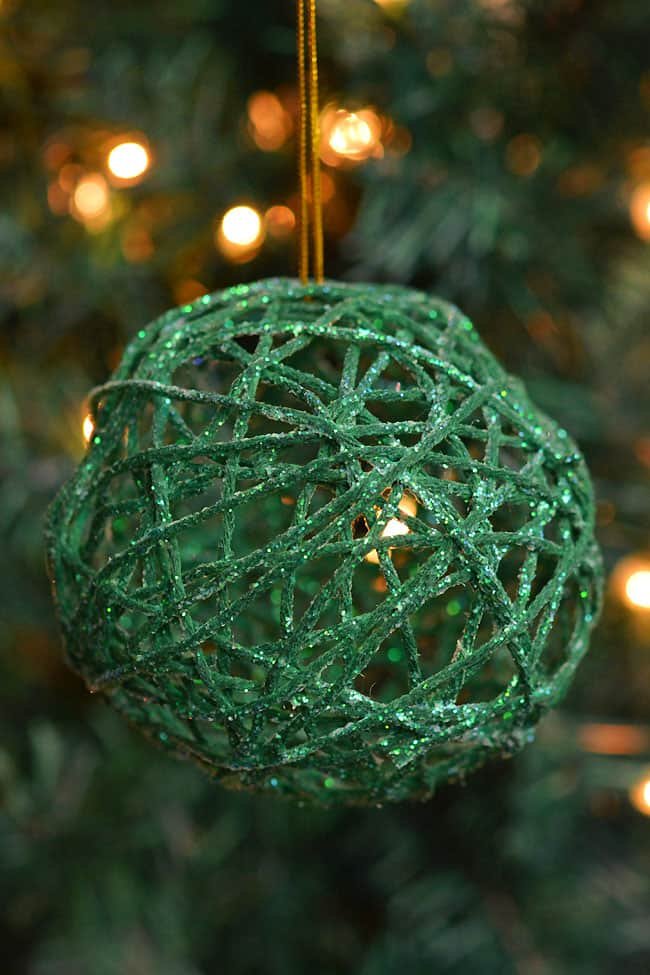
But in retrospect, the green kind of disappeared next to the green of the tree. So I’d recommend yellow instead.
Still pretty though!

This is such a fun and inexpensive way to decorate your Christmas tree! Aren’t homemade ornaments are the BEST?!


These glitter ball yarn ornaments using balloons are so PRETTY and they’re so much fun to make! This is such a fun Christmas craft and a great way to make homemade Christmas ornaments. They look so sparkly and pretty on the Christmas tree! Make them in all your favourite festive colors!
For even MORE holiday inspiration check these out:
Wrapped Yarn Ornaments Using Cookie Cutters
How to Make Melted Bead Ornaments
Glittering Popsicle Stick Christmas Trees
Our book Low-Mess Crafts for Kids is loaded with 72 fun and simple craft ideas for kids! The projects are fun, easy and most importantly low-mess, so the clean up is simple!
Where to buy:
You can purchase Low-Mess Crafts for Kids from Amazon, or wherever books are sold:
Amazon | Barnes and Noble | Books- A- Million | Indiebound | Indigo | Amazon Canada


