Cardboard Yarn Apples
Jump to:
Looking for a simple and fun craft? Cardboard yarn apples are an excellent project for kids or beginners. In this tutorial, we teach you how to wrap yarn around cardboard to create charming apple-shaped decorations.
Does anyone else love apples? We have always loved them around our house. After trying many different varieties, we now have our absolute favorites. The two best types of apples (in my humble opinion) are Pink Lady and Honeycrisp. We usually are a Pink Lady family just because they are a little more inexpensive and readily available. But, when Honeycrisp season is upon us and they are on sale, you’d better believe that I am stocking up!
This craft might not taste as delicious as a Honeycrisp, in fact, you probably shouldn’t be tasting it at all! But, it’s so simple and these cardboard apples always turn out adorable. They would be so sweet attached to a teacher gift. You could even glue a magnet on the back and stick it on the fridge! It’s a great activity for both little and big kids alike!
I was inspired by these yarn apples but I wanted to add some more details like the twigs and leaves. I love how they turned out!
Cardboard Yarn Apples
The full tutorial is at the end of this post, but here’s what you will need:
- Green and Red Yarn
- Green Felt
- Twigs
- Cardboard
- Scissors
- Glue
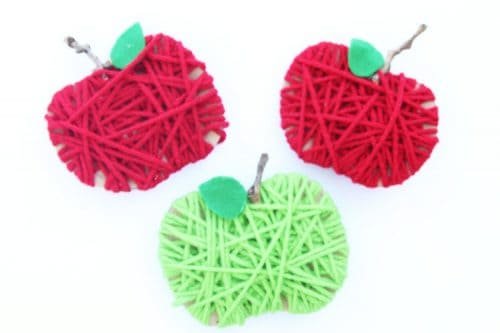
You can make a bunch in different shades of green and red.
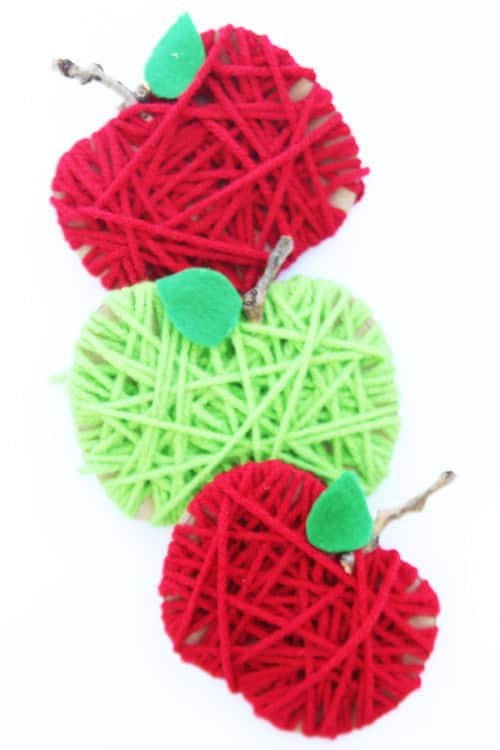

They are so easy, everyone can make one!
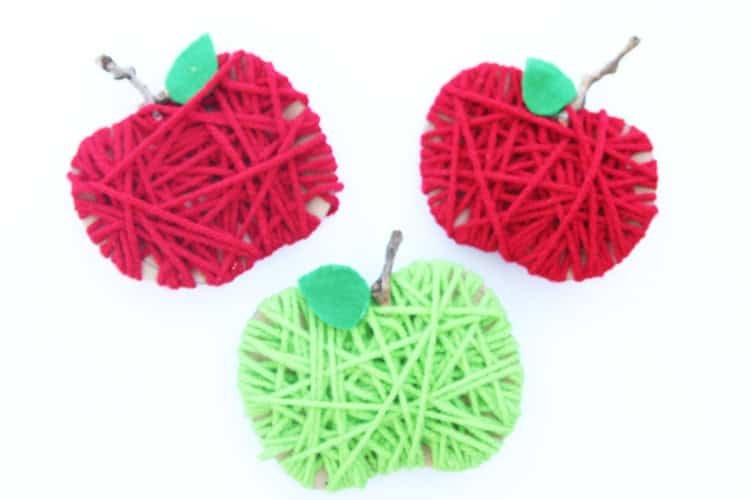

Cardboard Yarn Apples
They are so easy, everyone can make one!
Equipment
Instructions
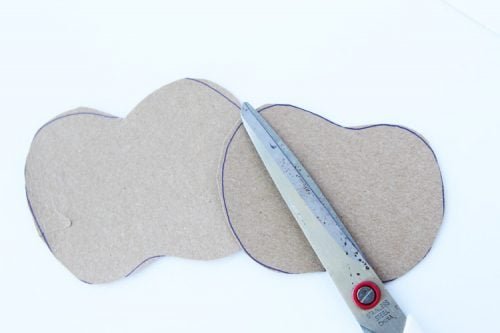
- Cut a basic apple shape out of a piece of cardboard.


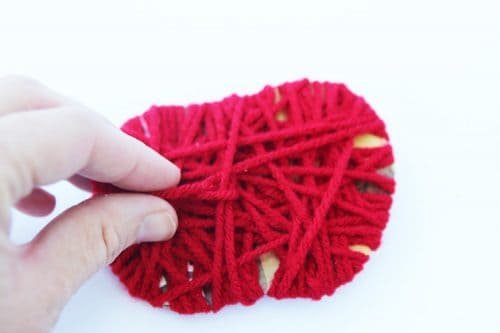
- Using either red or green yarn, wrap the yarn around the apple cut-out until it is completely covered. Tuck the loose end into the back side of the apple.


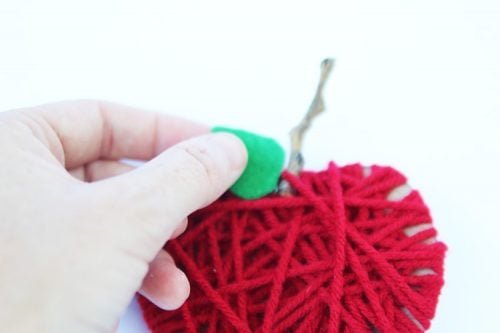
- Glue a small twig to the top back of the apple so it sticks up at the top as the stem. Cut a small leaf from the green felt and glue it to the center of the top of the apple at the base of the twig.


- Your cardboard yarn apple is complete!


Make some to get into the mood for fall today!


