Birch Vases Made with Scrapbook Paper
Jump to:
There’s something so beautifully organic and lovely about birch wood. The peeling layers of mottled whites, browns and grays make it a perfect accessory that brings the outdoors in. Here is how you can make Birch Vases Made with Scrapbook Paper.
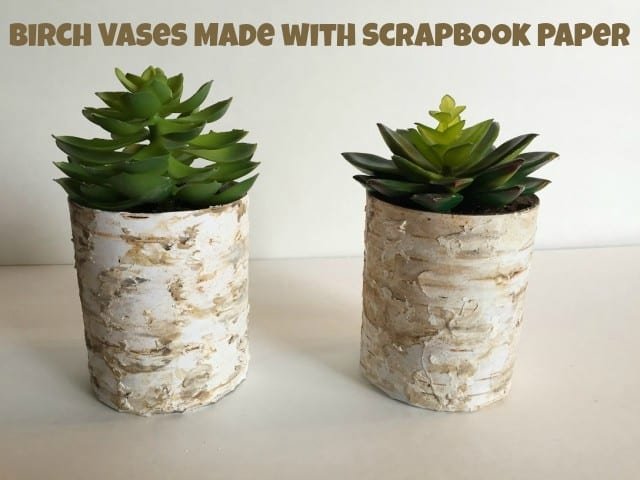
After seeing some rather lovely yet outrageously expensive vases in stores, I knew I wanted to try to recreate my own at home. With some drinking glasses from the thrift store, scrapbook paper and a few art supplies, I made mine for around $2 each. That’s something to really celebrate.
Birch Vases Made with Scrapbook Paper
Supplies:
– Cylindrical container
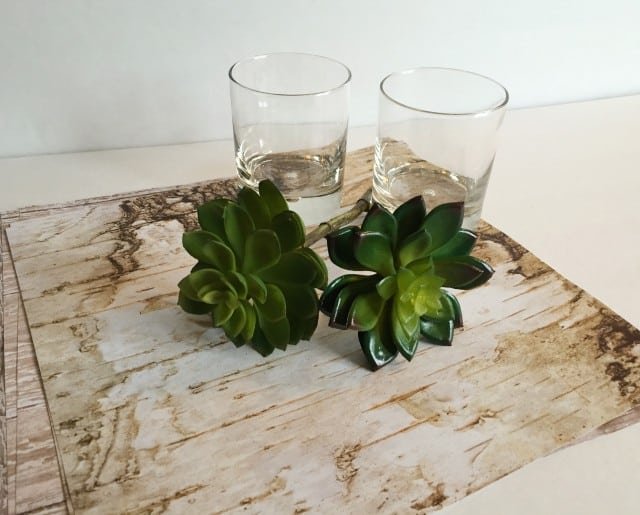
– birch wood scrapbook paper
– modge podge or decoupage glue
– spackling
– craft paint (tan, white, black)
Directions
- Choose Your Container:
- Start with a cylindrical container like a drinking glass. Ensure it has straight sides for easier wrapping.
- Prepare the Paper:
- Measure and cut a strip of birch wood scrapbook paper that can wrap around the entire container with a slight overlap.
- Apply Glue:
- Use Modge Podge or decoupage glue to cover a section of the container.
- Attach the Paper:
- Place the paper onto the glued section and wrap it around the container. Smooth out any air bubbles or creases as you go.
- Add Texture with Spackling:
- Apply a thin layer of spackling to the surface of the paper. Allow it to dry for approximately 15 minutes.
- Paint for Realism:
- Use craft paint to mimic the appearance of real birch wood. Focus on the areas with spackling, adding tan, gray, and white tones randomly. This creates the mottled look of birch wood.
- Final Touches:
- Once the paint dries, you can fill the container with flowers, succulents, or any decor of your choice.
- Display:
- Your birch wood-inspired vase is ready to be displayed. Place it on a bookshelf, table, or use it as part of a decorative arrangement for special occasions.
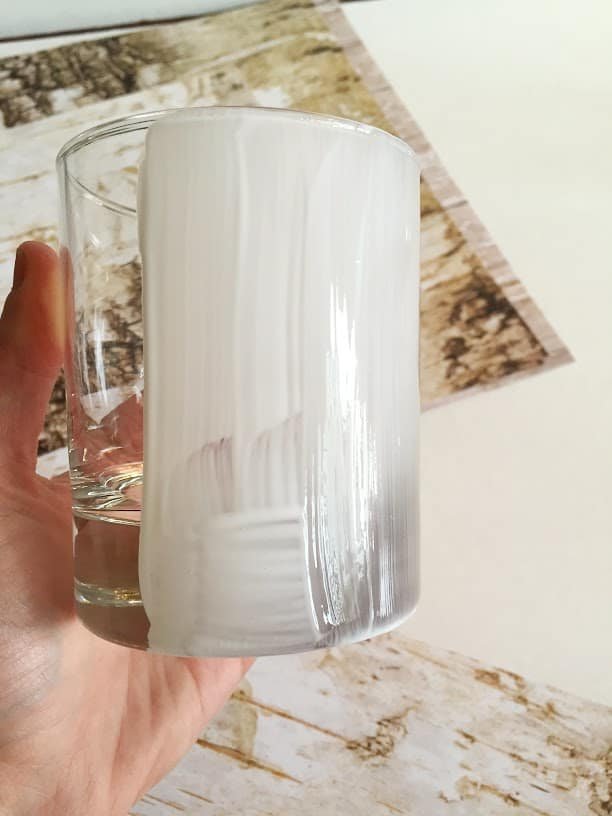
I looked for glasses that had straight sides so that the shape would be easily covered by paper and would mimic the look of a section of wood. The birch scrapbook paper was found at a local craft store. First I laid down my glass on the paper and measured so that I had a long strip that would wrap around the entire glass, with a slight overlap at the meeting edge.
Using Modge Podge, I painted a section, stuck on the paper and then worked around the glass until it was completely adhered. As I was wrapping and gluing, I learned quickly to make sure and work out most of air bubbles and creases that would form under the paper. It doesn’t need to look perfect – the beauty of nature is in its lovely flaws.
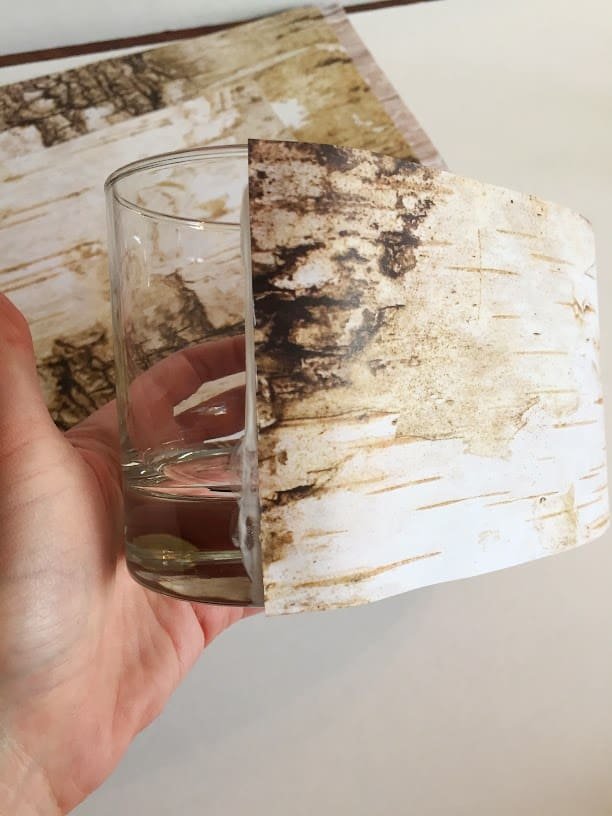
Once the paper was securely on the vase, I knew it needed something extra to take it from looking like flat paper to real looking wood. Using common spackling (the putty stuff used to patch holes in walls), I lightly smudged some on the surface of the paper. After allowing it to dry for about 15 minutes, it was time to add some color and dimension.
The surface of birch wood is mottled with some soft horizontal lines in tans, grays and white. I just played with the color using craft paint, mostly adding to the areas of the spackling so that they blended in with the rest of the paper. It only took a few minutes of randomly painting for it to begin to have the look of real wood. So exciting!
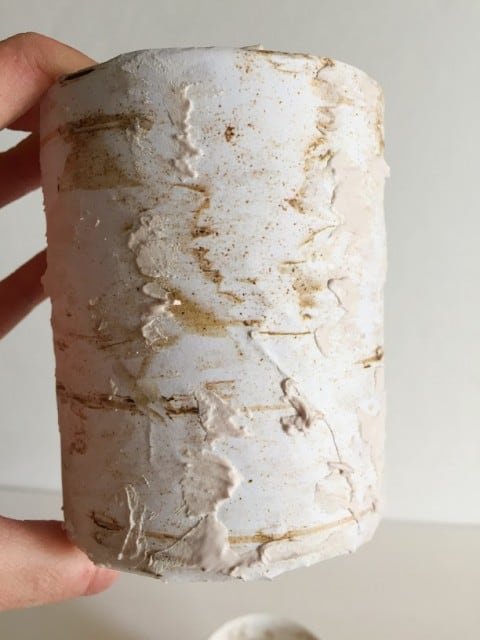
This is how it looked right after applying the spackling.

In the photo above, the glass on the left side had been painted and the one on the right only had the spackling. You can see how the paint added some much need life to the “wood.”

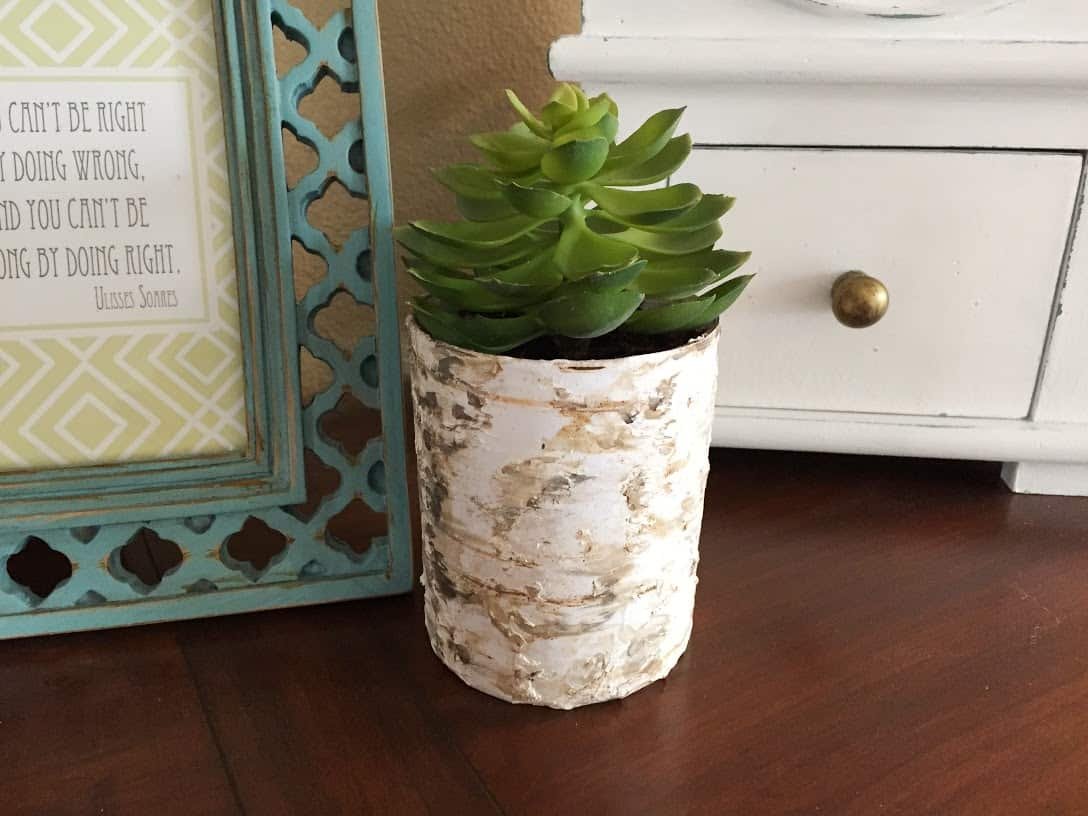
At this point, you are free to add flowers or filling of your choice. I decided that I loved the look of a simple succulent in the the container so I added some soil and a plant (mine are actually fake!). I love how they add a classy touch to my bookcase or table. These would be fantastic grouped together on a tabletop or as part of a place setting for an event such as a wedding. Larger vases could be covered to hold bigger plants or bouquets. The options are limitless!
