Cheesecloth Ghost
Jump to:
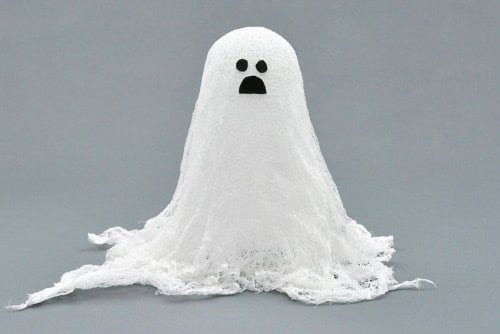
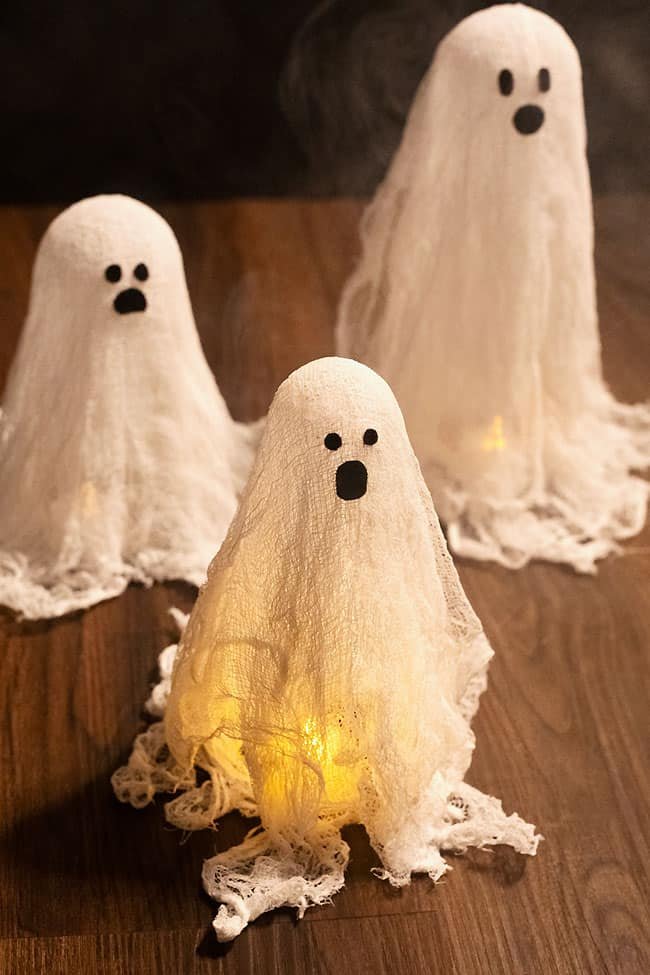
This cheesecloth ghost is sure to get you in the Halloween spirit! All you need is cheesecloth, white glue, and a little bit of felt to make this fun and simple Halloween craft.
These spooky cheesecloth ghosts look impressive, but they’re actually SO EASY to make! It’s an inexpensive fall craft that’s easy enough for kids, but equally cool for adults. Add a spooky vibe to your autumn home decor this year with these ghoulish spirits.

This post contains affiliate links. If you use these links to buy something we may earn a small commission which helps us run this website.
How to Make Cheesecloth Ghosts
Materials:
Equipment:
- Empty glass jar
- Styrofoam ball(1.5 inch diameter or size of choice)
- Popsicle stick(or spoon, to stir)
Instructions:
Step 1: Find what you need
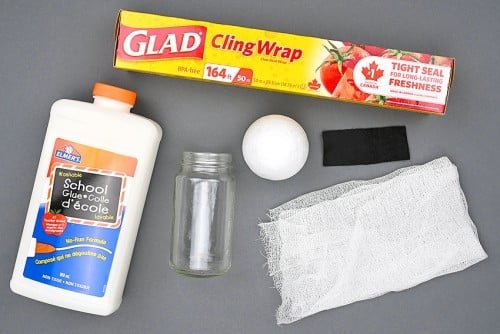
- Gather your supplies and materials.


Step 2: Make the ghost form and the glue mixture
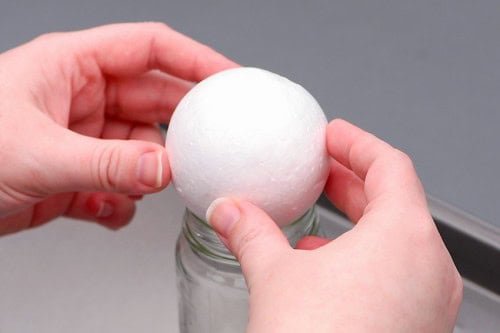
- Place an empty jar or bottle on top of a baking tray or piece of parchment paper.Place a styrofoam ball in the mouth of the jar.


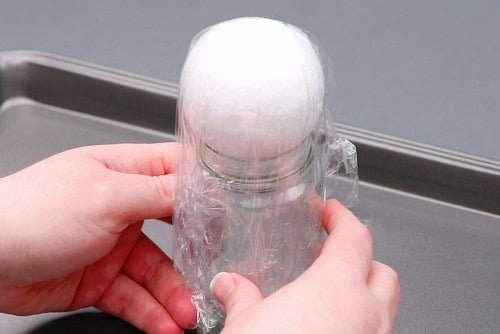
- Cover the ball with saran wrap, securing it in place.The plastic wrap will protect the ball from glue so you can re-use it for another craft.


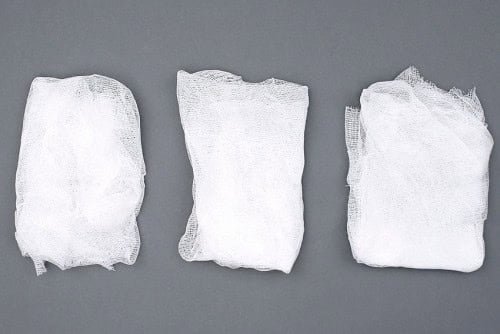
- Cut three pieces of cheesecloth large enough that they will cover the form (the jar and ball) and drape onto the tray below.


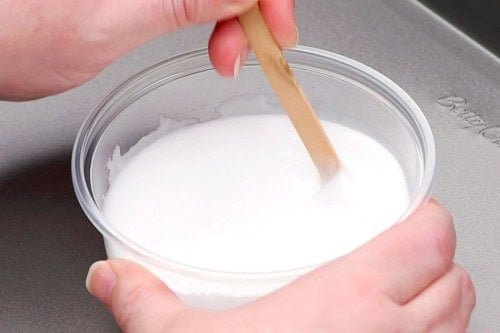
- Add some glue (about 1/3 cup) to a container or bowl. Then pour in a bit of water, just enough to thin the glue.


- Stir until well combined.The glue should be thin enough to soak the cheesecloth easily, but still be a bit thick. Adjust by adding more glue or water, as needed.


Step 3: Drape the cheesecloth over the ghost form
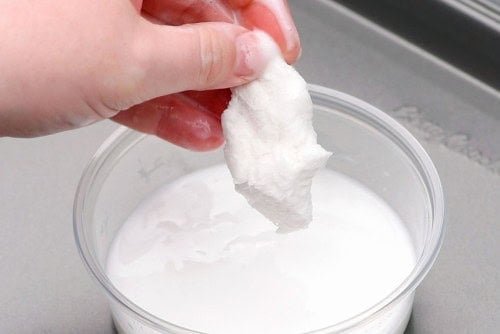
- Scrunch up one of the pieces of cheesecloth and dip it into the glue mixture. Don’t fully submerge the cheesecloth or you’ll end up with way too much glue on it.


- Squish the cheesecloth around in your hand to make sure the whole piece is covered in glue.Squeeze the cloth to remove the excess glue. It should be wet, but not dripping.


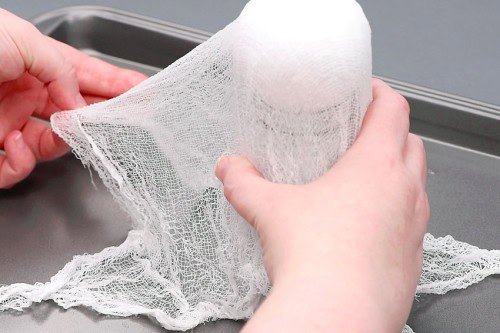
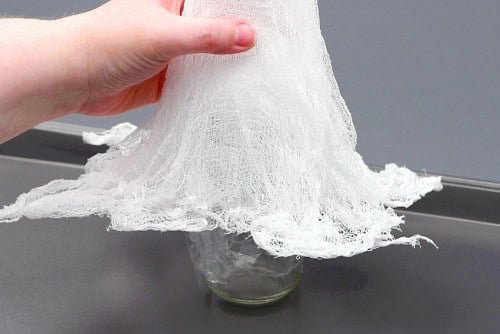
- Unfold the wet cheesecloth and place the center of the piece on top of the styrofoam ball.


- Arrange the cloth until you’re happy with how it looks. Try to drape the cloth so it’s not completely flat. The wavy look adds to the spook factor!Unroll the edges of the cloth and make sure that some parts of it are flat on the tray. This will help the ghost stand once it’s dry.


- Dip the second piece of cheesecloth, just like the first, and drape it overtop of the ghost form. Try placing it so the cloth is touching the tray in different areas than the first piece.


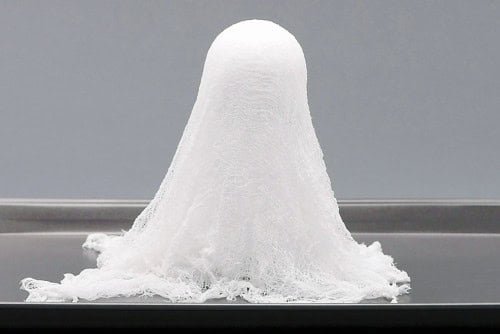
- Repeat, adding the third and final piece of cheesecloth. Smooth out the layers and arrange until you’re happy with how the ghost looks.


- Leave the ghost to dry on its form overnight.


Step 4: Add a face to the cheesecloth ghost
- Remove the ghost from the form. It should slip off pretty easily, but if it’s a little bit stuck you can just twist the base until the ghost slides off.


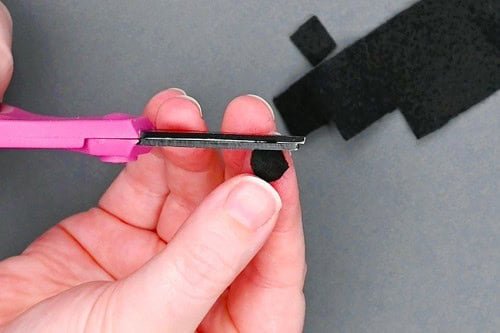
- Cut out 2 eyes and a mouth from black felt.We cut circles for the eyes and a half oval for the mouth, but you can have fun deciding what your ghost face will look like.


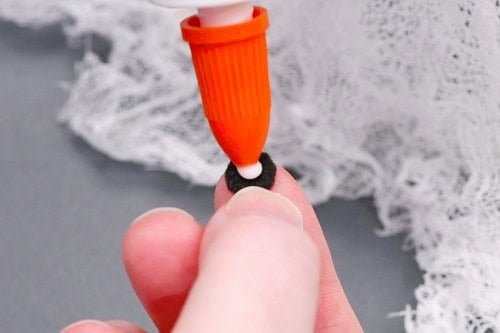
- Add a bit of glue to one side of the felt.Use the bottle’s nozzle to spread out the glue so there’s a thin layer of glue across the whole piece of felt.


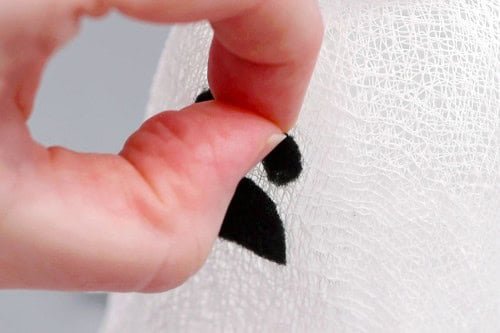
- Attach the face to the ghost’s head.


- Your cheesecloth ghost is complete!Add a flameless tealight candle underneath for an extra spooky touch.


Helpful Tips:
- You can also use a plastic bottle as the base for your ghost, but we prefer using a jar. The jar is heavier and doesn’t move around as you drape the cheesecloth over it.
- Add different shapes of eyes and mouths to each cheesecloth ghost to give them a unique personality!

What glue is best for making a cheesecloth ghost?
We used white school glue to make our ghosts and it works really well! You can also use fabric stiffener — although surprisingly, the ghost we made with fabric stiffener wasn’t quite as strong as the ones made with regular white glue.
How many cheesecloth ghosts can I make from one package of cheesecloth?
This will all depend on the size of your ghosts and the amount of cheesecloth that comes in your package. We were able to make 3 ghosts from a pack of cheesecloth that was 3 square yards (2-1/2 square metres).
Our ghosts range from 8 to 13 inches tall, and the largest one is also 8 inches across.

How can I make a flying cheesecloth ghost?
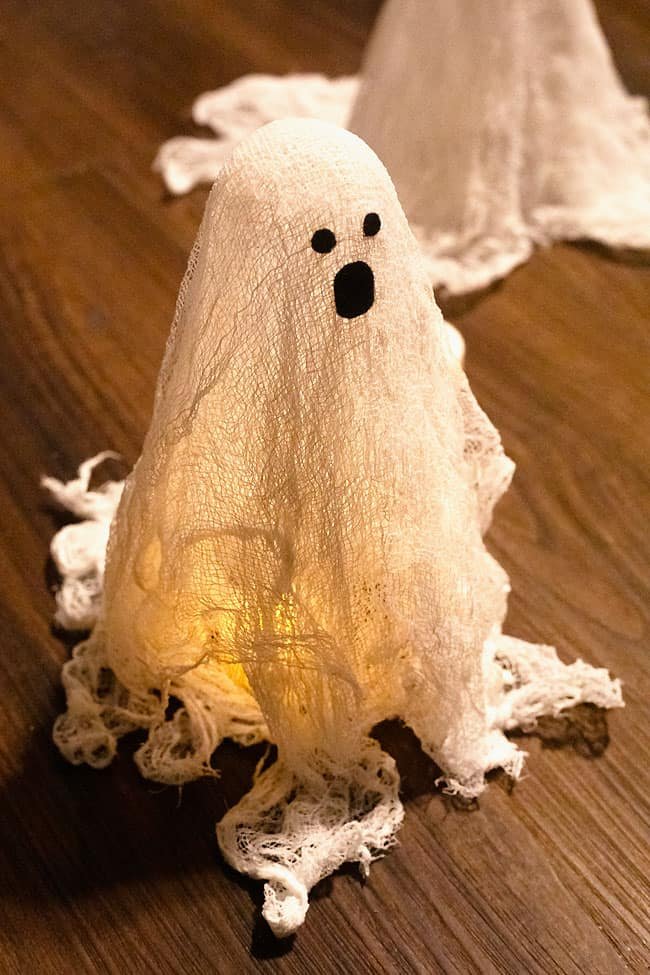
To make a flying cheesecloth ghost, simply cut the cheesecloth pieces smaller so they don’t drape on the tray. Then once the ghost is dry, string fishing line through the top to hang it.
How can I make a cheesecloth ghost with arms?
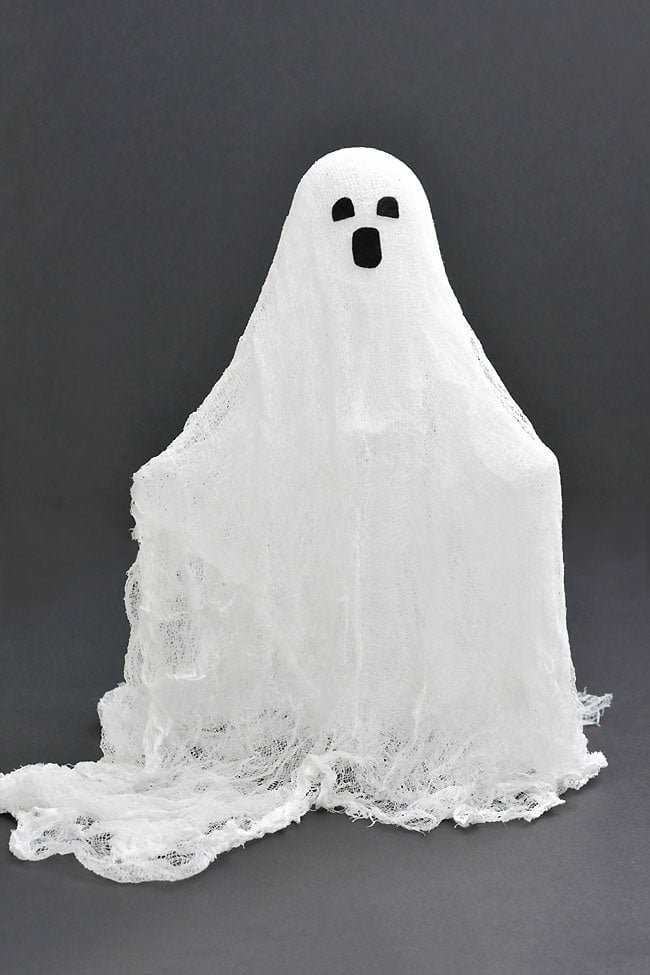
To make the ghost in the photo below, we taped paper straws to a plastic bottle so that they stuck out from the sides of the bottle like arms. Then we made made sure that the straws were covered by the plastic wrap before adding the saturated cheesecloth overtop.
If you don’t have straws you can also use wire or even popsicle sticks in the same way. Basically, you just need something strong enough to hold the cheesecloth in place as it dries.

Can I make this cheesecloth ghost craft without felt?
Yes, you can either make a ghost without a face (extra creepy!), or cut the face from paper, cardstock, or craft foam. Or you can even give your cheesecloth ghost googly eyes for a silly touch!
What else will work to make the cheesecloth ghost’s head?
If you don’t have a styrofoam ball to use for the cheesecloth ghost’s head there are a few other options that will work. You can set a tennis ball on top of the jar or blow up a small balloon.
Or even use a round Christmas ornament or a crumpled up ball of aluminum foil. Whatever you have that’s round will work, and the plastic wrap will protect it from the glue.
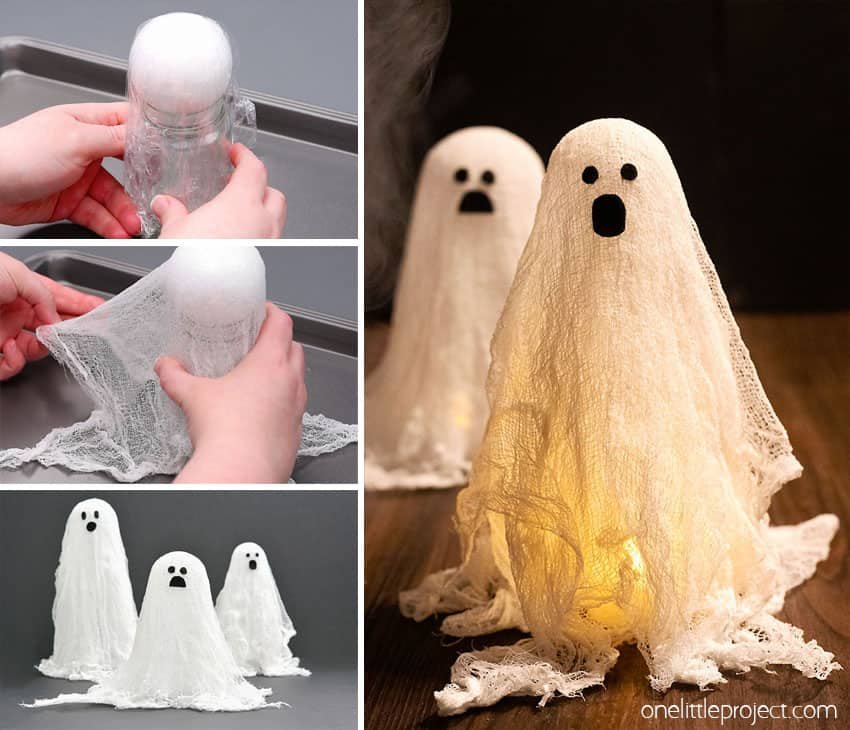

This cheesecloth ghost craft fits the spooky, creepy vibe of Halloween perfectly, but we also think they’re pretty cute!
Use inexpensive cheesecloth to create these gauzy looking cheesecloth ghosts and cut out felt in your favourite ghostly expression. It’s such a fun and easy Halloween craft!


Here’s even more Halloween craft ideas:
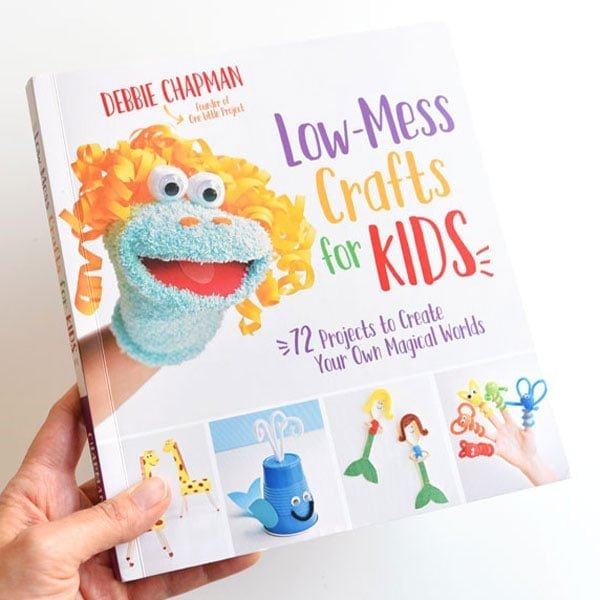
Our book Low-Mess Crafts for Kids is loaded with 72 fun and simple craft ideas for kids! The projects are fun, easy and most importantly low-mess, so the clean up is simple!
Where to buy:
You can purchase Low-Mess Crafts for Kids from Amazon, or wherever books are sold:
Amazon | Barnes and Noble | Books-A-Million | Indiebound | Amazon Canada


