How to Make Paper Spiderwebs
Jump to:
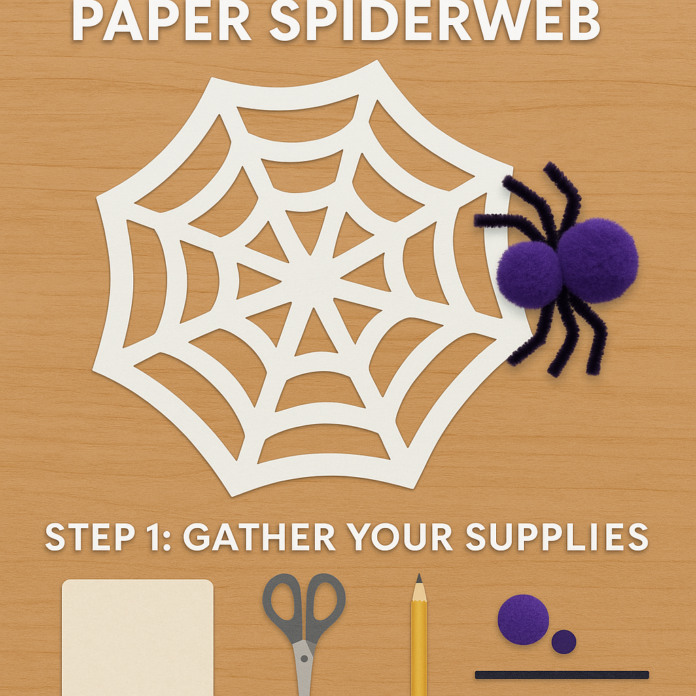
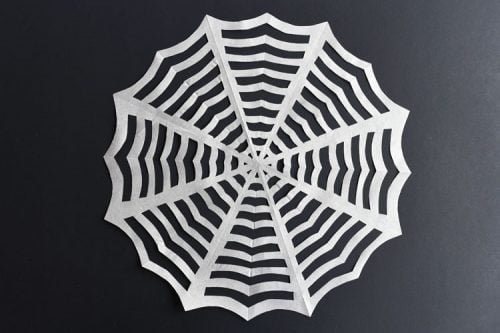
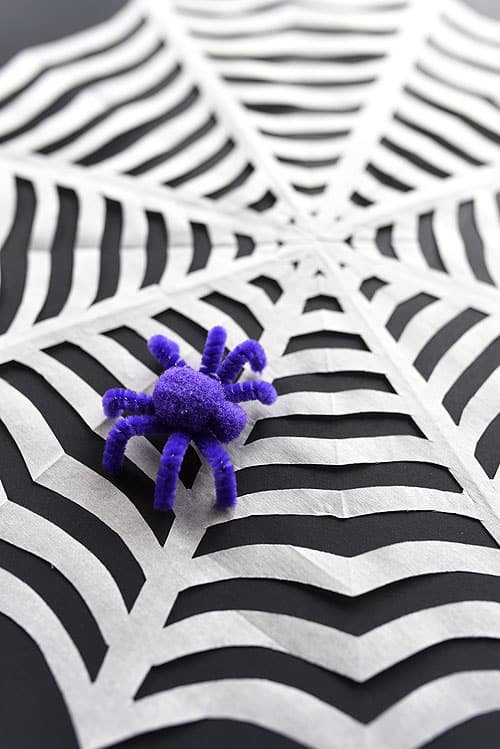
These paper spiderwebs are one of those crafts that’s crazy simple to make. We’ve all made paper snowflakes before, but have you ever made paper spiderwebs? They’re so easy that I’m kind of shocked that this isn’t more of a thing!?
Just like a paper snowflake, all you need is a square of paper and some scissors. Then it’s as simple as cutting out a spiderweb pattern and unfolding your creation. I’m always so impressed with how beautiful they look once you open them up!
I hate spiders. I really do. Even just looking at the photos of my pipe cleaner spider down below makes me a little squeamish. But oddly enough, I don’t seem to have an issue with spiderwebs. They’re so beautiful and such a natural marvel!
This post contains affiliate links. If you use these links to buy something we may earn a small commission which helps us run this website.
How to Make Paper Spiderwebs
Instructions:
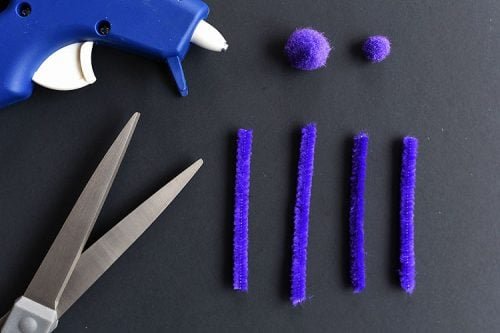
Step 1: Find what you need
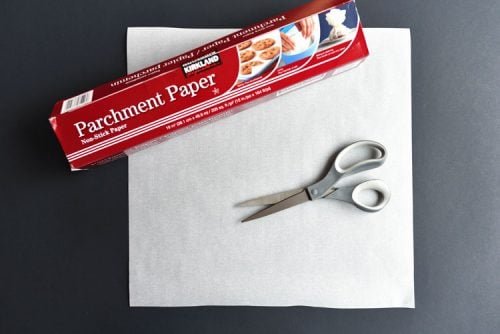
- Gather your supplies and materials.


Step 2: Fold the paper
- Tear off a piece of parchment paper. Bring one corner to the other corner to make sure you have a (reasonably) perfect square. Trim the paper if you need to.


- Bring one corner of the square to the opposite corner and fold it in half to make a triangle, as shown in the photo below.


- Take the bottom corner on the right and bring it up to the top corner on the left to make a smaller triangle, as shown below.


- Bring the right corner to the left corner to make an even smaller triangle, as shown below.


- Bring the right edge of the triangle over to the left edge of the triangle, making sure the edges line up. Fold it as shown in the photo below.


Step 3: Cut the web
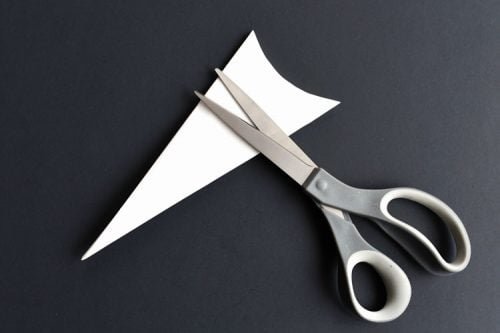
- Trim off the extra paper at the end.


- Then cut the end with a slight inwards curve, as shown in the photo below.


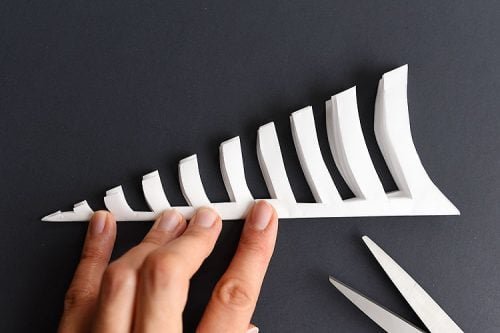
- Draw out the lines of the spiderweb on the parchment paper to give yourself a guide. (Or you can just eyeball it). It doesn’t matter where the folds are when you draw the lines – either side will work.Follow the lines in the photo below. You can space out the lines on the spiderweb evenly, but try to keep the lines that butt up near the folded edge as close to the edge as you can. When you open it up along the fold, the space will end up being double what you’ve drawn.


- Carefully cut out the shapes along your folded paper. Just go slowly and definitely be careful not to cut all the way through.I accidentally trimmed off the tip of one of my spiderwebs when I was making this post, and it was one of those moments where I clenched my fists, looked up at the ceiling and screamed a little on the inside. haha There’s no going back if you accidentally cut all the way through.


- Open up your spiderweb carefully. I had trouble getting mine to lay flat, so I ironed them on medium heat to help flatten them out. Worked like a charm!You can see in the photo below that I didn’t quite cut the webs of this one close enough to the folds. So the webs are a little thicker than I wanted them.


Step 4: Make a spider (optional)
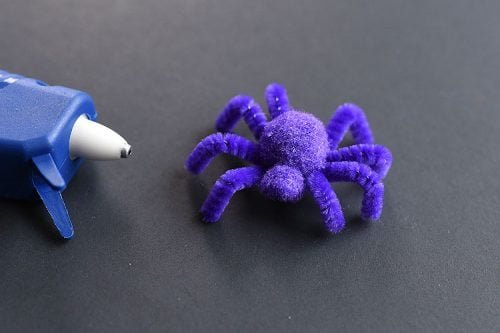
- Next, you can make a super simple little spider to go along with your web! All you need are 2 pom poms and 1 pipe cleaner.Cut the pipe cleaner into 4 equal pieces. If you’re using a 12″ pipe cleaner, each piece will be 3″ long.


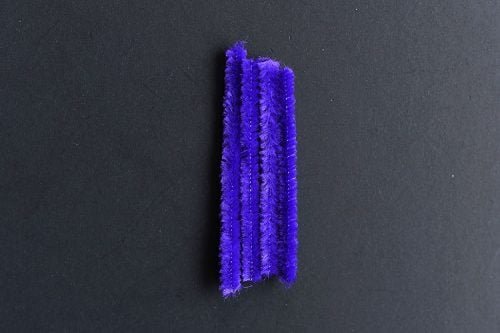
- Line up the 4 pipe cleaner pieces beside each other as shown below.


- Then take the longest pipe cleaner piece (if you have one that’s longer) and wrap it tightly around the middle and twist it to hold them together.


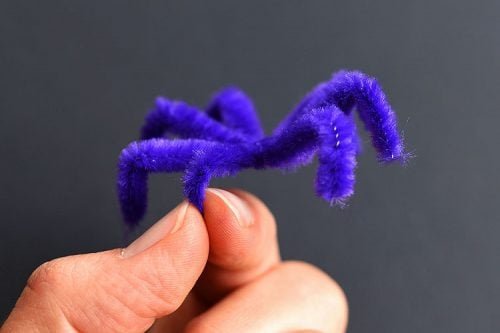
- Spread out the pipe cleaners so that you have 4 “legs” on each side.


- Then pinch the ends down to make creepy spider legs. Have I mentioned I hate spiders? Even this photo creeps me out. haha


- Your spider is now ready to go on its paper spiderweb!


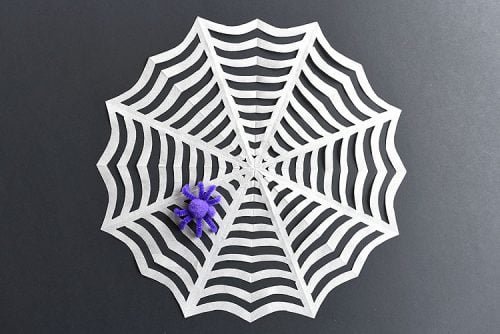
- Your paper spiderweb is complete!


What paper is best to make a paper spiderweb?
You can use any kind of paper to make these spiderwebs. But with all of the folds, a thin paper, like parchment paper works really well because it’s easier to cut through.
I’ve also made these paper spiderwebs with printer paper and construction paper. It still works really well, but it’s a bit of a struggle to cut through all the layers.


Where can I display the paper spiderweb?
These paper spiderwebs look amazing hanging in the window! The parchment paper is slightly translucent, so it looks very spiderweb-y.
You could even hang your spider from fishing line below the paper spiderweb!
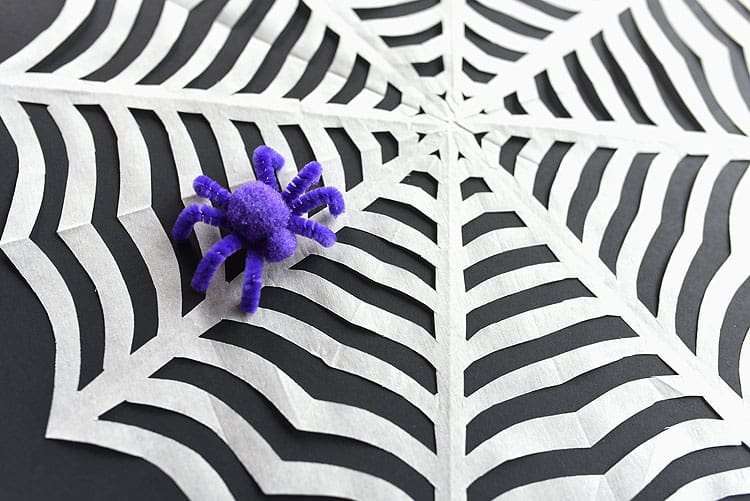

Do I have to make a pompom and pipe cleaner spider?
You can leave your web spider-less, or you can buy plastic spiders at the dollar store.
But the pipe cleaner spiders are so easy to make and they’re actually pretty cute (for a spider)! We made our spiders purple, because black was just too creepy.
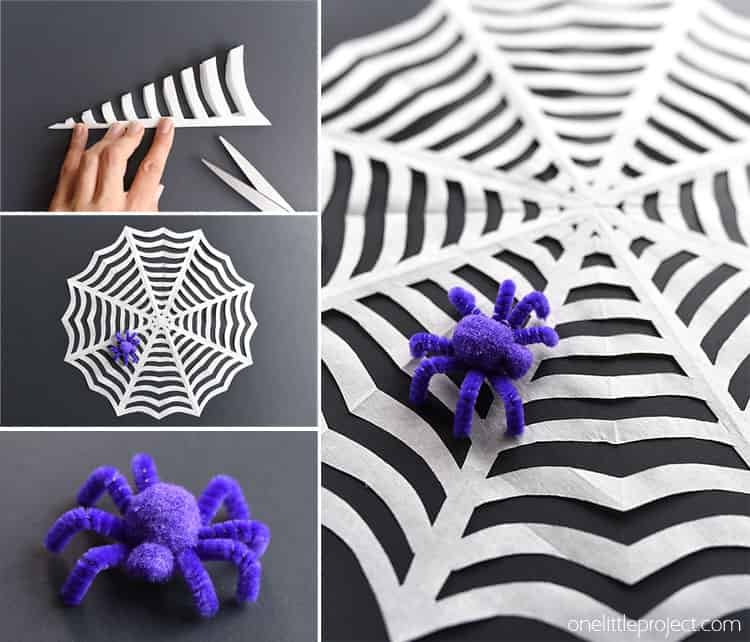

These paper spiderwebs are basically a smaller version of the garbage bag spiderwebs that have been floating around on Pinterest for years – just on a much smaller (and more manageable) scale!
They’re super simple, yet awesome Halloween decorations! I love how simple this craft is, yet it’s surprisingly realistic looking! They’d look awesome hanging in the front window on Halloween!
Here’s even more spider craft ideas:
Our book Low-Mess Crafts for Kids is loaded with 72 fun and simple craft ideas for kids! The projects are fun, easy and most importantly low-mess, so the clean up is simple!


