Halloween Paper Garland Cutouts – Bats, Spiders, Pumpkins, Ghosts and Black Cats!
Jump to:
These Halloween paper garland cutouts are SO FUN to make and they’re surprisingly simple! If you have some coloured construction paper, a pair of scissors and some tape, you’re ready to rock! Fold the paper, cut out your favourite shapes, then watch the magic as you open them back up again to see your garland of connected shapes. Seriously, every single time I was amazed by how cool and fun they looked!
Coloured construction paper is something we have plenty of, and it’s SUPER easy to work with! You can find everything you need to make these paper garlands at the dollar store. I love a good DIY that’s quick to make and doesn’t cost an arm and a leg! You can use construction paper, regular printer paper, even foiled or metallic paper. (Did someone say glitter?!!! There are no rules when it comes to Halloween decor!)
If you love decorating for Halloween, then you’re going to LOVE making these garlands! Remember making paper dolls when you were a kid? I so badly wanted to learn how to make them! Except every time I went to cut out my paper dolls, I’d end up with 4 or 5 separate shapes that were either cut in half, or completely disconnected. I feel so satisfied that I finally figured out how to make them!
You can use our free printable template to make your shapes or you can draw them freehanded. I find it easiest if you cut the shapes onto a thick piece of paper or cardboard. Just remember you only need to draw half of each shape. When you trace it onto your paper, you’ll end up with the mirror-image once you unfold it!
I tried making super long garlands by taping the paper together before we cut it, but it’s really hard to cut through so many layers of paper. We found it worked the best to make 4 silhouettes at a time from 12 inch strips of construction paper, and then to tape the groups of four together after they were cut.
I’m sorry if the directions below make your head spin a little bit. It’s really not difficult, I promise. It’s just when I started writing out the instructions I realized it sounds more complicated than it really is. Hopefully the video will help! It’s simple really: 1. Fold your strips. 2. Draw your shape. 3. Cut out your shape and open up the garland!
Looking for even more Halloween craft ideas?? Here are some of our favourites:
How to make Halloween Paper Garland Cutouts:
Here’s a list of what you’ll need. The affiliate links below will take you to products on Amazon that are similar to the supplies we used to make this craft:
- Coloured Construction Paper
- Scissors
- Scotch Tape
- Free printable template (sized for 12 inch strips of paper, folded as shown below)*
* We used standard sized Crayola construction paper that was 12 inches tall by 9 inches wide. If your paper is NOT 12 inches wide, you’ll have to adjust the size of the template to make it work.
Start by cutting two identical strips – about 2 inches wide each – from your construction paper. We made our strips 2-1/4 inches wide so we could fit exactly 4 strips per sheet. You don’t need to be that exact, but it does help to conserve paper.
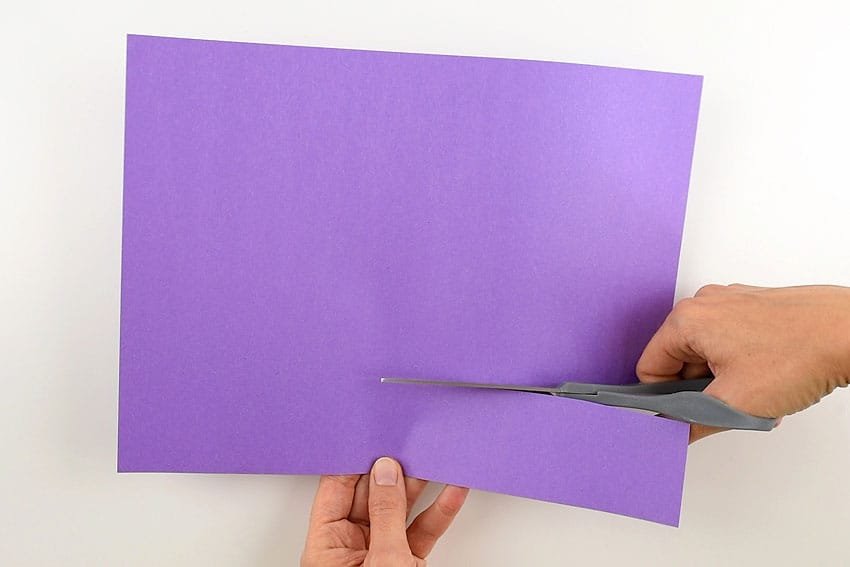
Just make sure you cut them lengthwise so they are exactly 12 inches long.
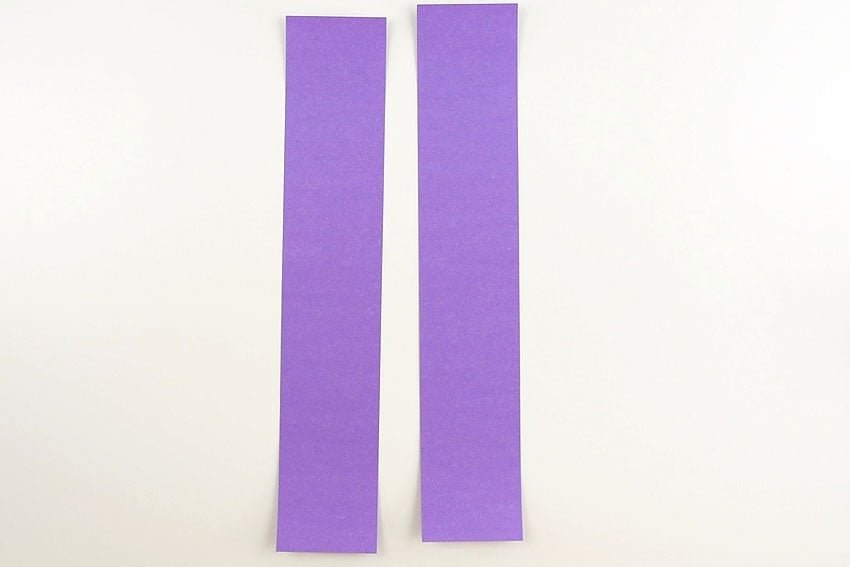
When you’re folding paper garlands, you need the folds to be really accurate so the shapes come out the right way. If the method I’m showing below is too confusing, use a ruler and make a light pencil line every 1.5 inches down the 12 inch strip so you have 8 equal sections.
Instead of measuring and marking with a pencil, I started by making a few starter folds so I could use them as guide lines. First, I folded my strip completely in half.
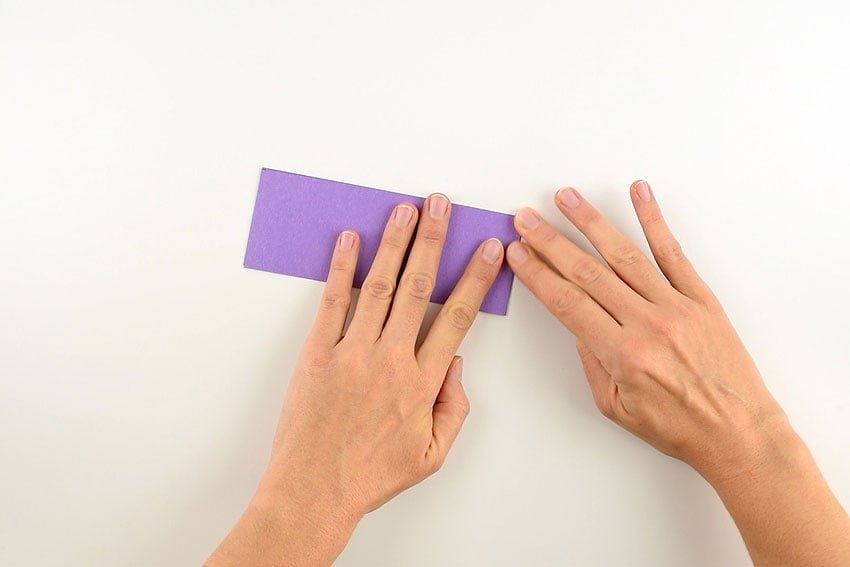
Then, I unfolded it, and folded each end in, lining it up with the crease in the middle.
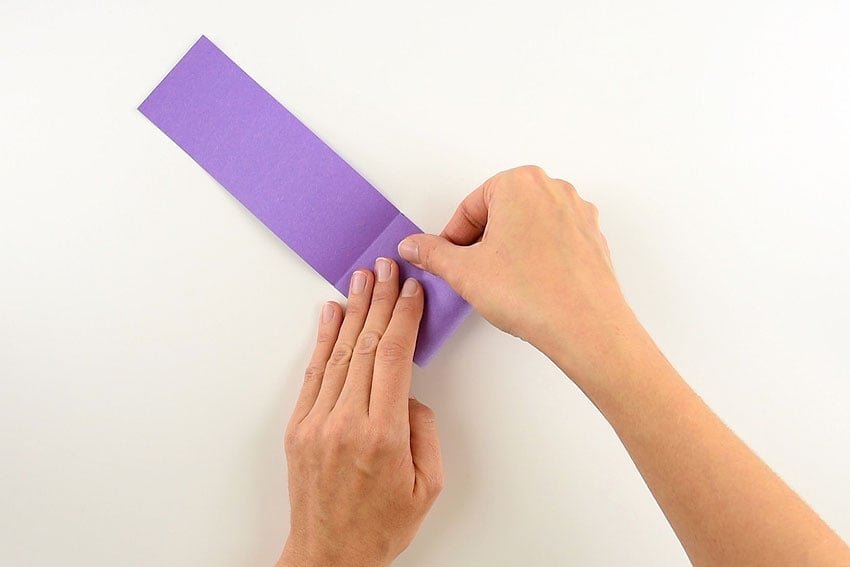
This gives you 3 separate folds, and 4 sections. These will help guide you with your folds in the next step.
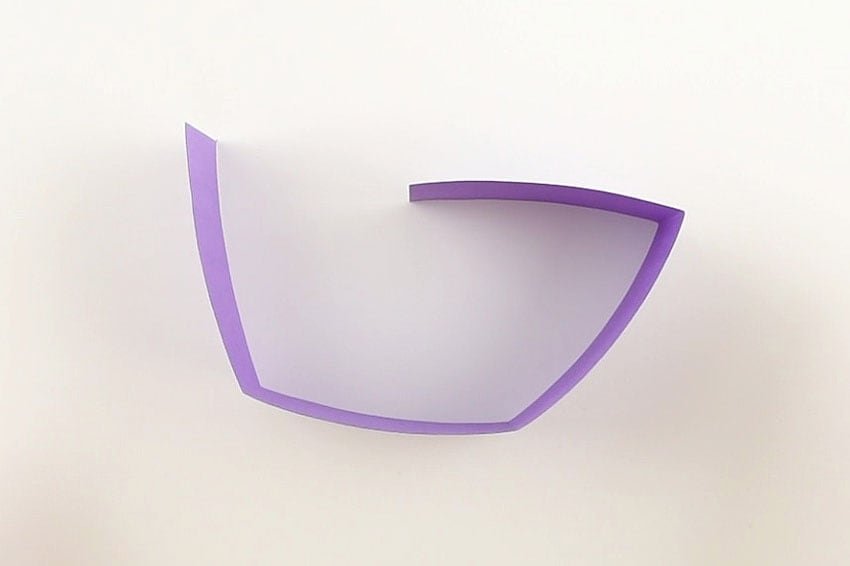
Now, fold your strip like an accordion, using those starter folds as a guide. Take the end, bring it to the first crease, then fold. Repeat for each section.
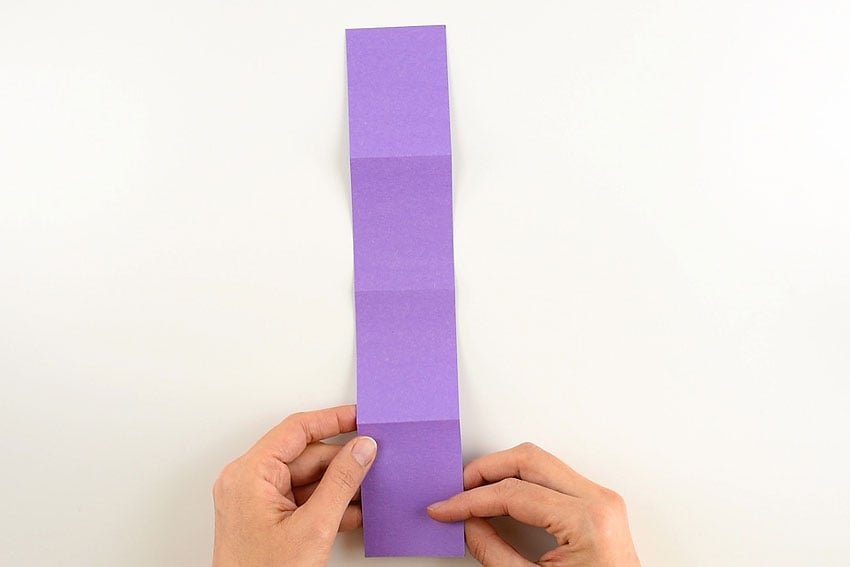
Each of your 4 sections will be folded in half and in opposite directions.
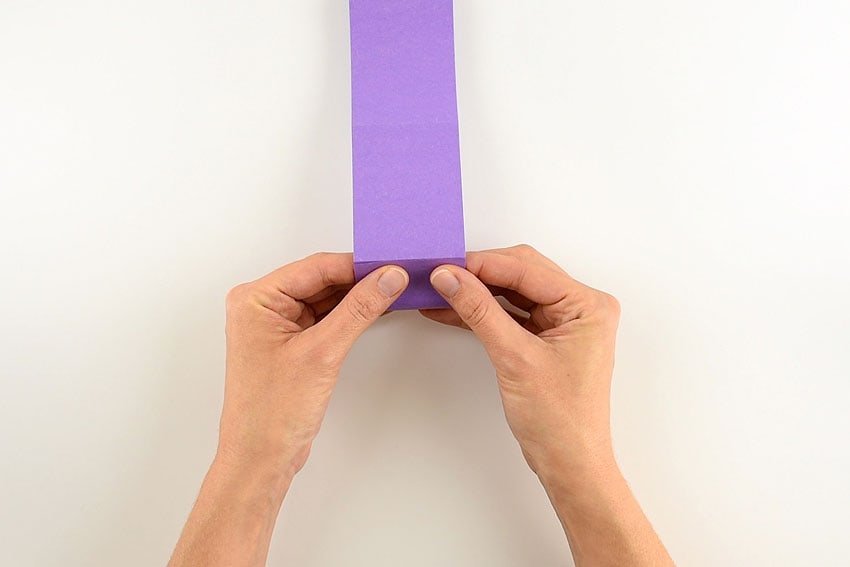
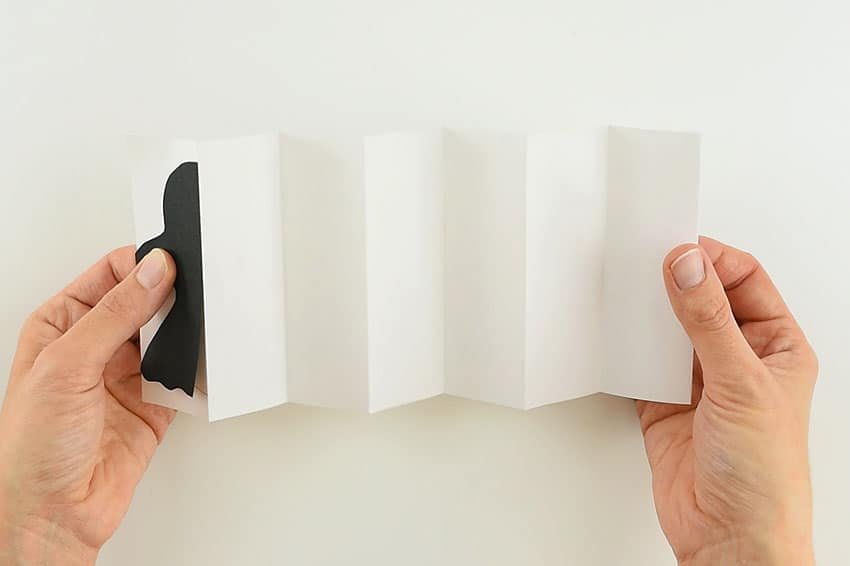
When you unfold it, you should have 7 folds, and 8 equal sections. Your strip should have peaks and valleys like the photo below.
As I said above, if you found all of that too confusing, simply mark out 8 equal sections along your strip using a ruler and a pencil. So if your paper is 12 inches long, you would make a light pencil mark every 1.5 inches, then fold accordion style using those pencil lines as your guide. As long as you end up with a folded strip that looks like the photo below, then you’re good to go!
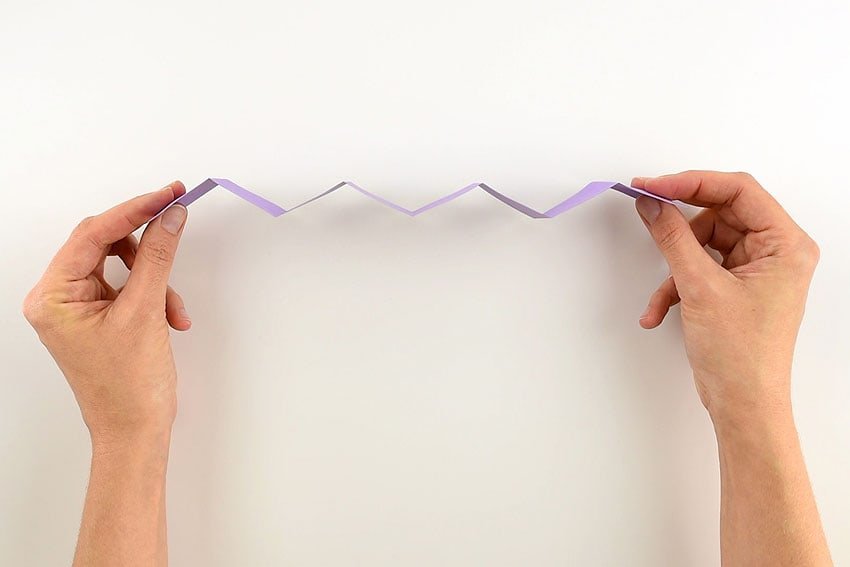
If you want a longer garland, repeat the process with a second strip of paper.

I’d recommend cutting your templates onto thick paper or cardboard. It makes it easier to trace the shapes onto your folded paper, especially if you’re making a longer garland.

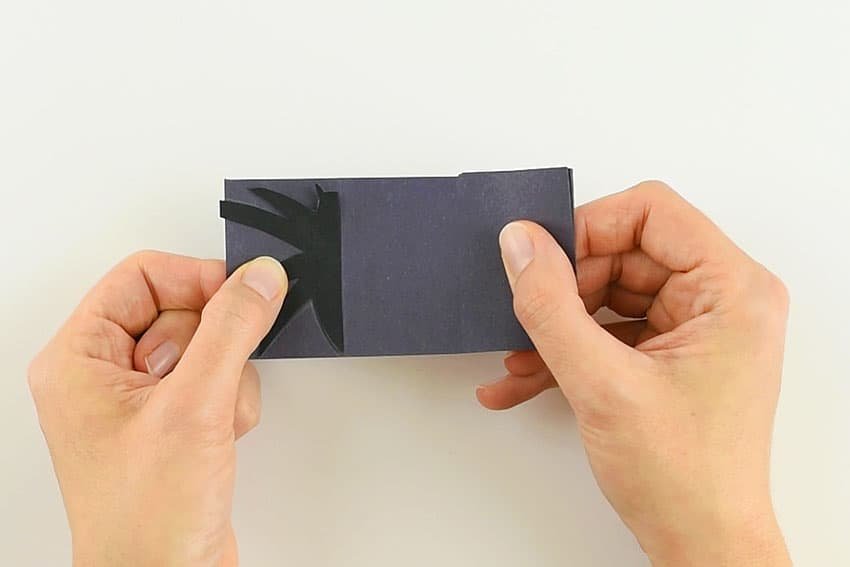
The trick here is to make sure you place the template in the right position so the end shapes aren’t cut in half. The middle of your shape should line up with the first fold in your strip of paper. You want to create a mirror-image on the fold.
The photo below shows where the template needs to be placed. You don’t need to unfold your strip, I’m just showing it unfolded in the photo so you can see how to position your template.
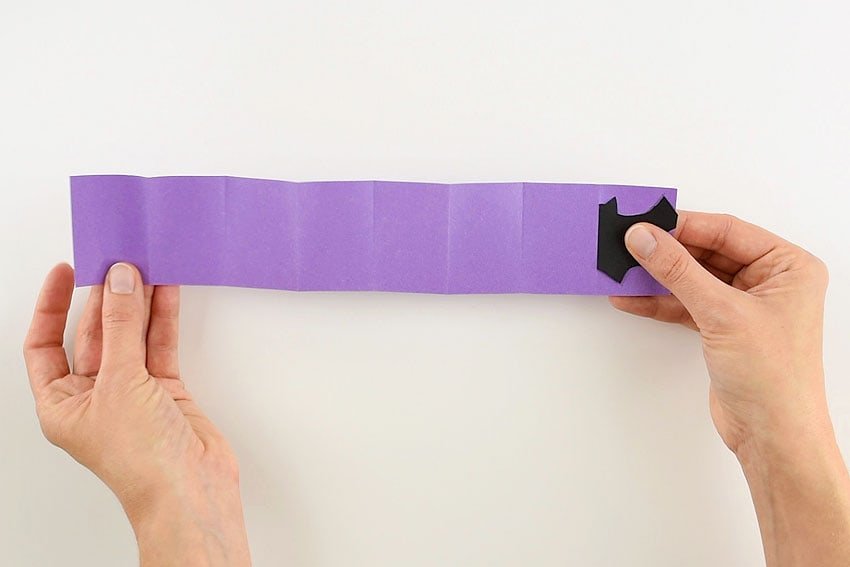
If you accidentally place your template the wrong way, the two shapes on the end will be cut in half. So make sure you spend a moment thinking about the position BEFORE you cut.
What’s that old saying? “Cut once, measure twice?” Once you’re sure of the position, go ahead and cut out your shape.
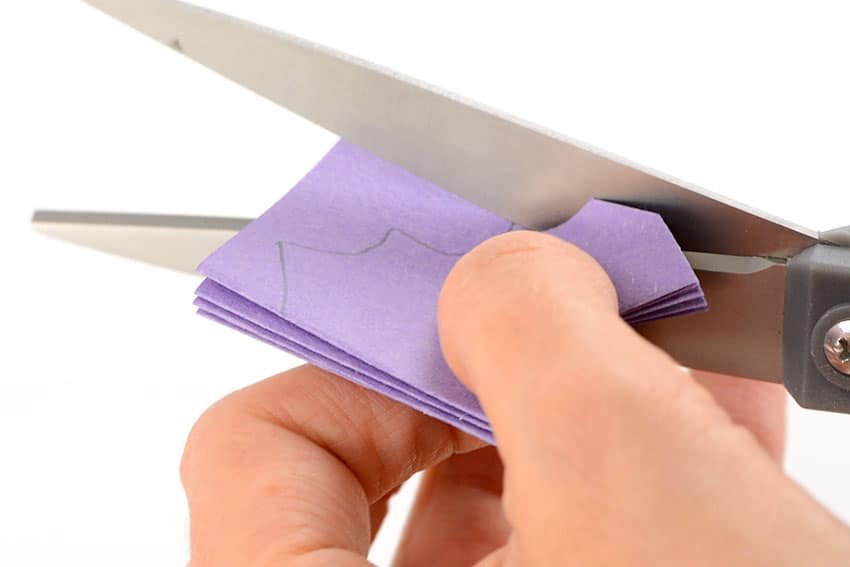
Stretch out your garland for the big reveal! (This is the BEST part!) You should end up with 4 connected silhouettes on each strip!
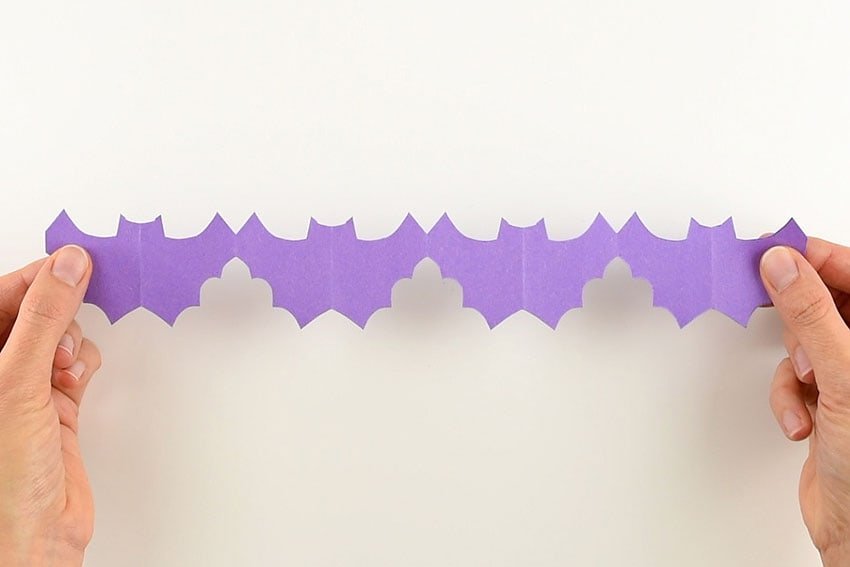
If you want your garland to be longer, repeat the process with the second strip of paper.
Carefully line them up beside each other.

Then carefully tape them together by adding a small piece of tape to both sides.
Maybe there’s better ways to do this? But I find a little bit of tape is the easiest way to make a super long garland. You can just keep making more strips and making it longer and longer and longer!
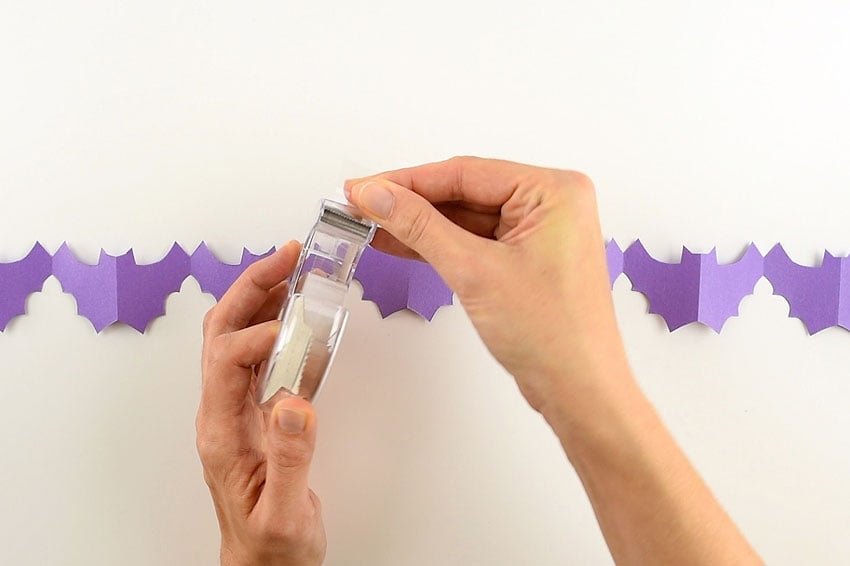
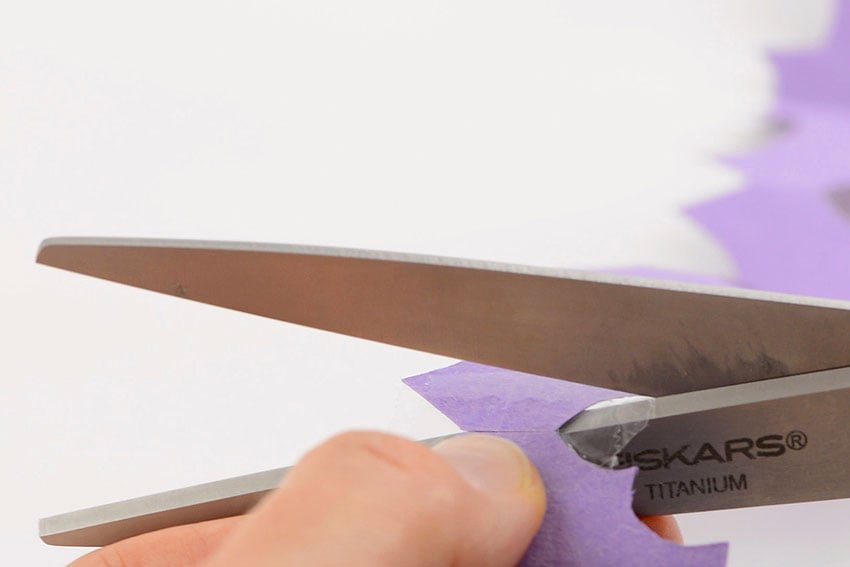
Cut away any excess tape.
Here are all of the shapes we created. Feel free to use our printable template or see what you can come up with on your own!
I’m going to show you the position of the templates on the folded paper, since this was the part I found the most challenging.
The pumpkins were the easiest ones to make. You could start with these first as a warm up!

The ghosts were the only ones where I used a slightly wider 4.5 inch by 12 inch strip of paper. I LOVE how they turned out!
After they were cut out, we drew two eyes and a mouth onto each one to make them even more ghost-like.
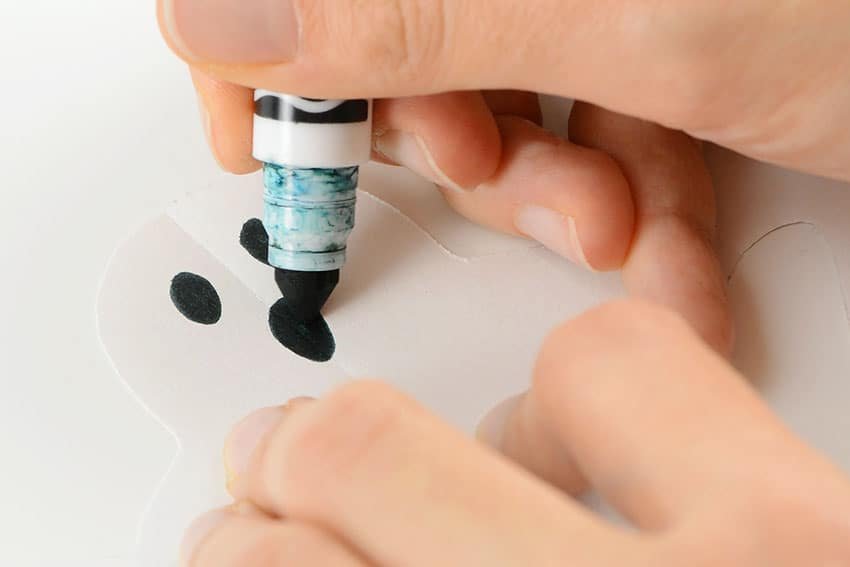
You could even draw faces on your pumpkins!
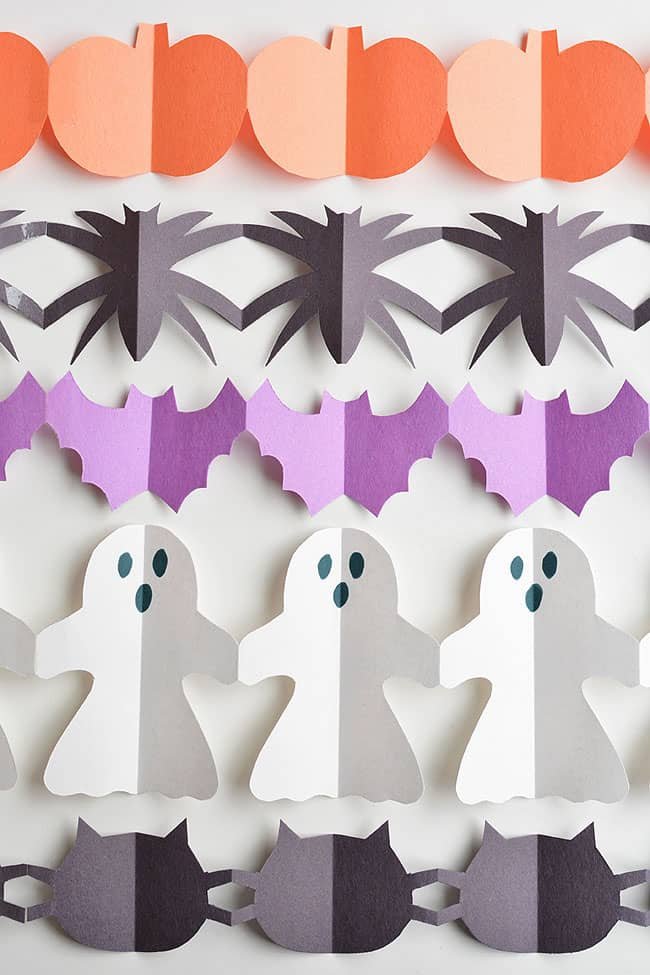
These garlands turned out sooooo well and are such a fun project!
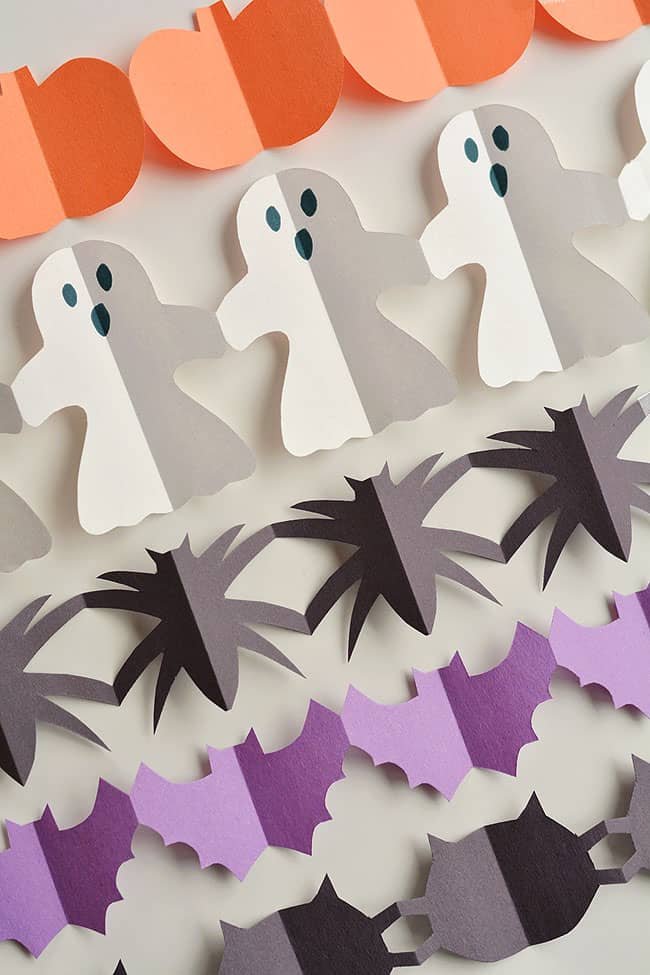
They’re so cute! Such a fun and easy way to make homemade Halloween decorations!
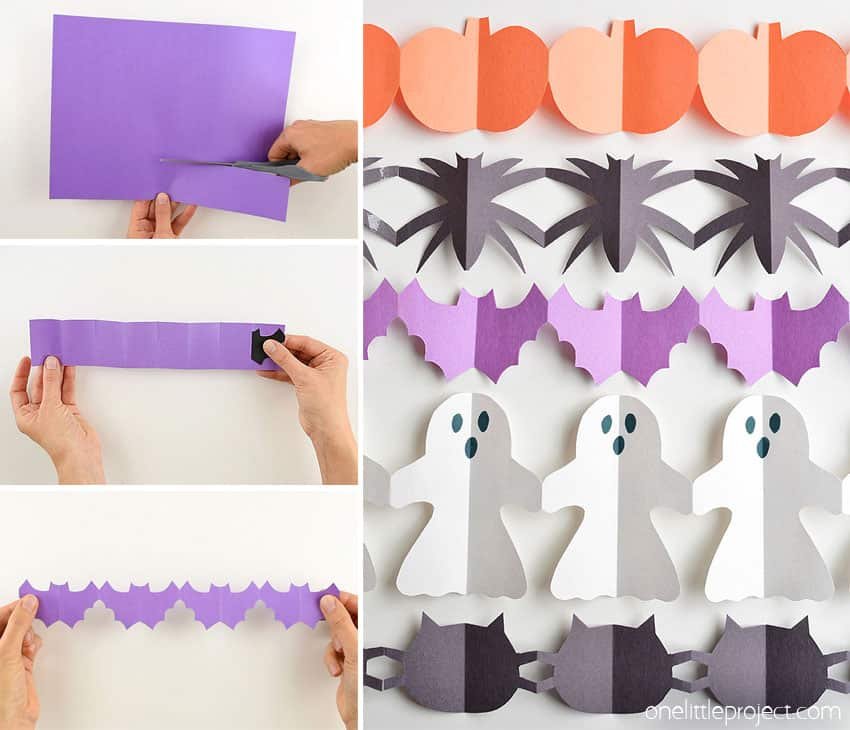
These Halloween paper garland cutouts are SO CUTE and surprisingly simple to make! This is such a fun Halloween craft for kids! Even teens, tweens, adults and seniors would have fun making them! They’d look great hung up on a door, on the walls, or even in the window! What a simple paper craft for kids and a great way to make some non-spooky DIY Halloween decor!
For even MORE Halloween craft ideas check out:
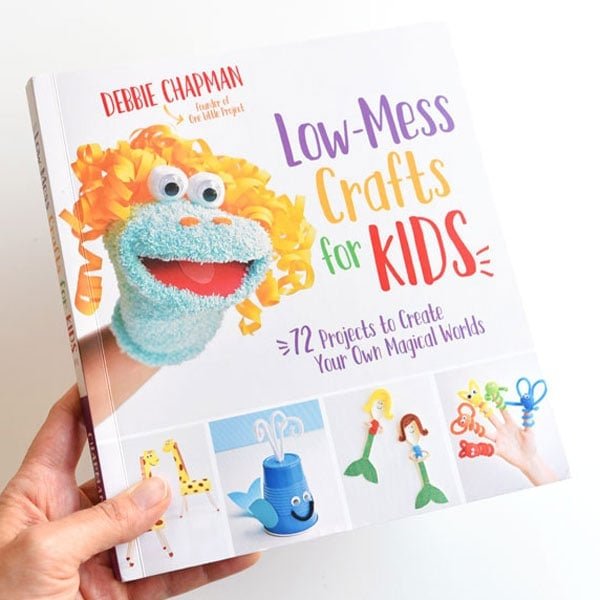
For more fun craft ideas, check out our book Low-Mess Crafts for Kids for 72 fun and simple craft ideas for kids! The projects are fun, easy and most importantly low-mess, so the clean up is simple!
Where to buy:
You can purchase Low-Mess Crafts for Kids from Amazon


