Chunky Yarn Pumpkins
Jump to:
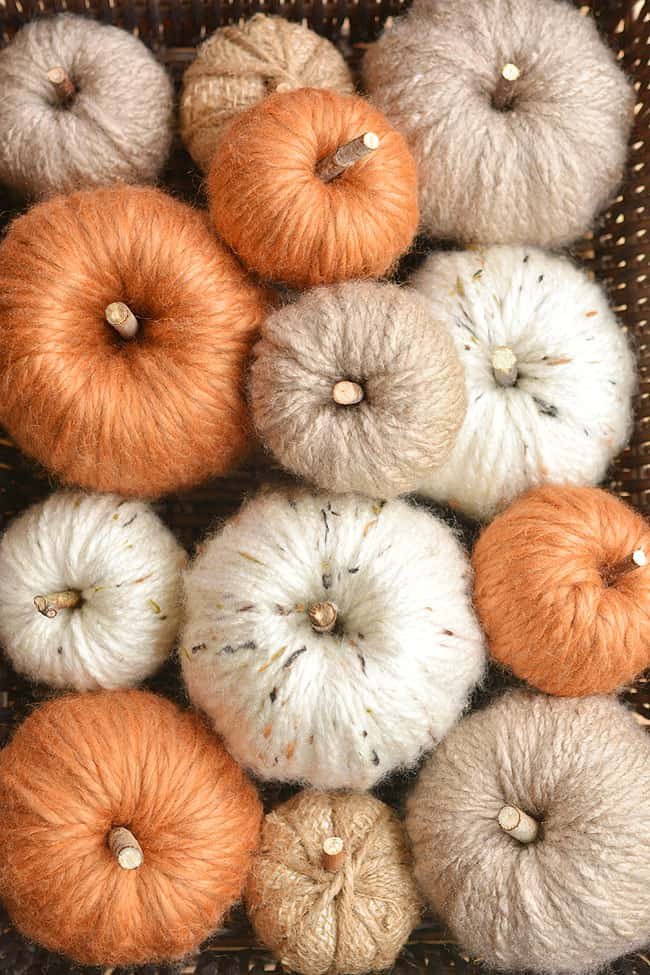
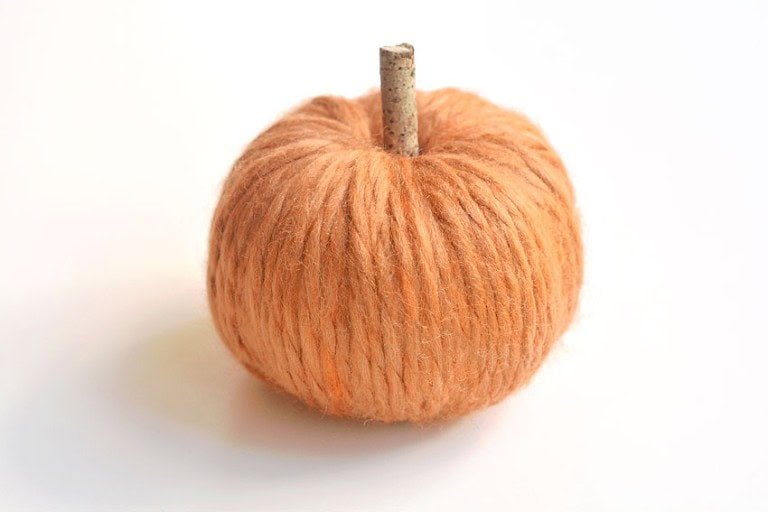
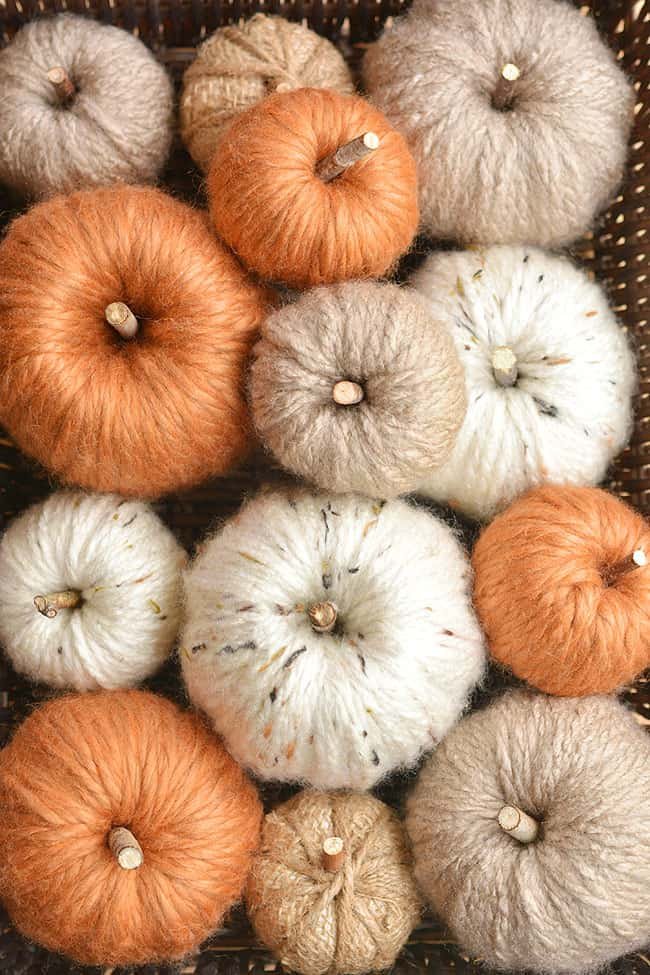
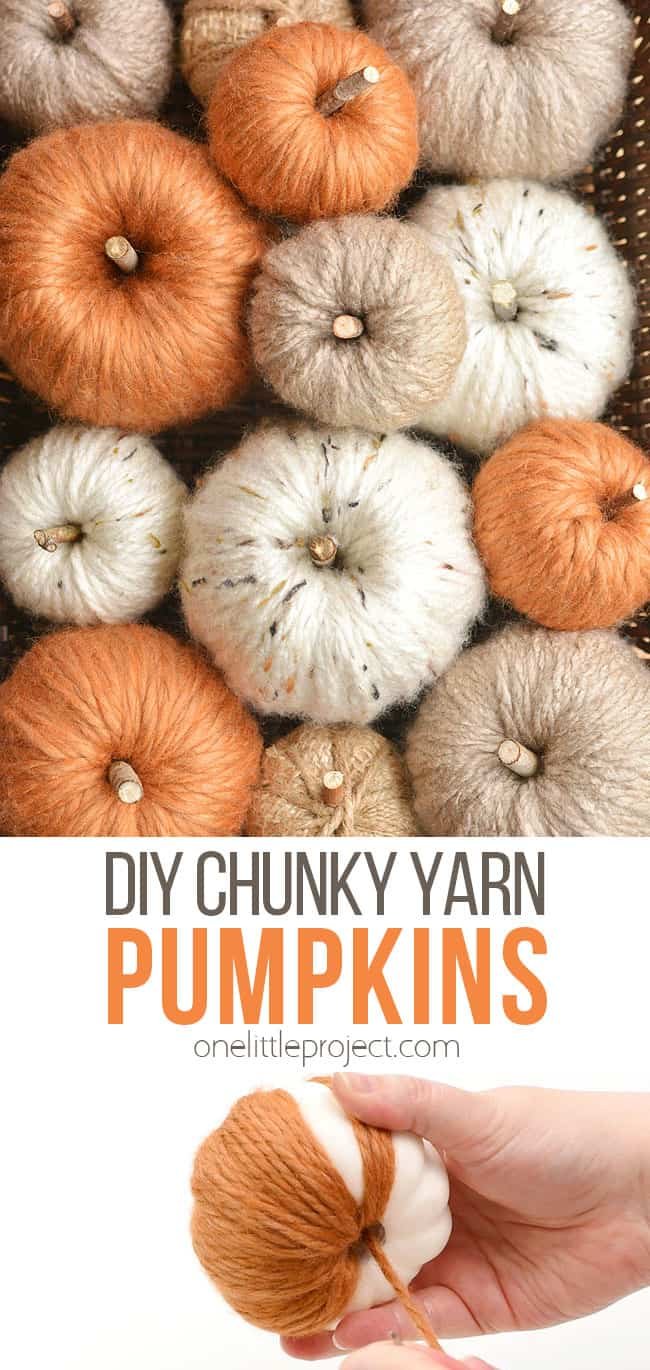
It’s so easy to make a chunky yarn pumpkin! These DIY yarn pumpkins are SO CUTE and they’re really inexpensive to make – the perfect homemade decoration for fall.
DIY Yarn Pumpkins
I absolutely love how these yarn pumpkins turned out! Who knew that a cheap foam pumpkin from the dollar store could become so chic?!
These DIY yarn pumpkins are so easy to make with a simple wrapping technique – no glue needed, and no sewing or knitting skills required. They’re so easy that even the kids can help make them!
This yarn pumpkin craft is a great alternative to expensive store bought decor. Plus I feel like decorations you’ve made yourself are extra special and fun to display!
Check out our Chunky Yarn Pumpkin video tutorial:
*Note: Scroll down for the step-by-step photo tutorial.
Looking for more pumpkin crafts? Here’s some of our favourites:
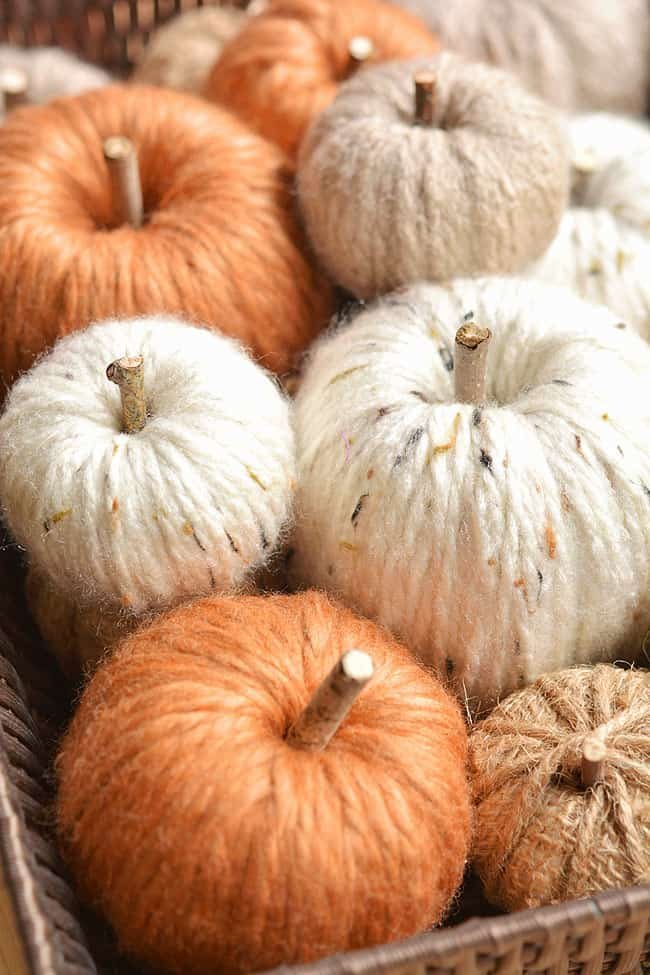

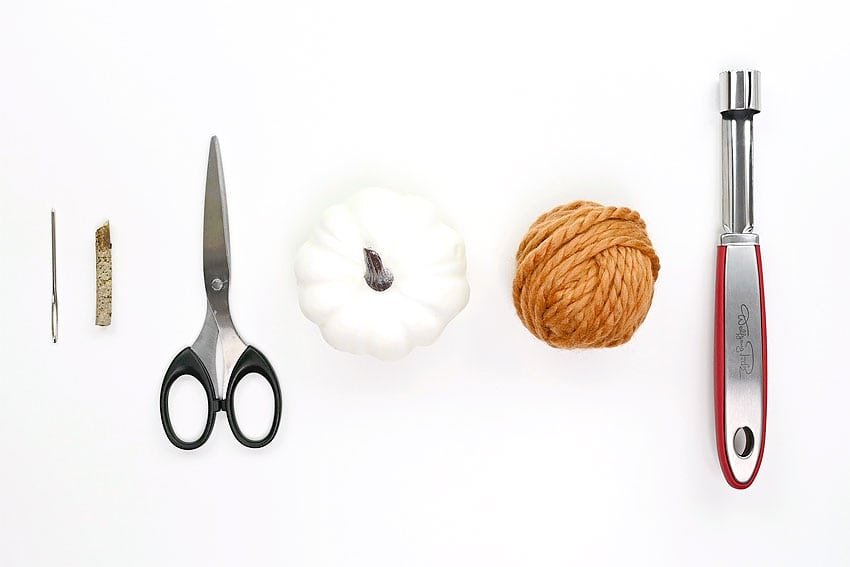
Here’s what you’ll need:
This post contains affiliate links. If you use these links to buy something we may earn a small commission which helps us run this website.
The full printable instructions are at the end of this post, but here’s a list of products on Amazon and Target that are similar to the supplies we used:
- Foam pumpkin
- Apple corer
- Chunky yarn
- Yarn needle
- Pruning shears
- 2 inch stick from the garden

What type of yarn should I use?
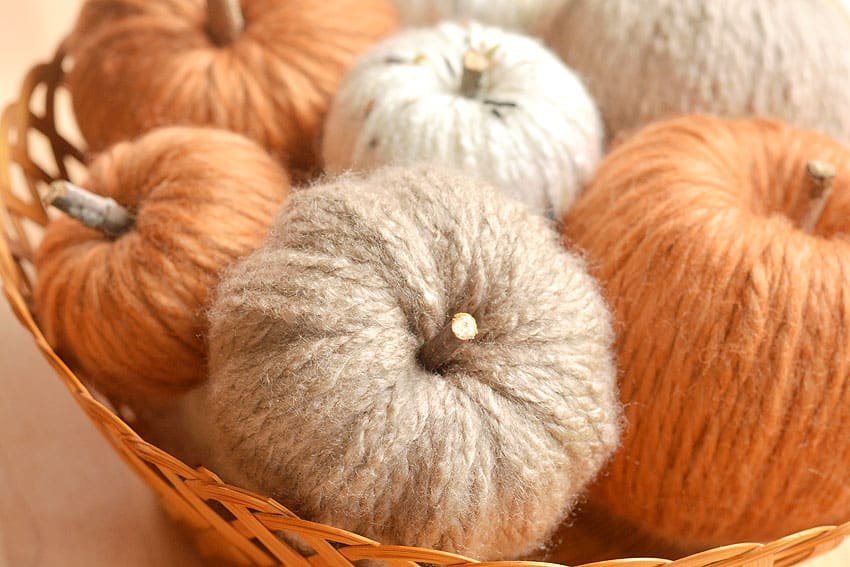
You want to use a yarn that is at least bulky weight (#5). For our chunky yarn pumpkins we used two “Charisma Yarns” and one “Cozy Wool”, all of which we found at Michaels.
The Charisma Yarns we used were taupe (J6) and cream tweed (J46; note: this link is for the white instead of cream). The Cozy Wool was harvest colour (02628).
You can also use thicker yarn, like a chunky chenille or a faux fur yarn.
How many pumpkins can you make from 1 skein of yarn?
It will all depend on the size of your pumpkin, but you should be able to make at least 5 medium size (3-1/4 inch diameter, 3 inches tall) pumpkins from one regular skein of yarn.

Can I make one without a foam pumpkin?
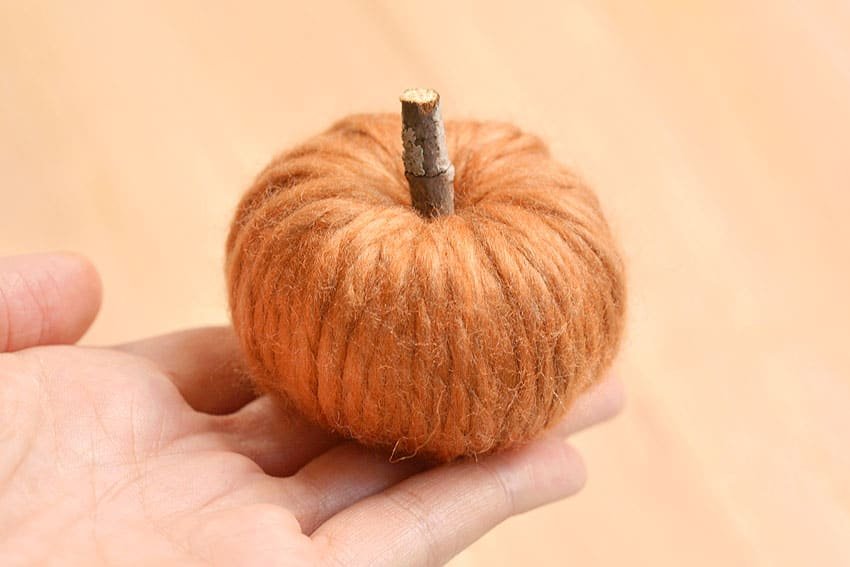
If you don’t have a foam pumpkin you can use a styrofoam ball and cut a slice off the top and bottom. You can also cut a 3 inch section off of a pool noodle and taper the top to look pumpkin like. Some people have even put yarn around bubble wrap or made “donuts” out of fabric to wind yarn around.
What size of hole do I need in my foam pumpkin?
The apple corer that we used makes a 3/4 inch hole in the pumpkin. This was fine for our small (2 inch diameter, 1-1/2 inches tall) and medium sized (3-1/4 inch diameter, 3 inches tall) pumpkins – though it was tight for the “harvest” coloured yarn to fit in the medium size.
You definitely need a larger hole than you think – with our large pumpkins I still used the apple corer, but then cut the hole bigger with a utility knife so the hole was at least half the diameter of the pumpkin.
The hole size will vary based on the pumpkin size and yarn used. It’s a bit of trial and error to see what works with the supplies you have. It’s better to have a larger hole, since you can always add more yarn – whereas if the hole is too small and you run out of room, you basically have to start over again (not that I’m speaking from experience or anything…).

How to Make Chunky Yarn Pumpkins
Materials:
- Foam pumpkin
- Chunky yarn
- Short stick from the garden
Equipment:
- Apple corer
- Yarn needle(#13)
- Pruning shears
Instructions:
Step 1: Prepare Pumpkin
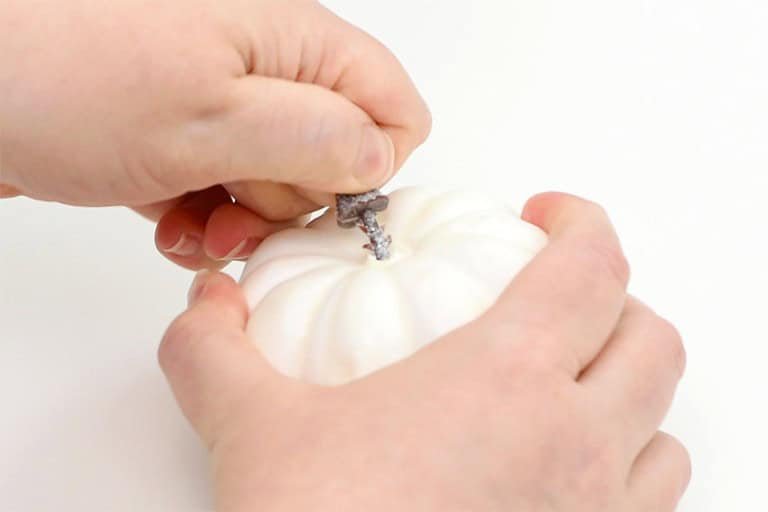
- Pull the stem off the foam pumpkin and discard (or save it if you’d like to use it for your yarn pumpkin stem).


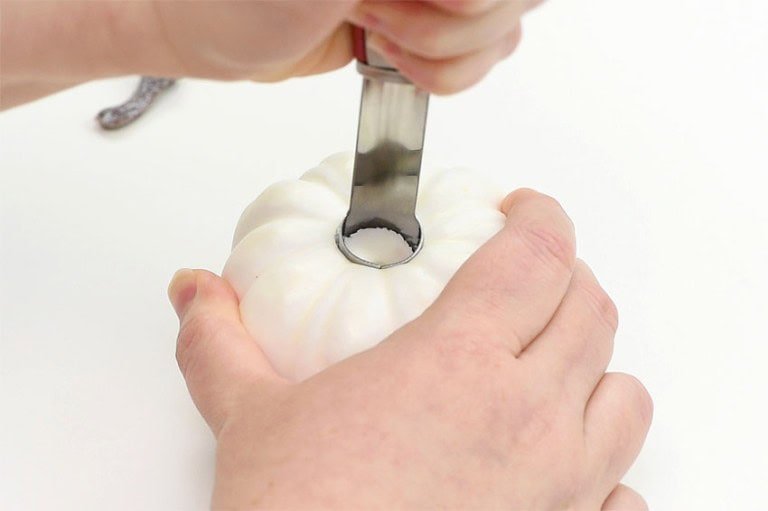
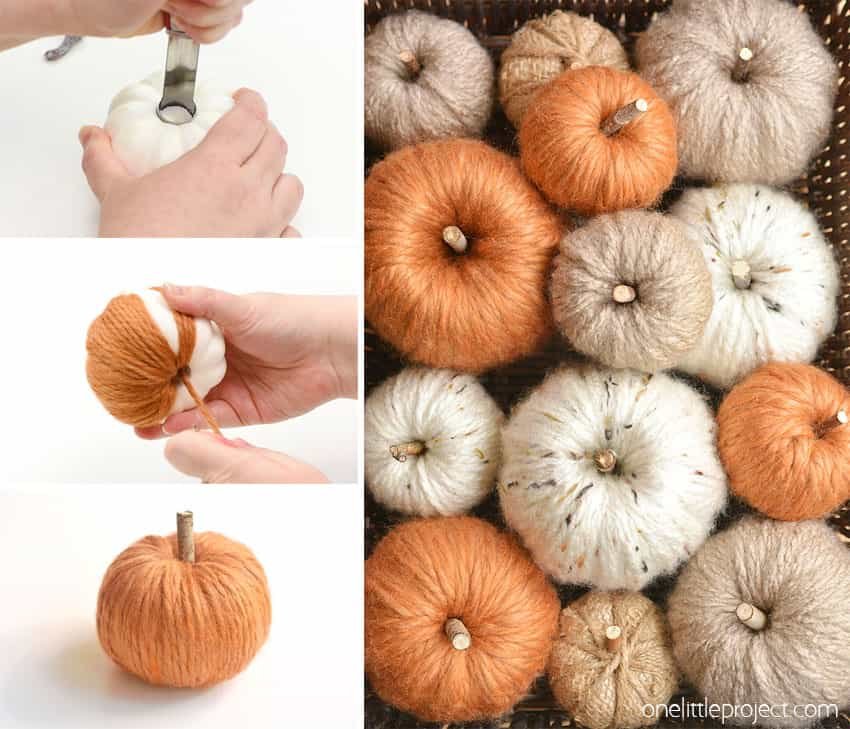
- Using an apple corer, apply pressure to the center of the foam pumpkin. Depending on the type of pumpkin, you may have to twist it around a bit to get through the top layer.If you can’t get the corer all the way through, turn the pumpkin over and come in from the bottom as well.Remove the corer and use your finger to remove the loose, excess styrofoam from the center of the pumpkin.


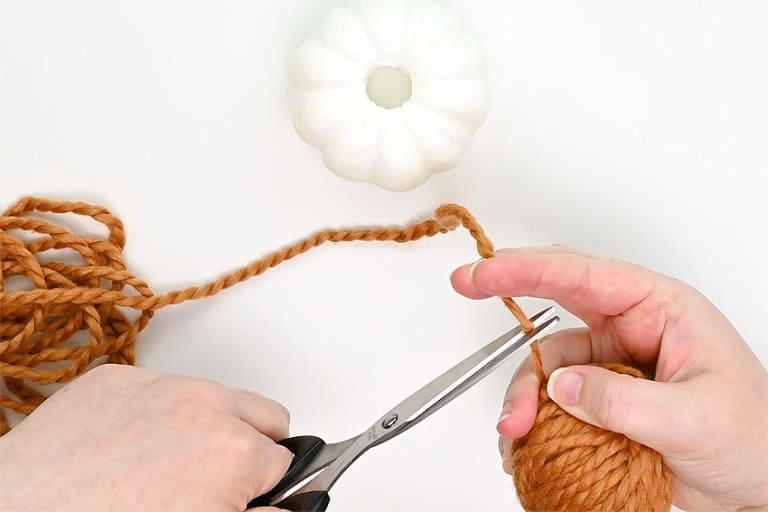
- Cut a length of yarn around 20 feet long and thread it onto a yarn needle.(You can use a smaller length of yarn to make it easier to work with – you’ll just have to change strands a lot more often.)


Step 2: Start covering pumpkin
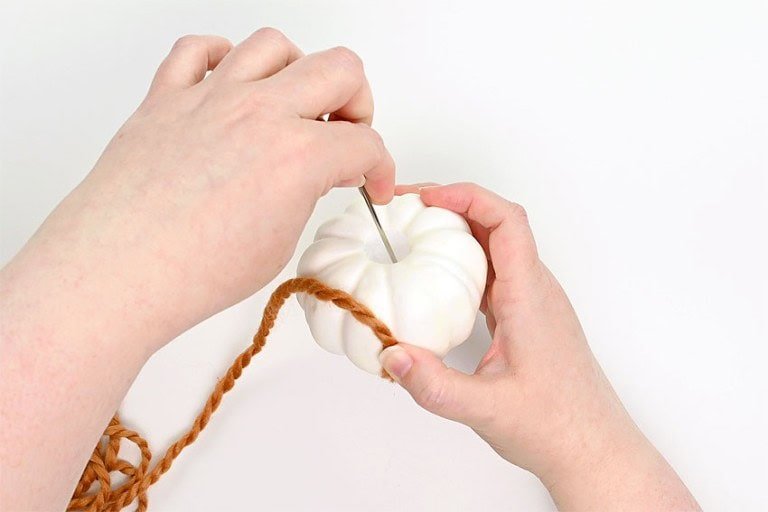
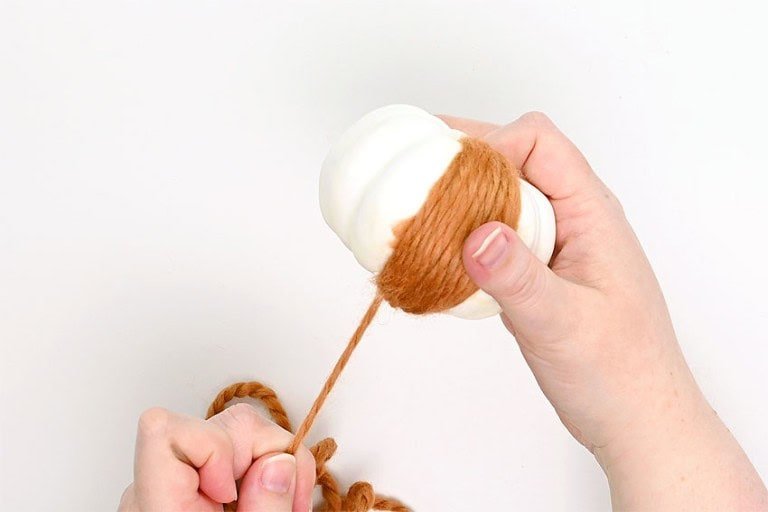
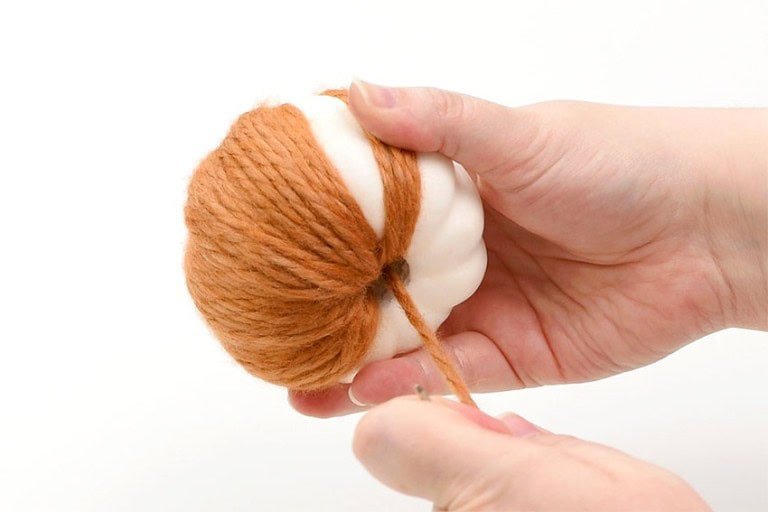
- Hold the loose end of the yarn against one of the grooves in the pumpkin and put the yarn needle through the top of the pumpkin.


- Pull the yarn all the way through until it’s taut.


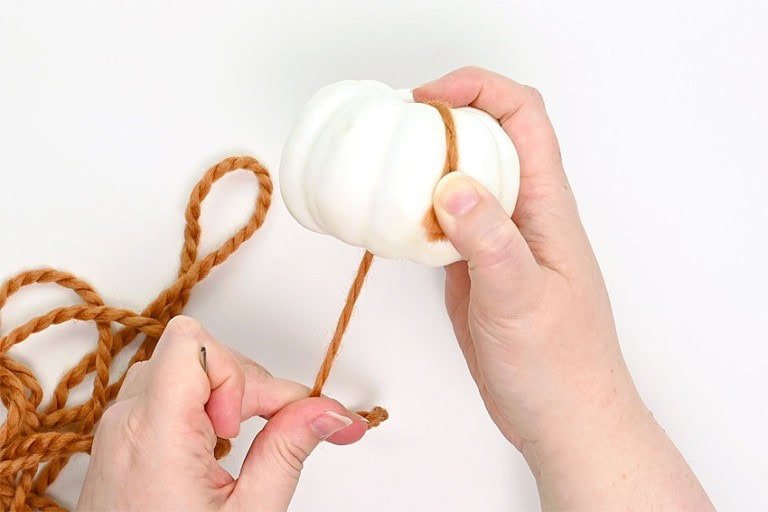
- Bring the yarn from inside the pumpkin over top of the loose end strand.


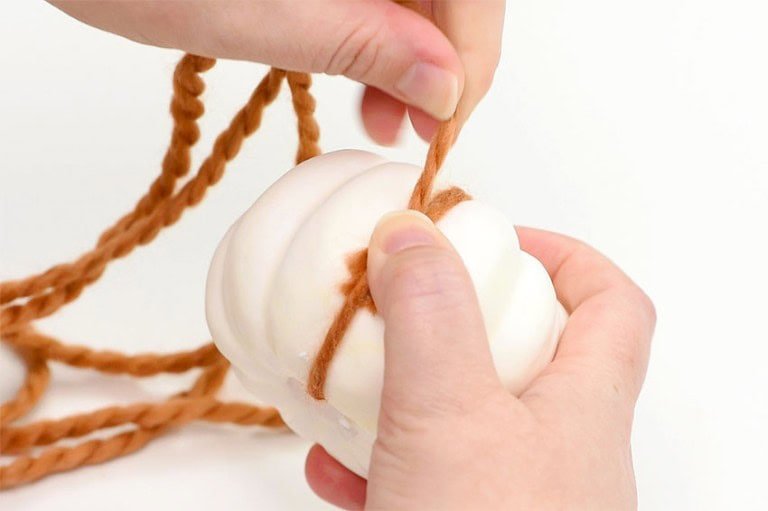
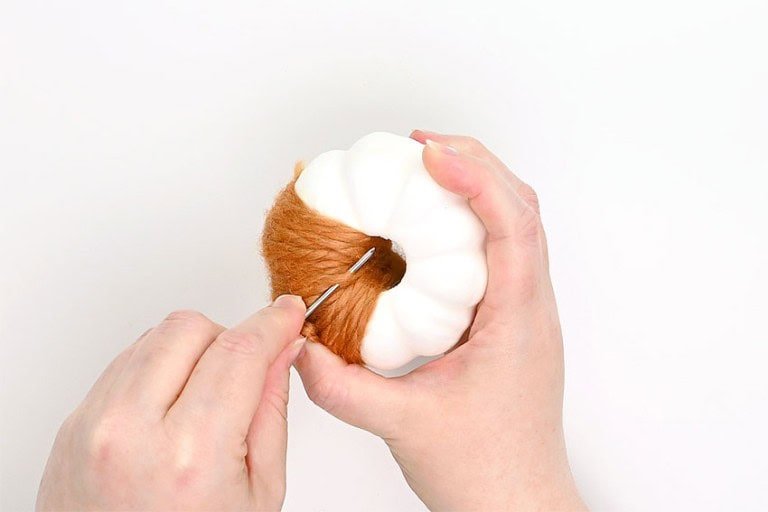
- Put the needle through the center of the pumpkin again, and make sure that the loose strand is secure. Do another strand over top of it if needed.Now place a strand into the next groove on the pumpkin.


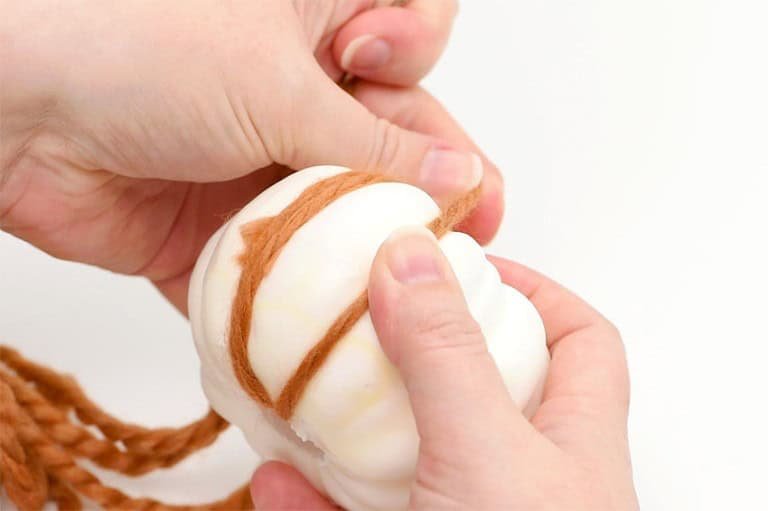
- Continue looping your needle inside the pumpkin and pulling the yarn tight over the outside, filling in along the pumpkin “rib”.


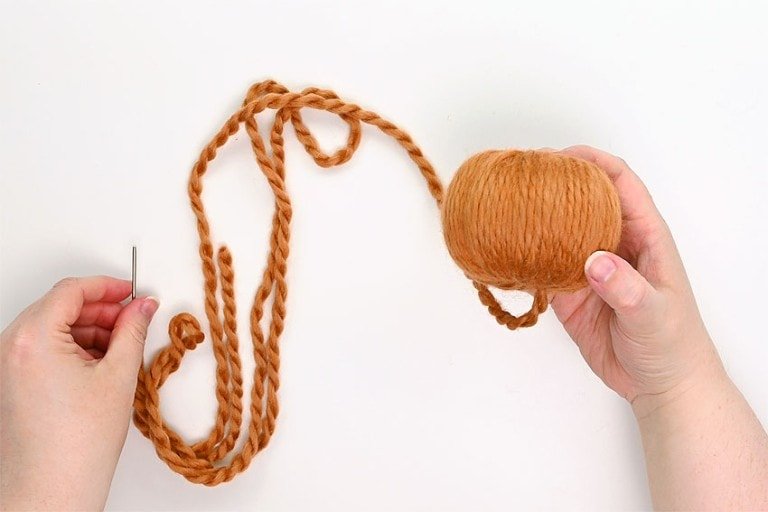
- When you’re close to the end of your yarn (leave at least 6 inches loose), put the needle under one of the strands and push it through the bottom, pulling the needle loose from the yarn. (Cut the loose strand of yarn shorter if it hangs out the bottom of the pumpkin.)If you’re finding it difficult to pull your needle through, pull it back up and unwind one of the strands so you have enough yarn to pull it easily.


Step 3: Start new strand of yarn
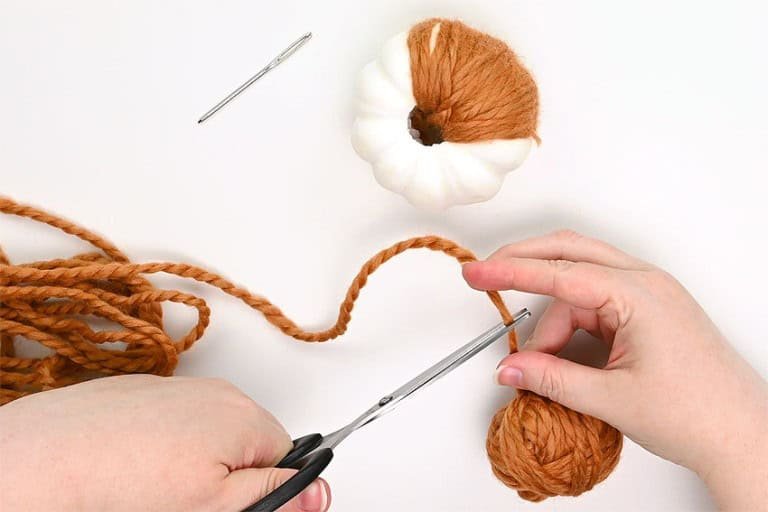
- Cut another 20 foot strand of yarn and thread the needle.


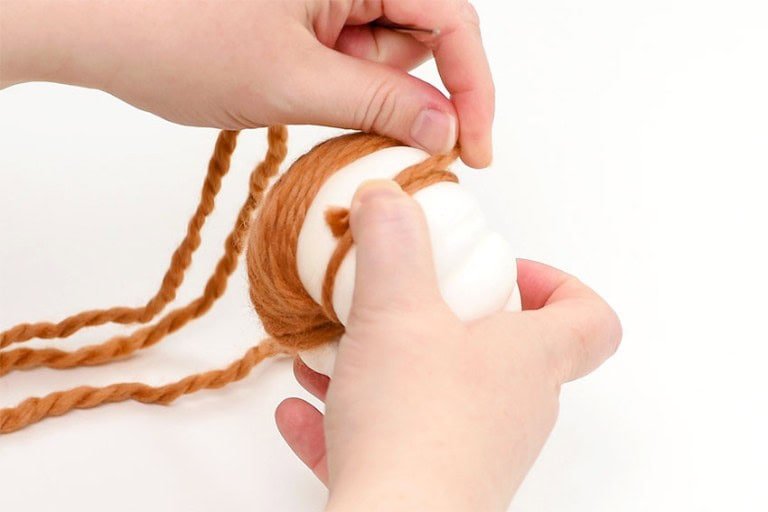
- Start the second strand the same way as the first, overlapping the loose strand so it stays secure.


- Continue looping the yarn inside the pumpkin and around the outside. Make sure to keep your strands fairly straight from bottom to top for the nicest look.Start a new strand of yarn if necessary.


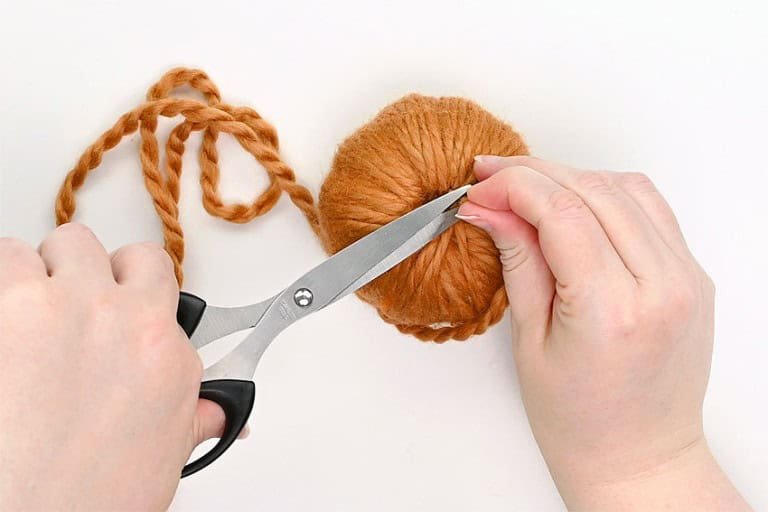
- When you’ve finished covering the outside of the pumpkin (overlapping areas if necessary), finish at the bottom of the pumpkin.


- Snip the strand of yarn as close to the pumpkin bottom as possible.


Step 4: Add stem
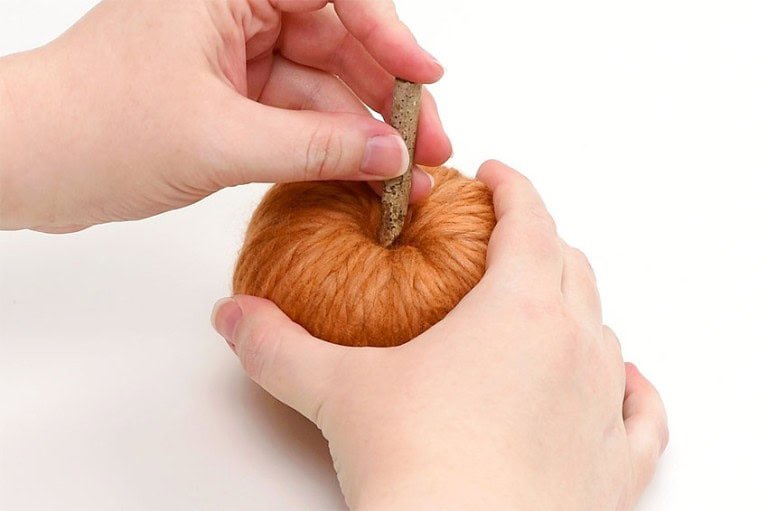
- Using pruning shears, cut a stick from the garden to around 2 inches long.Turn the pumpkin over and insert the stick in the hole of the pumpkin, pushing it halfway down so about 3/4 inch is showing.


- Your chunky yarn pumpkin is complete!


Helpful Tip:

Chunky yarn adds cozy style to dollar store pumpkins. Making a chunky yarn pumpkin is such a fun way to keep your hands busy while watching TV – and you’ll end up with chic autumn decor at the end of your episode!

Here’s even more awesome pumpkin crafts:
Our book Low-Mess Crafts for Kids is loaded with 72 fun and simple craft ideas for kids! The projects are fun, easy and most importantly low-mess, so the clean up is simple!
Where to buy:
You can purchase Low-Mess Crafts for Kids from Amazon, or wherever books are sold:
Amazon | Barnes and Noble | Books- A- Million | Indiebound | Indigo | Amazon Canada


