Egyptian Treasure Chests
Jump to:
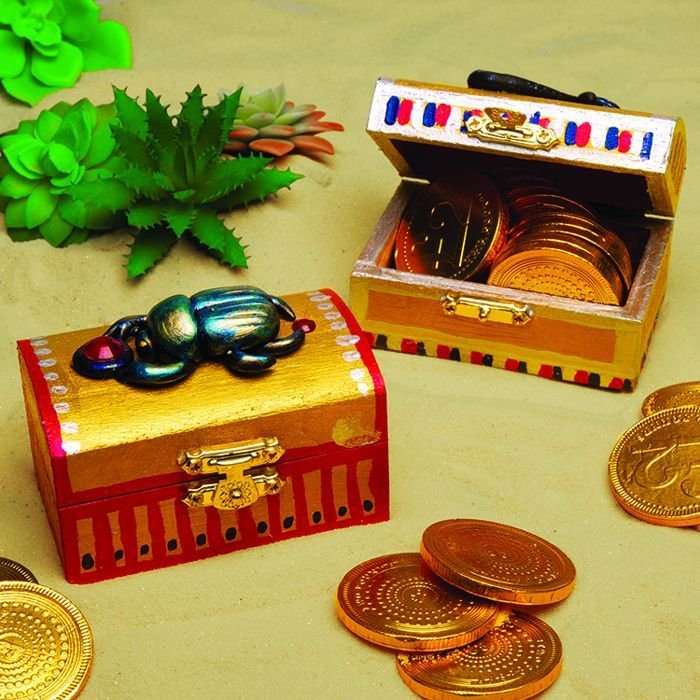
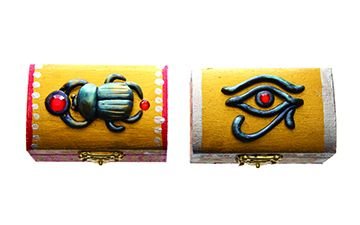
Make a richly decorated treasure box with shimmering patterns and ancient symbols. The scarab beetle represents re-birth, the Eye of Horus represents protection and royal power.
Skill Level
Beginner
Time to Make
1 hour
Adult Supervision
Yes

Items you’ll also need
- Paintbrushes
- Sandpaper
- Scrap paper
- A baking tray or tile
Top Tip
Make your Fimo models onto a baking tray or tile, so they don’t need to be moved or lifted up to bake them in the oven.
How to Make
Step 1

Step 2

Step 3

- Use some fine sandpaper to smooth down the edges of a mini treasure box.
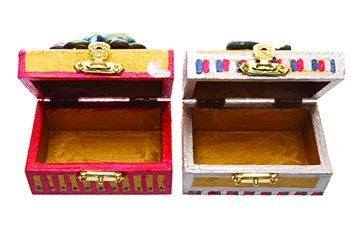
- Open the box then brush metallic paint inside the base and lid. When the edges are dry, close the box and paint the outside. Add a second coat of paint if you need to.
- To make a scarab beetle, cut off 1 Fimo strip from the block, divide the strip into 2 pieces; 1/3 and 2/3. Roll both pieces into flattened ovals then press the 2 pieces together for the body sections. Use a modelling tool to press lines for the wings. Cut off another Fimo strip, break off a pea-sized piece for a head and press it onto the body. Roll 6 x thin Fimo strands for legs, and press onto the body. To make the Eye of Horus – roll a strip of Fimo into a long thin strand, cut it into smaller sections 4-5cm long. Press 2 strands together to form the eye shape with a circle in the middle. Trim off any excess Fimo to make a neat shape. Press a curled strand underneath the eye with a small piece in the corner. Make the eyebrow separately.
- Bake Fimo in the oven at 11C, following instructions on the packet. Leave to cool before handling.
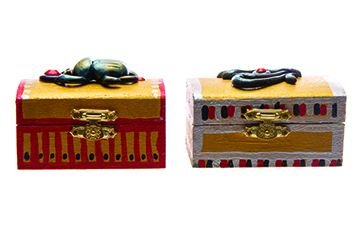
- Paint a pattern onto the sides of the box using metallic colours and a thin brush. Leave to dry.
- Glue the baked Fimo shape onto the top of the treasure box then lightly brush metallic paint over the top to give it a shimmering surface. Glue gems to decorate the box.


