Macrame Rainbow
Jump to:
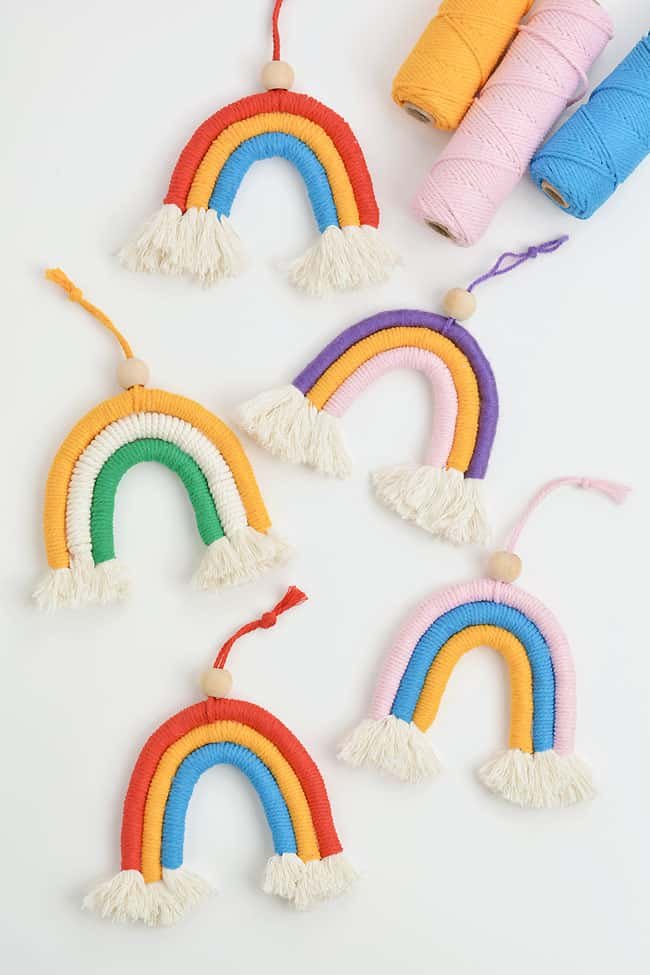
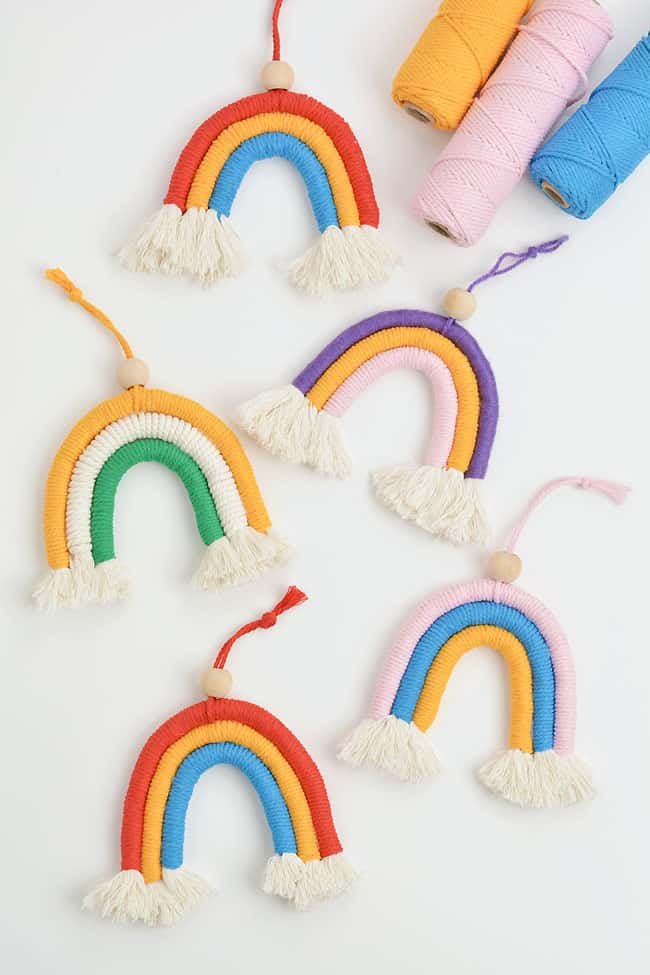
This macrame rainbow is SO PRETTY and really easy to make! It’s such a fun introduction to macrame — the perfect project for beginners, with no sewing skills required.
We love how colourful these macrame rainbows are and how the fringe looks like fluffy clouds. Brighten someone’s day by giving the rainbow macrame as a homemade gift, or add a boho touch to your own home decor!
This post contains affiliate links. If you use these links to buy something we may earn a small commission which helps us run this website.
How to Make a Macrame Rainbow
Materials:
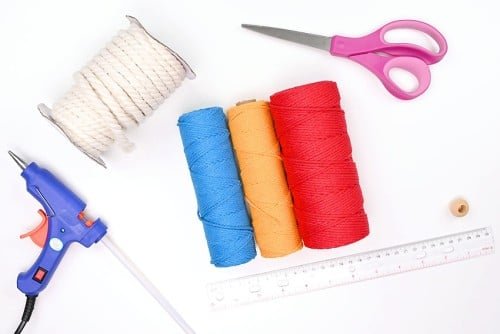
- Natural braided macrame cord(8 mm)
- Macrame cord(2 mm; 3 different colours)
- Wooden bead(s)(20 mm)
Instructions:
Step 1: Find what you need
- Gather your supplies and materials.

Step 2: Make the smallest arch
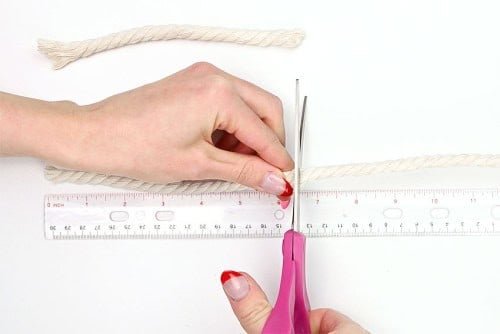
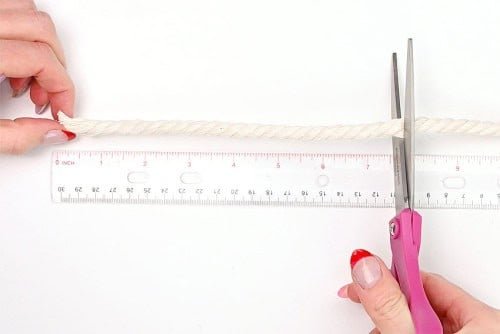
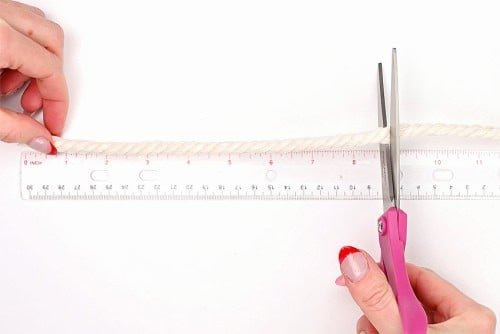
- Cut two pieces of 8mm macrame rope to 6.5 inches.

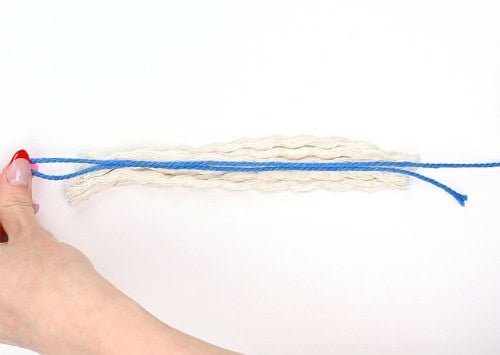
- Unravel each piece of 8mm cord into three separate pieces and pile them on top of one another.

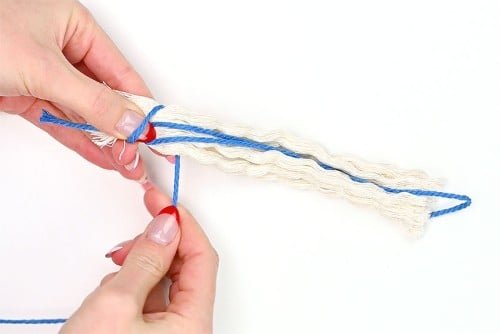
- Choose the 2mm cord colour that will be the inner arch of your rainbow (blue for us). Fold the 2mm cord in half about 8.5 inches from the end. Then place it on top of the pile of thick cords so the loop is 1 inch past one end and the end of the blue cord is 1 inch past the other end. (Don’t cut the blue cord.)

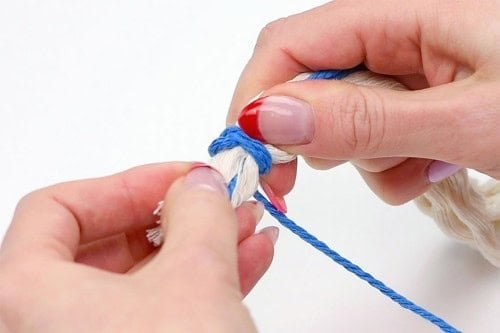
- Press your thumb onto the coloured cord to hold it in place. Then wrap the long end of the blue cord (attached to the spool of cord) around the off white cord, leaving 1 inch of off white cord showing at the end. (Those will be the clouds).

- Tightly and evenly wrap the blue cord around the off white cord, being careful to fully cover it with the windings.

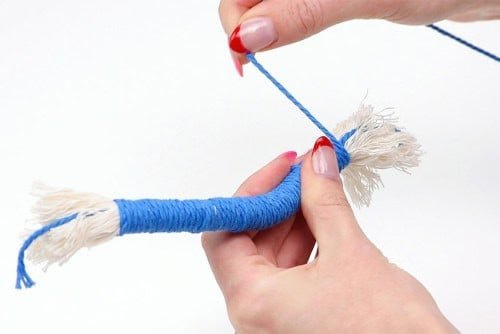
- Wind the cord until you reach the other end of the natural cord, again leaving about 1 inch unwrapped on the end for the clouds.

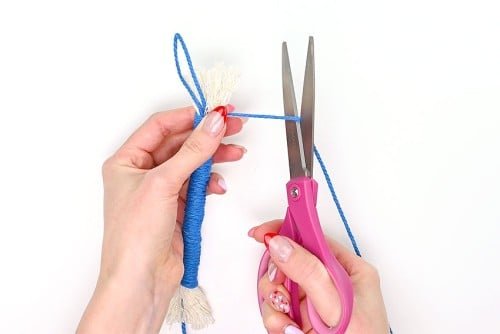
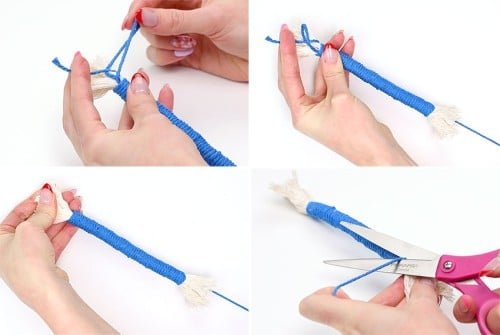
- Cut off the coloured 2mm cord from the spool, leaving about 2 inches extra.

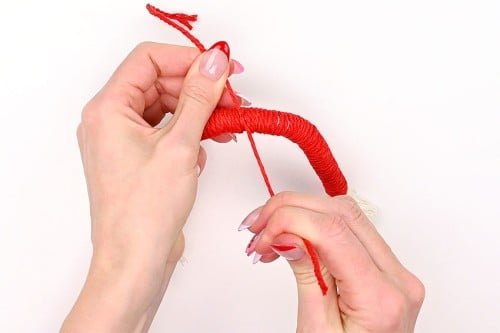
- Put the cord end inside the loop you created at the beginning. Now pull the cord from the other side (where you started wrapping).Pull until the loop and cord end disappear inside the wrapping, and then cut off the extra cord as close to the wrapping as possible.

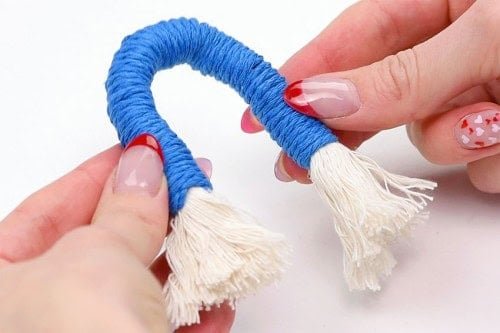
- Bend the wrapped cords into a curved rainbow arch. Your inner arch is complete!

Step 3: Make the middle arch
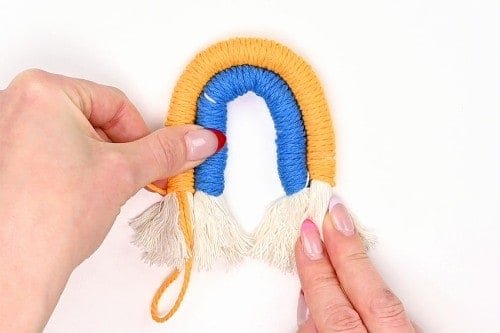
- Cut 2 pieces of 8mm macrame rope to 7.5 inches.Follow the same steps as with the blue arch – Unravel the rope into 3 pieces each, then lay out the next colour of 2mm cord (we used yellow) on top so that it’s folded on top of the off white rope with 1 inch hanging off at each end.

- Before wrapping, make sure you measure the arches against one another to make sure the cloud tails are the same length.

- Wrap the middle arch the exact same way as the smaller arch. Be sure to measure the arches against each other again to make sure the other end’s “clouds” match as well.

- Finish off the center arch in the same way as the first, pulling the loose cord inside the wrapping.

Step 4: Make the outer arch
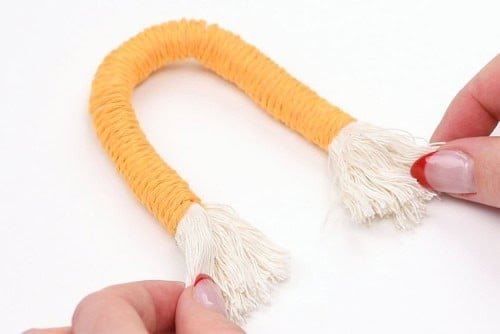
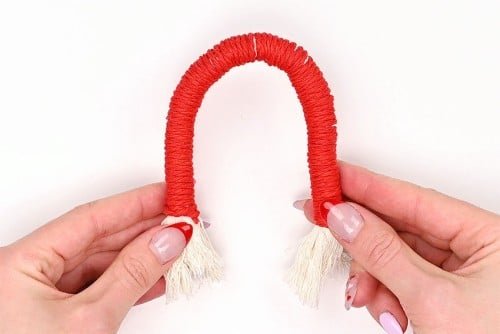
- To create the larger, outer arch cut 2 pieces of 8mm macrame rope to 8.5 inches.

- Repeat Step 2 to make the largest, outer arch and be sure to measure it against the center arch as in Step 3.

Step 5: Attach a hanger to the red (largest) arch
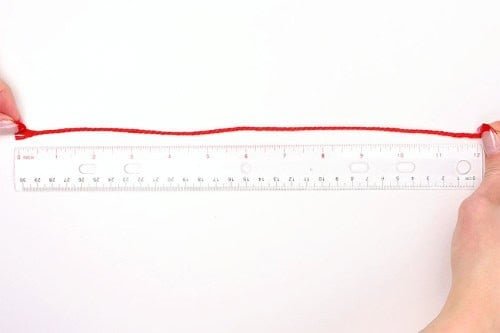
- Cut a 12 inch piece of 2mm cord to match the outer arch (red, in our case).

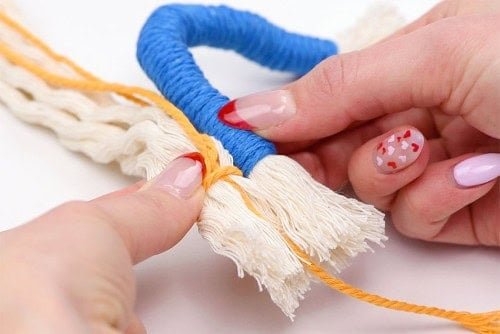
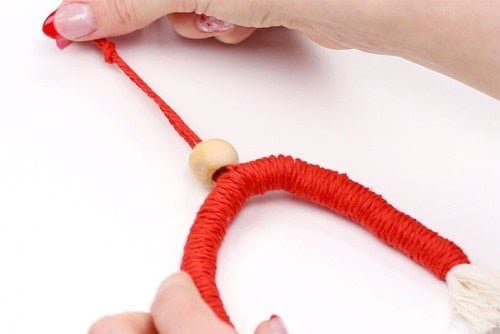
- Tie the middle of the cord around the top, center of the outer arch with the loose ends pointing up and away from the arch.

- Attach a wooden bead onto the cords and then tie them in a knot to create a hanger.


Step 6: Connect the rainbow
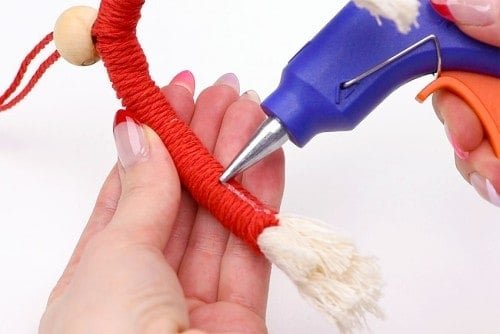
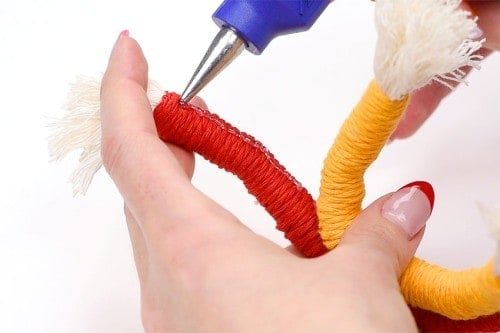
- Use hot glue to connect the rainbow arches. Begin by applying a thin line of glue, about 2 inches long, to the center inside of the largest (red) arch.

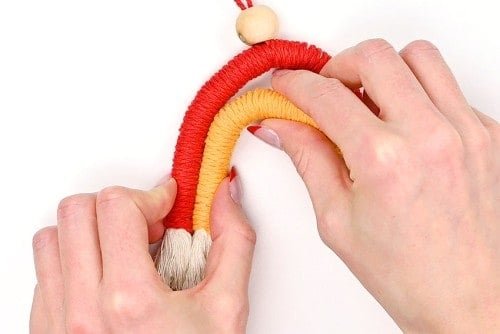
- Press the second (yellow) arch onto the glue, making sure to line up the ends of the windings.


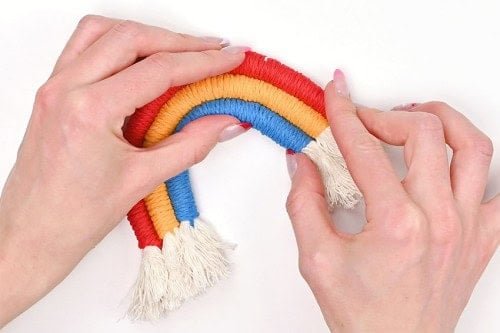
- Continue adding hot glue every couple of inches until the two arches are completely connected.


- Repeat with the inner (blue) arch.


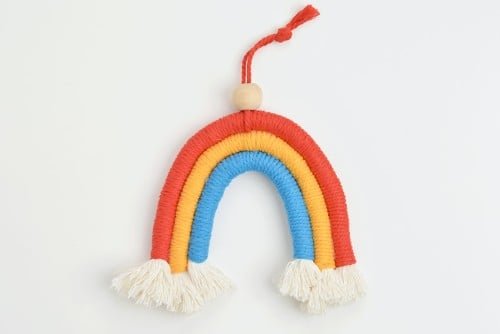
- Your macrame rainbow is complete!


Helpful Tip:
- You can make a smaller or larger macrame rainbow, simply by changing the lengths of the braided cord. You can also change the width of the rainbow arches by bending them at a different angle.

What rope do you use for macrame rainbows?
The inside of the rainbows (the white fringe you see sticking out the bottoms) is 8mm braided macrame rope. It easily pulls apart into three separate cord sections.
The colourful macrame cord, that gets wrapped around the rainbow base, is 2mm cotton macrame cord. You can also wrap embroidery floss or yarn to create the rainbow.
Do you need wire for macrame rainbows?
Some people put thin wire inside the macrame rope to help the rainbows keep their shape, but this isn’t necessary. The arches keep their shape well without wire, and you can make them as narrow or as wide as you’d like!
What can I do with my macrame rainbow?
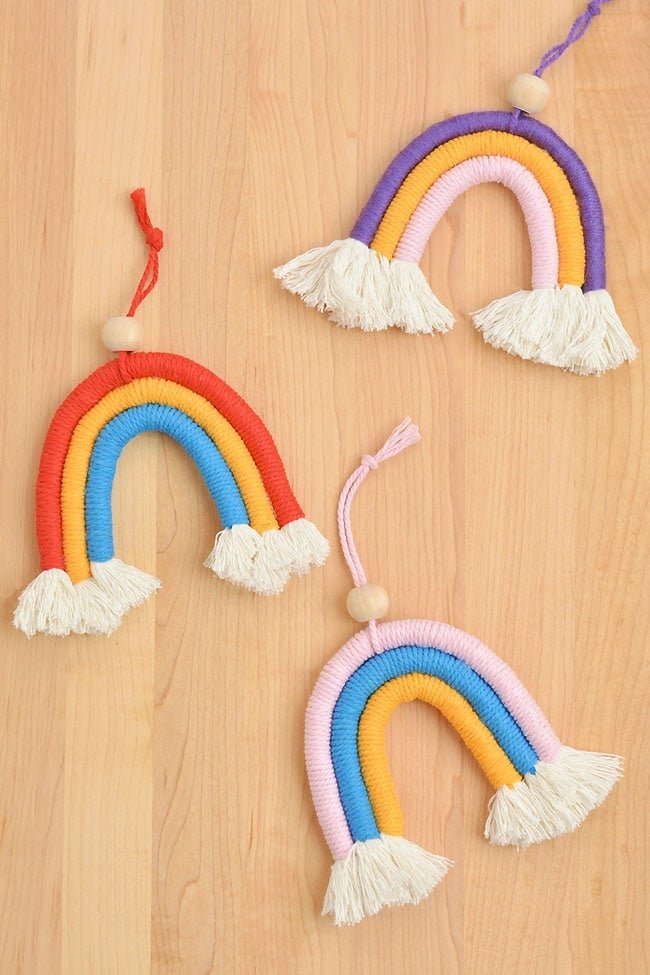
Use the macrame rainbow as a wall hanging, or string a bunch of them together to create a garland! Or you can hang them on a baby mobile in colours matching the nursery.
If you make a smaller macrame rainbow, with a thinner inside cord, they make adorable keychains! Simply attach a jump ring and keychain to the top arch instead of the hanger.
What size macrame rainbow does this make?
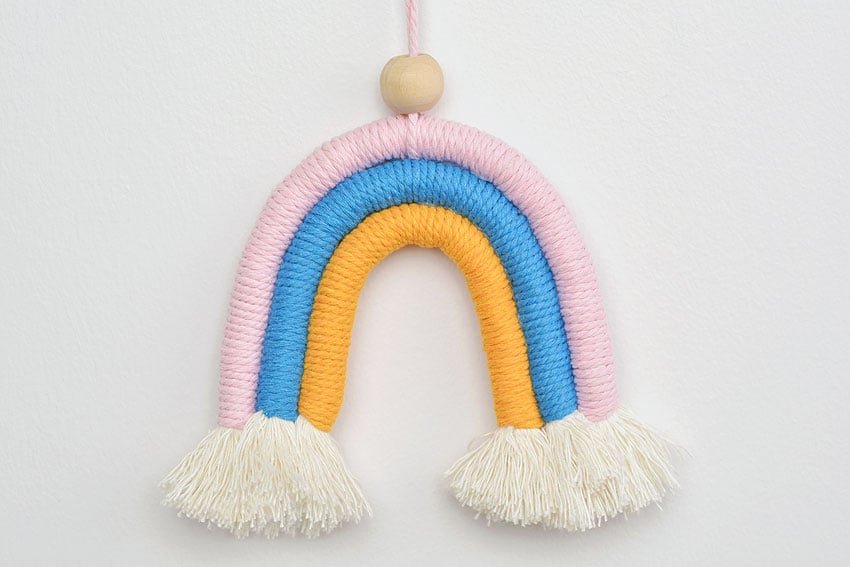
Our macrame rainbows are about 5 inches across and 4-1/2 inches tall (including fringe).
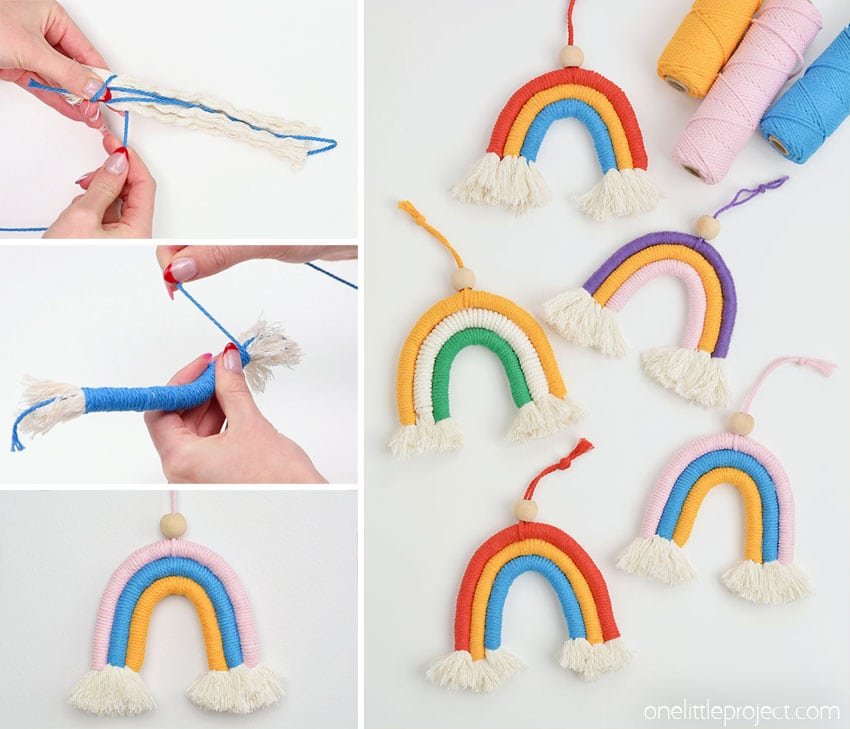
We love how cute and friendly this macrame rainbow looks! The wrapping on these rainbows takes a bit of time, but it’s super easy and relaxing to do while you’re watching TV or chatting with a friend.
Here’s even more macrame craft ideas:
The inside of the rainbows (the white fringe you see sticking out the bottoms) is 8mm braided macrame rope. It easily pulls apart into three separate cord sections.
The colourful macrame cord, that gets wrapped around the rainbow base, is 2mm cotton macrame cord. You can also wrap embroidery floss or yarn to create the rainbow.
Some people put thin wire inside the macrame rope to help the rainbows keep their shape, but this isn’t necessary. The arches keep their shape well without wire, and you can make them as narrow or as wide as you’d like!
Use the macrame rainbow as a wall hanging, or string a bunch of them together to create a garland! Or you can hang them on a baby mobile in colours matching the nursery.
If you make a smaller macrame rainbow, with a thinner inside cord, they make adorable keychains! Simply attach a jump ring and keychain to the top arch instead of the hanger.
Our macrame rainbows are about 5 inches across and 4-1/2 inches tall (including fringe).


