Yarn Wrapped Bunny
Jump to:
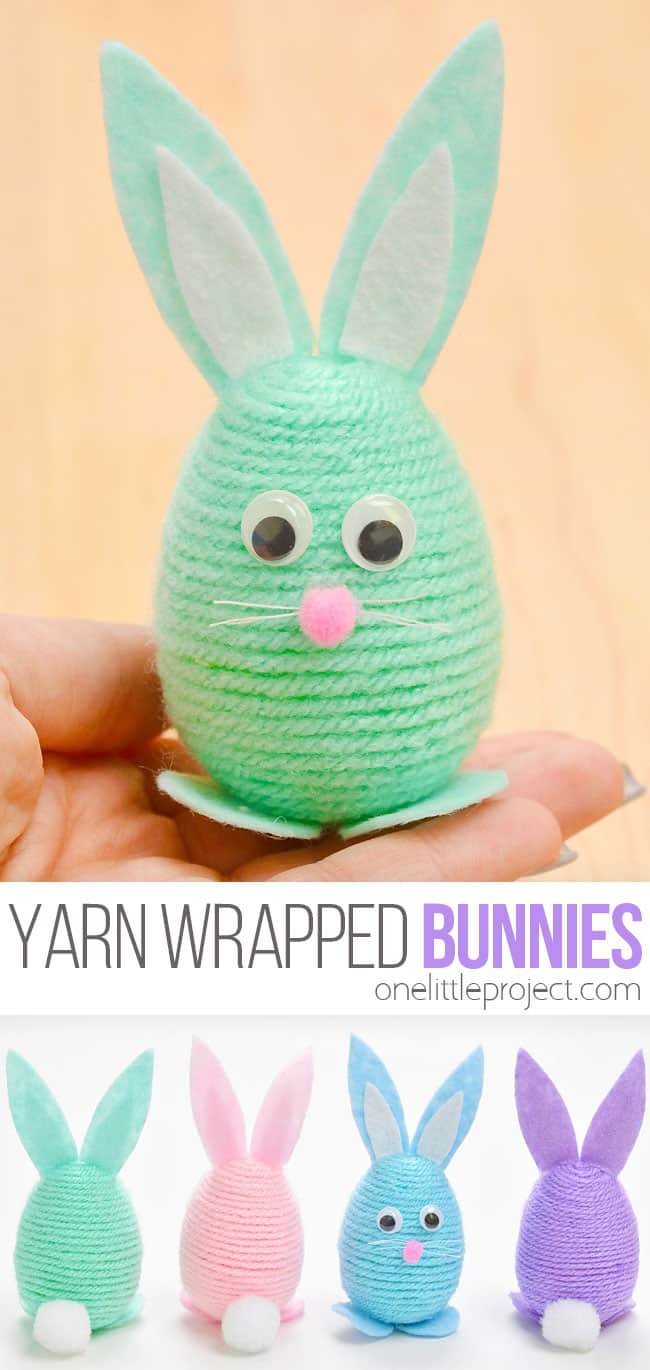
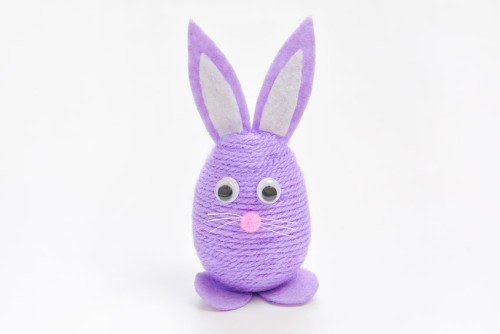
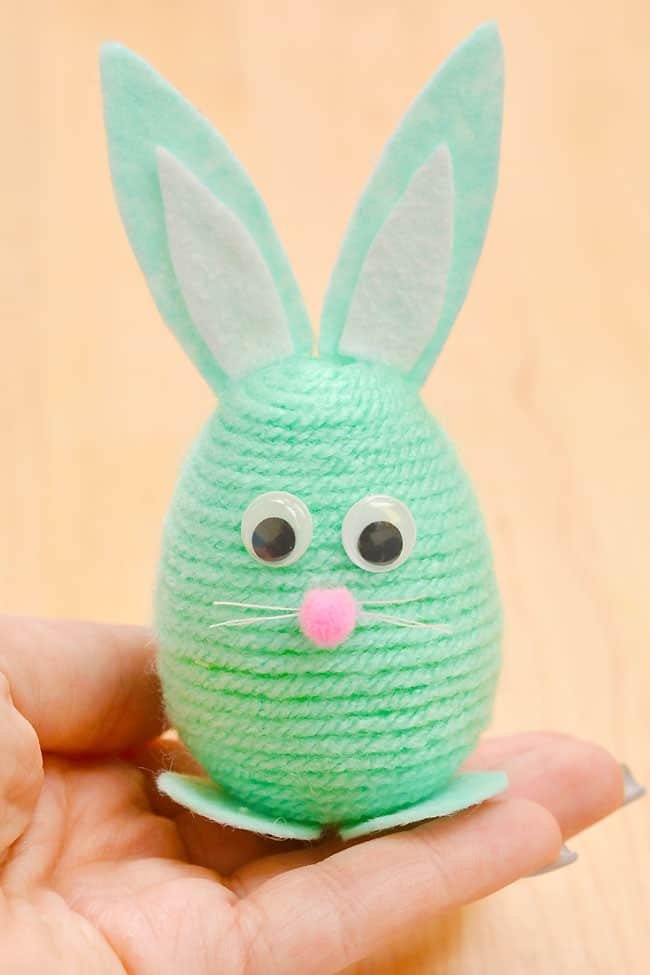
This yarn wrapped bunny is SO CUTE! Wrap a plastic egg with yarn and transform it into an Easter bunny using a few simple craft supplies!
This Easter craft is not only cute, it’s really easy to make using our free, printable template. It’s a fun and simple spring craft that both kids and adults can have fun with!

How to Make a Yarn Wrapped Bunny
Materials:
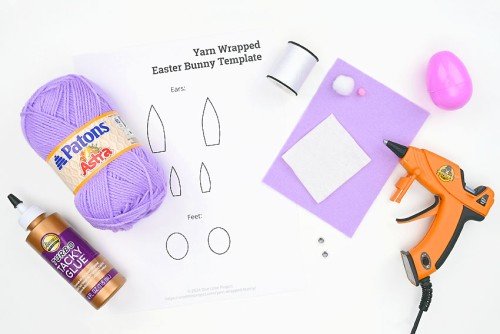
- Free Printable Yarn Wrapped Bunny Template
- Plastic Easter egg
- Tacky glue
- Worsted weight yarn(spring/Easter colours)
- Felt(1 colour and white)
- Googly eyes
- Small pink pom pom(1/4 inch)
- White pom pom(s)(1 inch)
- White thread
Instructions:
Step 1: Find what you need
- Gather your supplies and materials.


Step 2: Wrap a plastic egg with yarn
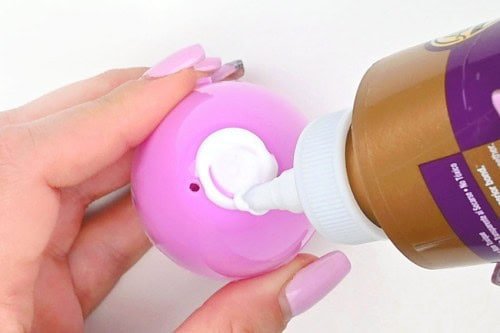
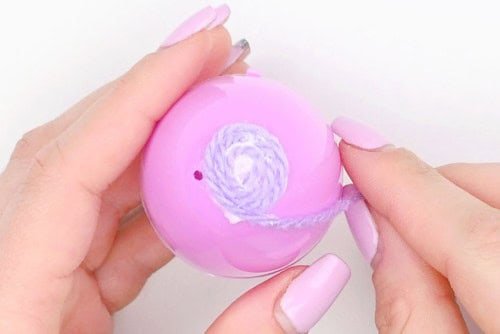
- Add a generous circle of tacky glue to the top of the plastic egg.


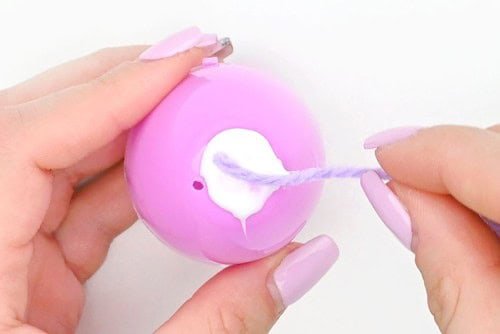
- Place the end of the yarn (still attached to the ball) in the center of the glue. Press it down and wait at least 30 seconds for it to stick.


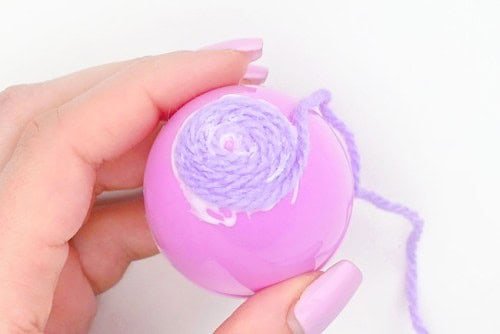
- Hold the end of the yarn down while wrapping it around itself in a circle.


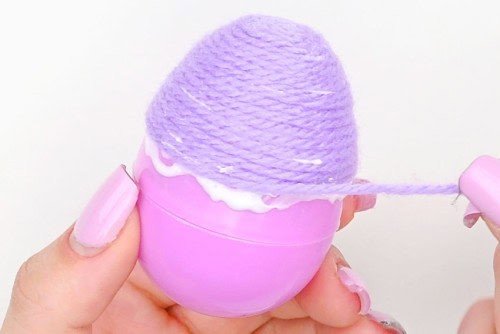
- Add more glue below the yarn and continue wrapping it around.You can either spin the egg in your hand while holding the yarn, or you can wrap the yarn around while holding the egg still — whichever is more comfortable for you.


- Continue wrapping the yarn around the egg, adding more glue when needed.As you work, continue to push down on the yarn to keep it in place.


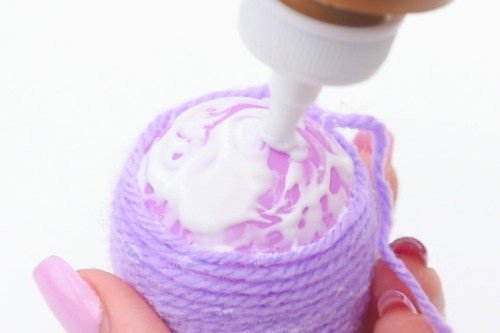
- When you reach the bottom of the egg, cover the whole area in glue.


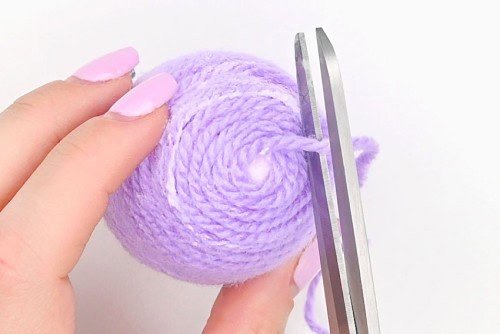
- Continue wrapping the yarn around the egg carefully. It’s more likely to slide off closer to the bottom.When you’re close to the bottom center of the egg cut the yarn, leaving about a 1/4 inch extra at the end (or however much you need to fill in the end).


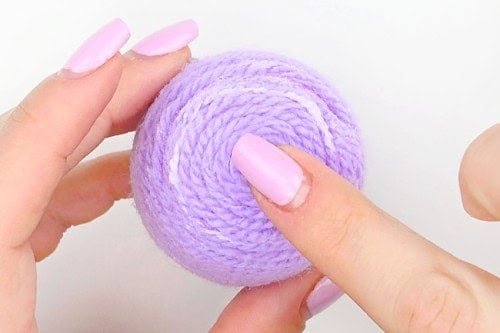
- Twist the yarn into the bottom center and push down.Allow the glue to dry.


Step 3: Cut out the template pieces
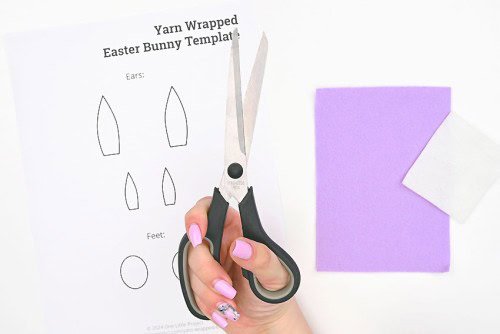
- While the egg is drying, print the template and cut out the pieces.Then use the template pieces to cut out the felt pieces. Cut the larger ears and feet from a colour that matches the yarn. Cut the inner ears from white felt.


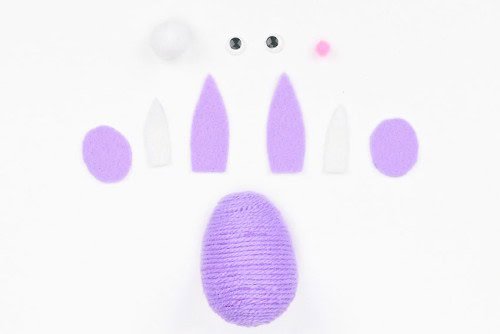
- Gather all the pieces of the bunny. Besides the wrapped egg and felt pieces, you’ll also need a white pom pom tail, a small pink pom pom nose, and 2 googly eyes.


Step 4: Glue the felt pieces to the yarn covered egg
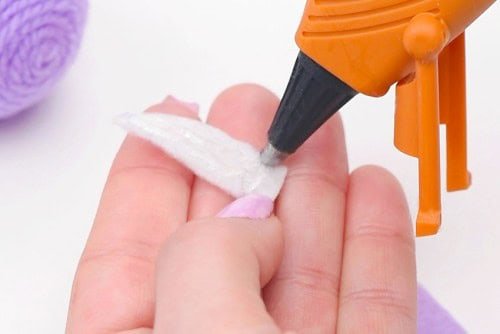
- Add hot glue or tacky glue to one side of the inner ear piece.


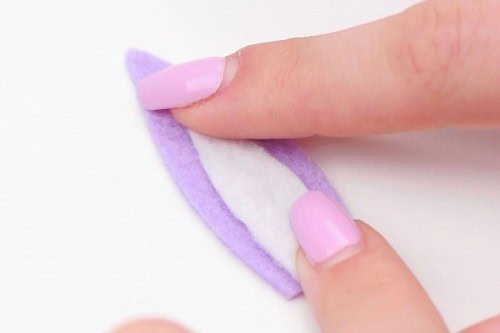
- Attach the inner ear to the larger ear piece, lining up the pieces at the bottom.Repeat for the second ear.


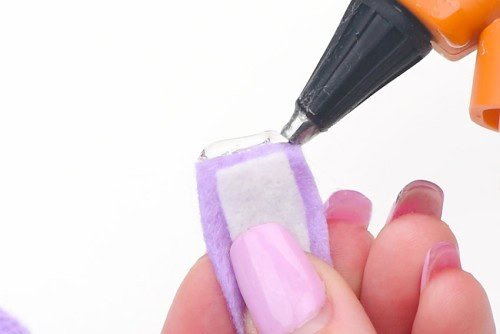
- Add a thin line of hot glue to the bottom of the ear.


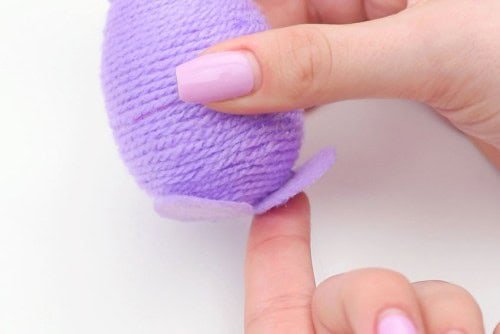
- Place the ear on top of the egg, off to one side. Then add the second ear beside it.


- Add hot glue to the back half of the feet. Set the egg into the glue so that the feet are sticking out towards the front.


Step 5: Add a tail and face on the bunny
- Add hot glue to the white pom pom. Attach it to the bottom back of the egg, so the bunny is almost sitting on it.This will help balance the bunny and make it stand up.


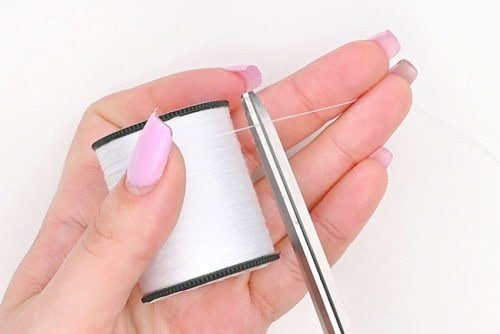
- Cut 3 pieces of white thread about 1 inch long.


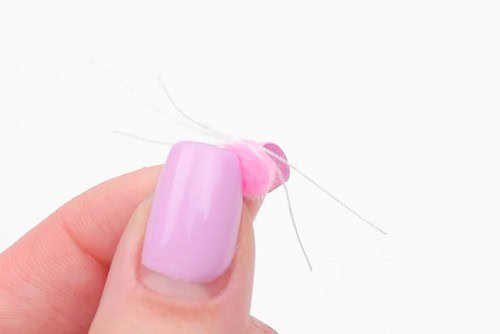
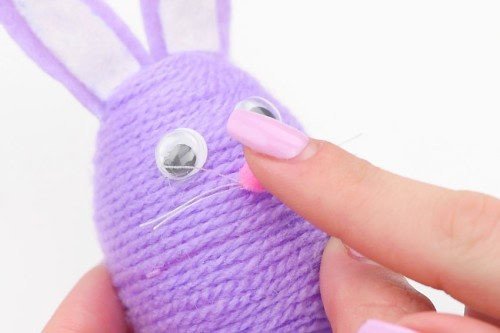
- Add a dot of hot glue or tacky glue onto the pink pom pom. Press the center of each piece of thread into the glue.Add one piece going straight across and the other two at opposite angles. These are the bunny’s whiskers.


- Use hot glue or tacky glue to attach the googly eyes and nose to the front of the egg.


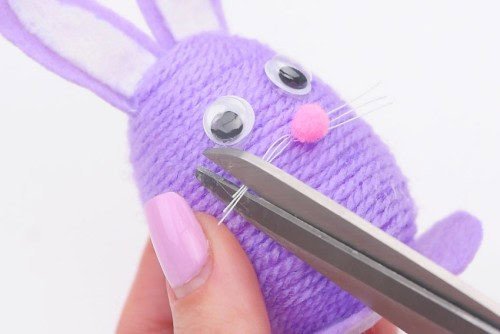
- If necessary, trim the whiskers so that they’re even.


- Your yarn wrapped bunny is complete!


Helpful Tips:
- Make sure the yarn on the top of the egg doesn’t pop off as you wrap. Keep pushing it down as you work, or do the egg in sections, waiting a few minutes for each part to dry before continuing.
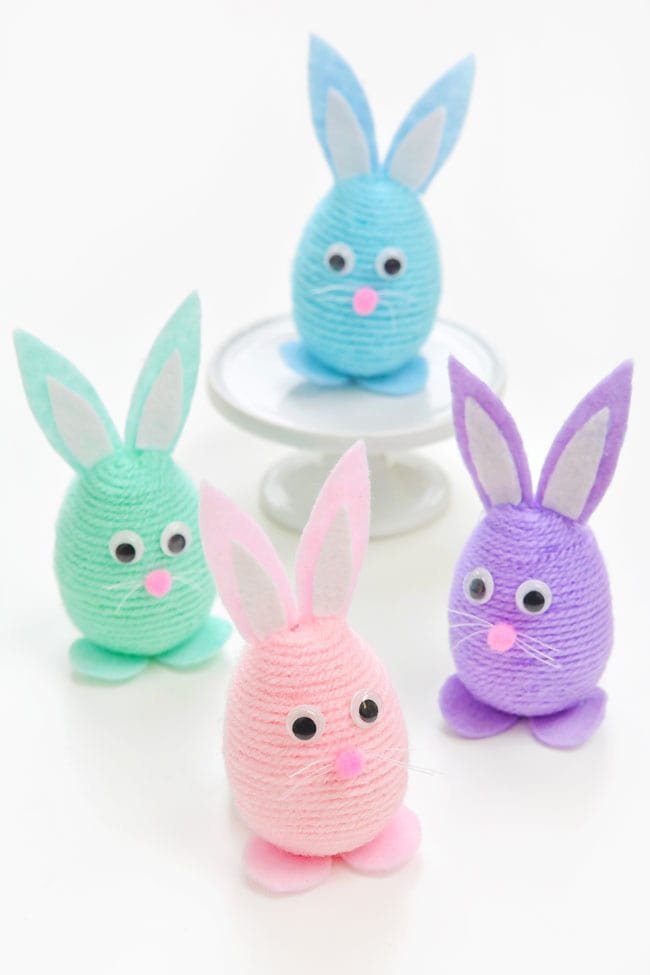
- Make a multi-coloured bunny by wrapping your egg in different colours of yarn!

Get our free printable yarn wrapped bunny template:
The link below will take you to our free, printable yarn wrapped bunny template! The PDF file will open in a new window. Then simply print the template on 8.5 x 11 (letter size) printer paper.
>>> Yarn Wrapped Egg Easter Bunny Template <<<

How can I get the whiskers neatly onto the nose pom pom?
It can be difficult to get the small pieces of thread lined up nicely on the bunny’s nose. We found it helpful to use craft tweezers to arrange the thread.
You can also add the whiskers onto the nose using tacky glue. This gives you more time to arrange them nicely and move them around while the glue is still wet.
Or make the whiskers with thin floral wire! It’s a bit thicker and less flexible, making it easier to work with.


What type of egg is used to make a yarn wrapped bunny?
We used plastic eggs (bought at the dollar store), but you could also use an egg made from paper mache, wood, or styrofoam. You can also use a blown out egg shell if you’re careful while wrapping it.
What if I don’t have pom poms for this yarn wrapped bunny?
We used a small pink pom pom for the bunny’s nose and a larger white pom pom for its tail. If you don’t have pom poms there are definitely some alternatives.
We suggest cutting a small piece of felt for the bunny’s nose and making a small yarn pom pom for its tail.


Use a yarn wrapped bunny to decorate your house this spring! Make yarn Easter eggs and then add a few simple details to create this adorable Easter bunny craft in all your favourite colours.
