Crochet Jellyfish
Jump to:
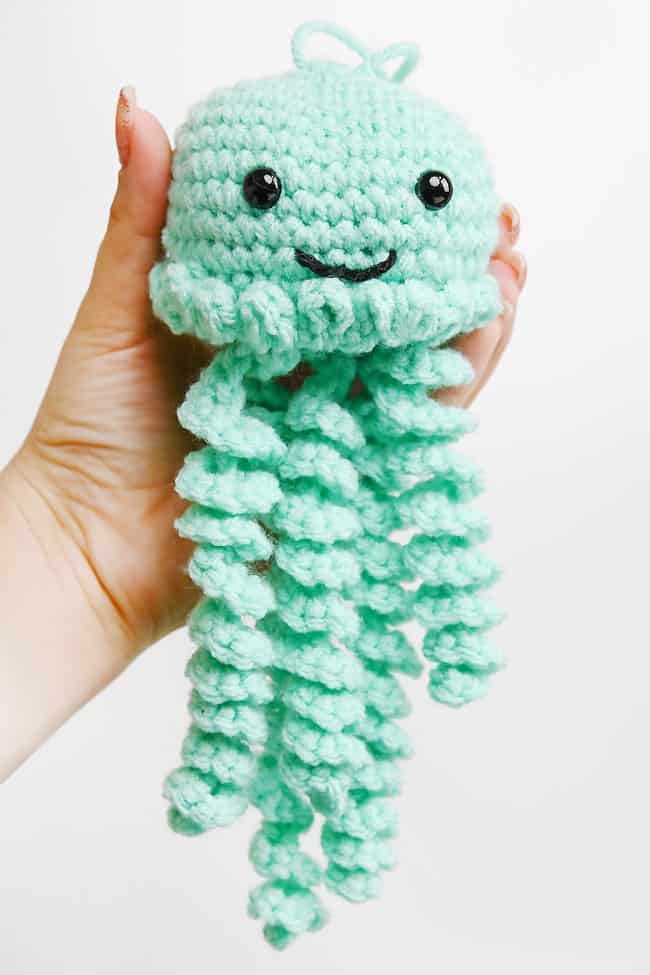
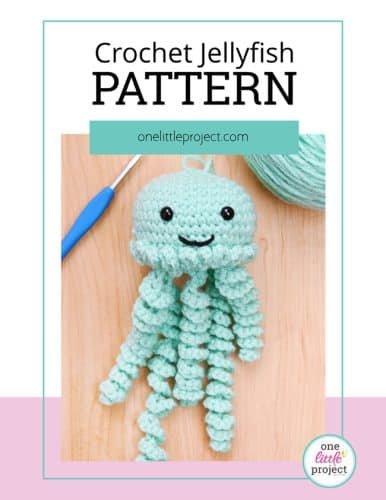
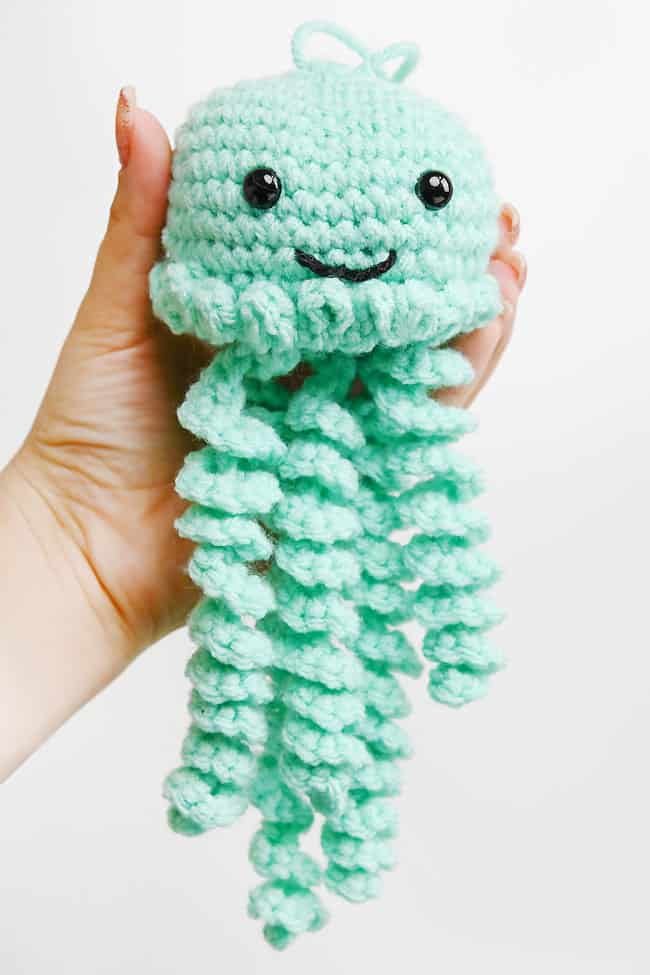
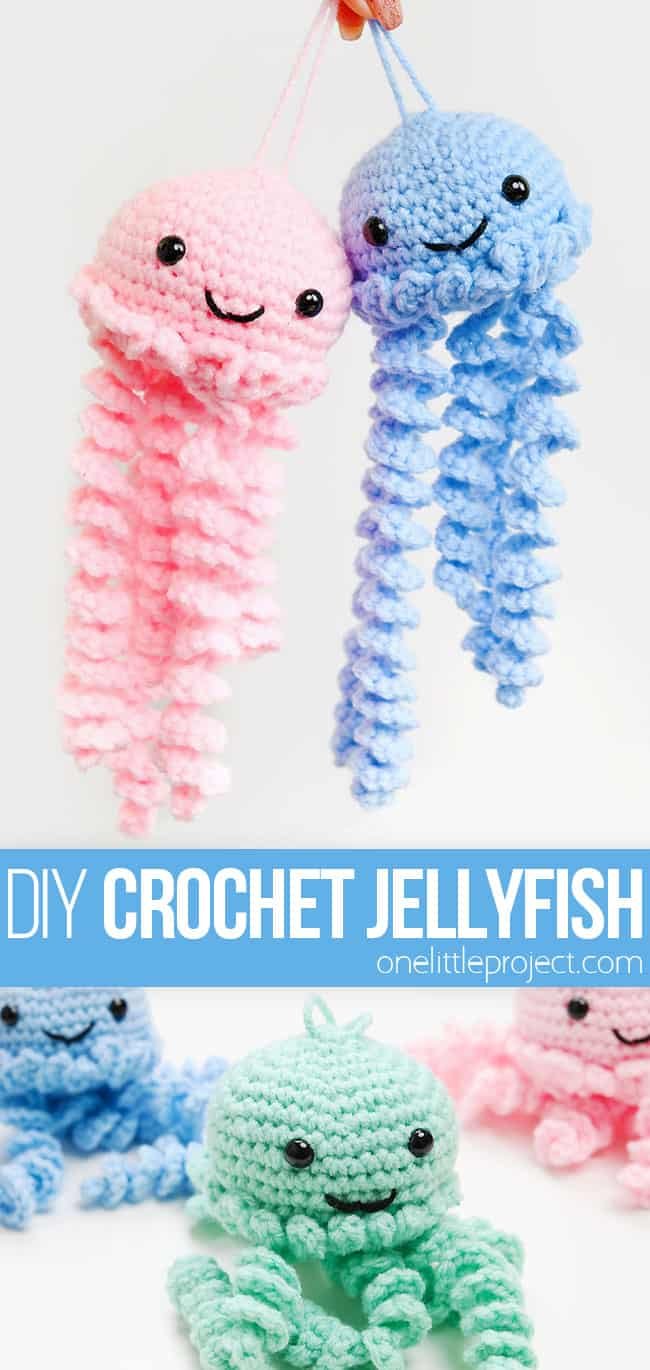
Create a touch of ocean magic with a crochet jellyfish! This jellyfish crochet pattern is SO CUTE and it works up really quickly. It’s a fun project for both crochet beginners and experienced crocheters looking for a quick and easy project.
Use our free, printable crochet jellyfish pattern to make this adorable amigurumi sea creature. Keep it as a DIY toy, or add a hanger to turn it into an ornament or nursery decoration. Let’s dive in!
This post contains affiliate links. If you use these links to buy something we may earn a small commission which helps us run this website.
How to Make a Crochet Jellyfish
Materials:
- Free Printable Crochet Jellyfish Pattern
- Worsted weight yarn(jellyfish colour and black)
- Safety eyes(8mm or size of choice)
- Fiber fill stuffing
Equipment:
Instructions:
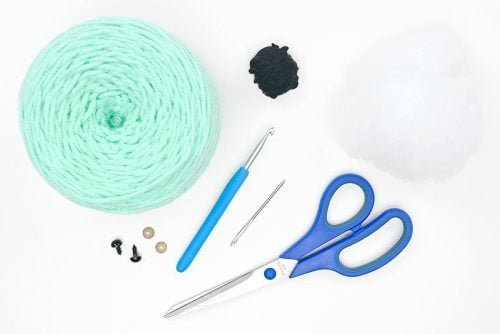
Find what you need:
- Gather your supplies and materials.


Round 1:
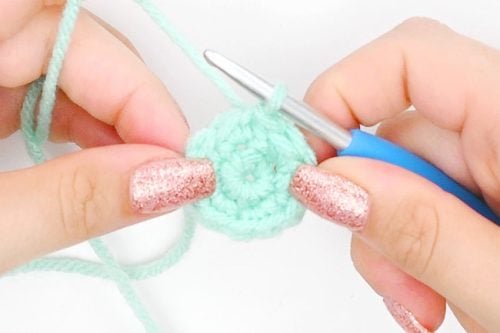
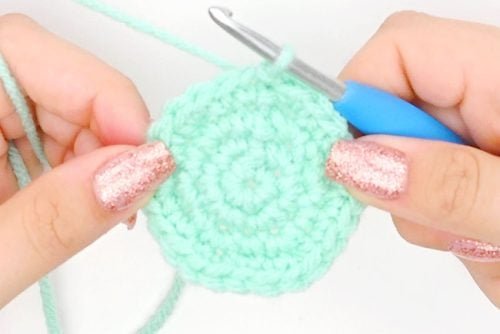
- Make a magic circle and insert 6 single crochet into it. Pull the tail to tighten it and slip stitch into the first stitch. (6)


Round 2:
- Chain 1 and insert 2 single crochet into each stitch around (an increase). Slip stitch into the first stitch. (12)


Round 3:
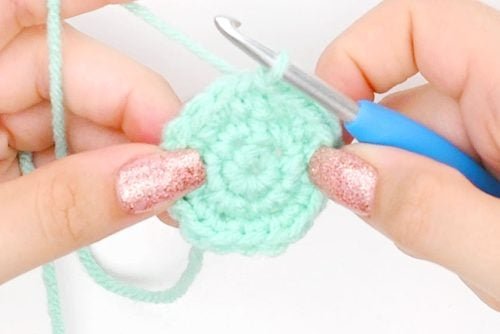
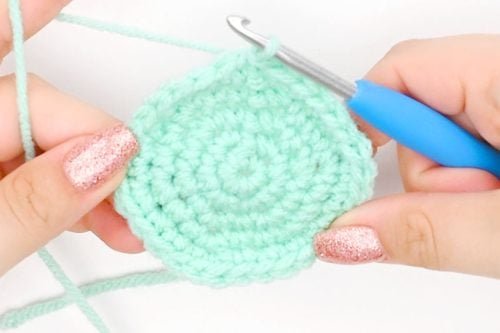
- Chain 1 and insert 1 single crochet into the first stitch. Insert 2 single crochet into the next stitch (an increase).Repeat this pattern all the way around and slip stitch into the first stitch. (18)


Round 4:
- Chain 1 and insert 1 single crochet into each of the first two stitches. Then insert 2 single crochet into the next stitch (an increase).Repeat this pattern all the way around and slip stitch into the first stitch. (24)


Round 5:
- Chain 1 and insert 1 single crochet into each of the first three stitches. Then insert 2 single crochet into the next stitch (an increase).Repeat this pattern all the way around and slip stitch into the first stitch. (30)


Round 6:
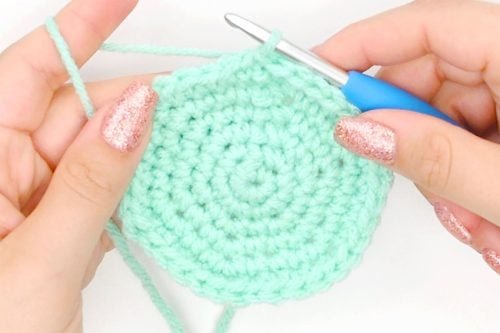
- Chain 1 and insert 1 single crochet into each of the first four stitches. Then insert 2 single crochet into the next stitch (an increase).Repeat this pattern all the way around and slip stitch into the first stitch. (36)


Round 7:
- Chain 1 and insert 1 single crochet into each of the first five stitches. Then insert 2 single crochet into the next stitch (an increase).Repeat this pattern all the way around and slip stitch into the first stitch. (42)


Rounds 8 – 11:
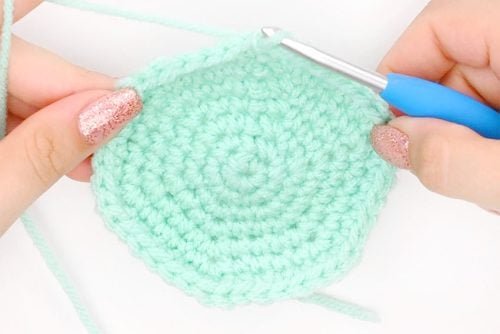
- Chain 1 and insert 1 single crochet into each stitch around. Slip stitch into the first stitch. (42)


Add the safety eyes:
- Flip the jellyfish right side out. Insert the safety eyes between the 8th and 9th rows, spacing them about 1-1/2 inches (or 7 stitches) apart. Secure them in place with the washers.


Round 12:
- Chain 1 and insert 1 single crochet into each of the first 5 stitches. Single crochet the next 2 stitches together (a decrease).Repeat this pattern all the way around and slip stitch into the first stitch. (36)


Round 13:
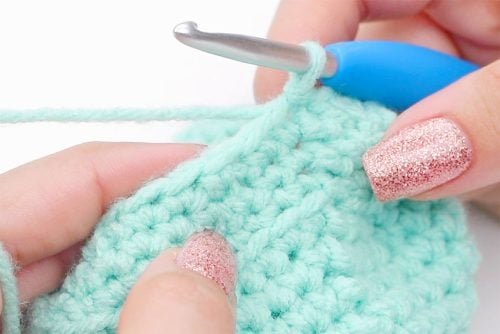
- Insert 1 single crochet into the back loop only of each of the first 4 stitches.Continuing in the back loops only, single crochet the next 2 stitches together (a decrease).Repeat this pattern all the way around and slip stitch into the first stitch. (30)


Round 14:
- Chain 1 and insert 1 single crochet into each of the first 3 stitches. Then single crochet the next 2 stitches together (a decrease).Repeat this pattern all the way around and slip stitch into the first stitch. (24)


Round 15:
- Chain 1 and insert 1 single crochet into each of the first 2 stitches. Then single crochet the next 2 stitches together (a decrease).Repeat this pattern all the way around and slip stitch into the first stitch. (18)


Round 16:
- Chain 1 and insert 1 single crochet into the first stitch. Then single crochet the next 2 stitches together (a decrease).Repeat this pattern all the way around and slip stitch into the first stitch. (12)


Stuff the jellyfish:
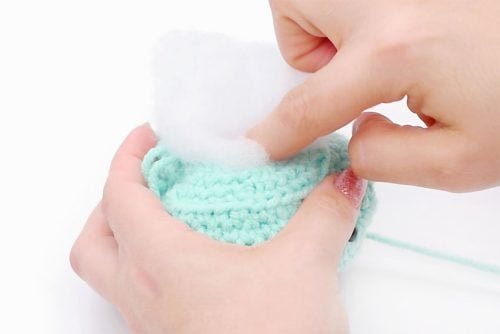
- Stuff the jellyfish body until you’re happy with the firmness.


Round 17:
- Chain 1 and single crochet the first 2 stitches together. Repeat, decreasing 6 times total. Then slip stitch into the first stitch (6)


Close off the jellyfish:
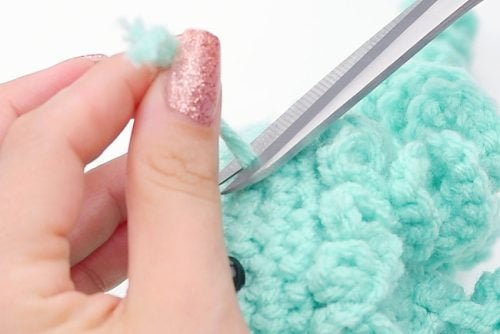
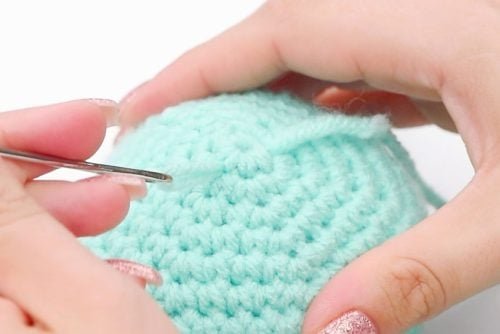
- Cut and tie off your yarn. Use the yarn needle to insert the tail through the 6 final stitches and then pull the end to close off the hole.


- Sew the remaining tail into the body and cut off the last bit of yarn.


Add a ruffle around the jellyfish:
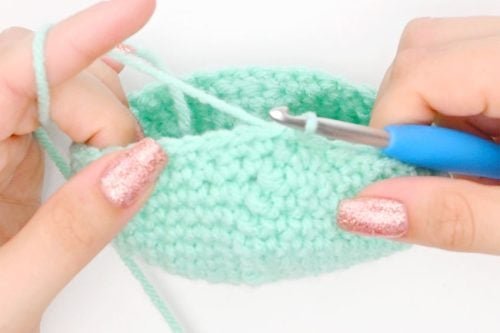
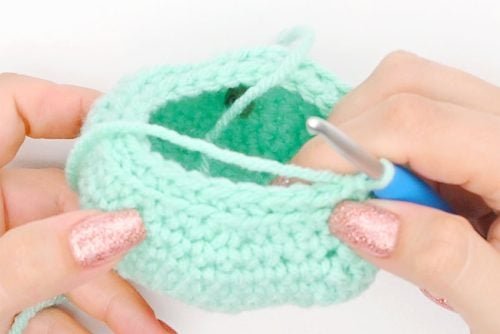
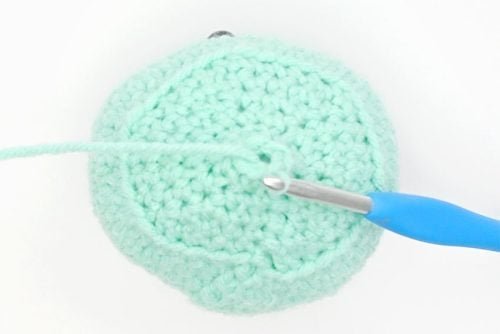
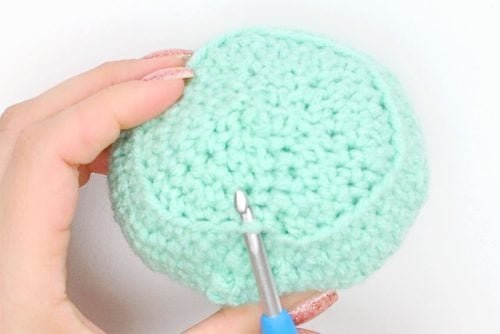
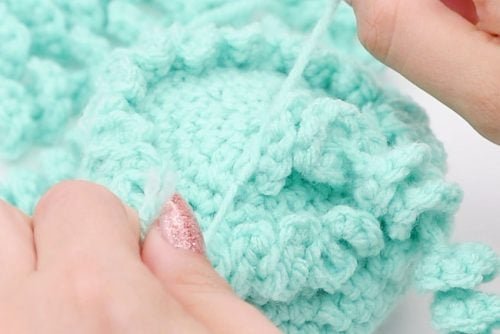
- Insert your crochet hook into a stitch on row 13. There should be a little ridge sticking out where you made the stitches in the back loop only.


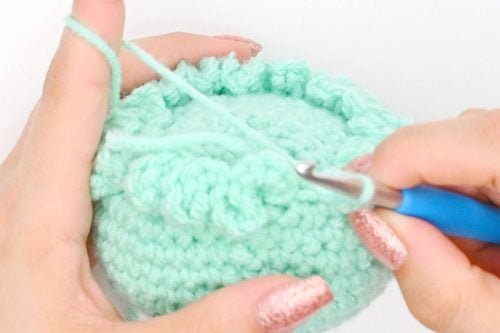
- Work in the yarn, chain 1, and insert 5 single crochet into the same stitch.


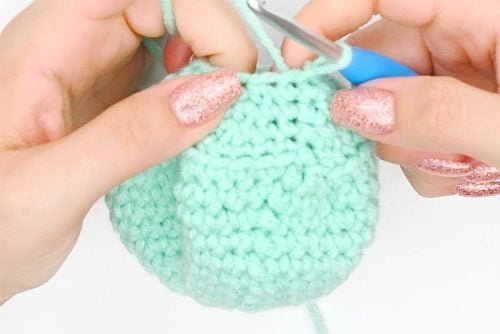
- Continue, adding 5 single crochet into each stitch around. Slip stitch into the first stitch, and cut and tie off your yarn.


Make the tentacles:
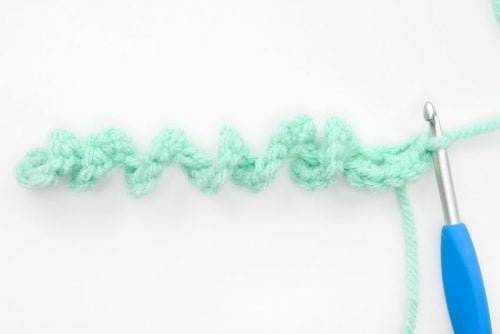
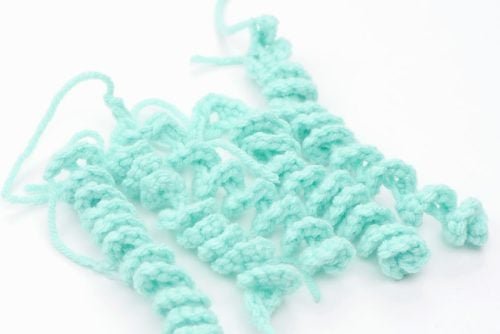
- Make a slip knot and chain 25. Insert 3 single crochet into the first chain.Repeat all the way across. The tentacle should begin to curl on its own. Cut and tie off your yarn.


- Repeat, making as many tentacles as you’d like (we made 5 total). Adjust the number of starting chains to make different lengths of tentacles.


Attach the tentacles:
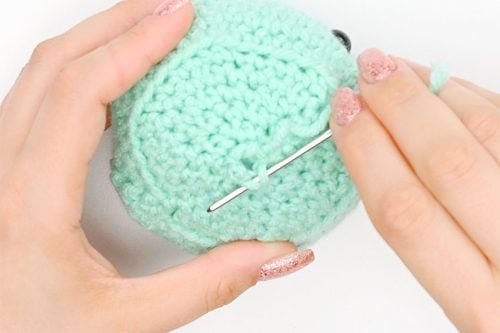
- Sew one of the tentacle tails into the bottom of the jellyfish and tie the 2 tails into a triple knot to secure it in place.


- Sew the tails into the jellyfish body and cut off any excess yarn. Repeat for the remaining tentacles.


Add the mouth and hanger:
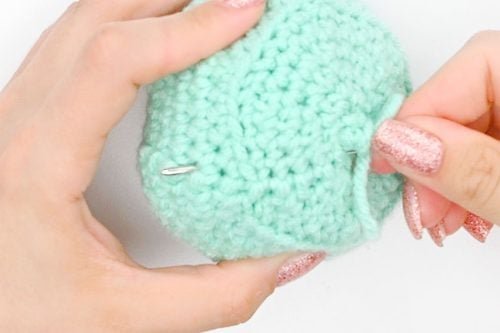
- Use black yarn to sew a mouth onto the jellyfish. Place it 2 rows below, and in between, the eyes.


- Cut an 8 inch piece of yarn that matches the jellyfish body. Sew one end through the top of the jellyfish


- Tie the 2 ends in a knot to form a hanger for the jellyfish.Then, if you’d like, push the knot through the jellyfish head to form a clean looking looped hanger.


- Your crochet jellyfish is complete!


Helpful Tips:
- We write all of our crochet patterns using US terminology.
- Make a crochet jellyfish in your favourite colour, or use variegated yarn for a multi-coloured jellyfish!
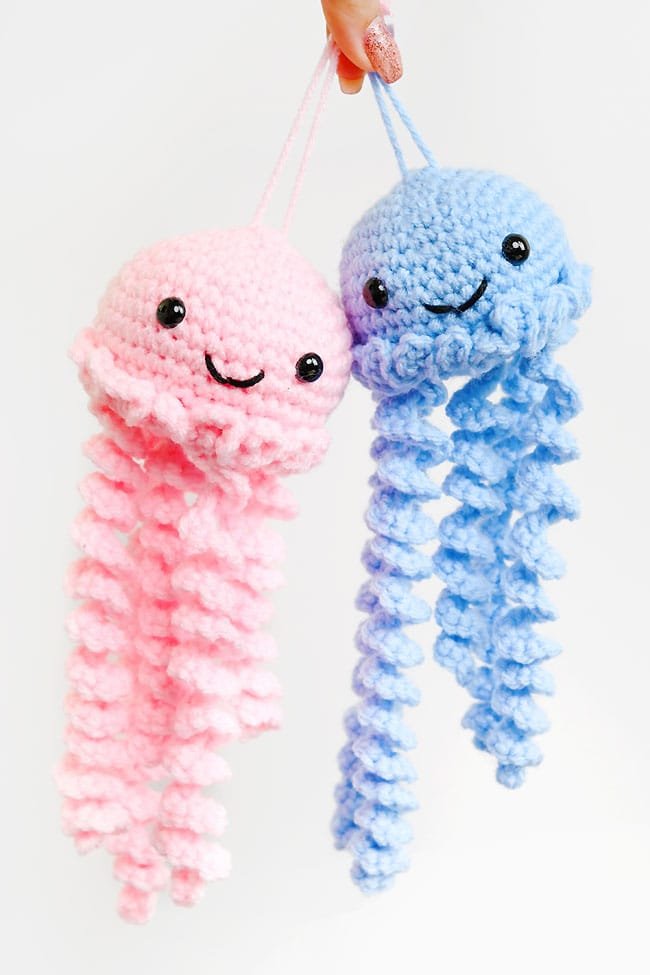

Get our free crochet jellyfish pattern:
Use the link or photo below to download our free, printable jellyfish crochet pattern! The 9 page PDF file will open in a new window. Then simply follow along with the crochet pattern on your device’s screen, or print it on 8.5 x 11 (letter size) printer paper.
>>>Crochet Jellyfish Pattern <<<
What size crochet jellyfish does this pattern make?
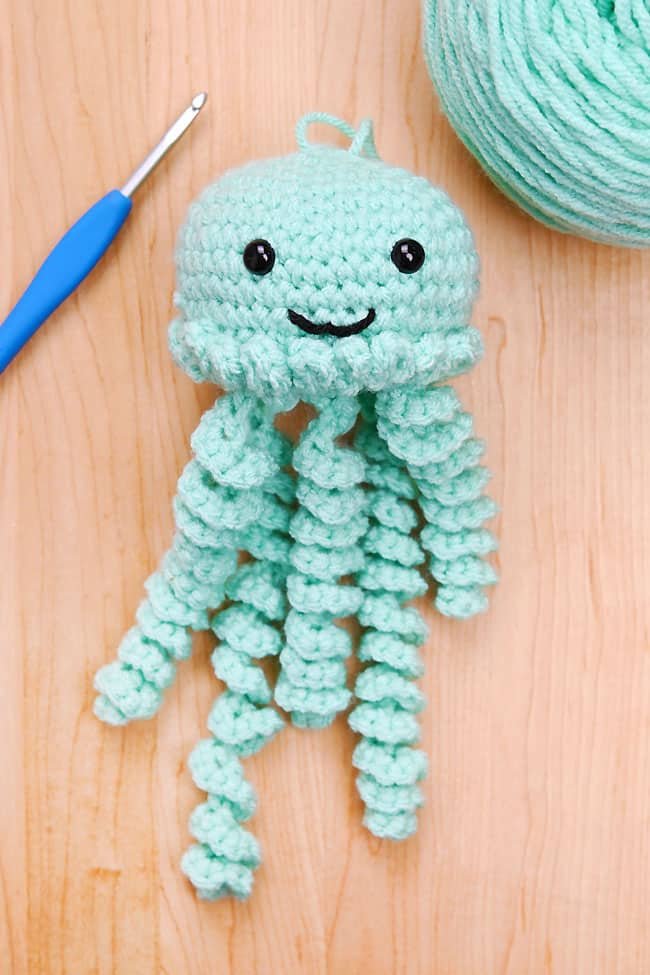
The actual jellyfish body is 2-1/2 inches tall with a diameter of about 3 inches. With the tentacles the jellyfish is almost 9 inches tall, or 11 inches including the hanger.
But you can easily make a larger jellyfish crochet toy by using blanket yarn and a larger hook size.

What can I stuff my crochet jellyfish with?
We used poly-fil (fiber fill) stuffing to stuff the body of our jellyfish, but you can also use stuffing from an old pillow or stuffed animal.
Or, if you don’t have stuffing, this is a great way to use up scrap bits of yarn or fabric. Pro tip: keep a desktop garbage can handy while you crochet or sew and throw all your ends and scraps into it. Eventually you’ll have enough small pieces to use as stuffing!

How long are the tentacles for this crochet jellyfish?
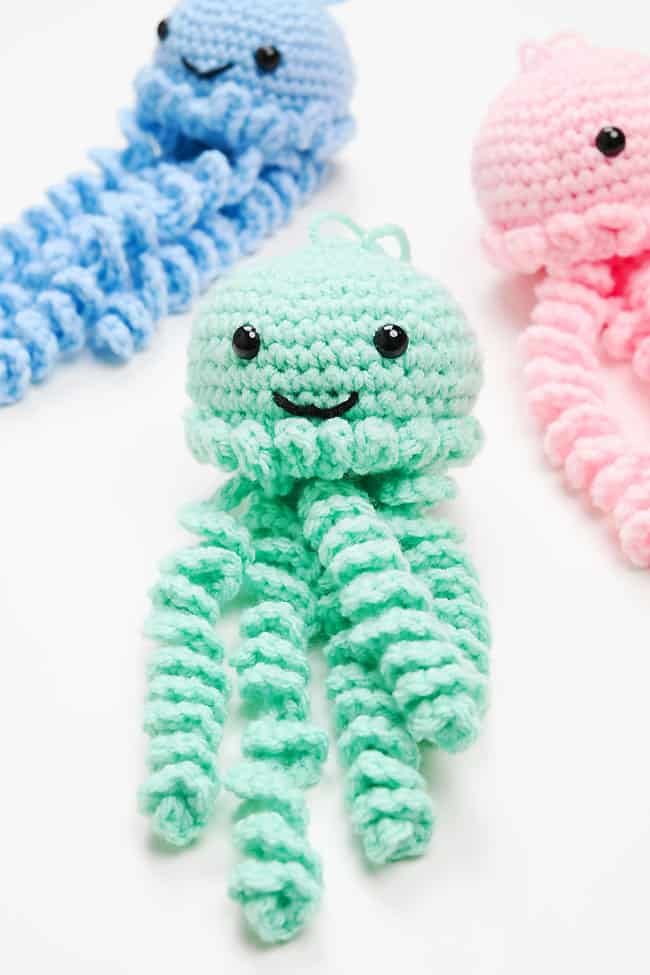
The longest tentacles, made with a 45 chain foundation, are about 6-1/2 inches long. The shortest, made with 25 chains, are just over 4 inches long.
You can easily make longer or shorter tentacles by increasing or decreasing the number of chains at the beginning.
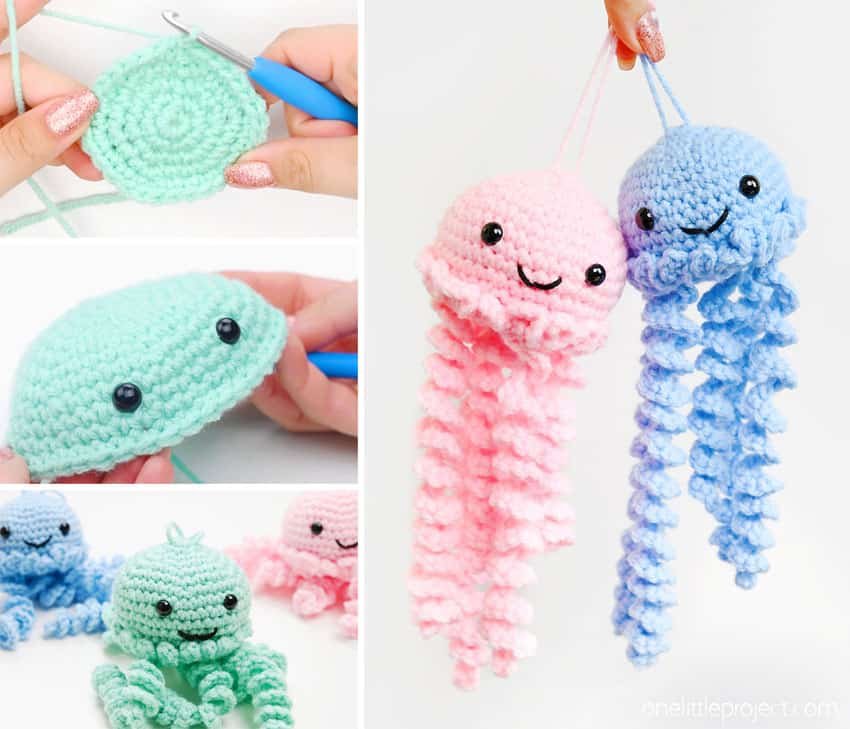
Looking for a beach or ocean themed crochet project? This crochet jellyfish is the perfect choice! It makes a great homemade gift or stocking stuffer, and it’s also great for selling at craft shows. Make them in all your favourite colours!
Here’s even more fun crochet ideas:
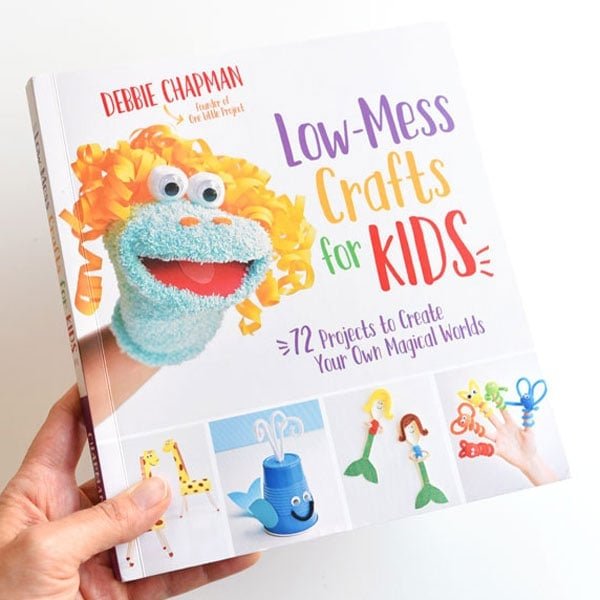
Our book Low-Mess Crafts for Kids is loaded with 72 fun and simple craft ideas for kids! The projects are fun, easy and most importantly low-mess, so the clean up is simple!
Where to buy:
You can purchase Low-Mess Crafts for Kids from Amazon, or wherever books are sold:


