How To Make Pom Pom Bunnies
Jump to:
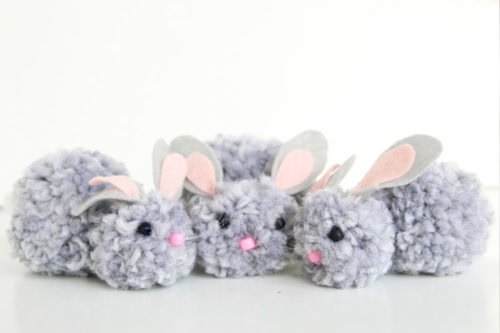
Pom pom bunnies are a fun and easy craft project perfect for kids or adults. In this tutorial, we guide you step-by-step through the process of creating these adorable bunnies using yarn and simple supplies.
I discovered pom pom making this year when I was in the process of wrapping Christmas gifts. I was addicted to making them in all sizes and colors of yarn to top my gifts. When I saw these pom pom bunnies on Pinterest, I was ecstatic to realize that my pom pom making did not have to stop with the holidays!
For some reason, animal crafts always inspire me for spring. I recently made some animal confetti globes (like snow globes for spring!) If you were really creative, you could probably come up with a variety of different animals to turn these pom poms into. You could also experiment with different colors and sizes! Although, I think these simple gray bunnies are just perfect for Easter!
I will be the first to admit that this project is not the quickest craft you will ever make. Trimming the pom poms to get them just right can be addictive and a little time consuming, but it’s such a fun project to do while watching your favorite show on Nextflix. My older girls also love giving the poms a “haircut” and putting together these bunnies, so it’s a great one for kids too!
How To Make Pom Pom Bunnies
The full printable instructions are at the end of the post, but here’s what you’ll need:
- Yarn (thicker, softer yarn works best)
- Felt
- Pony Beads
- Clear Thread
- Glue Gun
- Cotton Balls
- Scissors
These little guys would looks so cute peeking out of an Easter basket!
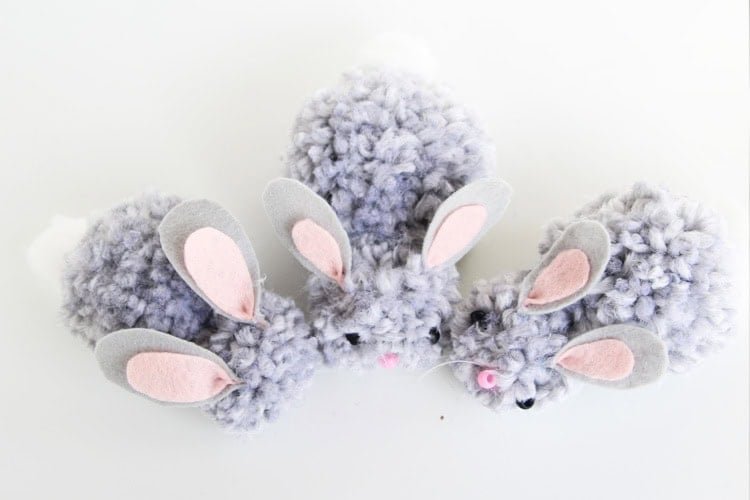
And I’m sure the kids will have a blast playing with them because they are SO soft and cuddly!
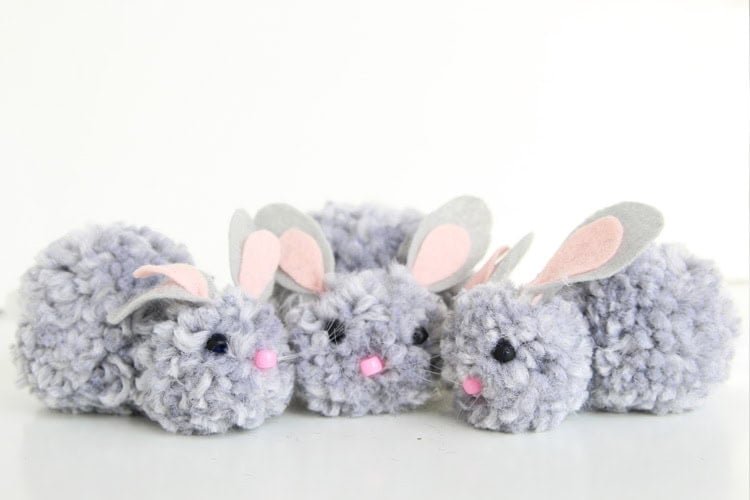
How To Make Pom Pom Bunnies
These little bunnies are super soft and so fun to make!
Materials
- Yarnsoft and thicker yarn works best
- Pony beads
- Felt
- Clear Thread
- Cotton Balls
Instructions
Making the Pom Poms
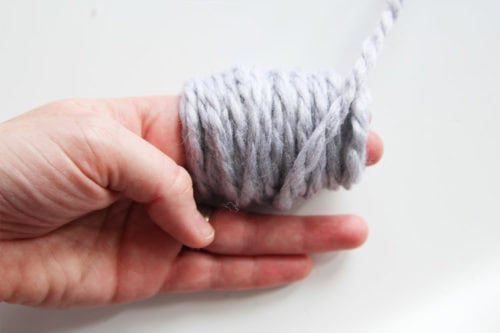
- Begin by wrapping the yarn around two fingers (smaller pom pom). Thicker, softer yarn works best. Wrap it around at least 60 times.


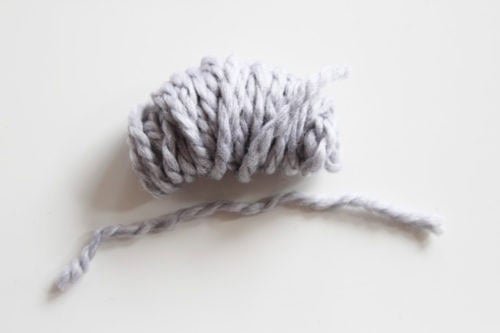
- Carefully slip the looped yarn off fingers, keeping the loops in tact. Cut a separate 5 inch piece of yarn.


- Slip the separate piece of yarn underneath the looped yarn and wrap it around to the front, tying it REALLY TIGHT.


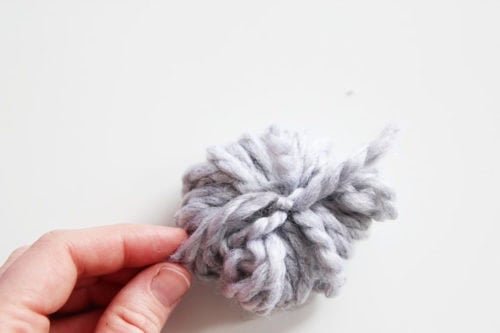
- Next, slip a pair of scissors through the loops and cut through them.


- Keep cutting all the loops. Your pom pom will look uneven and a little wonky. Trim it up and give it a “haircut” until it looks nice and even.


- For the second, larger pom pom, repeat the process above but wrap the yarn around the whole hand. Trim the larger one as well.


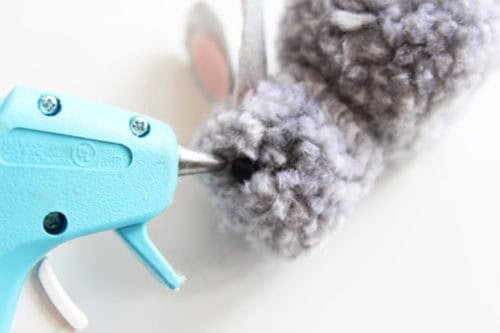
- Using a glue gun, attach the smaller and larger pom poms together (the smaller as the head, the larger as the body.)


Assembling your Bunny
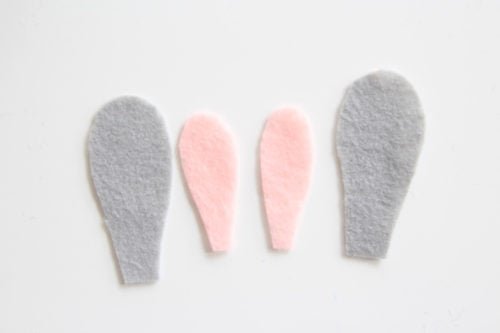
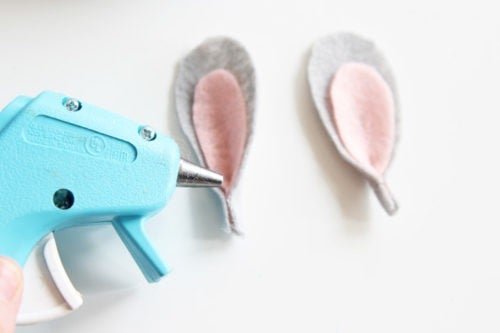
- Cut out some ear shapes out of gray felt and a smaller shape out of pink felt.


- Layer the pink on top of the gray and pinch the bottom. Glue the pinched portion together. Glue the ears to the head of the bunny.


- Next, take two black pony beads and glue them onto the smaller pom pom as eyes.


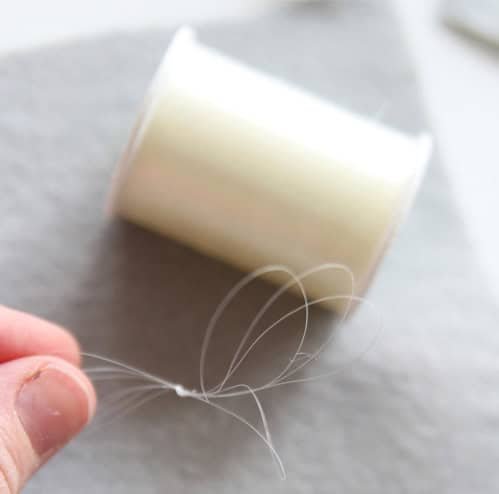
- For the whiskers, loop some clear thread together and tie it in half. Snip through the loops with scissors and glue it on the bunny’s face.


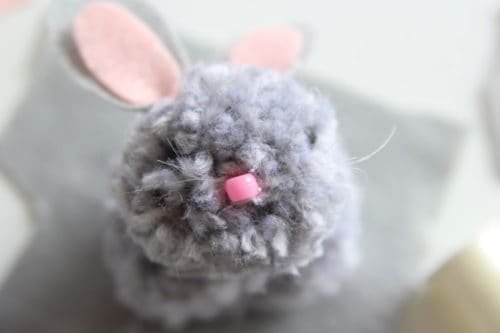
- Glue the pink pony bead on top for the nose.


- And finally, add a cotton ball onto the back of the larger pom pom for the tail.


- Your pom pom bunny is complete!


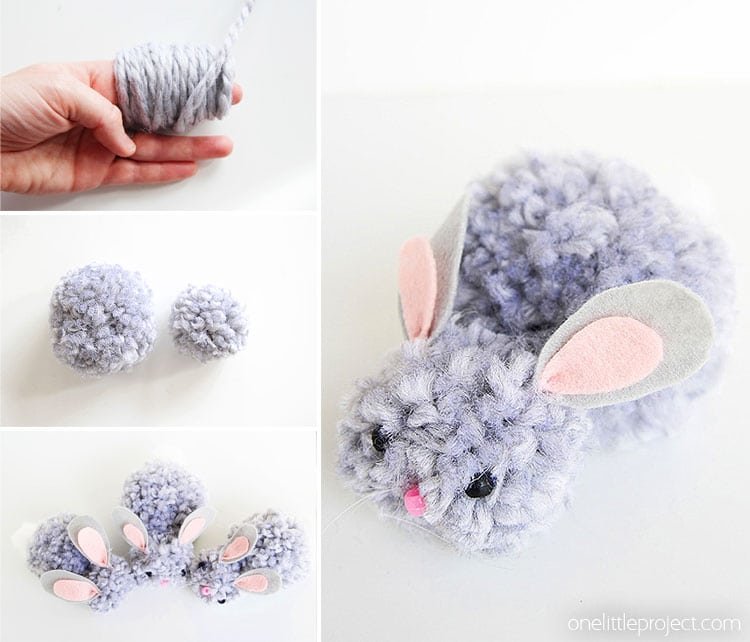

Turn on your favorite show and make these soft and snuggly little bunnies! Make them in all different sizes and you will find the process a little addicting!
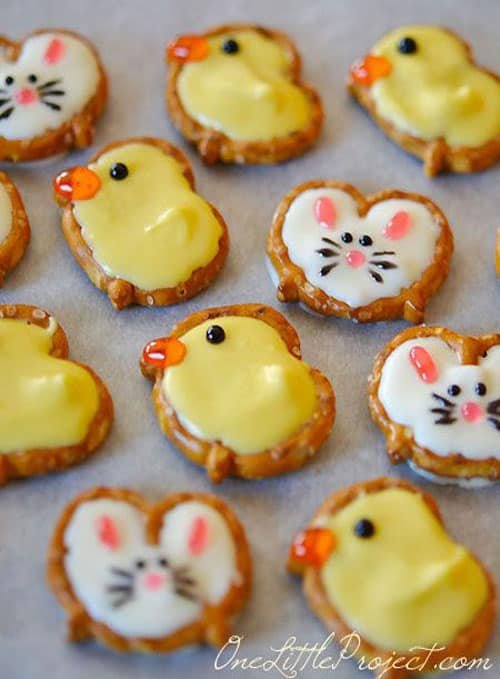
If you’re looking for more fun things to make this spring, check out our tutorial for making pretzel bunnies and ducks. These are so simple and look so adorable!


