Scandinavian Star Ornament
Jump to:
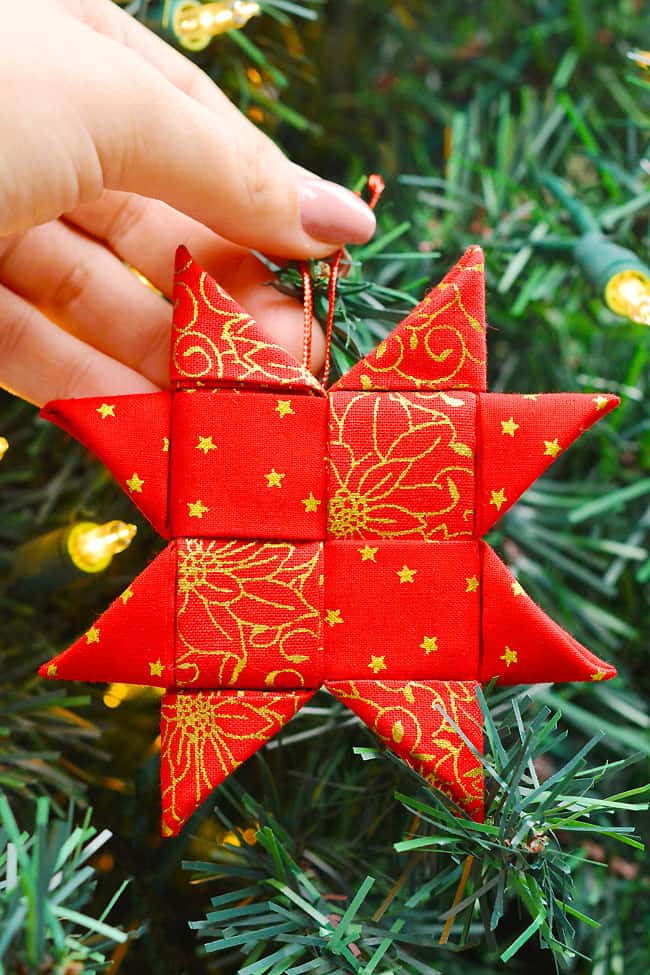
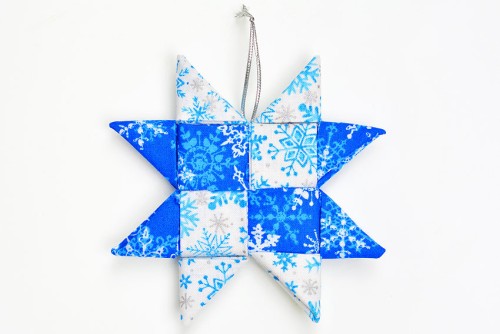
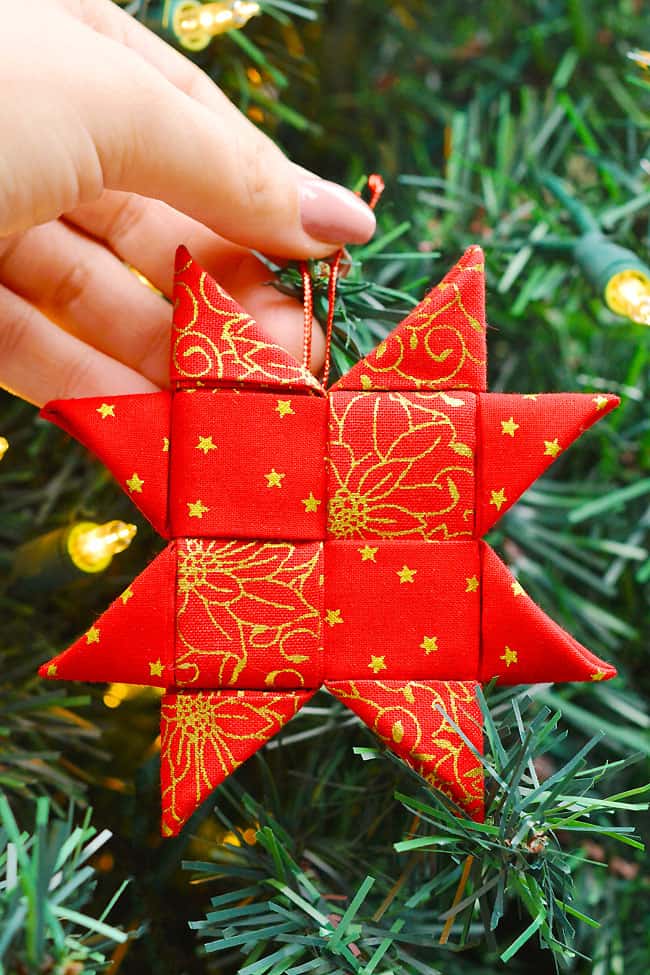
This Scandinavian star ornament is SO EASY to make! Make these no-sew Scandi stars in 30 minutes or less, and enjoy decorating your Christmas tree with a homemade ornament.
Follow our step by step photo and video tutorials and read our helpful tips on how to make these folded fabric star ornaments. They don’t require any sewing, and they’re such a fun and pretty holiday decoration!
This post contains affiliate links. If you use these links to buy something we may earn a small commission which helps us run this website.
How to Make a Folded Fabric Star Ornament
Materials:
Equipment:
- Point turner and creaser(optional)
Instructions:
Step 1: Find what you need
- Gather your supplies and materials.


Step 2: Cut and press the fabric strips
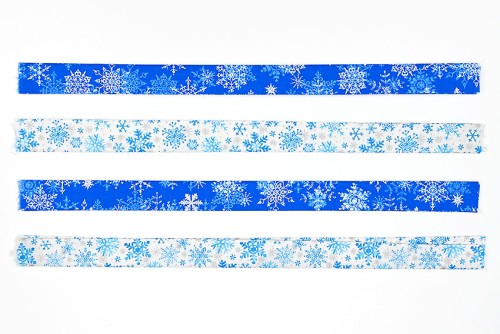
- Cut 4 pieces of fabric to be 4 inches wide and 16 inches long. We like using 2 pieces each of 2 different patterns.We recommend using a rotary cutter and quilting ruler to cut the fabric, but you can use what you have available. Just try to get the pieces as straight as you can.


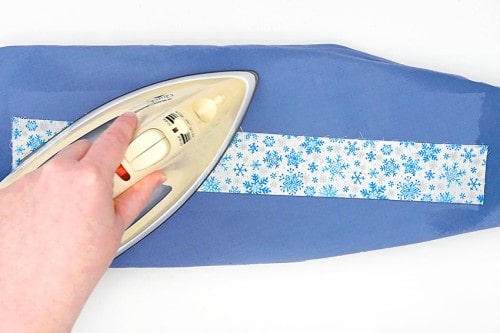
- Place one of the pieces of fabric on an ironing board and spray it with spray starch.


- Iron the fabric on medium heat, no steam, until it’s nicely pressed.


- Fold the piece of fabric in half, lengthwise, and iron the fold.


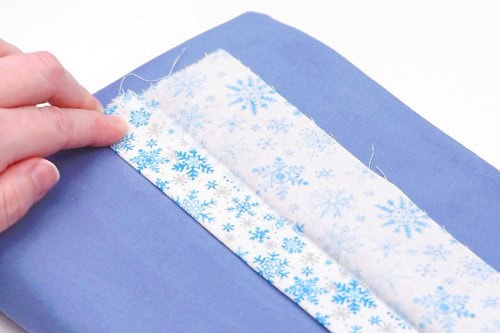
- Open the fabric back up and fold the bottom up so that it almost meets the center crease. Leave about a millimeter of space between.Iron the bottom fold into place.


- Now fold the top part of the fabric down to the center, again leaving a small space so it doesn’t quite meet the fold. Iron this fold into place.


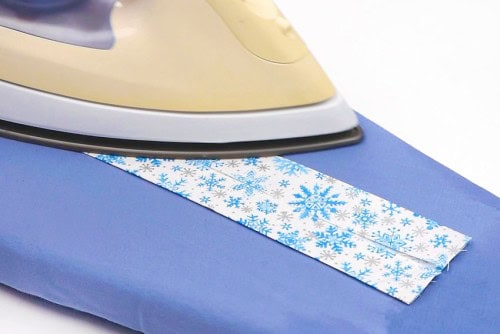
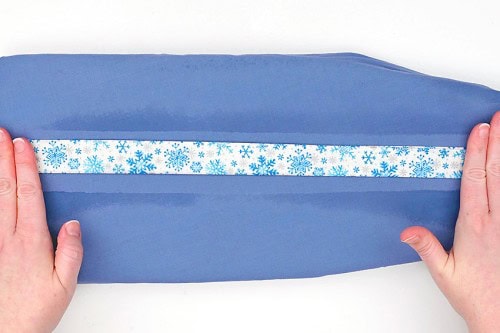
- Now fold the fabric in half and iron it some more. You may want to add a bit more spray starch at this point.


- Repeat with the other 3 pieces of fabric.


Step 3: Connect the fabric strips
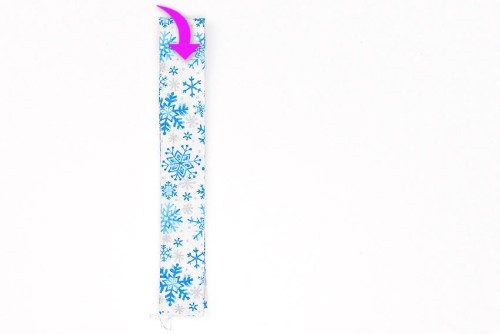
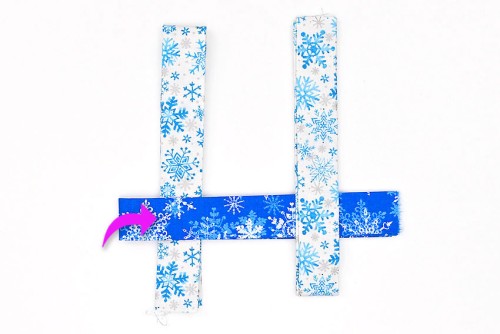
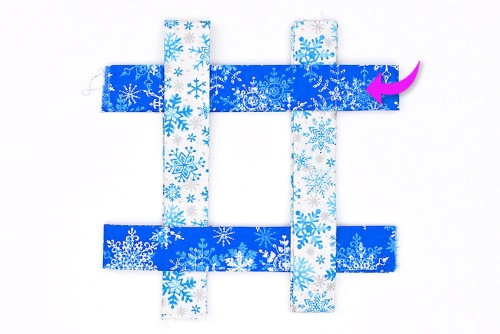
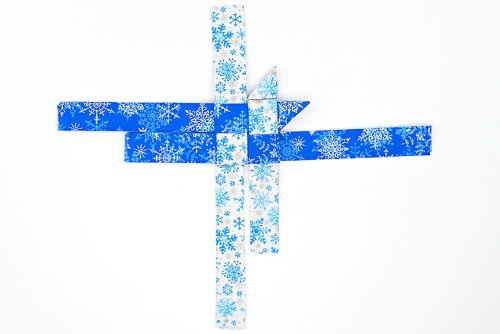
- Fold one of the strips in half and set it down with the fold at the top.


- Fold another strip of the same colour in half and set it to the right of the first piece, with the fold at the bottom.


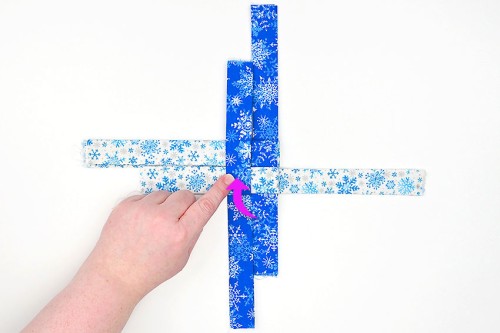
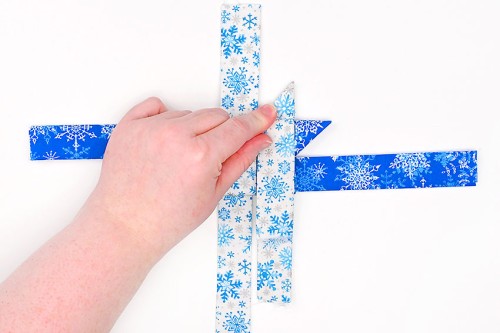
- Fold the next strip in half. Place it so that the fold is at the left, towards the bottom of the vertical strips.Open the fabric so that it goes around the left vertical piece (the white piece should be inside with the blue above and below it). Then bring the two layers together to place them inside the right vertical piece (so the blue is between the two white layers).


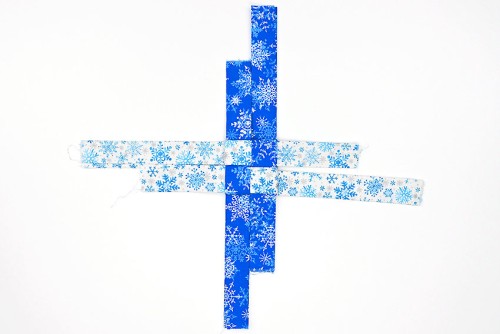
- Finally, add the last piece of fabric with the fold on the right, towards the top of the vertical strips.Put it around the right vertical strip and inside the left vertical.


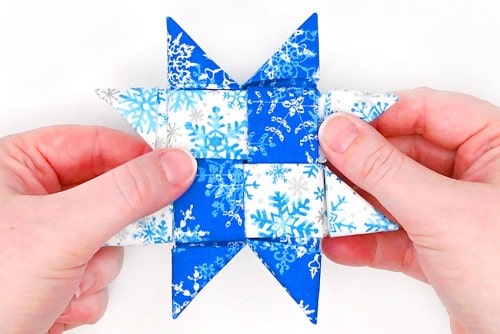
- Pull the loose edges to tighten the weave in the center. Pull them so they’re snug together, but not too tight (you don’t want to the fabric to pucker up at all).


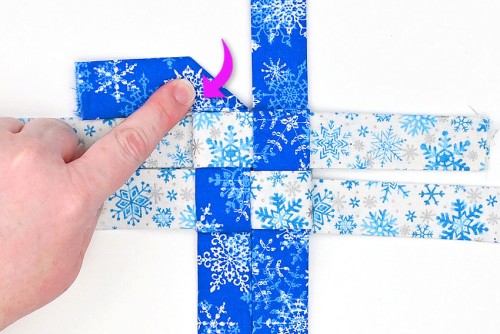
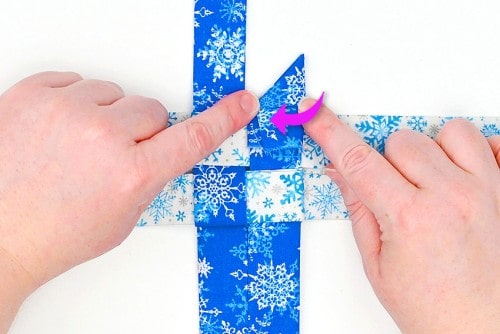
- Fold the top layer of the top strip down at the center.


- Repeat, going clockwise around the ornament.Take the top right end and fold it over to the left.


- Continue, bringing the first layer of the bottom strip up.


- Now bring the left strip over to the right and tuck it into the loop made by the first piece.


- Pull on the pieces of fabric that are shorter to adjust and tighten them into place.Each side should now have 2 strips of the same fabric, one shorter and one longer.


Step 4: Make the points of the star
- Now we’re going to fold the points of the star.Choose any of the loose fabric pieces and fold it down at a 90 degree angle towards the outside of the star.


- Flip the whole star over while holding that fold in place.


- Fold the edge of the fabric down again at a 90 degree angle. You should see a roof-like triangle with a point at the top middle.


- Fold the outside half of the triangle in. There should be a straight edge on the outside and a 45 degree angle towards the inside.Use your fingernail to make sure the fabric is folded well inside, making the point nice and crisp.


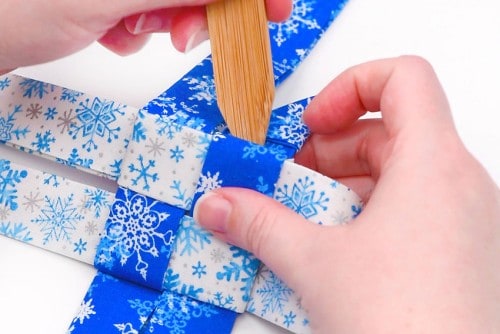
- To keep the point in place, push the end of the fabric inside. There will either be a gap at the center of the star, or a loop to push the fabric into.We like to use a point turner/seam creaser to do this. It makes it easier to make sure the fabric goes in smoothly (ie. not folded over). You can also use your fingers, a knitting needle, or a pencil.


Step 5: Continue folding the star points
- Repeat, making the next point of the star.You can choose any of the other ends to do next. Just remember to fold the end towards the outside first before flipping the star over.Then fold the fabric down before folding half of the triangle in.


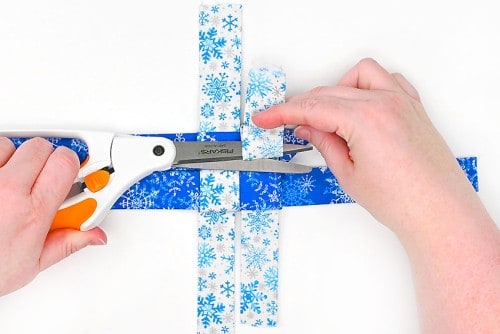
- Some of the fabric strips will be too long to tuck in. Trim them so that they won’t stick out past the loop.


- Tuck the end of the fabric in.


- Then repeat with the remaining points of the star.


Step 6: Attach an ornament hanger
- Cut an 8 inch piece of metallic cord that matches your ornament and thread it onto a needle.


- Push the needle in-between 2 points of the star, going from one side to the other.Once the needle is through you can remove the needle from the thread and adjust it so the ends are even.Tie a knot at the top of the cords to form a looped ornament hanger.


- Your Scandinavian star ornament is complete!


Helpful Tips:
- The folding technique for these fabric star ornaments might take a little bit of time to figure out, but after you’ve made your first star it’s very easy to make more!
- Put a dot of fabric glue or tacky glue inside each star point to keep them in place permanently.
- You can starch and press your star ornament again after it’s complete, though we haven’t found it necessary ourselves.

Can I use a different size of fabric to make a Scandinavian star ornament?
The 4 x 16 inch fabric strips make an ornament that’s 4 inches across from tip to tip. If you’d like a smaller or larger ornament, you can definitely use another size of fabric to start with.
As long as the length of the fabric strip is four times the width, the ornament will turn out the same way. For example, use fabric that’s 3-1/2 by 14 inches, 3 x 12 inches, or even 2-1/2 by 10 inches.
Where to get fabric to make a Scandinavian star ornament?
We bought small amounts of all different Christmas print fabric at a local fabric store. If you don’t want to have your own fabric cut, you can also buy fat quarters, either at a quilting store or online.


Do I have to use 2 colours of fabric for my Scandi stars?
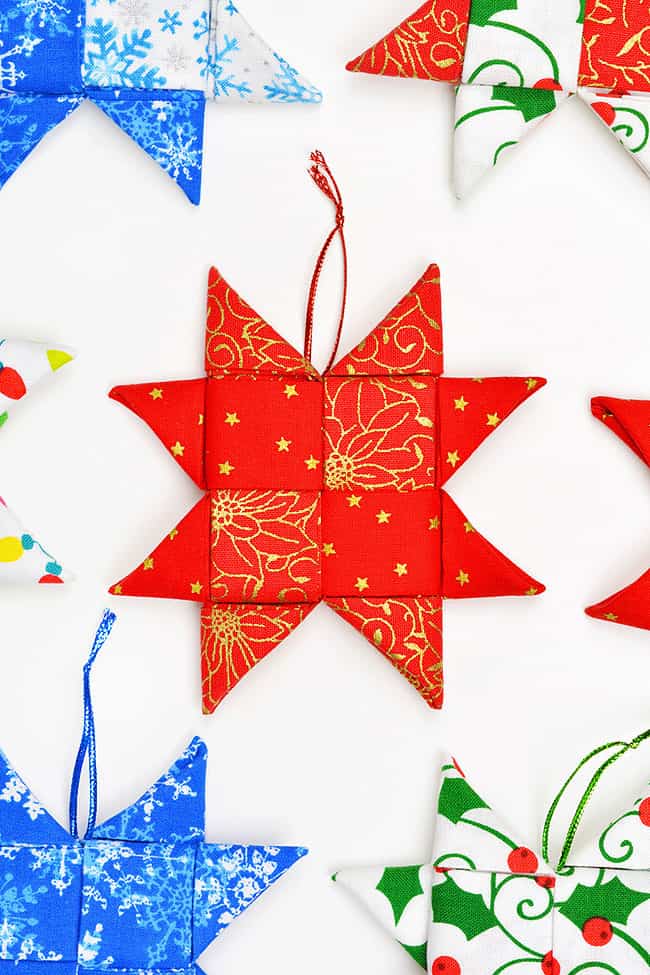
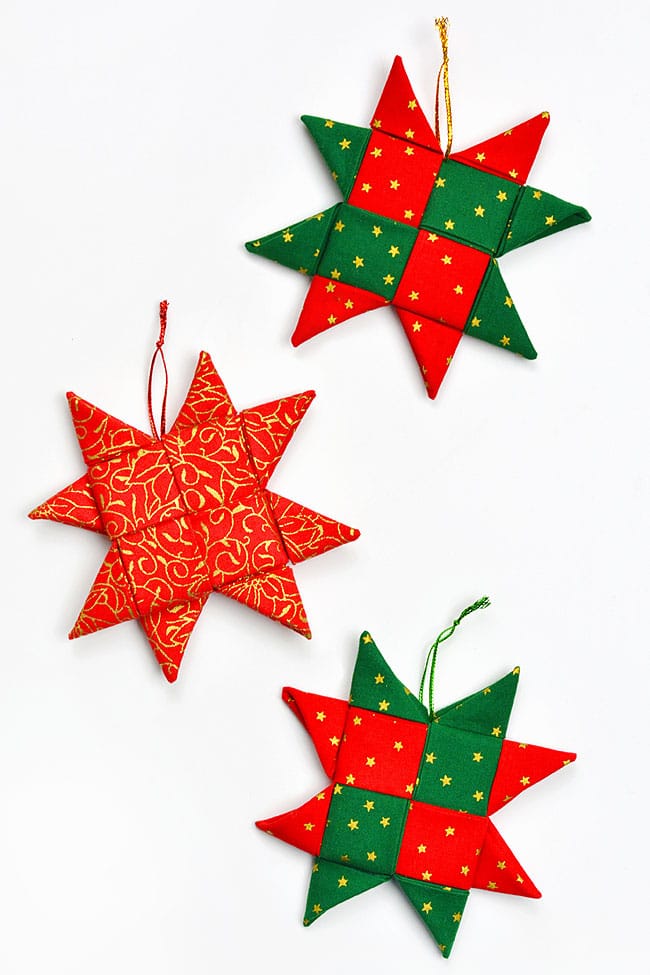
No, you can also make an ornament of all the same colour fabric for a uniform look. You can even make a star ornament out of 4 different colours or patterns of fabric!
Does a Scandinavian star ornament require any sewing skills?
No, this ornament is made by simple pressing and folding of fabric. It’s almost like origami! The only “sewing” that you need to know how to do is to stick a needle through fabric to attach the ornament hanger at the end. And that part is easy!

Is spray starch necessary when making a Scandinavian star ornament?
We definitely recommend using the spray starch. You could possibly get away with not using it, but it makes it a lot easier to get crisp folds in the fabric and clean creases at the points of the star.
How can I use these folded fabric star ornaments?
A Scandinavian star ornament looks awesome on the Christmas tree, of course, but it also makes a great gift topper or stocking stuffer. You can even string the fabric ornaments onto a ribbon or a length of twine to create a beautiful star garland.
These Scandinavian star ornaments are SO PRETTY! Make a fabric star ornament in traditional Christmas colours, or add a spot of colour to your tree. All you need is some Christmas print fabric and you can create beautiful handmade ornaments in no time at all!


