Christmas Play-doh Favours
If you follow my Facebook page, you might have seen last week that I posted a meme with a really excited Will Ferrell from Elf as the image, and the text, “JUST 10 FRIDAYS UNTIL CHRISTMAS!” (You can see it here if you missed it!) I counted on the calendar and it’s true! There are only 10 more Fridays until Christmas! How crazy is that!? I had every intention of turning these play-doh tubs into monsters for Halloween, but when I saw that meme, I totally changed my mind and went for the Christmas theme.
Do you have a special table for the kids when you have big family dinners? The kids in our family are just getting to the age where they can sit by themselves (phew, that’s a relief!) and they are loving it! The only problem is that they all eat like birds, so they gobble up three or four bites, and then they get up, run around and wreak some general havoc.
We had Thanksgiving dinner last weekend (it’s in October for us Canadians). As expected, when the kids were done eating – all seven of them on my side of the family are 5 and under – my oldest was hanging upside down off the couch, my neice was straddling the glass coffee table and my middle daughter was stuffing napkins into Grandma’s vases. *take a deep breath*

My mom brilliantly bought little packs of crayons and colouring books for all of the kids. It was AMAZING. We gave them the colouring books and they were happy for at least 15 minutes and the rest of us could finish our meals.
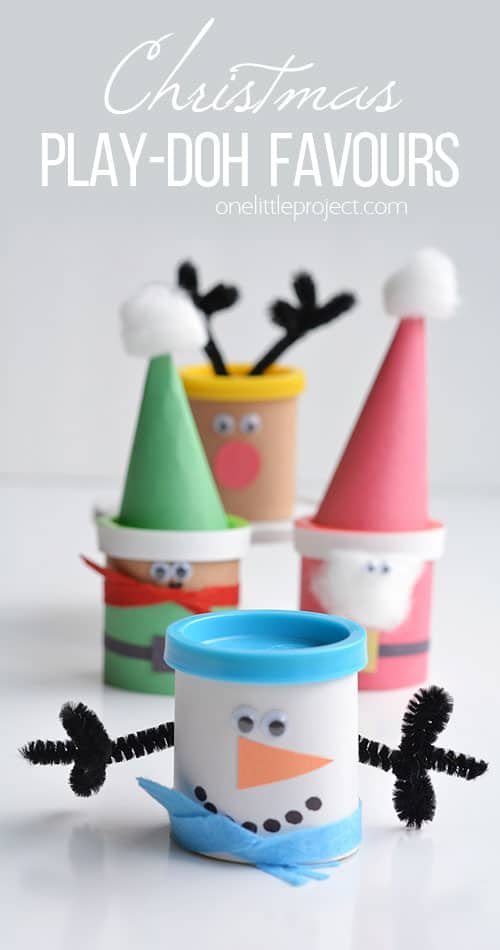
I think these Christmas play-doh favours would be perfect to distract kids during a family dinner! They would be a great activity to help keep those cute little bums in their chairs long enough for the grown ups to eat our dinners. Let’s be real – I’m not a miracle worker, so you probably won’t get to finish your whole meal without being disturbed, but hey, every little bit helps!
I love that these also double as a non-candy treat. Halloween and Christmas are notorious for sugar packed goodies, so it’s refreshing to give something non-food related, especially if you want to send a little gift to your kids’ classmates.
I used the mini tubs of play-doh from the dollar store. Each one is pretty small – 2 oz each I think? They aren’t the teeny tiny Halloween sized ones, but they aren’t the regular sized tubs either. The size was perfect for decorating!


Reindeer Play-doh Tub
I started with the reindeer tub since it was the easiest one.
You’ll need:
- 1 tub of play-doh
- 2 googly eyes
- 1 black or brown pipe cleaner bent into the shape of antlers
- 1 piece of brown construction paper (if it helps, it was 2-1/16″ wide)
- 1 small circle of red construction paper
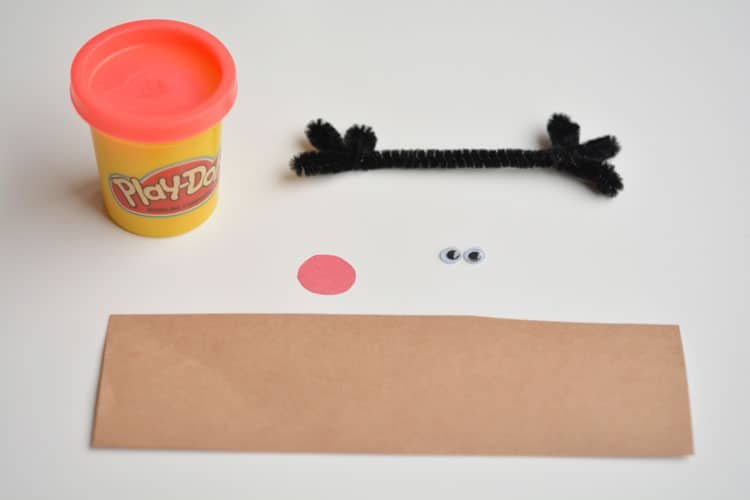

Wrap the construction paper around the tub and secure it with tape. Make sure the paper slides right under the lid part.


I used a glue gun to attach the eyes, and a glue stick to attach the nose. If the kids really want to do the eyes themselves, you could use white glue for them, but you’ll have to wait much longer for them to dry. The glue gun is pretty much instant.


I used the glue gun to attach the pipe cleaner to the top of the tub too. Tape will work really well to keep it on the lid too, it just doesn’t look as tidy.
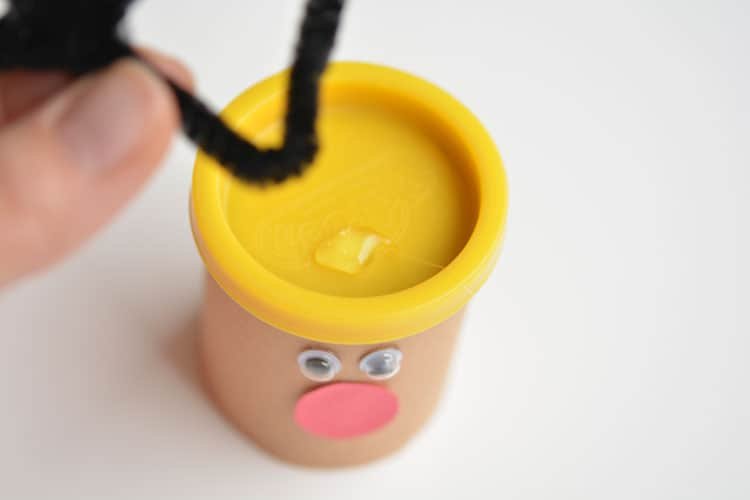

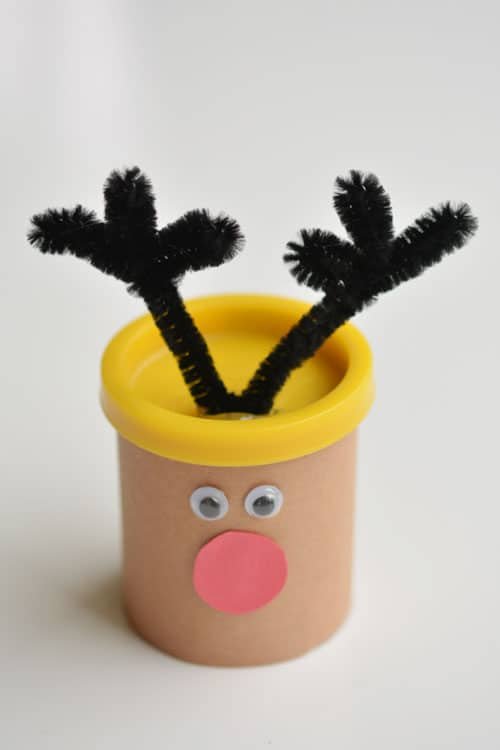
And one little reindeer all done! Easy peasy!

Santa Play-doh Tub
The Santa had a few more pieces and a few more steps, but he was still pretty simple.
You’ll need:
- 1 small tub of play-doh
- 1 piece of red construction paper, cut to 2-1/16″ wide (you’ll want to measure your tub first, but that’s what mine was)
- 1 strip of white construction paper, wide enough to cover the edge around the lid
- 1 thin strip of black construction paper
- 1 small square of yellow construction paper
- 2 small googly eyes
- 1 piece of red construction paper cut in the shape shown below (you need to make a cone)
- 1 cotton ball


Tape the red construction paper around the tub, sliding it under the lid as you go.
Then tape the white construction paper strip to the lid.


I used an exacto knife to cut tiny slits in the yellow square so it would slide on Santa’s belt. If you don’t want to do that, you could poke it with scissors or a kitchen knife, or you could just fake it by gluing it to the black belt and using a black marker to draw a square on the yellow belt piece. That’s definitely the safer option. : )
Glue it with a glue stick, and wrap it around the tub about 2/3’s down to make Santa’s belt.


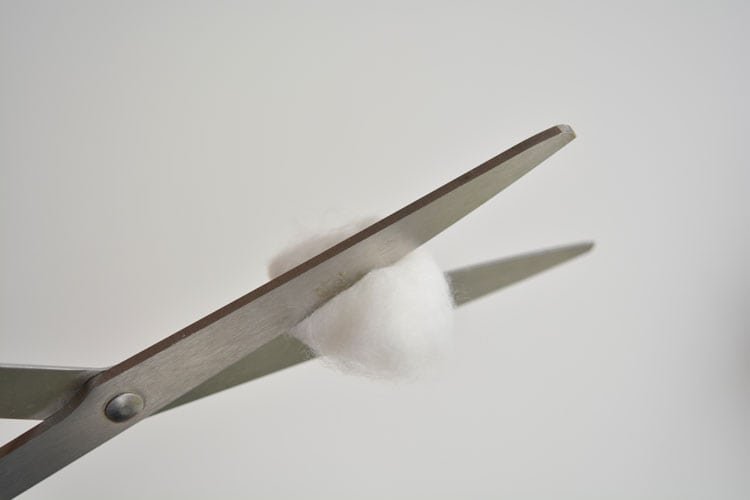
Cut the cotton ball in half. You might need to stretch it out slightly to get the scissors to cut through it. One half will be Santa’s beard and the other half will be the pom pom on his hat.

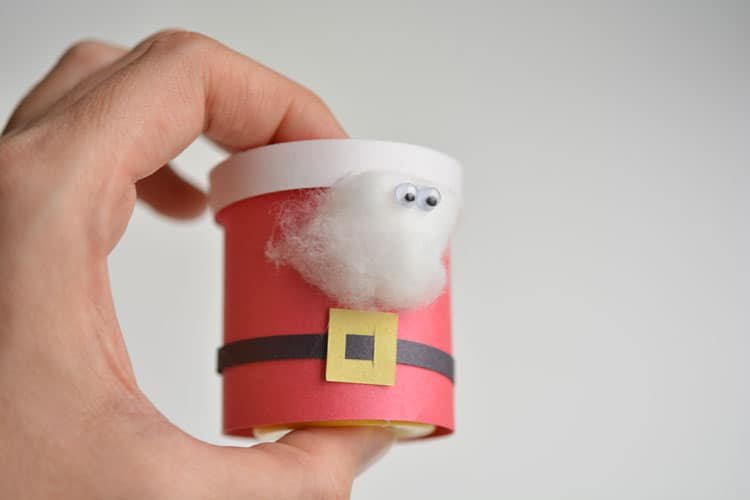
Glue the small googly eyes to the cotton ball half, near the top, so it looks like Santa is peaking out through his beard. Again, I used my glue gun here.
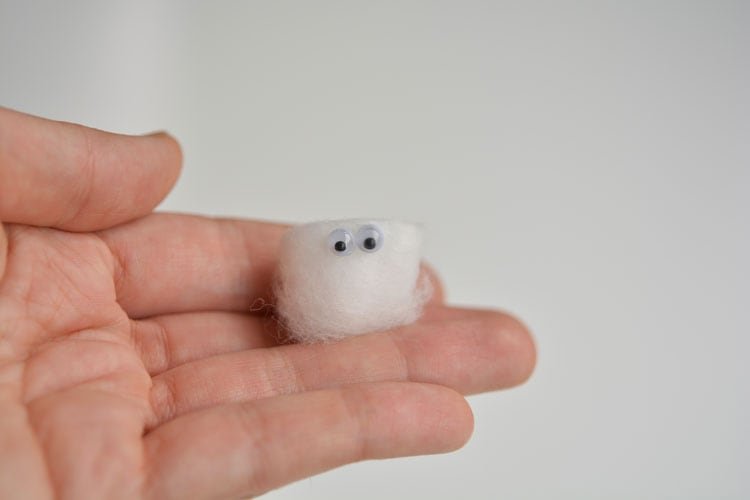

Then use the glue gun to attach the beard to the body. It took a bit of maneuvering and three or four different spots of hot glue to get it to look right. In the end, I also had to hot glue the top part of the beard to the lid as well, just to shape it properly.

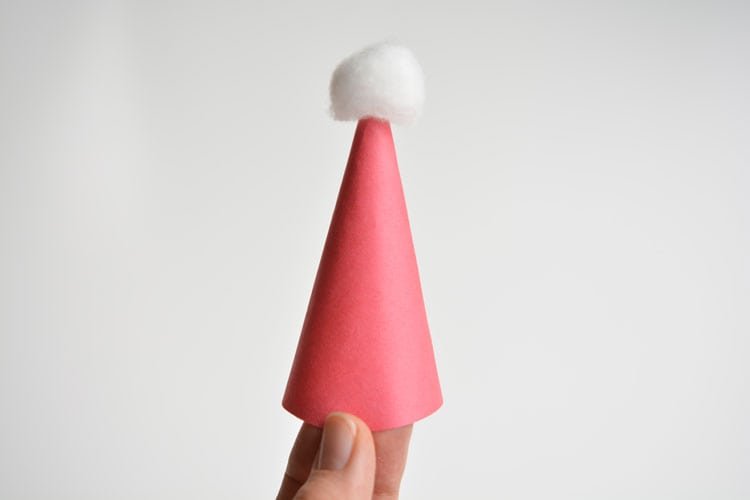
Make a small cone out of the red construction paper. You want it to be as wide as the inner part of the play-doh lid. Just roll and cut the paper until it looks right. Don’t worry, it took me a few tries to get it right too.


Take the other half of the cotton ball and glue it to the top of the hat. Then glue or tape the hat to the top of the play-doh lid.

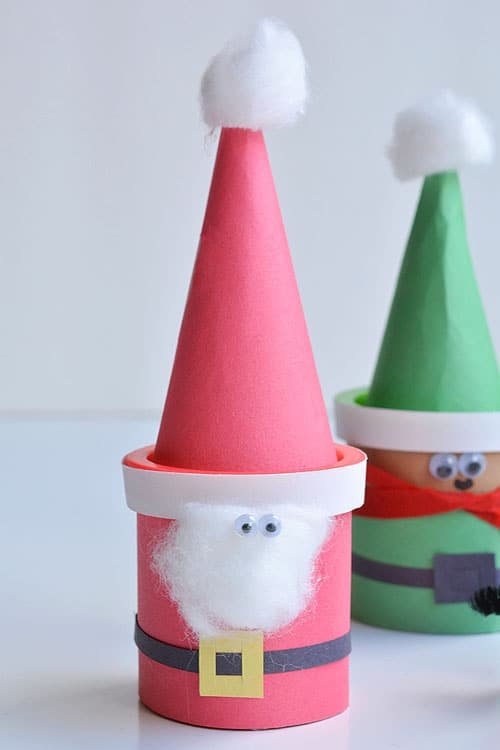
See? One easy little Santa tub!

Frosty Play-doh Tub
This guy was pretty easy too.
You’ll need:
- 1 Play-doh tub
- 1 piece of white paper, cut 2-1/16″ wide
- 2 googly eyes
- 1 orange construction paper triangle
- 1 long strip of felt, ribbon, or fabric for the scarf
- 1 black or brown pipe cleaner, bent into the shape of arms (similar to the antlers above)
- 1 brush tip Sharpie (or black marker)


Using the Sharpie or marker, draw dots on the white paper where the snowman mouth should go. Sorry, it’s hard to see the white paper on the white background in the photos!


Then glue the googly eyes and the nose onto the paper.


Wrap the white paper around the tub and secure it with tape, like the Santa and reindeer tubs above.
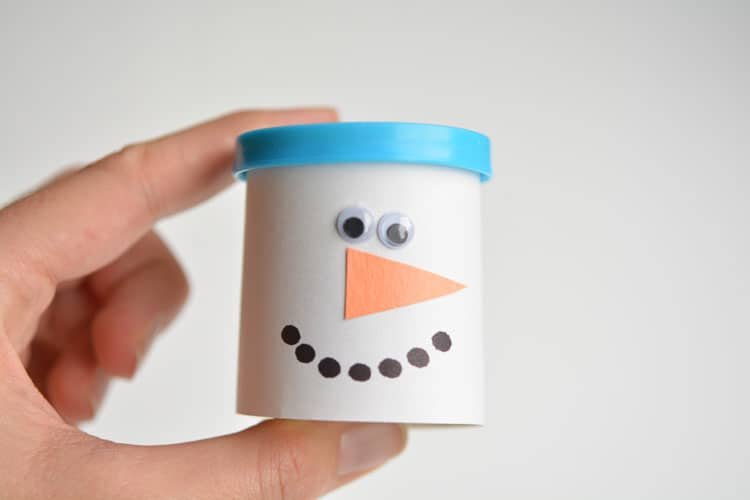

Tie the scarf around the bottom of the tub and tape or hot glue the pipe cleaner arms onto the back of the tub so they fully wrap around. Done!


Elf Play-doh Tub
I wasn’t sure how I was going to make this one, so I added to it as I went along. The photo below doesn’t show all the pieces, so you’ll have to follow the list. Sorry! It was trickier than I thought to make a believable looking elf.
You’ll need:
- 1 tub of Play-doh
- 1 strip of green construction paper, 2-1/16″ wide
- 1 strip of brown construction paper
- 1 thin strip of black construction paper
- 1 thin strip of white construction paper to cover the edge of the lid
- 1 small black square of construction paper
- 1 green cone shape
- 1 cotton ball
- 1 strip of felt, ribbon or fabric for the scarf
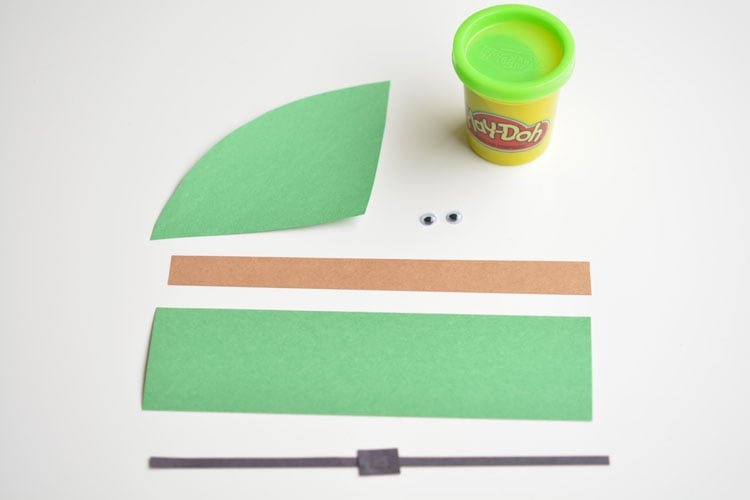

Glue the construction paper together as in the photo below.


I think you get the picture for how to make these now, so I’ll just show you how he looked at the end. He was trickier for sure, but I think he turned out okay?
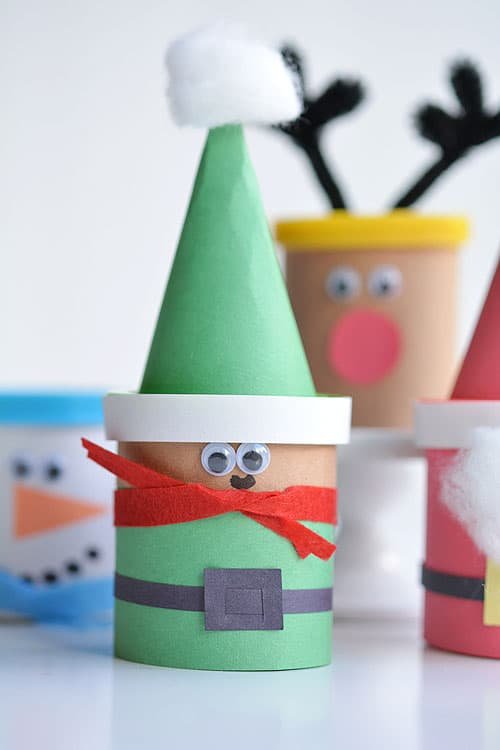

And here’s the whole gang of festive characters:
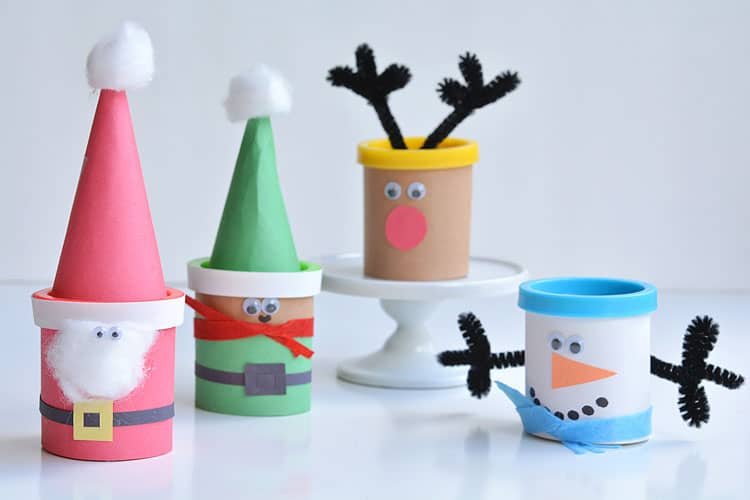

Wouldn’t these would make great favours for a Christmas party!? Just imagine them set out for the kids at the dinner table. My kids and their cousins would LOVE it!


It’s hard to come up with good non-candy treat ideas!


My girls were just itching to get their hands on these while I was taking pictures! My poor 3 year old asked after every single photograph if she was allowed to play with them yet. The reindeer went missing for a few photos before I realized she had sneaked it away to play with behind me!


These Christmas Play-doh favours are really easy to put together and make the most adorable favours for any Christmas party! They are also a great treat idea if you’re looking for something non-candy or non-food to give to your kids’ classmates. They go together quickly and end up looking pretty darn cute!


