Diy elf on the shelf clothes: Skirt and Apron pattern
Jump to:
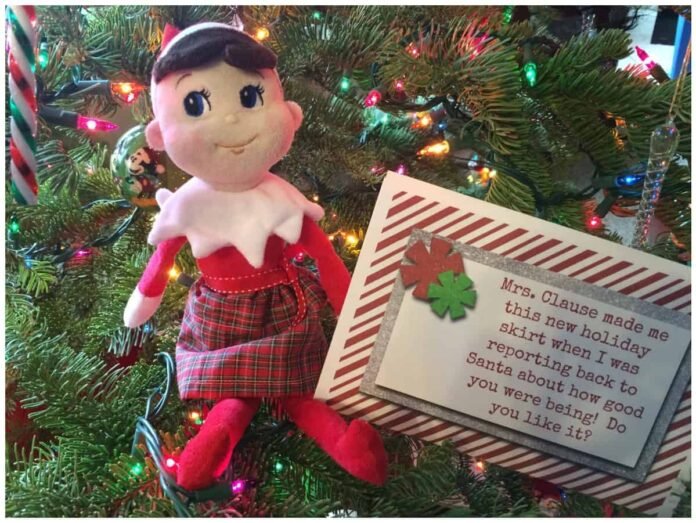
As the holiday season inches closer, the anticipation of sprucing up our beloved elf on the shelf begins to bubble up. It’s not just a Christmas tradition, but a brilliant way to spark fun and creativity in the family. This year, why not enhance the charm by crafting some adorable DIY elf on the shelf clothes? Trust me, personalizing your little elf’s wardrobe can be much fun and the best part? It’s relatively easy to do!
Let’s dive into creating an adorable set of clothes for our cherished north pole visitor. In this guide, I’ll take you through a simple yet delightful DIY project that promises to add that extra sprinkle of magic to your holiday season. Plus, it’s an easy way to spend some good time with the family, laughing and creating together.
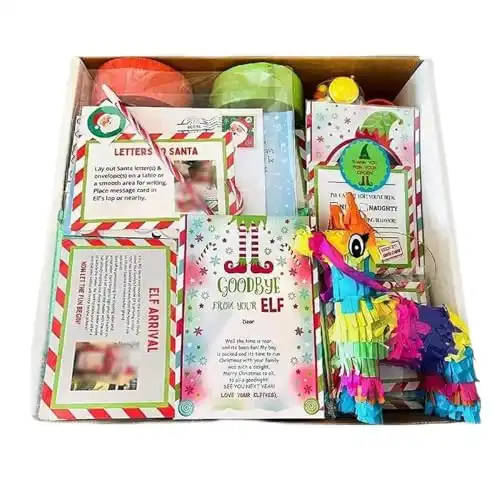
2023 Elf Kit 24 Days of Christmas, New Christmas Elf Kit, Fun Elf Accessories, Elf Mischief, Prop Pack, Elf Antics, Christmas Countdown Gift for Children, Best Christmas Countdown Gift (12 Days Kit)
Buy Now
Diy elf on the shelf clothes: Skirt and Apron pattern
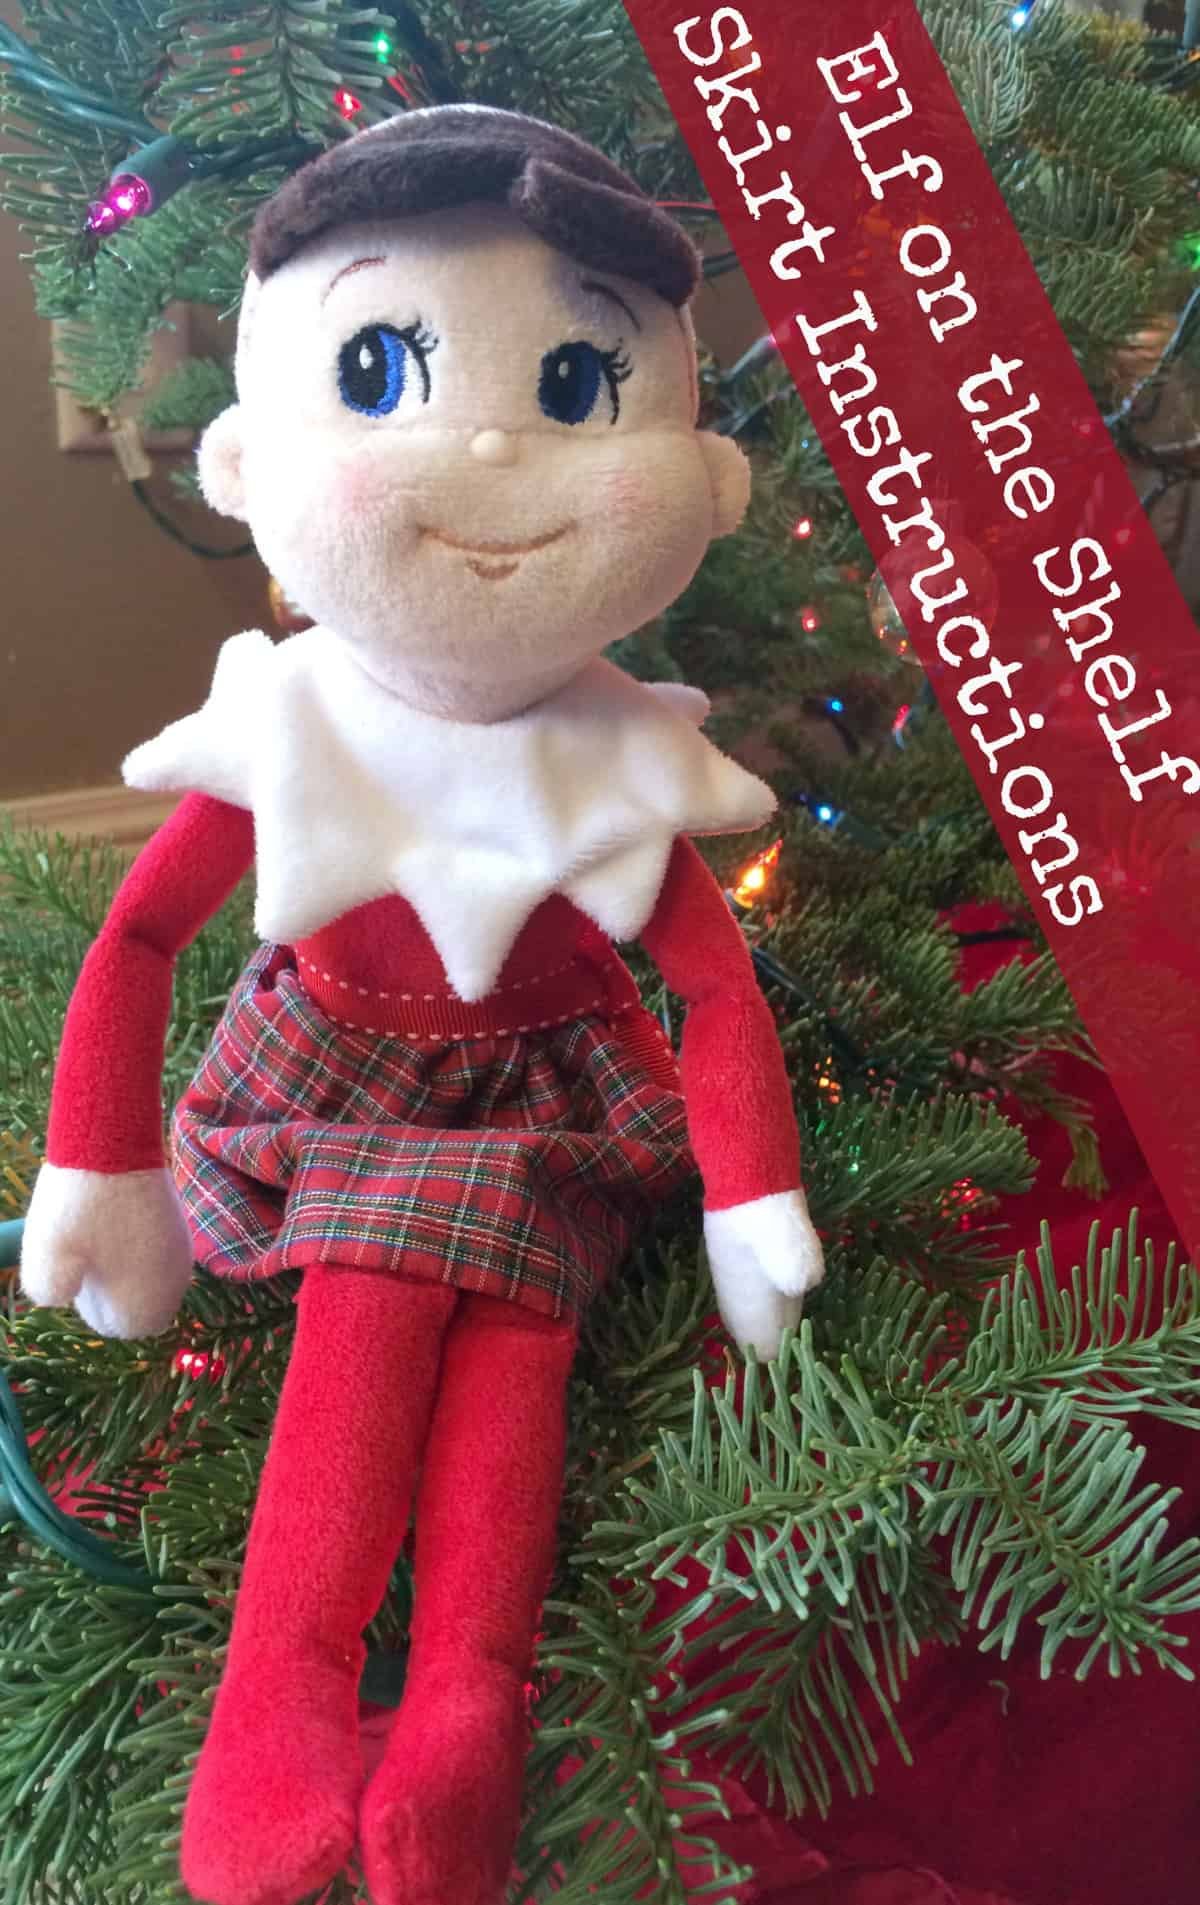
Creating a Chic Elf Skirt: Step-by-step Guide
Preparing for this DIY project is half the fun. Before we delve into the step-by-step guide, let’s assemble the materials that you will need.
Materials Required
- 8 x 14 inches fabric (Feel free to experiment with patterns, think plaid dresses or cozy parkas material)
- 4-inch Elastic
- Sewing Machine
- Thread
- Safety Pin
- Christmas Elf
Instructions
- Cut the Fabric: Begin by laying out your selected fabric flat on a surface. Cut out an 8×14 inch piece, which will serve as the main skirt piece. A pro tip here is to choose a fabric that resonates with the holiday spirit, perhaps something that matches the Christmas tree or your home decor during this time of year.
- Sewing the Bottom Seam: Fold the fabric in half ensuring the right side is together. Sew a bottom seam, leaving a seam allowance to prevent any fraying or raw edges which could ruin your little elf’s new skirt.
- Connecting the Ends: Still working with the right sides together, proceed to sew the ends, thus creating a loop which forms the basic shape of the skirt.
- Preparing the Elastic: Cut a piece of 4-inch elastic, which will serve as the waistband of the skirt, providing a snug fit for the elf doll.
- Creating the Waistband: Fold about 1/4 inch down on the top edge of the fabric and use an iron to hold it in place. Sew all around, but remember to leave a small opening to insert the elastic. The ironing bit ensures that your skirt has a neat finish, making it look almost professional!
- Inserting the Elastic: Here comes the fun part. Attach a safety pin to one end of the elastic. This trick will allow you to easily feed the elastic through the top of the skirt, ensuring an even gather all around.
- Final Touches: After pulling the elastic through, sew the ends together to secure it. Don’t forget to sew the casing shut. Voila, your elf now has a brand-new skirt that’s both cute and fashionable!
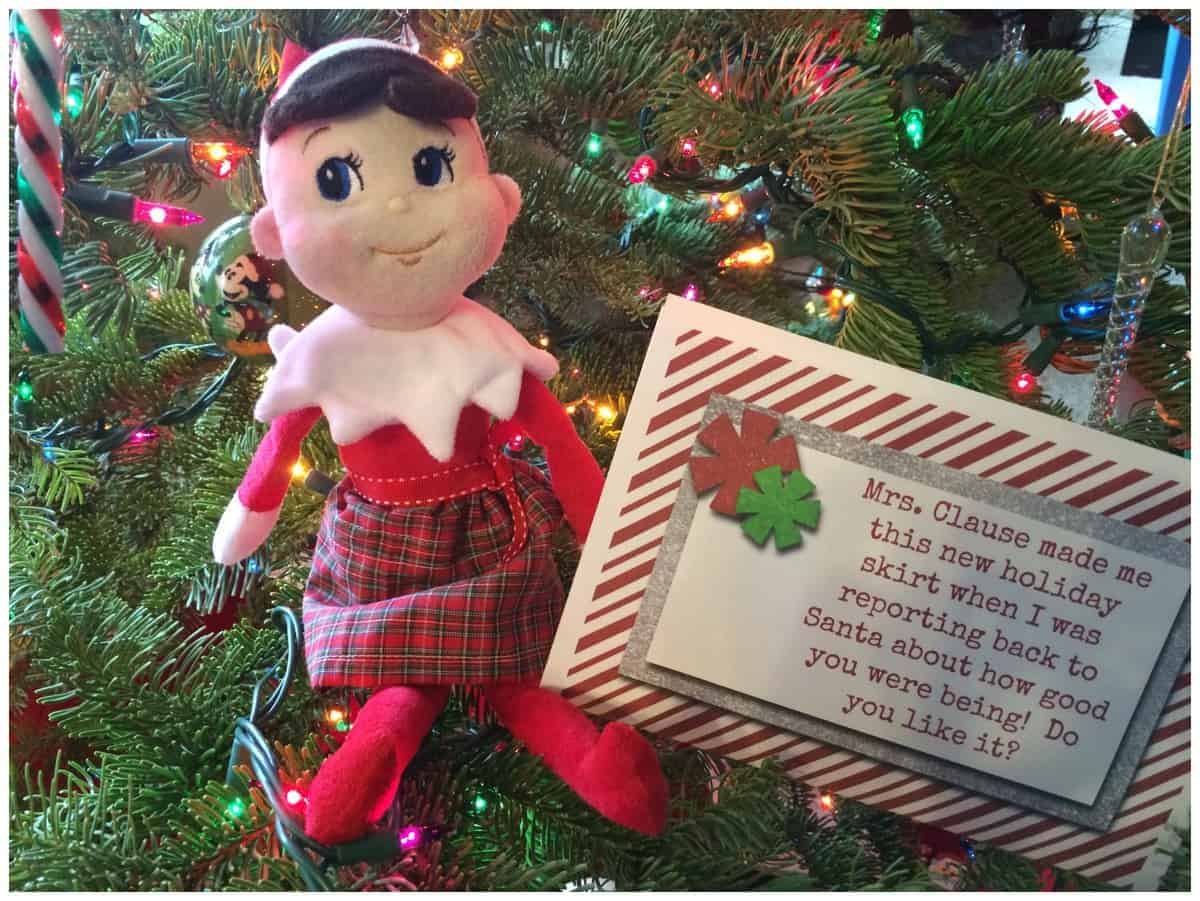
Bonus Tips:
- You can add fun accessories like a tiny bow tie or a little belt to accentuate the skirt.
- For a no-sew option, consider using fabric glue instead of a sewing machine. It’s a great way to get kids involved, and you can have a skirt ready in no time.
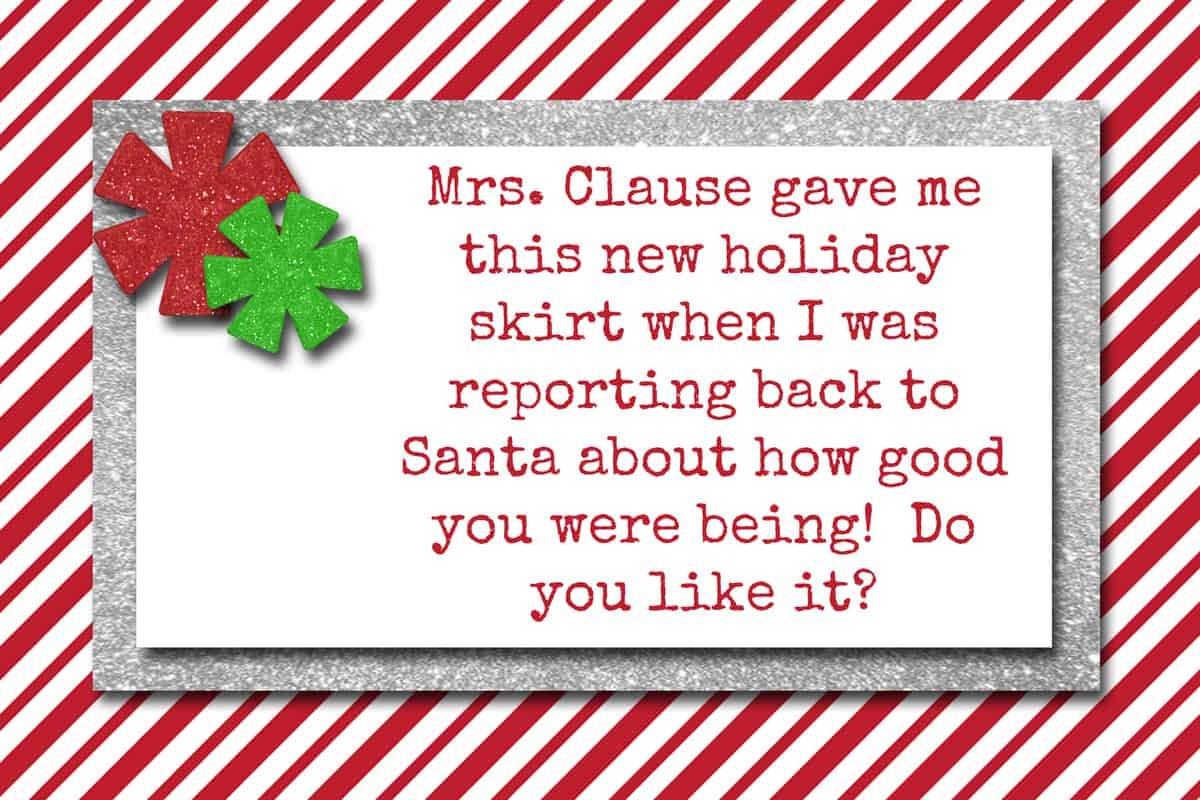
Here is a fun printable:
If you would rather sew an Apron then a skirt here is an easy tutorial for you:
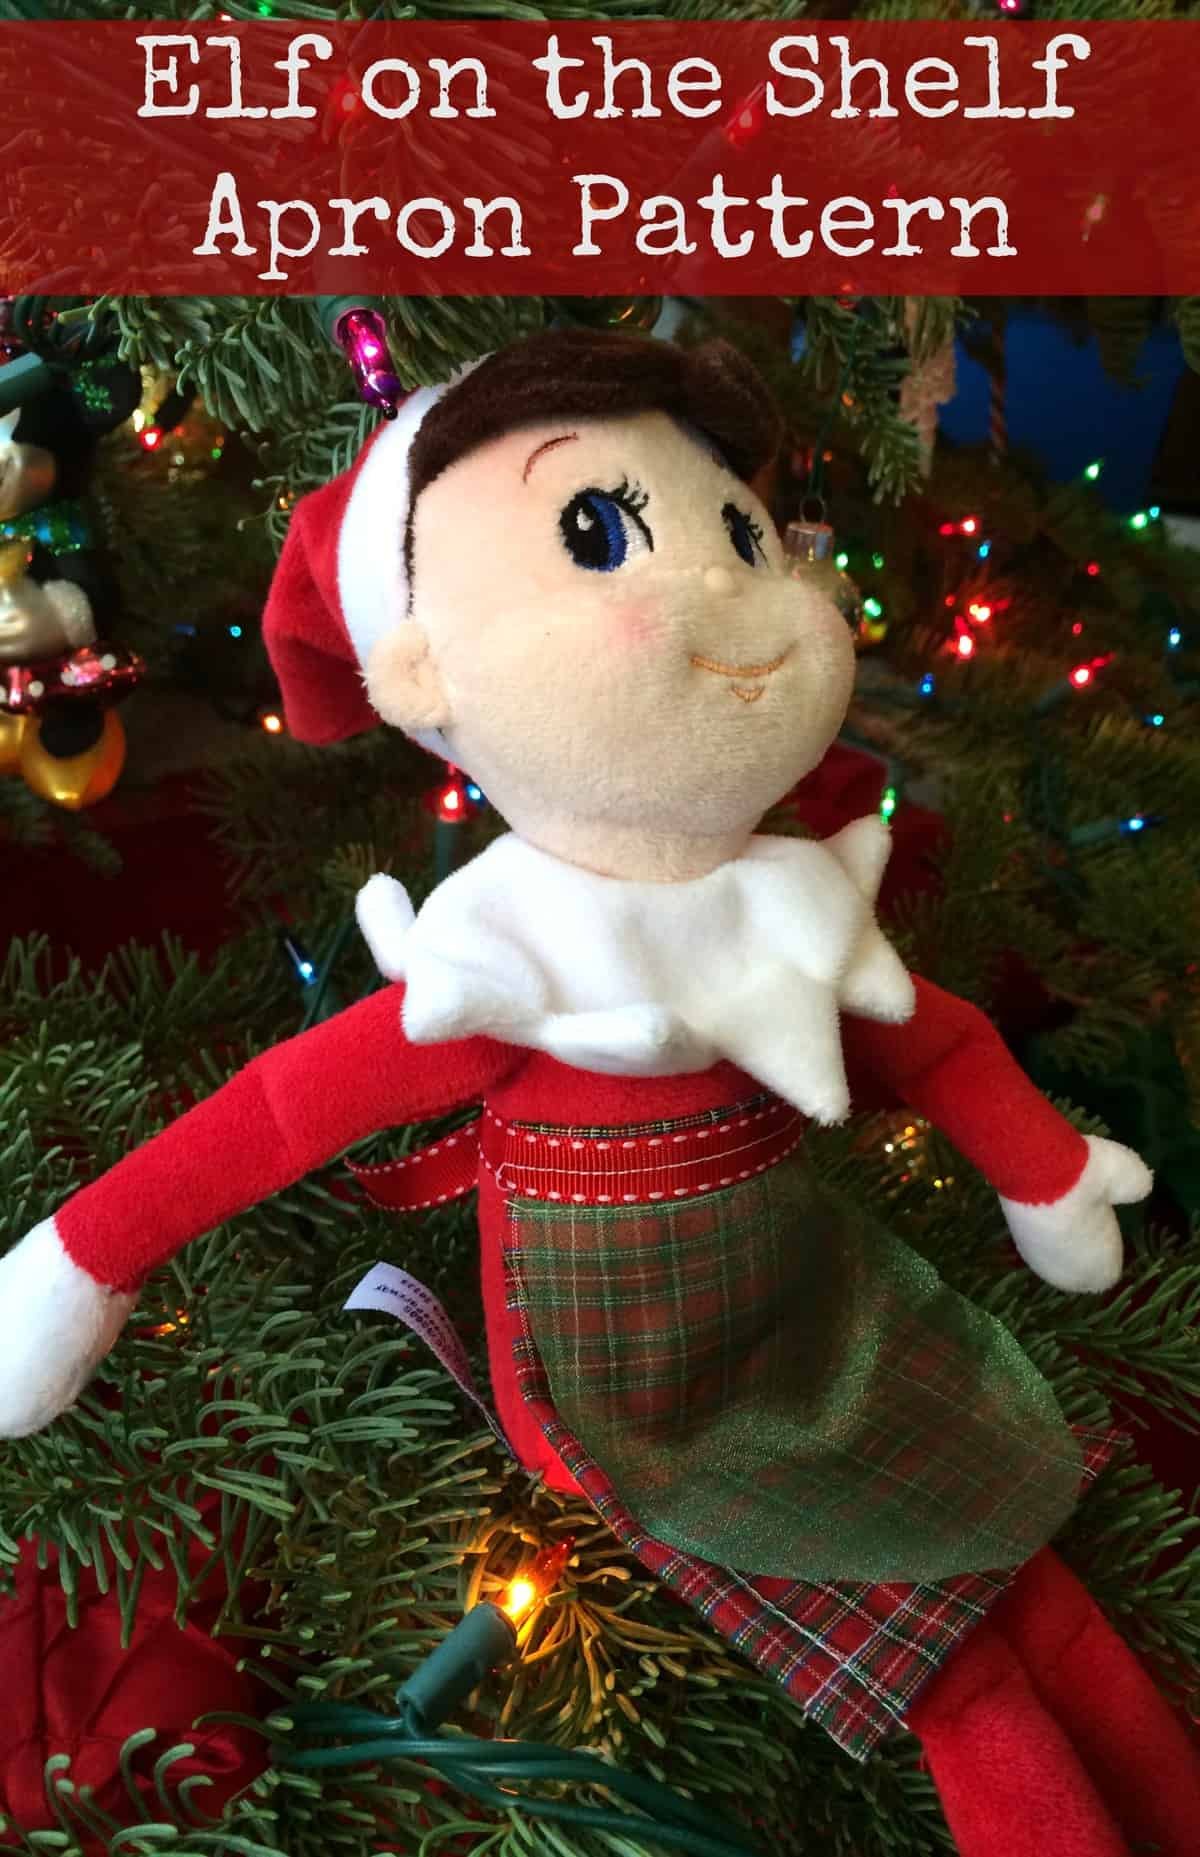
Crafting a Dainty Elf on the Shelf Apron: A Step-by-Step Guide
In the holiday season, the air seems to tingle with the scent of hot cocoa, the jingle of bells, and the laughter of children finding their elf in the next fun spot. Keeping up with the tradition, let’s make our little helper look the part, especially when found amidst your Christmas morning cookie display! Here’s an easy-to-follow guide to crafting a charming apron for your elf, which will undoubtedly be a delightful addition to its shelf costumes collection.
2023 Elf Kit 24 Days of Christmas, New Christmas Elf Kit, Fun Elf Accessories, Elf Mischief, Prop Pack, Elf Antics, Christmas Countdown Gift for Children, Best Christmas Countdown Gift (12 Days Kit)
Buy Now
Materials Needed
- 4×5 inches bottom fabric (perhaps choose a festive pattern that screams holiday sock or ugly Christmas sweater to keep the holiday spirit alive)
- 4×5 inches sheer fabric (this will add a layer of sophistication to the apron)
- 8 inches ribbon (coordinate the color with your fabrics for a harmonized look)
- Christmas Elf
Instructions
1. Prepare the Bottom Fabric
Start with the bottom fabric piece which measures 4×5 inches. We need to prevent any fraying which can occur over time. To do this, fold in a small 1/8 inch seam around the entire piece of the fabric. Now, using a running stitch or your sewing machine, sew all the way around the fabric. This step ensures that your apron has neat edges and a professional finish.
2. Adding the Sheer Layer
The next step involves working with the sheer fabric. Firstly, shape the bottom of the sheer fabric to give it a rounded finish. This aesthetic touch makes the apron look softer and more appealing. Once done, lay this rounded sheer fabric piece on top of the bottom fabric, aligning the top edges to make a cohesive layer.
3. Aligning the Ribbon
Now, we move onto adding the ribbon which forms the tie of the apron. Take your 8-inch ribbon and lay it across the top of the sheer fabric. The key here is to ensure that the middle of the ribbon aligns with the middle of the top edge of the fabrics. Once you find the perfect spot, pin the ribbon in place to secure it before sewing. This will act as the tie for the apron, adding both functionality and a decorative touch to the apron.
4. Bringing it All Together
To finish your cute outfit, sew the ribbon and sheer fabric along the top of the fabric, securing them firmly to the bottom fabric. Remember to remove the pins as you sew. Once done, you’ve successfully created a cute, dainty apron for your elf!
Bonus Tips:
- Consider adding tiny pockets to the apron using leftover fabric, it could be a spot to hide tiny notes or treats.
- Feel free to decorate the apron with little embellishments like tiny bells or gold pipe cleaners for a festive look.
- If you’re planning a kitchen scene for your elf, accompany this apron with a tiny chef hat for a complete look.
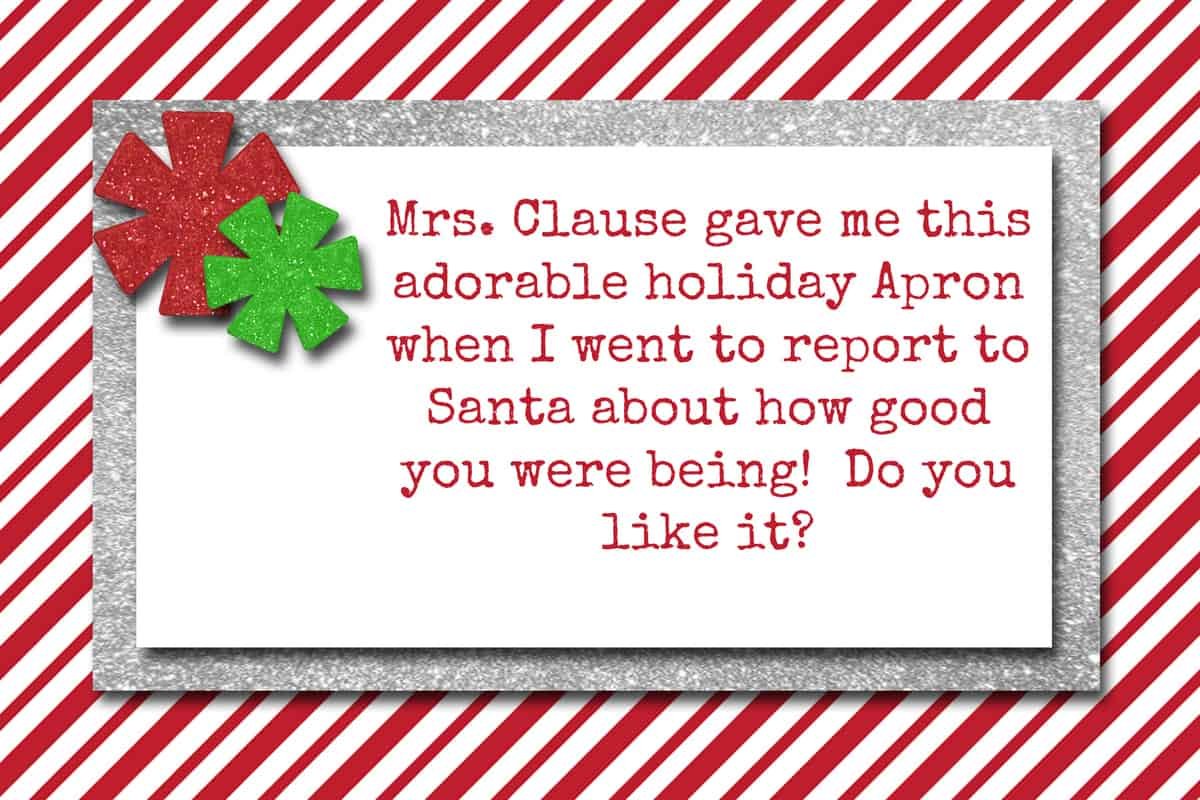
Here is the adjusted printable:
Key Takeaways
Creating DIY elf on the shelf clothes doesn’t have to be a daunting task. Here are some key takeaways from our DIY session:
- Personal Touch: Adding your personal touch to the elf’s clothes makes the shelf game much more engaging for the family. It’s a great way to bond during the holiday season.
- Creative Freedom: Don’t restrict yourself to skirts. Once you get the hang of it, you can explore creating shelf outfits like plaid dresses, tiny shirts, and even cute elf hats.
- Resourcefulness: Utilize what you have. Old fabric scraps can find a new purpose in your elf’s wardrobe, promoting resourcefulness and reducing waste.
- Fun and Learning: Sewing is not only a productive skill but also a fantastic way to engage children in a fun learning activity.
Diy elf on the shelf clothes FAQ
- Can I create different outfits for every single night?
Absolutely! If you’ve got the time and the creativity, you can create a full-fledged elf wardrobe with different outfits for each night leading up to Christmas Eve. Imagine your little guy sporting a new shirt or a different outfit each morning, adding a dash of surprise to your Christmas tradition.
- Do I need advanced sewing skills for DIY elf on the shelf clothes?
Not at all. This project is beginner-friendly. Even if you’ve never touched a sewing machine before, you’ll find this DIY project a breeze. Plus, it’s a great way to learn some basic sewing techniques.
- Can I involve my children in this project?
Yes, involving children can make this DIY project more enjoyable. They can help with simple tasks such as cutting the fabric (under supervision), choosing the colors, or even giving the elf a cute outfit name.
- Where can I find inspiration for more elf on the shelf ideas?
There are numerous resources available online where you can find inspiration. From Pinterest boards to video tutorials on YouTube, there’s a wealth of information to help you come up with the best elf costumes and shelf ideas.
- Can I create clothes for both boy and girl elf dolls?
Of course! Feel free to create an array of outfits that suit both boy and girl elf dolls. From cute dresses to dashing suits, your elf dolls can have a wardrobe that caters to every occasion.
Conclusion: diy elf on the shelf clothes
In recent years, the elf on the shelf tradition has become a cherished part of the holiday festivities. Crafting DIY elf on the shelf clothes is not just an activity; it’s an experience, a memory creator, and a beautiful way to add a sprinkle of personal touch to your holiday season.
So why wait? Grab your materials and let’s get crafting. The joy on your children’s faces when they see their favorite elf sporting new, handmade pieces will undoubtedly be worth the effort.
Remember, the best part of the holiday season is the warmth and love shared with family. So, why not make this season extra special with a custom clothing line for your family’s elf? Happy sewing and here’s to a joyous, creative, and vibrant Christmas season ahead!


