Bag of Bones Halloween Painted Rocks
Jump to:
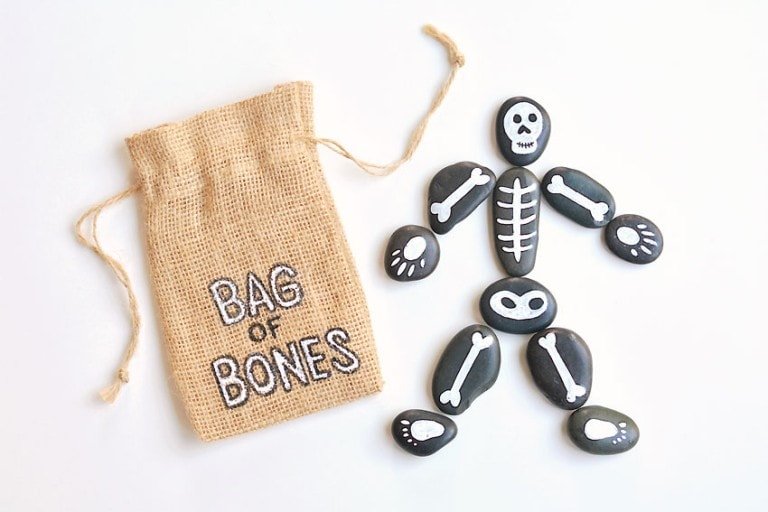
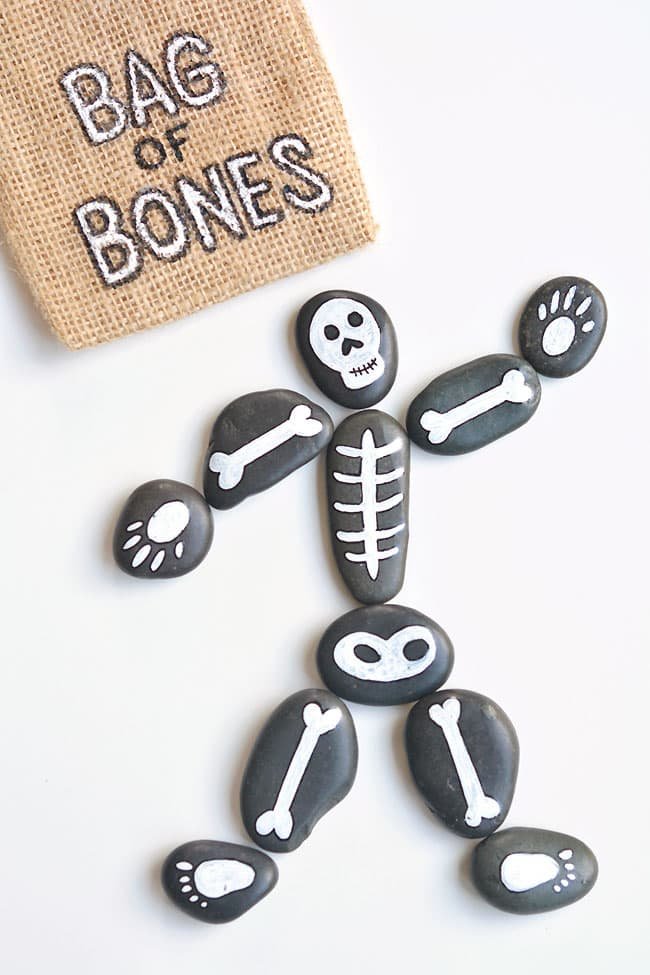
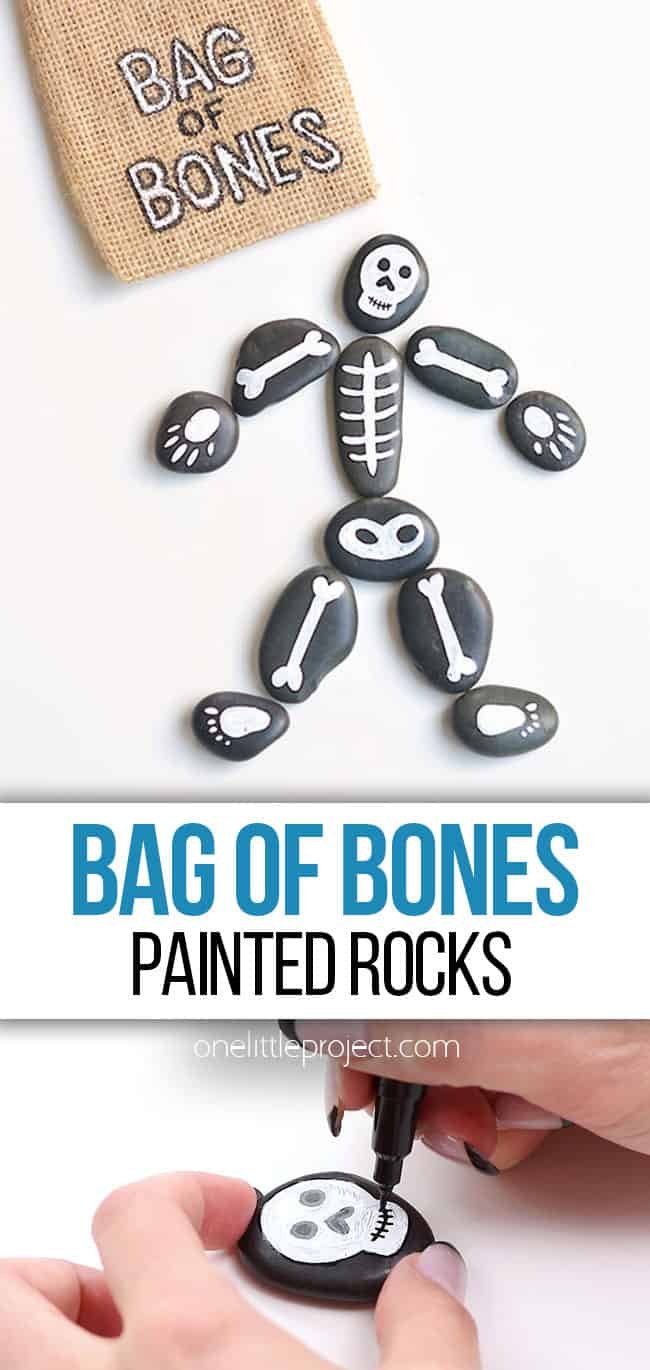
These skeleton themed Halloween painted rocks are so much fun! Throw them in a bag to make your very own Halloween bag of bones. This is such a cool puzzle craft and it’s SO EASY to make!
Skeleton Painted Rocks
This “bag of bones” is the perfect rock painting craft for beginners. All you need are some rocks and black and white paint pens. Paint pens make it really easy to draw and paint on rocks!
Kids will love putting the rock pieces together like a puzzle (my 7 and 10 year olds really enjoyed it!). You can also turn your bag of bones into a scavenger hunt. Hide the rocks and give a small prize for finding them all.
Our little skeleton buddy may not be entirely anatomically correct, but it’s still super cool to play with the rocks and arrange the bones. The more rocks you use, the more funny positions you can put the skeleton in!
Check out our Halloween Painted Rocks video tutorial:
*Note: Scroll down for the step-by-step photo tutorial.
Looking for more spooktacular Halloween crafts? Here’s some of our favourites:


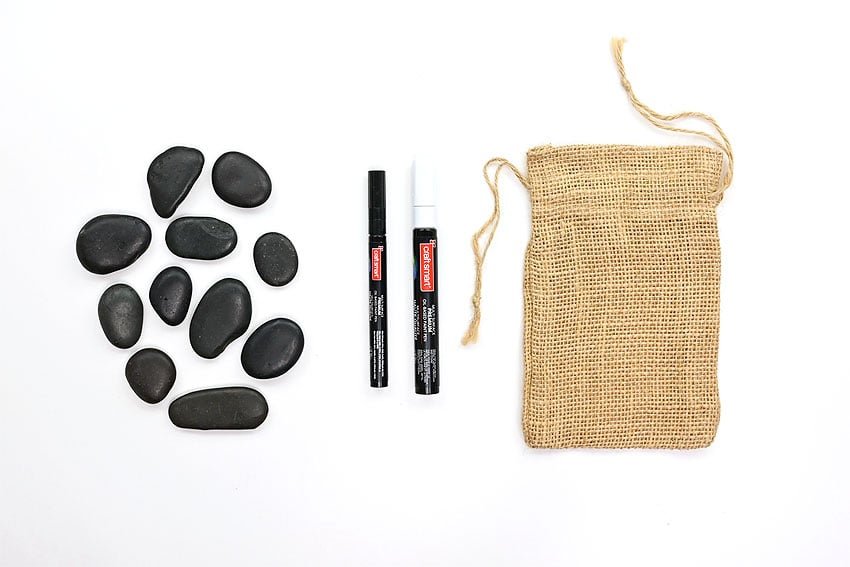
Here’s what you’ll need:
This post contains affiliate links. If you use these links to buy something we may earn a small commission which helps us run this website.
The full printable instructions are at the end of this post, but here’s a list of products on Amazon that are similar to the supplies we used:
- Black rocks
- White paint pen
- Black fine tipped paint pen
- Burlap bag (We used a wedding favour bag from Michaels)

Where can I get rocks?
Smooth, flat rocks are needed for this rock painting project – we got ours from the dollar store. You can gather river rocks yourself, or you can buy them from the dollar store, Amazon, or a craft store like Michaels.
You may also be able to get them from a landscaping company, garden centers, or Home Depot – although you might need to buy a large bag. “Mexican beach pebbles” are the perfect stones for rock painting.
What type of paint pens should I use?
We recommend oil based paint markers, since they’re long lasting and don’t leave streaks. You can also use water based paint pens, if that’s what you have, but the paint will chip off fairly easily unless you use a sealer.

Do I need to outline the white paint?
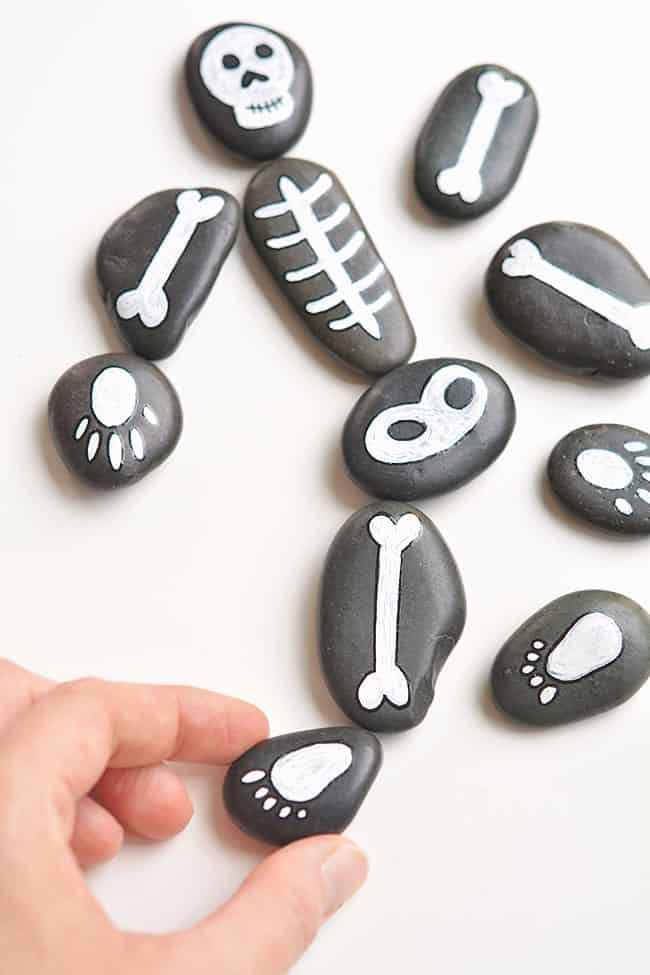
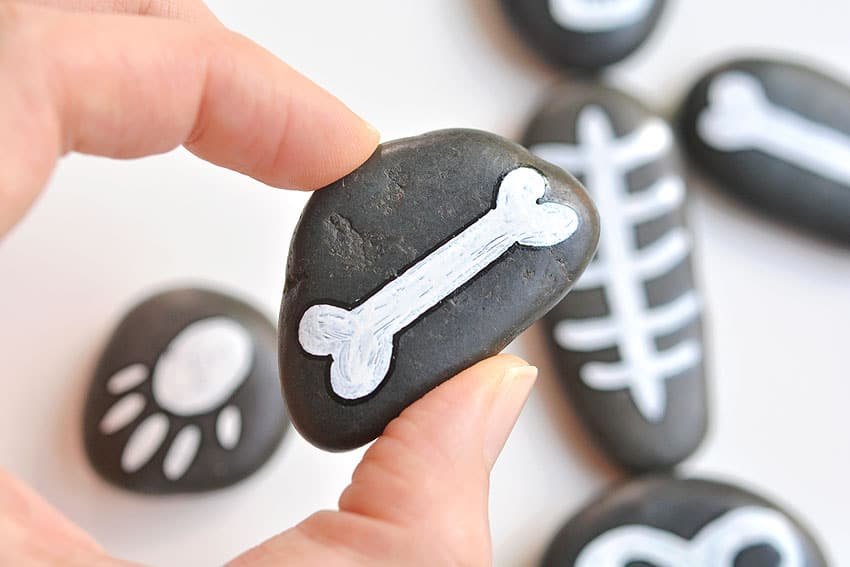
No, you don’t have to outline the white bones, but it really helps clean up the bone shapes if your paint lines don’t look straight. The black outline really makes the bones “pop” off the rock.
Either way, you will still need the black paint pen to draw the skeleton’s mouth.
How can I paint on the burlap bag?
We used a thin brush and liquid acrylic paint to write “Bag of Bones” on our burlap bag. If you don’t want to draw it freehand you could use letter stencils. You can also write on the burlap with a regular Sharpie marker.
We tried painting on the burlap bag with our paint pens, but it just didn’t work well. The lines were too faint and the paint pens didn’t fill in the gaps in the burlap. Plus the tips were creating a lot of fuzz on the bag.

DIY Halloween Painted Rocks
Materials:
- 11Flat black rocks
- White paint pen
- Fine tipped black paint pen
- Drawstring burlap bag(5 x 7 inch size)
- Liquid acrylic paint(to paint burlap bag)
Equipment:
- Paintbrush(for burlap bag)
Instructions:
Step 1: Draw the white parts of the skeleton
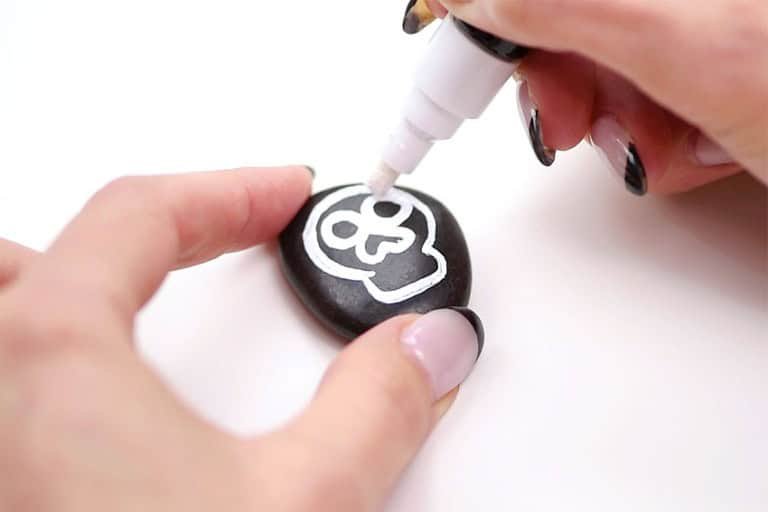
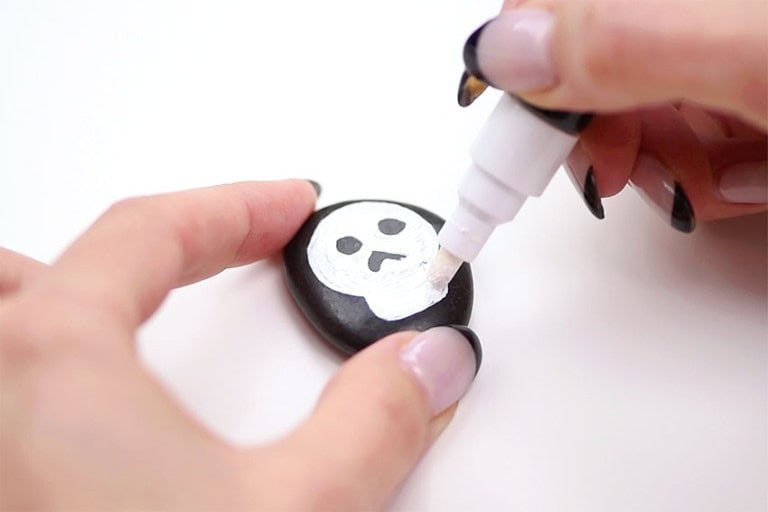
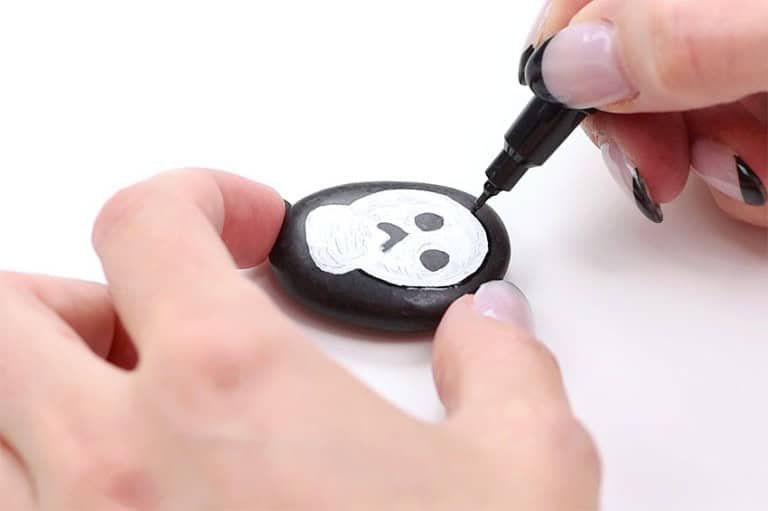
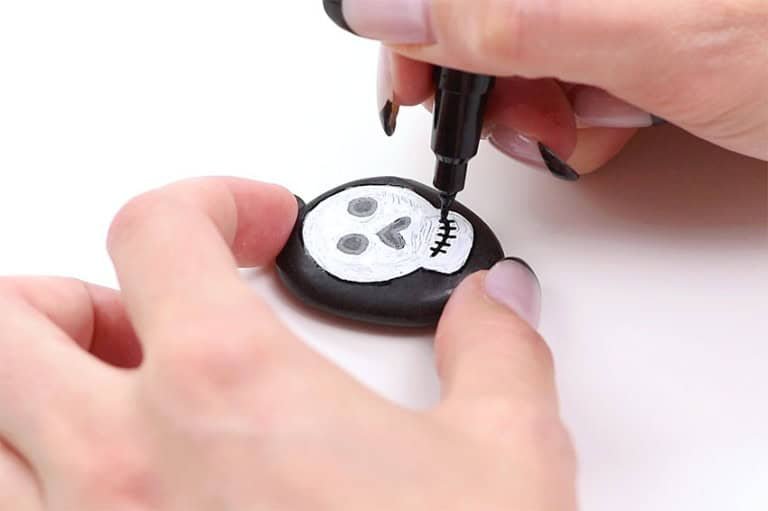
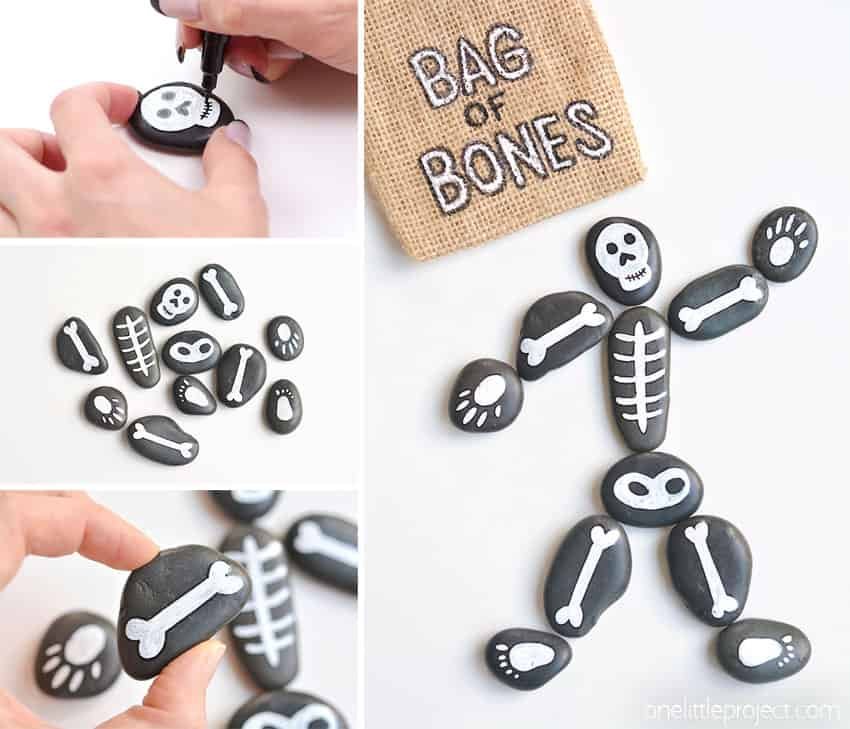
- Using a white paint pen, draw the outline of a skull, making two circles for eye sockets and an upside down heart for the nose area.


- Fill in the outline, leaving the eyes and nose unpainted.


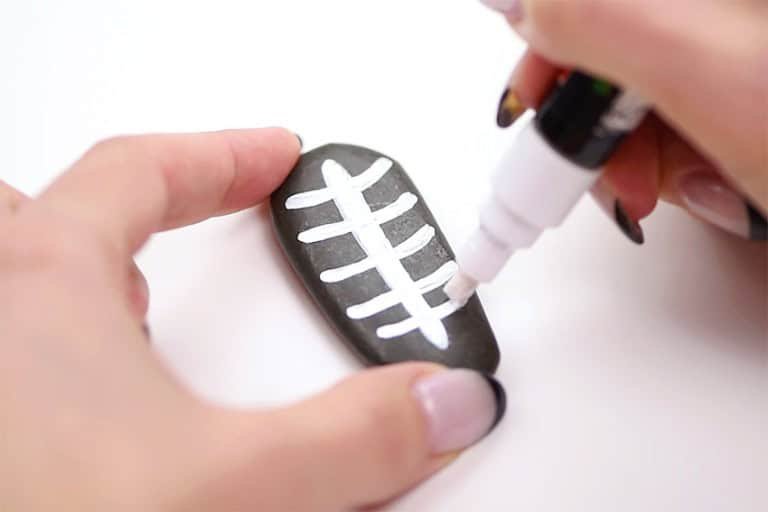
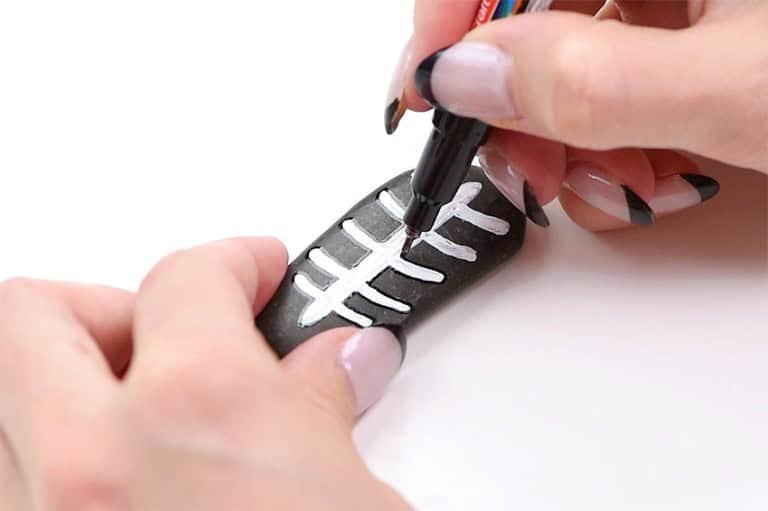
- Now draw a rib cage. Make one thick line down the center of the rock for the spine, and then draw slightly curved lines horizontally across the rock for the ribs.


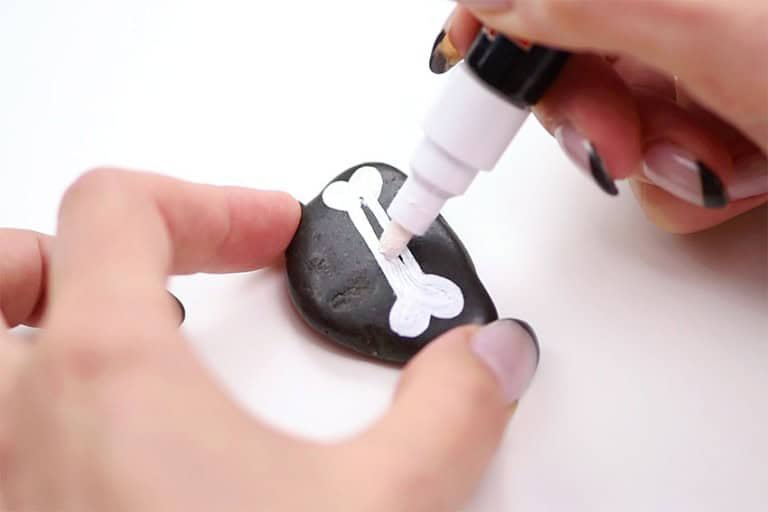
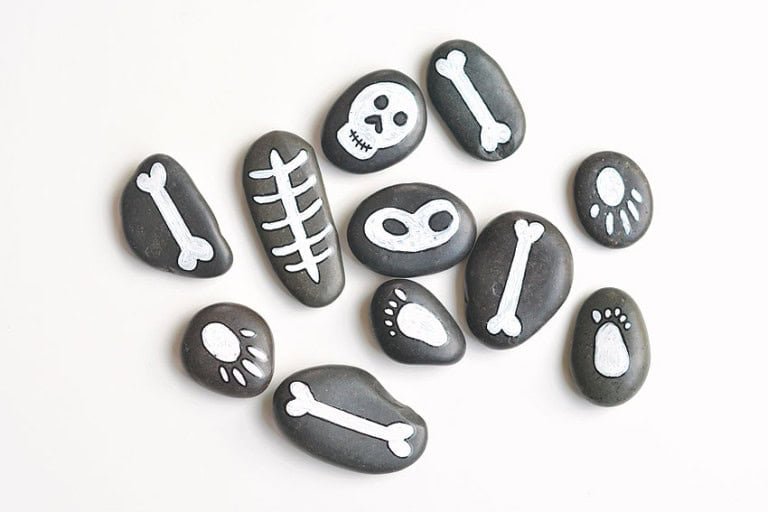
- Now draw a long bone with heart shapes on each end for an arm bone. Repeat for the second arm.Take two longer rocks for leg bones and draw the same bone type twice more.


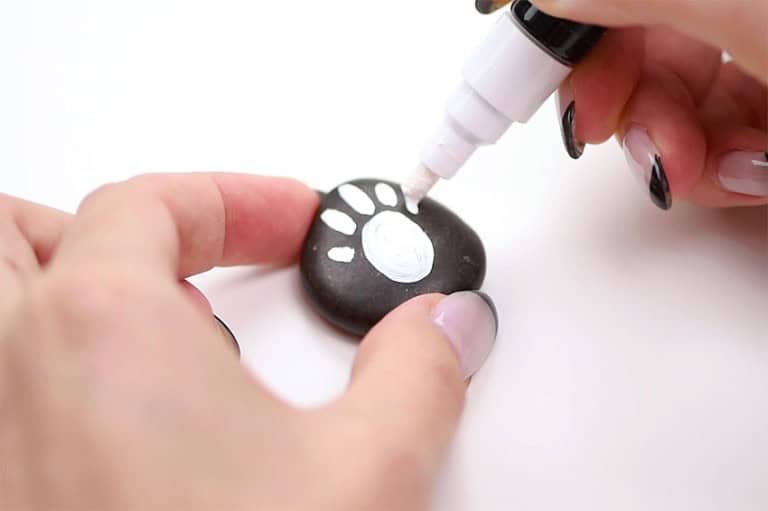
- For the hands, paint an oval shape in the center of the rock and colour it in. Then draw five lines for finger bones.On a second rock, paint another hand, with the thumb on the opposite side.


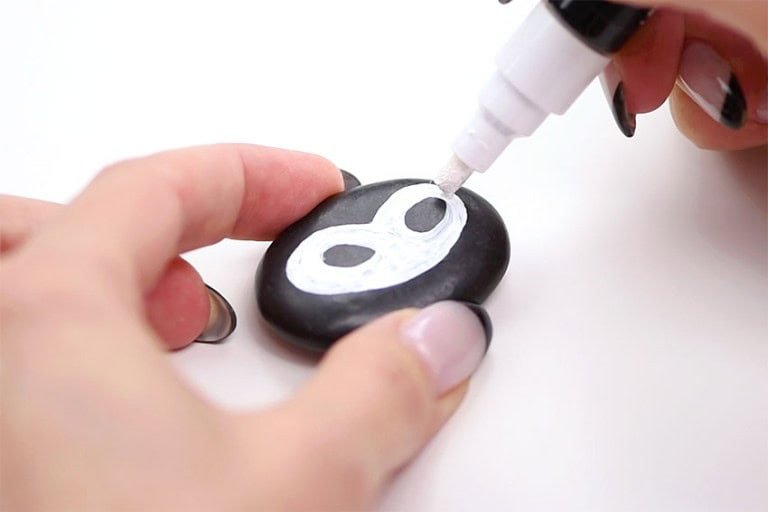
- Now draw a pelvis to connect the skeleton, leaving two inner oval shapes unpainted.


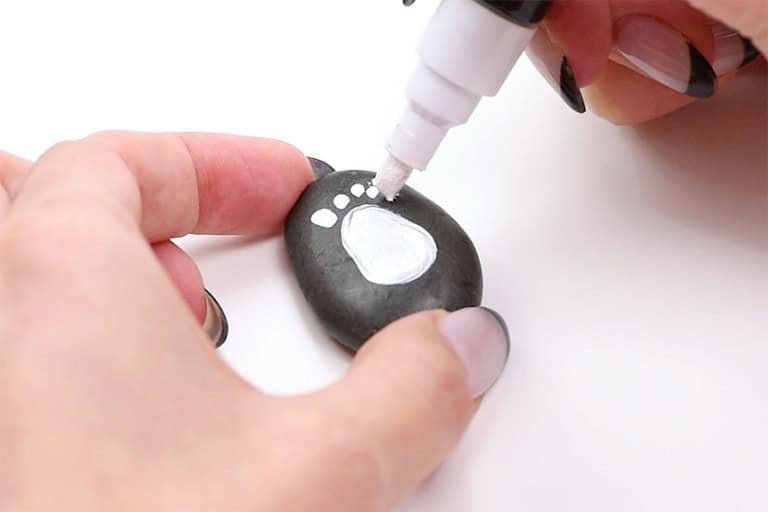
- Finally, on the two remaining rocks paint a foot shape with five toes (be sure to paint the big toes on opposite sides).


Step 2: Outline the bones in black (optional)
- Now you can outline the skeleton with a fine tip black paint pen.Start by drawing a line around the skull, then an outline around the eyes and nose shape as well.


- Use the black paint pen to draw a smile on the skull. Then make short vertical lines on the smile for the teeth.


- Now draw around each of the bones in the ribcage.


- Continue making a black outline around each of the bones.


Step 3: Paint the burlap bag
- Use a paintbrush and white acrylic paint to write “Bag of Bones” on a burlap bag. Once the paint has dried, use a thinner brush to outline it in black paint.


- Your bag of bones is complete!


Helpful Tip:

These Halloween painted rocks are bad to the bone! Black rocks look great with the white skeleton, but if you have white or gray rocks you can paint them another fun Halloween colour, like orange or purple.

Here’s even more spooktacular Halloween crafts:
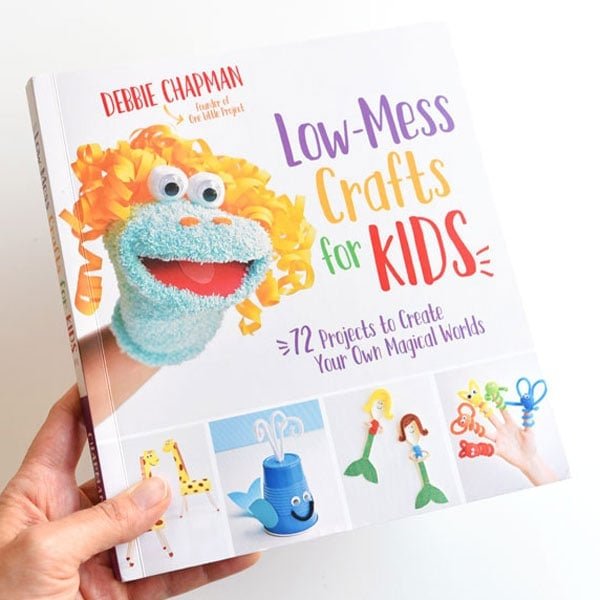
Our book Low-Mess Crafts for Kids is loaded with 72 fun and simple craft ideas for kids! The projects are fun, easy and most importantly low-mess, so the clean up is simple!
Where to buy:
You can purchase Low-Mess Crafts for Kids from Amazon, or wherever books are sold:
Amazon | Barnes and Noble | Books- A- Million | Indiebound | Indigo | Amazon Canada


