Paper Star Ornaments
Jump to:
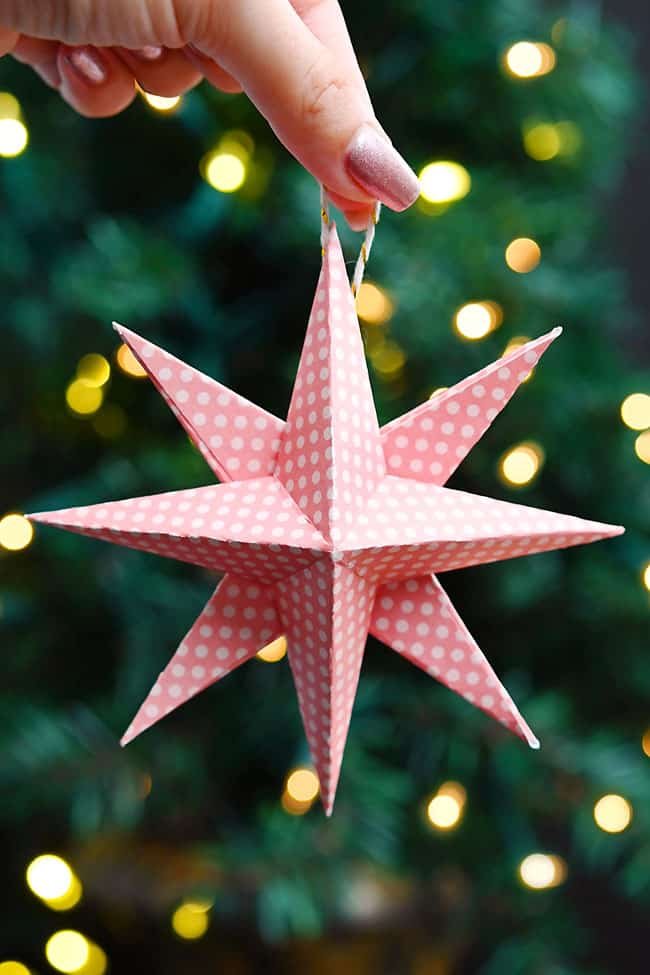
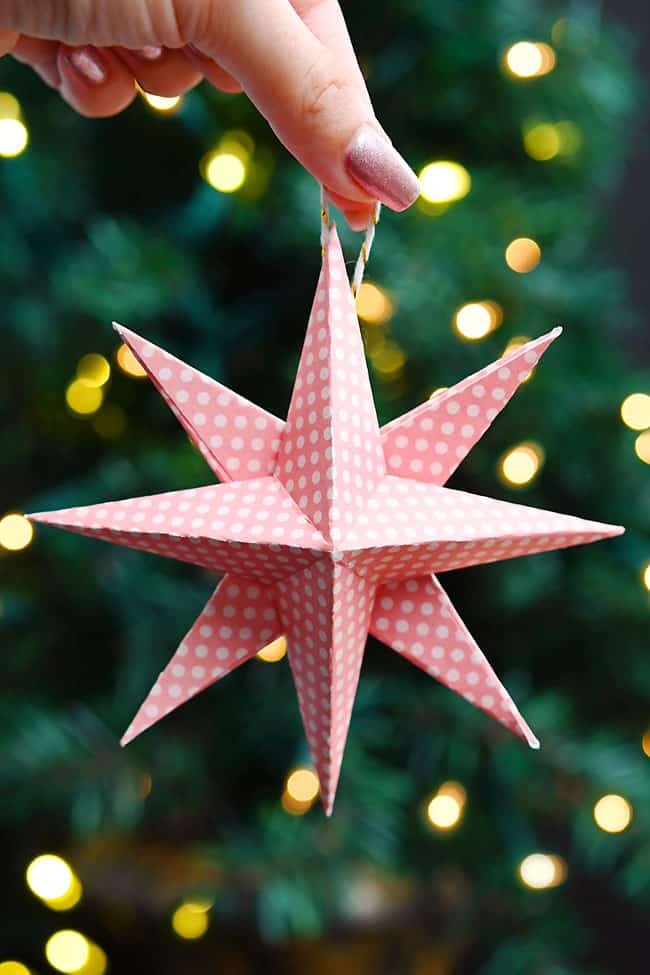
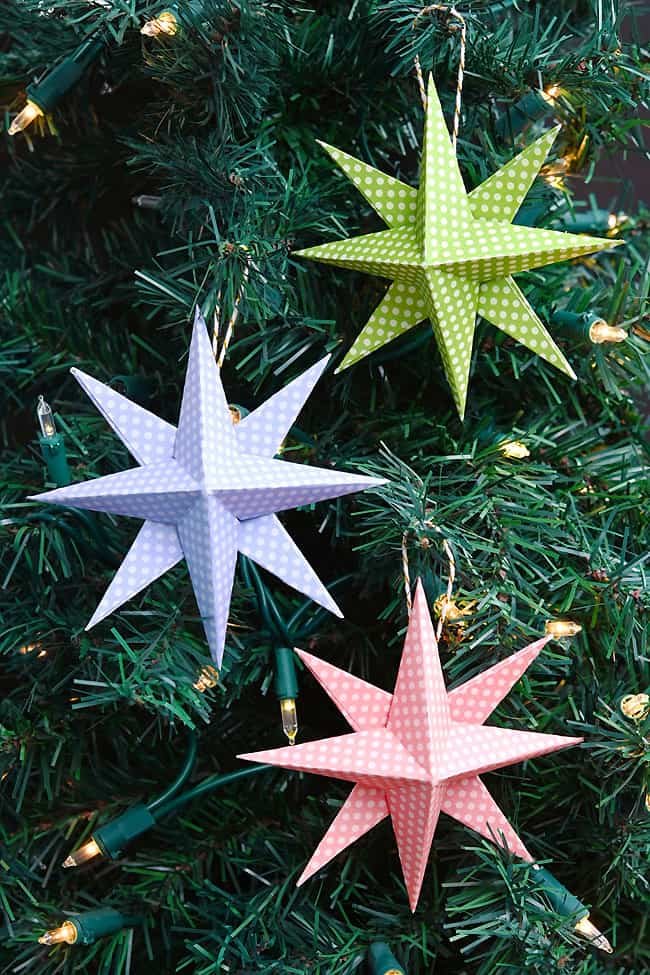
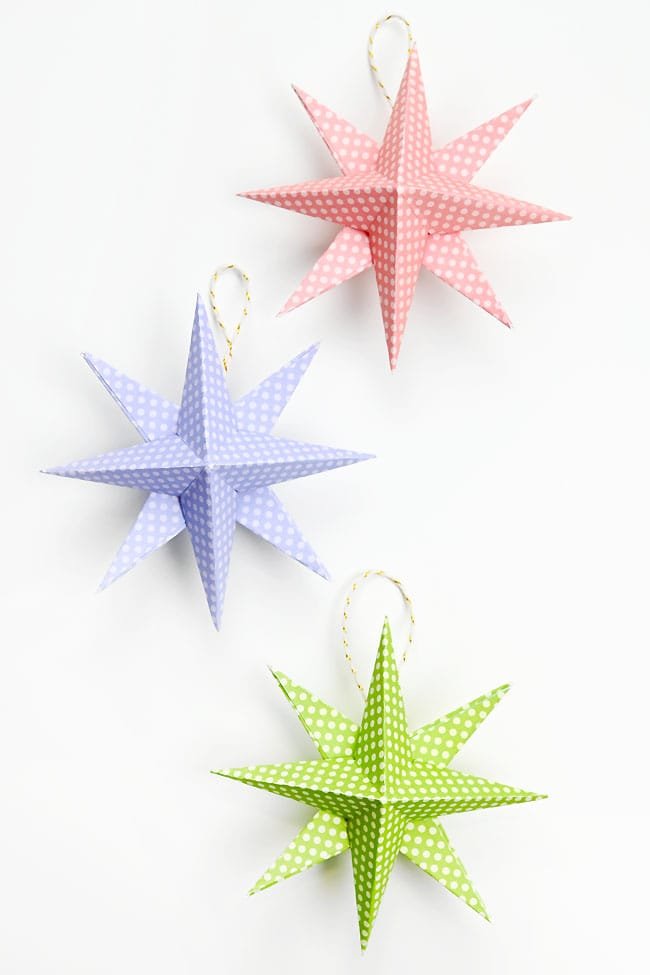
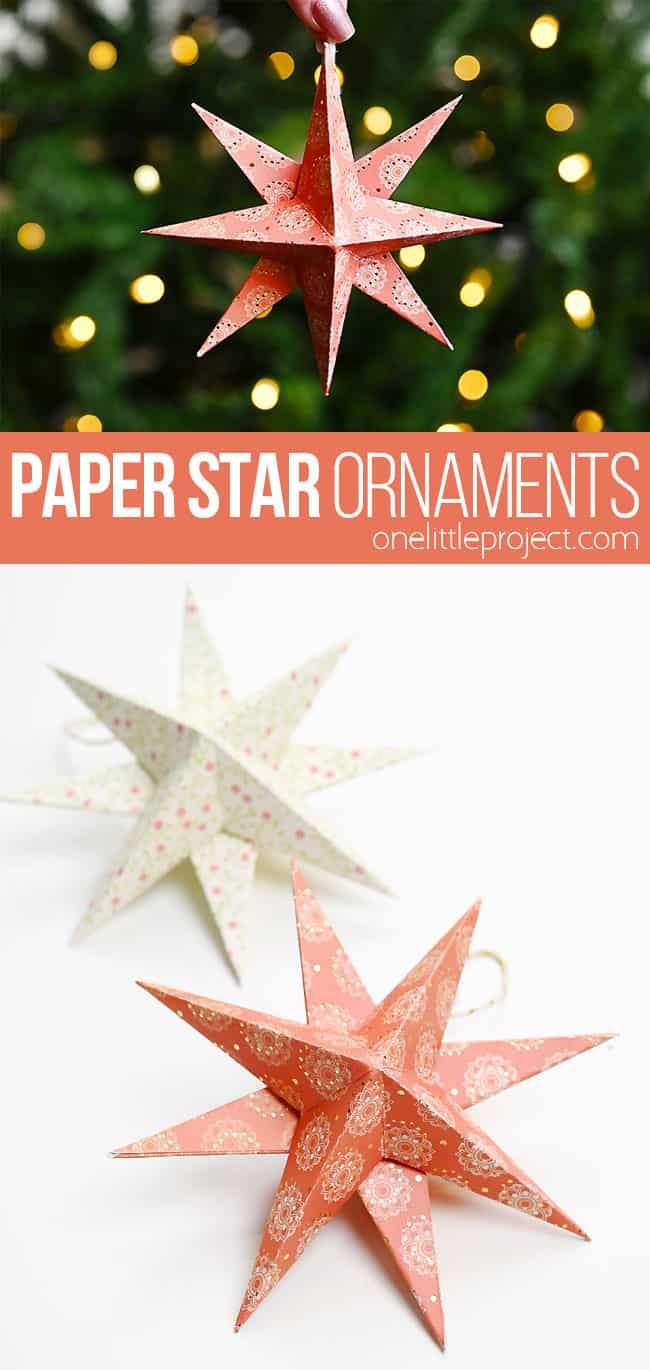
These paper star ornaments are seriously SO SIMPLE and tons of fun to make! Just fold, cut, and watch an everyday piece of paper turn into a beautiful paper ornament star.
Hang your 3D Danish star in a window to make a starry display, place them as a dreamy mobile over a kid’s bed, or even hang them on the wall as a festive collage! These paper stars are easy enough for a Christmas craft night with your kids and so pretty that you’ll want to display them everywhere!
This post contains affiliate links. If you use these links to buy something we may earn a small commission which helps us run this website.
How to Make Paper Star Ornaments
Materials:
Instructions:
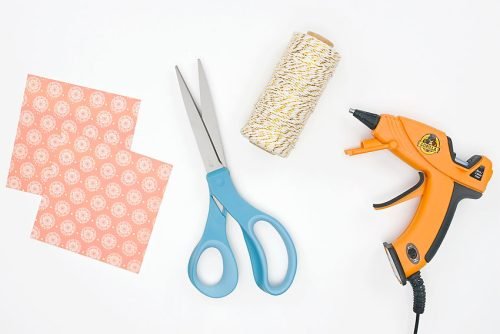
Step 1: Find what you need
- Gather your supplies and materials.

Step 2: Make creases in the paper
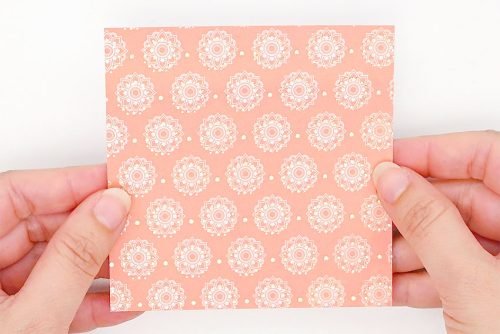
- Start with a 4 inch square piece of scrapbook paper.

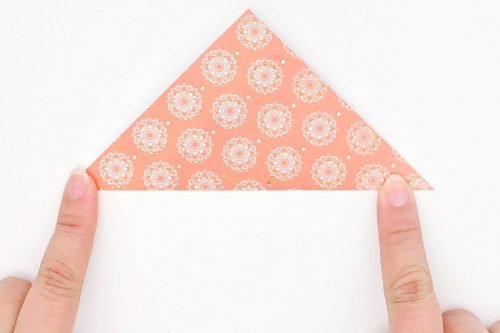
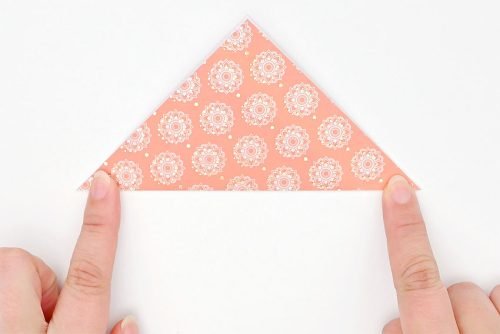
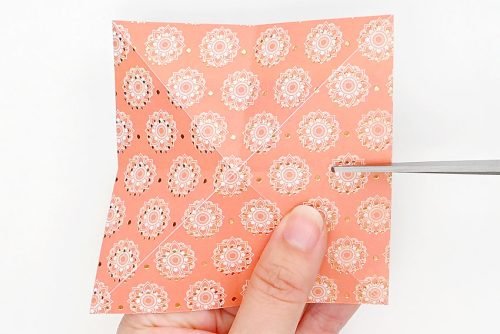
- Fold the paper in half diagonally so one corner meets the opposite corner.The patterned side of the paper should be on the outside of the fold.

- Unfold the paper, then fold it again along the other diagonal.

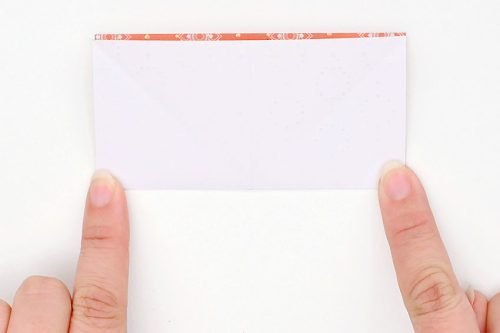
- Unfold the paper again, rotate it, and flip it over so you see the pattern. Fold the paper in half so that the two straight edges meet.

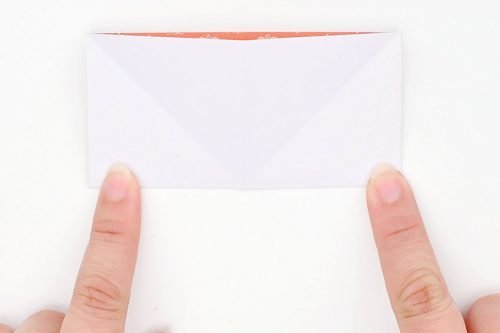
- Unfold again, rotate, and fold so that the other straight edges meet.

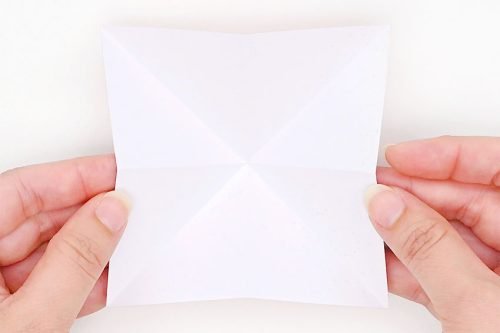
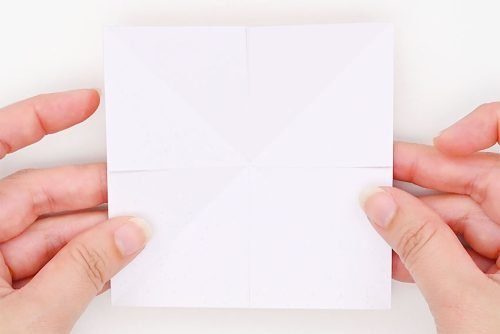
- You should now have a square piece of paper with creases going up and down, side to side, and diagonally in both directions.

Step 3: Fold the points in
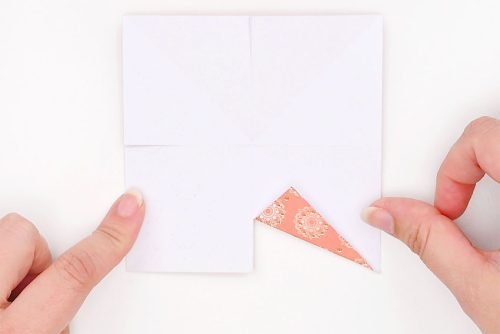
- Cut along the middle crease on one of the straight edges, going half way in towards the middle (about 1 inch long).

- Repeat, so that there’s cuts on all 4 sides.

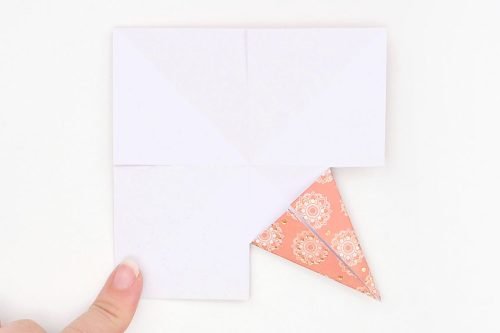
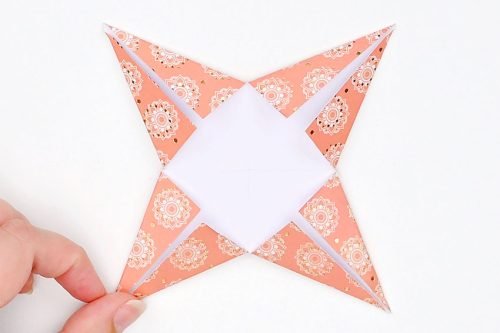
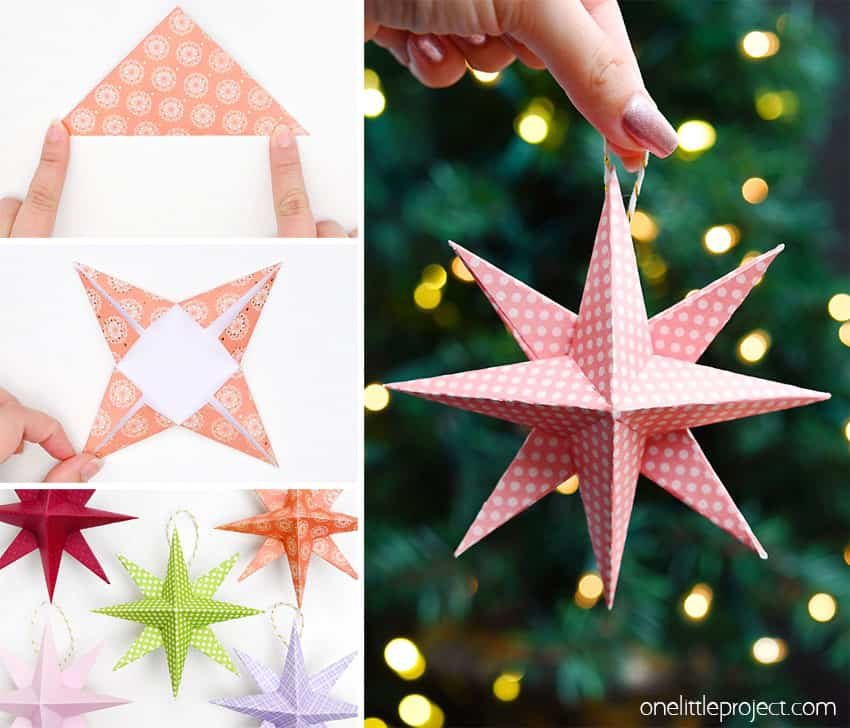
- Fold the corner created by one of the cuts in to meet the diagonal crease. The patterned side of the paper should be on the outside of the fold.

- Fold the corner on the opposite side of the crease in to meet the same crease.

- Repeat with all 4 corners.

Step 4: Glue the points together
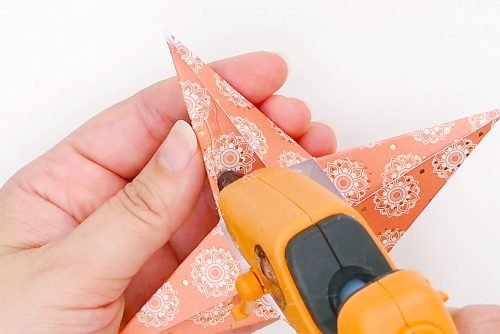
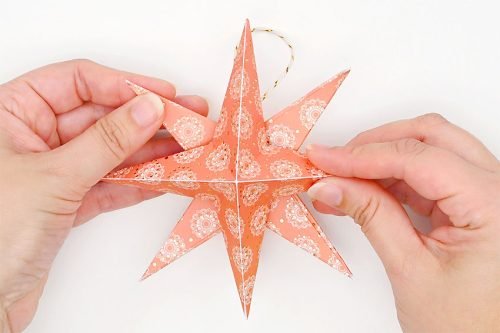
- Add a small amount of hot glue onto the left flap of the star point.

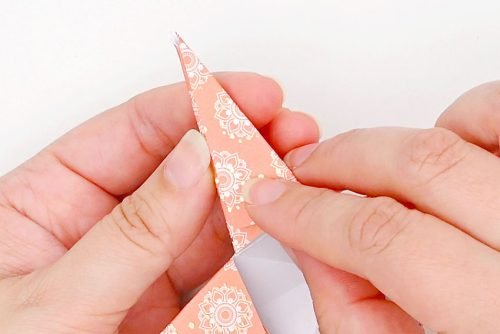
- Fold the right flap over top of the left flap and into the glue, but don’t align the edges. Leave about 2mm between the edges.

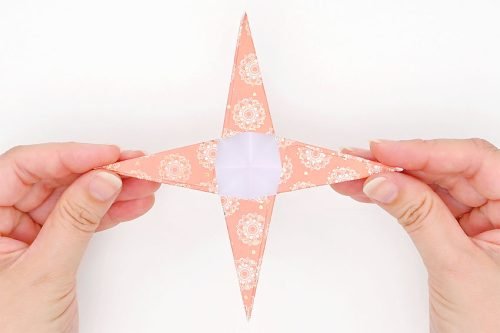
- Repeat with the remaining 3 star points.

Step 5: Add an ornament hanger and make a second star piece
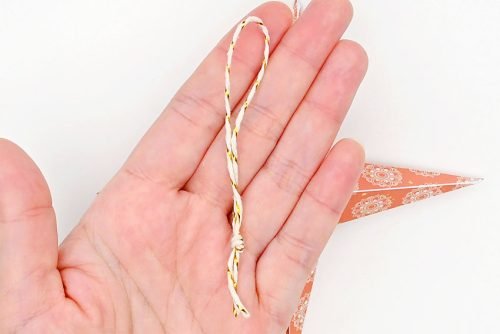
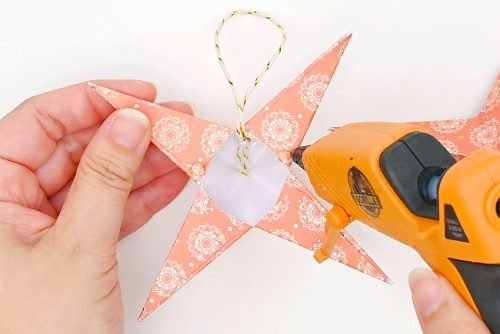
- Fold a 6 to 8 inch piece of string or twine in half and tie the ends in a knot.

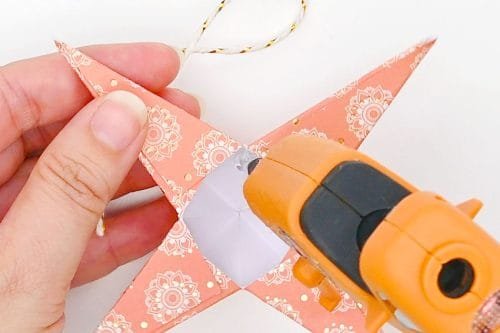
- Add hot glue to one of the diagonal creases on the inside of the star, between the points.

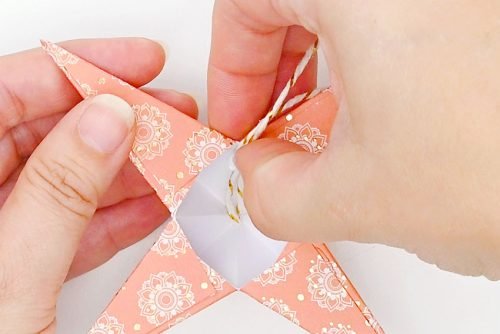
- Press the knot of the string into the glue.

- Follow steps 2 to 4, making a second paper star.

Step 6: Glue the stars together
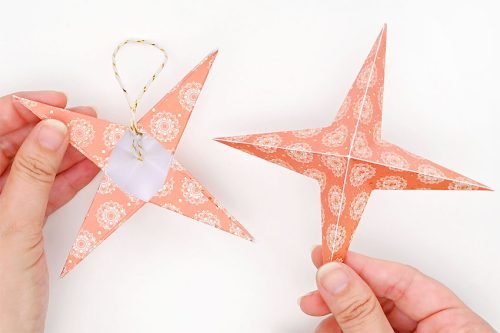
- Add hot glue to the back of the first star near the center edges.

- Stick the 2 stars together so the points go in opposite directions.

- Your paper star ornament is complete!

- Place the two stars together to see where they’ll touch when joined. Then you’ll know exactly where to add the glue!
- When gluing the star point flaps together, don’t align the edges. Leave a small (about 2 mm) space between the edges. This will keep the back of the star points flat and make it easier to glue to the two stars together.
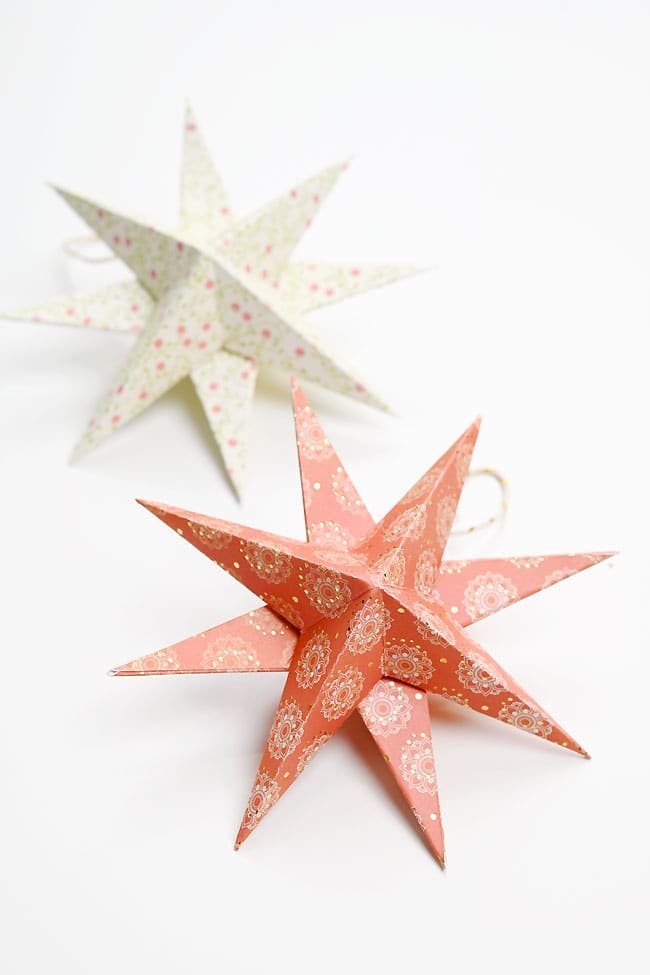
What other types of paper can I use for my paper star ornaments?
Origami paper or regular printer paper will also work. When using thinner paper, you can use a regular glue stick or glue tape instead of hot glue.
We don’t recommend using paper thicker than scrapbook paper for this craft. Thicker paper won’t fold as easily and the surface of the paper can tear when creased.
What if I don’t have square paper to make my paper ornament star?
Don’t worry! You can quickly and easily cut a rectangular piece of paper into a square!
Simply fold one corner of the paper diagonally and align the edges that meet. Cut along the edge that doesn’t align to remove the excess part of the rectangle. Now you have a square piece of paper and, as a bonus, you already have your first diagonal fold!
(You can also measure out a square shape with a ruler.)
What size paper do I need for my paper star ornaments?
We cut our paper to 4 inches square, but you can use any size of paper so long as it’s square. Your paper star ornaments will be in all different sizes based on the paper size!
These paper star ornaments are like potato chips—you can’t make just one! Make them in lots of different sizes and drape them on your houseplants, decorate your gifts, or turn them into cute little wine charms—you’ll be finding festive ways to use them all season long!
Here’s even more paper Christmas craft ideas:
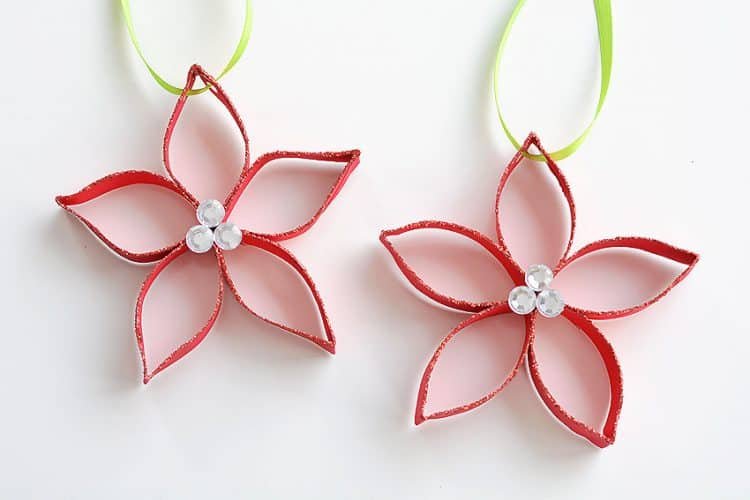
Paper Roll Poinsettia Ornaments
Our book Low-Mess Crafts for Kids is loaded with 72 fun and simple craft ideas for kids! The projects are fun, easy and most importantly low-mess, so the clean up is simple!


