Clay Monsters
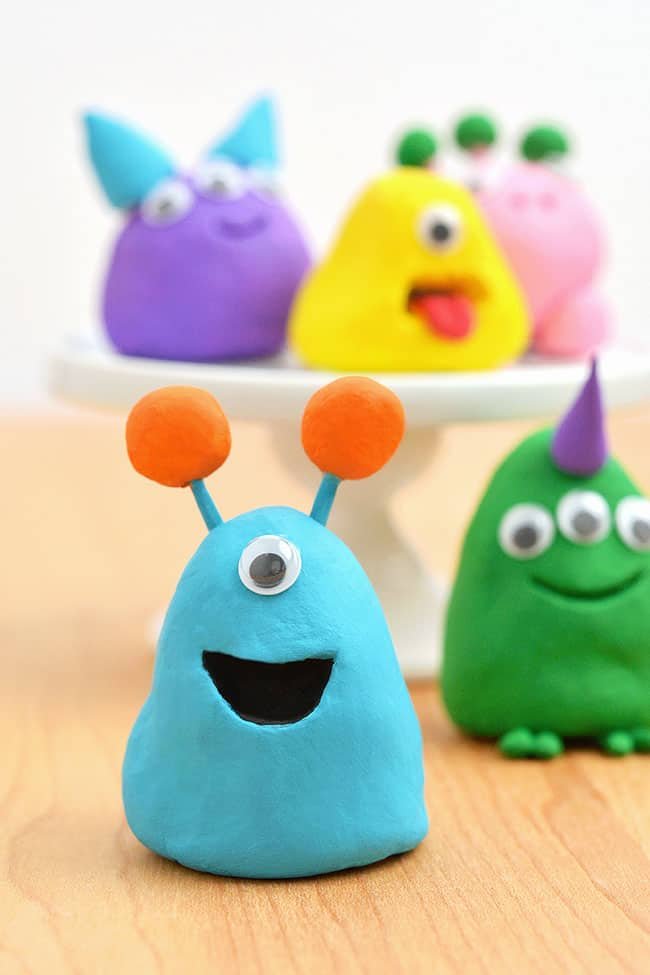
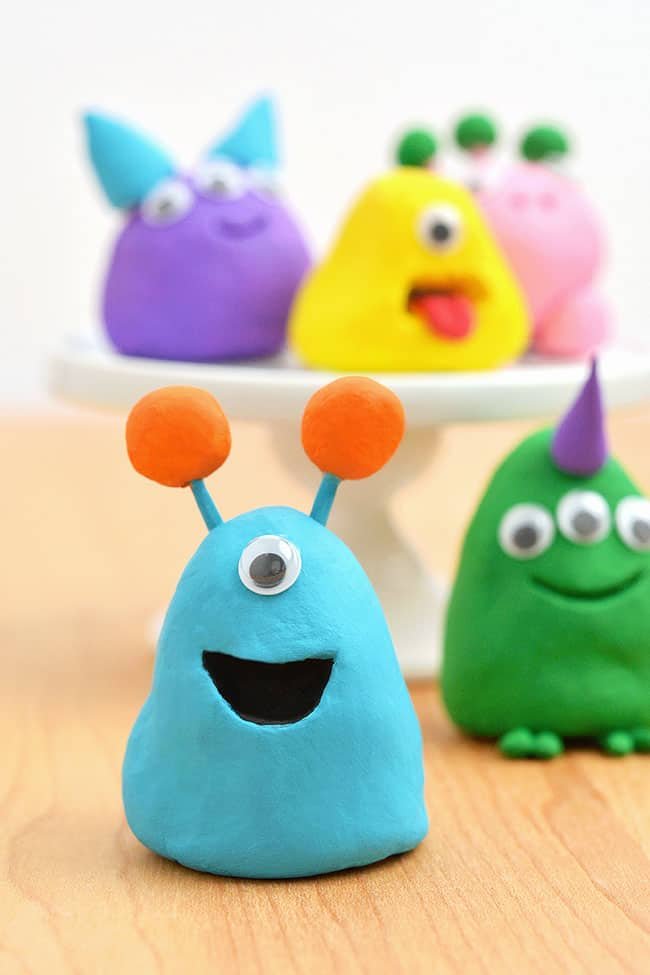
It’s SO EASY to make these cute clay monsters! With air dry clay, your hands, and some toothpicks, you can create a hand sculpted clay monster. It’s such a fun craft for kids and beginners to working with clay!
Design your clay monsters to be as scary or as sweet as you’d like, or follow our simple step-by-step tutorial to create a funny “Snail-zilla” monster. It’s such a perfect craft for Halloween, monster themed birthday parties, or any time you want to get creative with clay!
This post contains affiliate links. If you use these links to buy something we may earn a small commission which helps us run this website.
How to Make Clay Monsters
Materials:
Equipment:
-
Water
Check Out The Video Tutorial:
Instructions:
Step 1: Find what you need
-
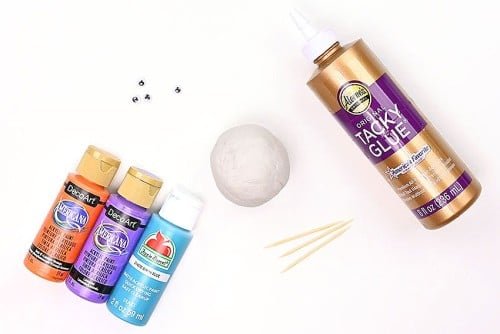
Gather your supplies and materials.

Step 2: Make the clay monster’s body and attach spikes
-
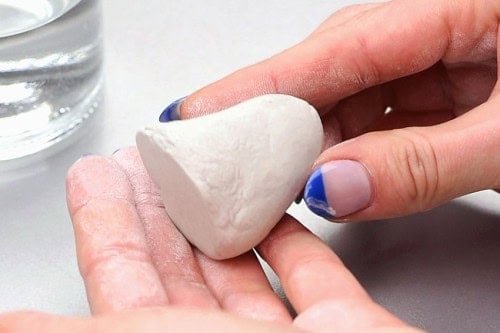
Roll out a piece of clay in an oval shape. Flatten one end to the table, so the monster can stand up.Then press in the top of one side to create a curved back. Our clay monster body is just over 1-1/2 inches tall and is 1-1/2 inches wide at the base, but only about 1/2 inch at the top.Use your fingers and a bit of water to smooth out the sides of the monster’s body.

-
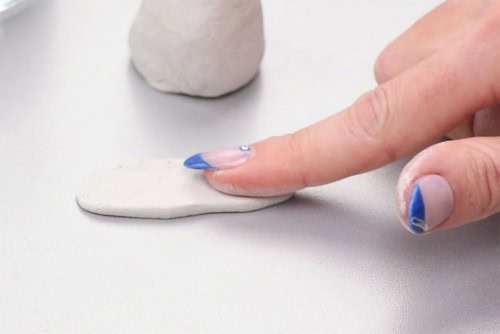
Roll out a small log of clay and then flatten it into a long oval shape, at least 1-1/2 inches long and 1/2 inch wide.

-
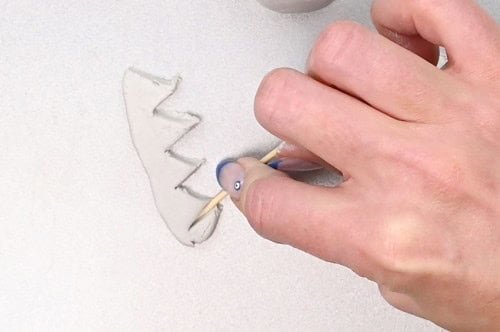
Use a toothpick to make a zigzag pattern on one side of the flattened clay. Then remove the excess clay, creating a spiky spine for the monster.

-
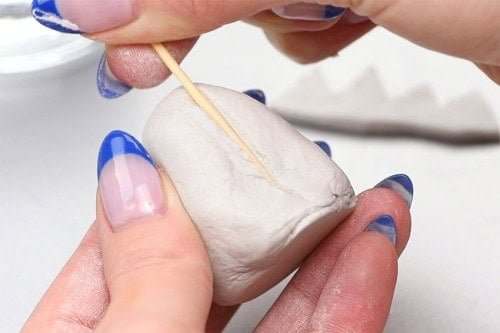
Dig a trench, or groove, going down the back of the monster, using a toothpick.

-
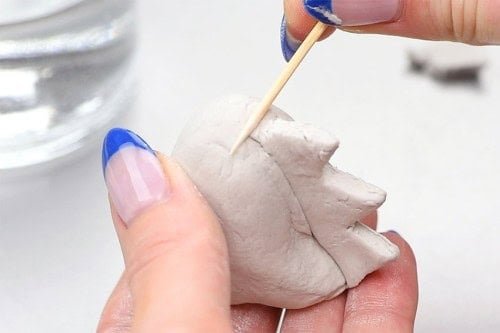
Wet the area slightly and then attach the spikes into the groove. You can break off the spikes at the bottom, if needed, to make it even with the bottom of the monster.Then use a toothpick to smooth the spine at the top to help it adhere.

Step 3: Make and attach the monster’s antenna
-
Make two round balls, about 1/2 inch in diameter. Smooth them out with water.
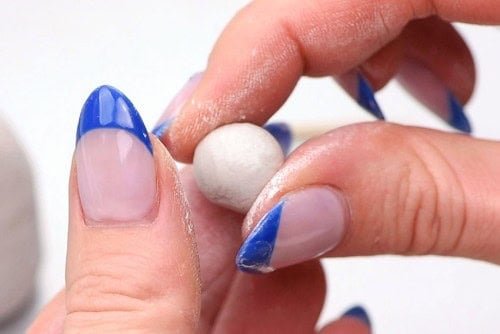

-
Cut a toothpick in half.
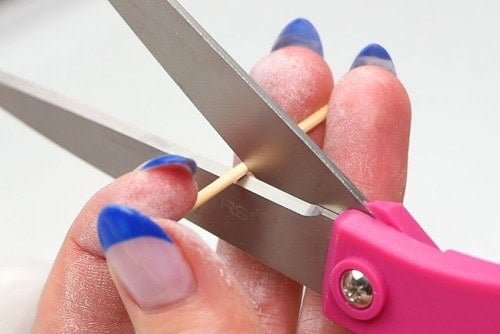

-
Stick the halves of the toothpick, pointy part up, into the top of the clay monster’s head on either side.
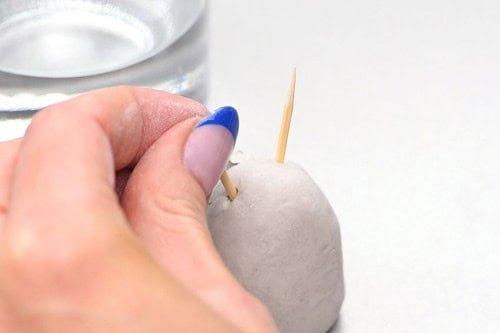

-
Push the balls onto the tips of the toothpicks.
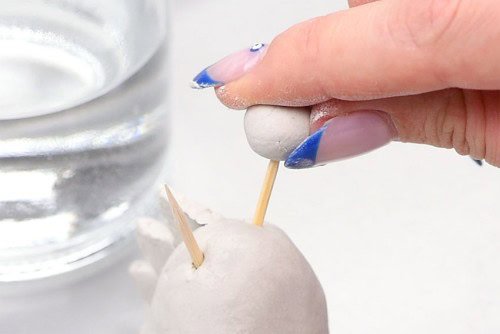

Step 4: Carve the clay monster’s mouth
-
Use a toothpick to draw an open mouth shape on the front middle of your monster. Our monster’s mouth is about 1/4 inch tall and 3/4 inch wide.
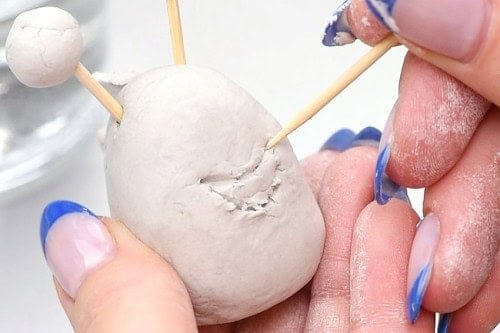

-
Dig out clay from inside the monster’s mouth, creating a mouth that is about 1/4 inch deep. Use water and your fingertip to smooth out the mouth as much as possible.Allow the clay monster to air dry for 2 days.
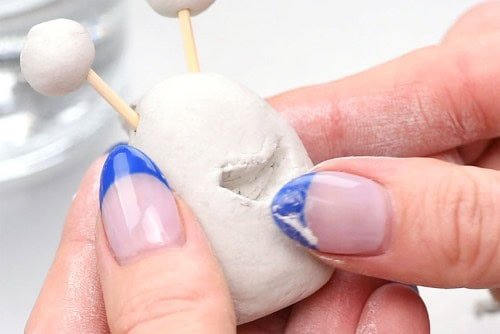

Step 5: Paint the clay monster and add an eye
-
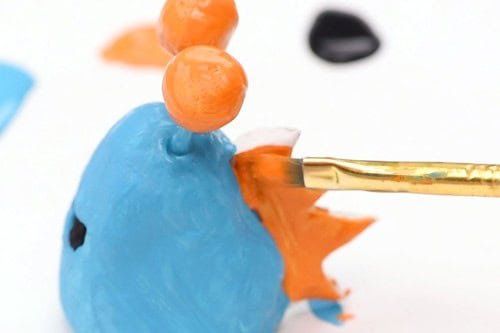
Once your clay monster is fully dry, paint the inside of the mouth black.
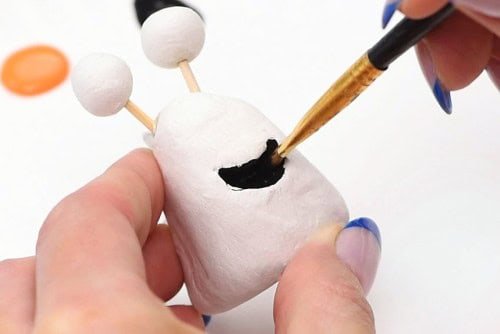

-
Paint the body and the antenna sticks blue.
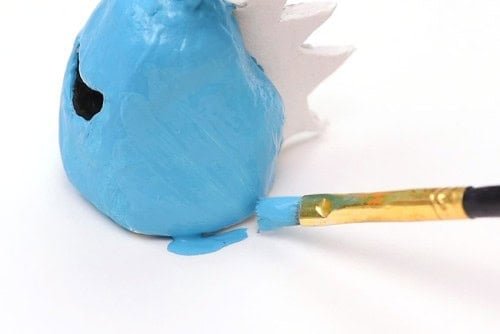

-
Use orange paint for the antenna balls and the spikes.Allow 2 hours for the paint to dry. Add a second coat of paint, if needed. Allow to dry.

-
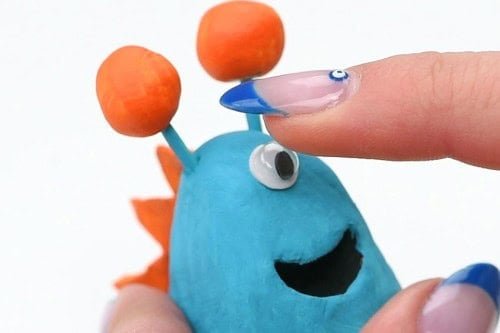
Attach a googly eye to the center of the monster’s face with tacky glue.

-
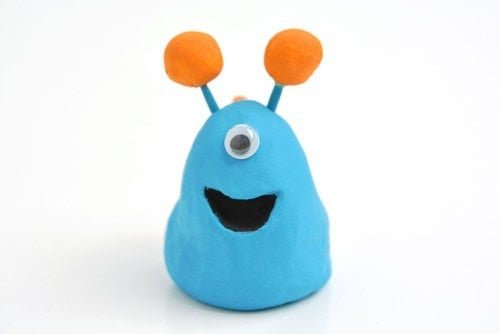
Your “Snail-zilla” clay monster is complete!

Helpful Tips:
- Measure the parts of the monster as you go, against the parts you’ve already made. This will give your clay monster the best proportions.
- Use water to smooth out the clay and to stick the pieces of the clay monster together. If you still have issues with pieces sticking, use super glue to connect the pieces after they’ve dried.

How do you make a clay monster step by step?
Start with the monster’s body and work from there. This allows you to scale the pieces correctly. You can follow our exact tutorial, or you can get creative and design your own clay monster! (See some tips below.)
Making your own clay sculptures is actually really easy, especially when you’re making a clay monster. After all, monsters come from the imagination, so no one can tell you that your monster doesn’t look right!
How can I design my own clay monster?
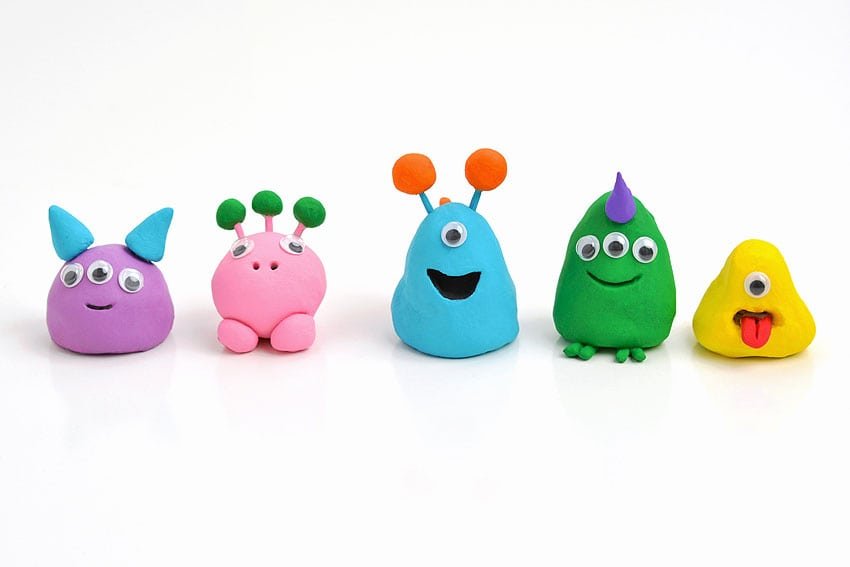
When making a clay monster you can create a unique monster every time, but each monster should have 4 basic parts to it:
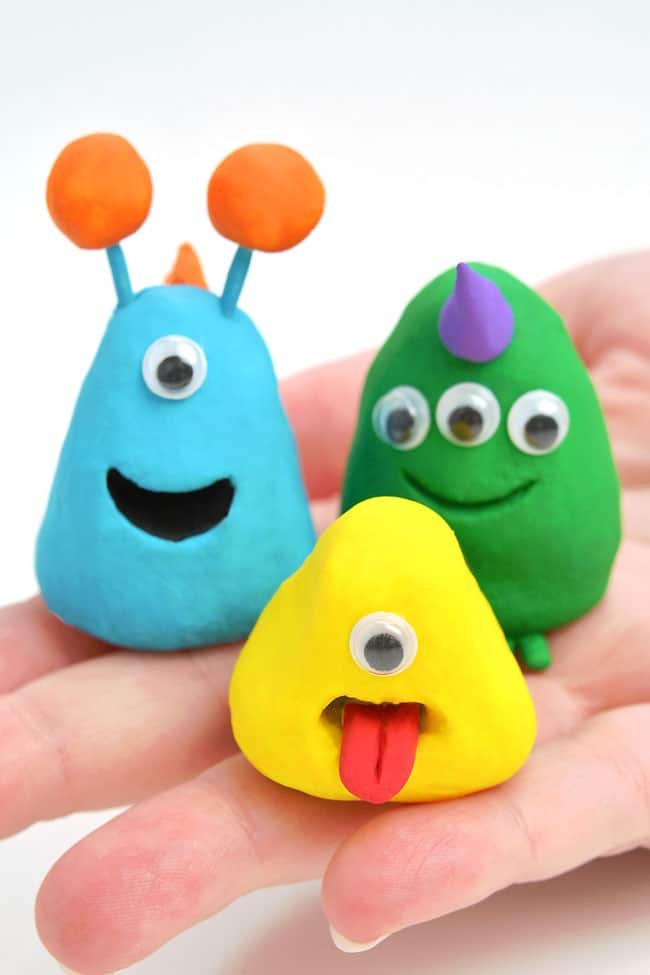
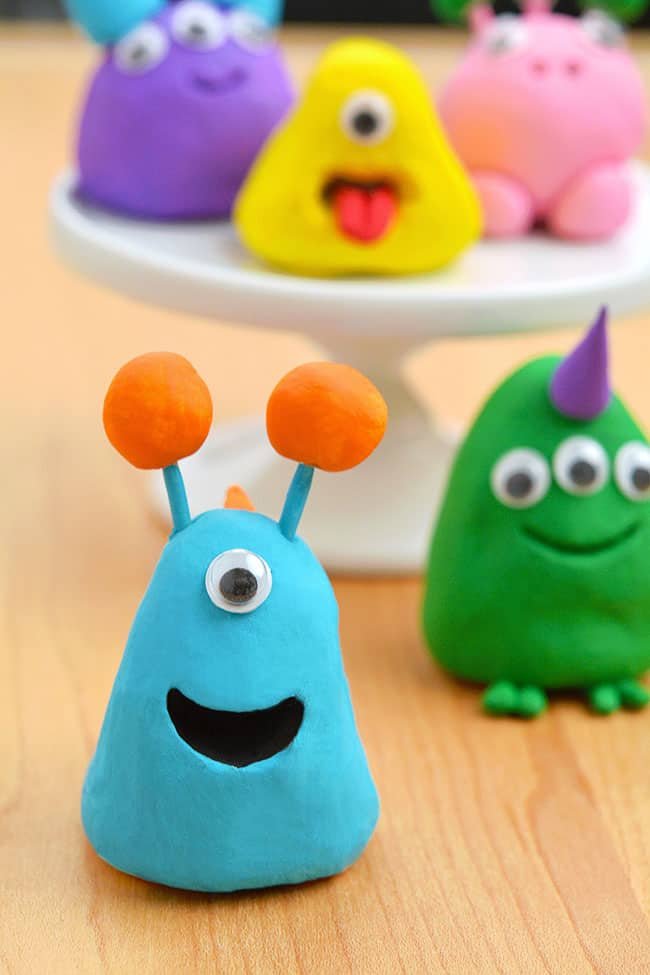
- Basic body shape: What shape is your monster’s body? It could be tall and slender, or round and short. It could even be a triangle!
- Facial features: Does the monster have a nose, and what shape is the mouth? Carve depth into the clay figurine, or simply make lines with a toothpick.
- Eyes: How many eyes does your clay monster have? Glue on a googly eye, like we did, or sculpt eyes into the figurine.
- Add ons: What other parts does your clay monster have? The sky’s the limit! We added tentacles, horns, different types of feet, and a spiky spine. What else can you think of to add?

What type of clay works best to make a clay monster?
We made our clay monsters using DAS air dry modeling clay, which you can find at craft stores, Walmart, or Amazon.
If you don’t want to buy clay, you can also make clay at home. Our easy homemade clay recipe has only 3 ingredients and dries a beautiful crisp white!

What type of paint is used to add colour to these clay monsters?
Acrylic paint works very well for painting clay figurines. It’s inexpensive, durable, and the colours stay nice and bright. Paint pens are also a great option if you’d like more control for adding finer details.
If you’re worried about the mess of acrylic paint, you can use tempera paint instead. The coverage isn’t as good, but it’s washable, which can make things easier if you’re working with kids.
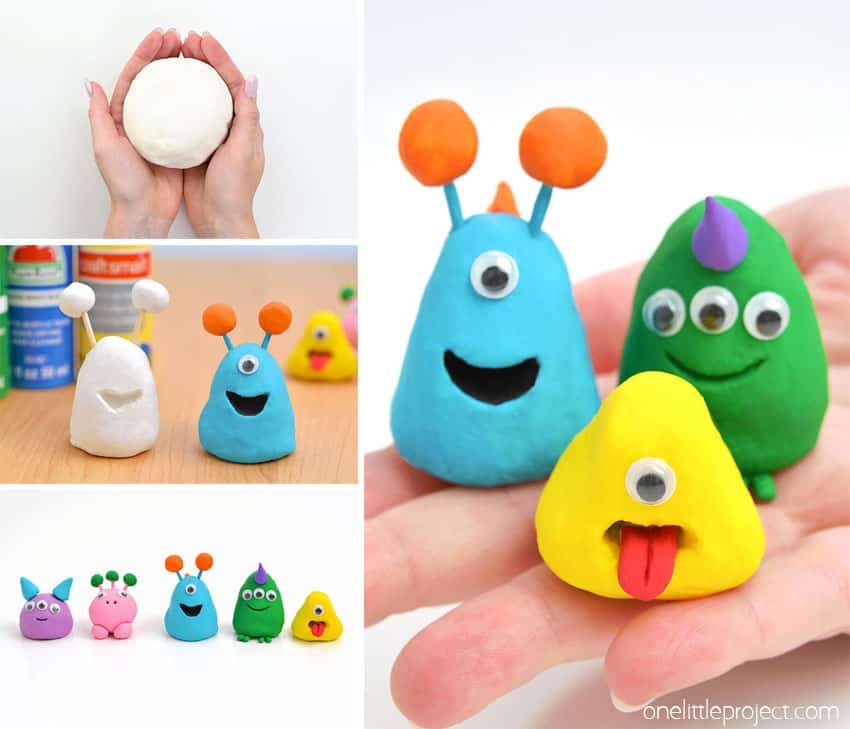

We had a blast making all these clay monsters! It’s such a fun and easy clay art project, and they look great displayed on a dresser, side table, or as a DIY addition to your Halloween decorations.
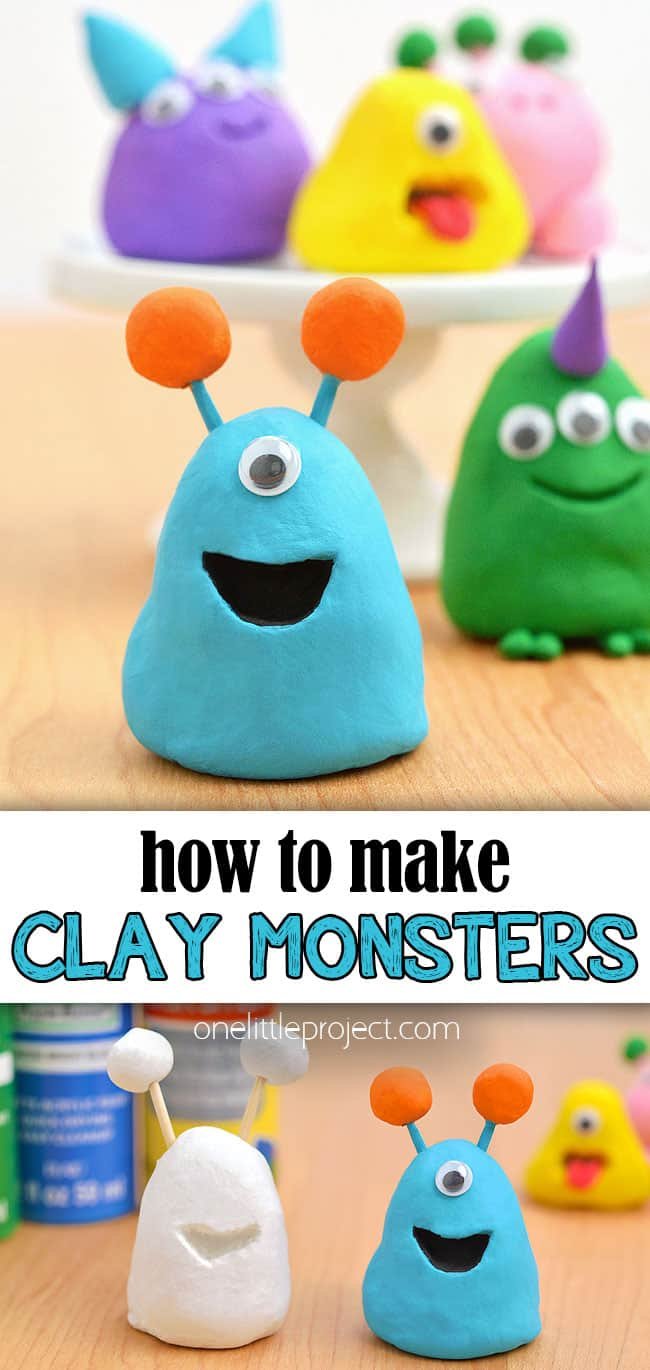

Here’s even more clay craft ideas:
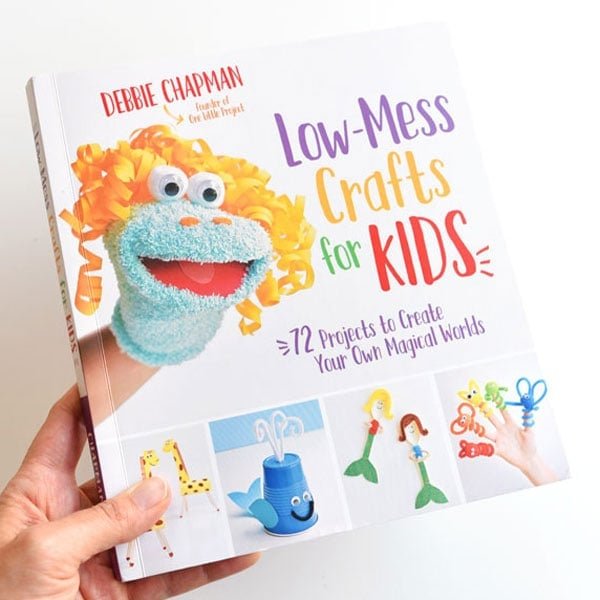
Our book Low-Mess Crafts for Kids is loaded with 72 fun and simple craft ideas for kids! The projects are fun, easy and most importantly low-mess, so the clean up is simple!
Where to buy:
You can purchase Low-Mess Crafts for Kids from Amazon, or wherever books are sold:
Amazon | Barnes and Noble | Books-A-Million | Indiebound | Amazon Canada


