Easy Tree Stump Pumpkins
Jump to:
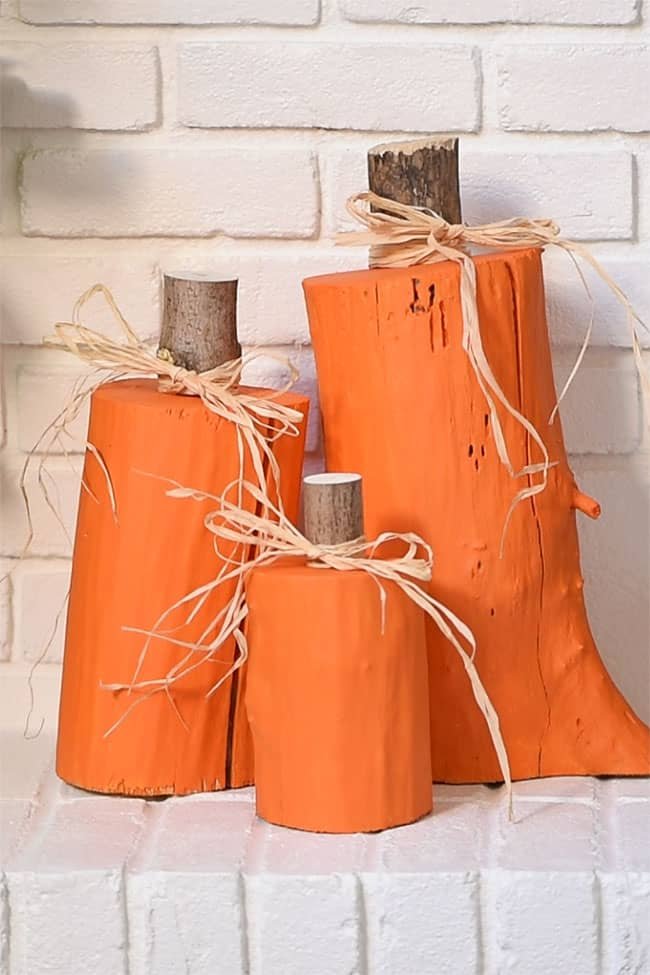
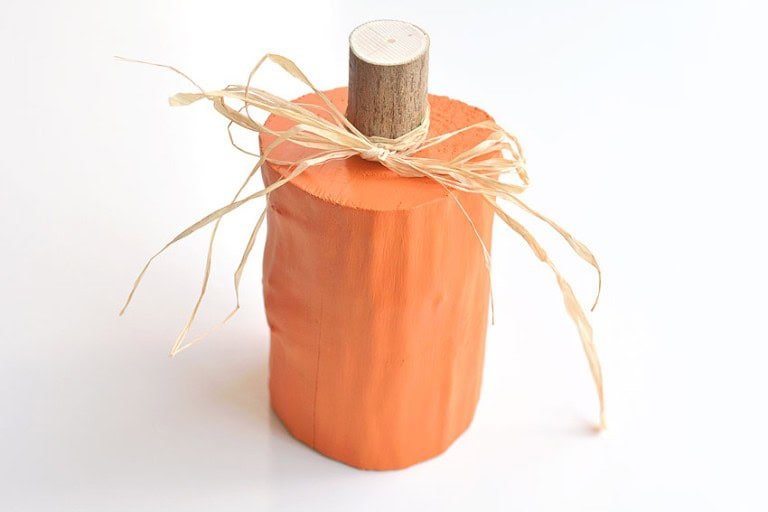
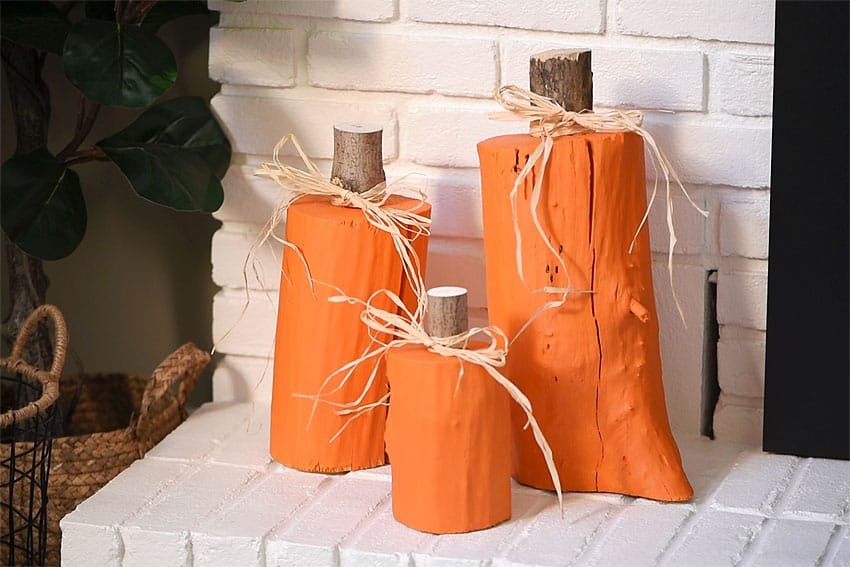
These stump pumpkins are SO COOL and they’re really easy to make. They’re such a fun, rustic decorating idea for the fall season, perfect for Halloween and Thanksgiving.
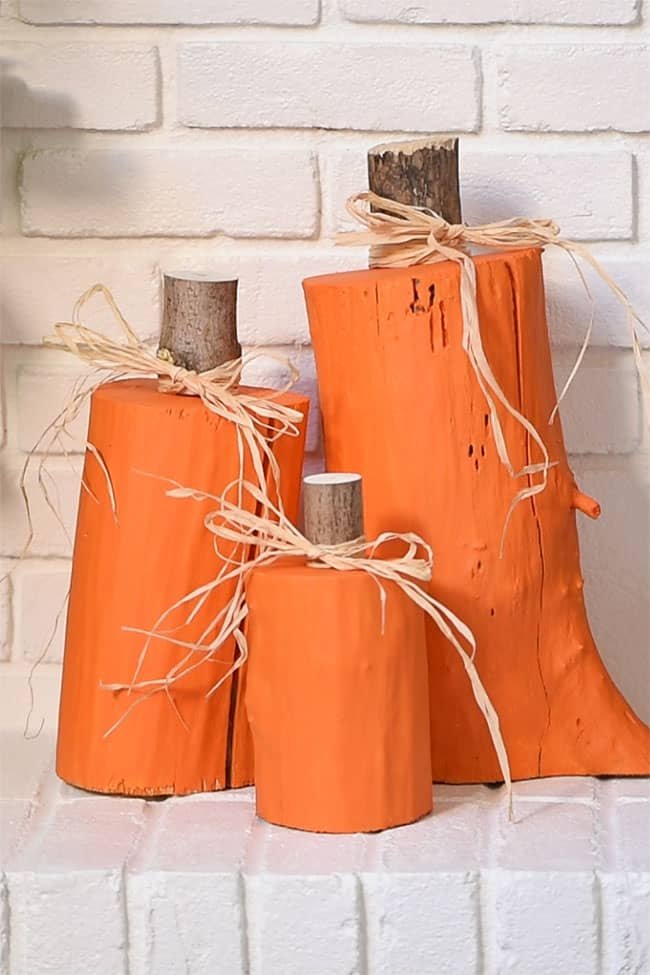
Tree Stump Pumpkins
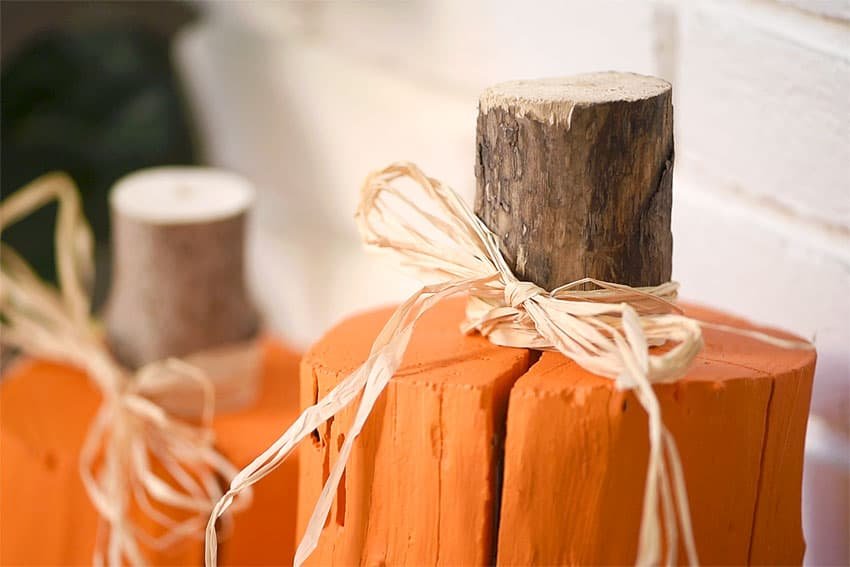
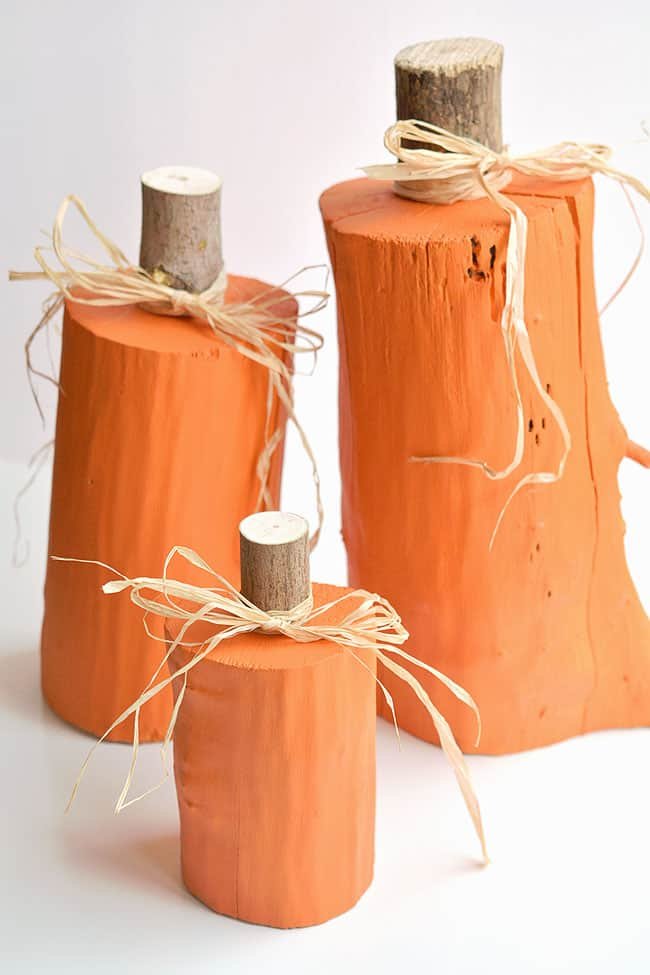
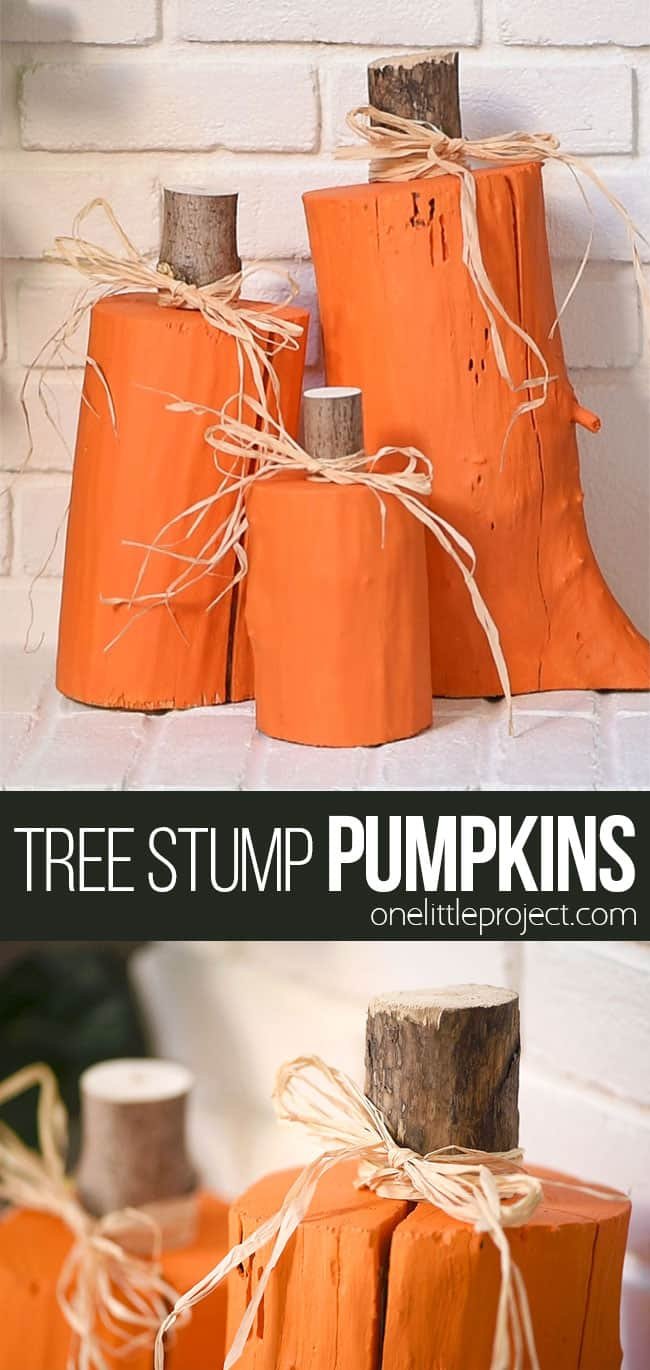
These “stumpkins” are so cool looking! It’s so fun to take an ordinary tree stump and transform it into a beautiful piece of rustic, country style fall decor. Simply paint a wooden stump, attach a smaller branch for a stem, tie a piece of raffia, and you’re done!
With just a few DIY supplies you can create awesome porch decorations that can be used year after year. No need to toss these pumpkins at the end of the season!
These wood stump pumpkins look great on a porch or grouped together on a fireplace hearth. They’ll definitely add some fall charm to your home decor this autumn!
Check out our Stump Pumpkins video tutorial:
*Note: Scroll down for the step-by-step photo tutorial.
Looking for more fun pumpkin crafts? Here’s some of our favourites:

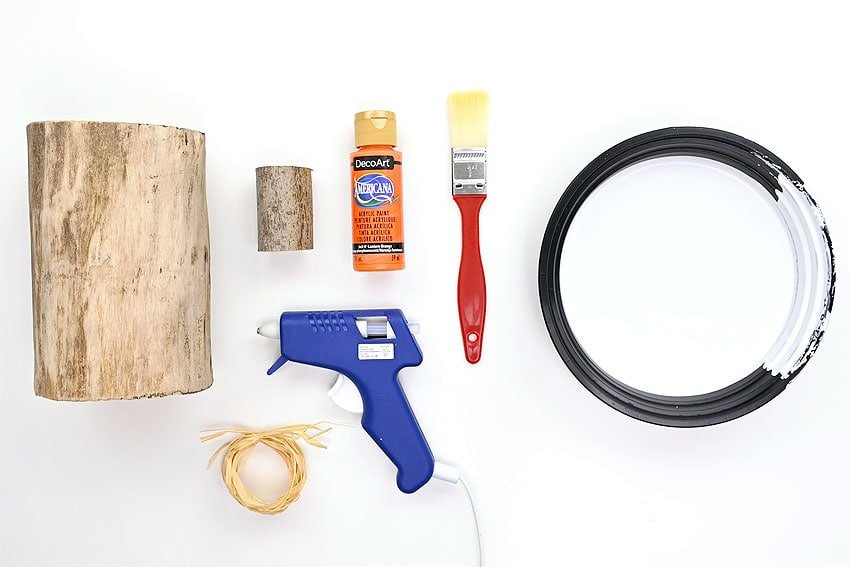
Here’s what you’ll need:
This post contains affiliate links. If you use these links to buy something we may earn a small commission which helps us run this website.
The full printable instructions are at the end of this post, but here’s a list of products on Amazon that are similar to the supplies we used:
- Chainsaw
- Tree stump
- Small orbital sander
- Sanding block
- Paintbrush
- White latex primer (or white paint – optional)
- Orange acrylic paint
- Hot glue gun
- “Stem” – a piece of a smaller branch
- Raffia

What sizes of stumps and branches do I need?
You can use whatever size stumps work for you, but here are the dimensions of the stumps and “stems” that we used, to give you a better idea of what to look for:
Small pumpkin: The stump is 6 inches tall with a 4 inch diameter. The stem is 2 inches tall with a diameter of 1-1/2 inches.
Medium pumpkin: The stump is 9 inches tall with a 6 inch diameter. The stem is 3 inches tall with a diameter of 2 inches.
Large pumpkin: The stump is 12 inches tall with a 7 inch diameter. The stem is 3 inches tall with a diameter of 2-1/4 inches.
Where can I get tree stumps?
If your city or town has a green/yard waste depot, that’s a good place to check. You can also ask your friends and neighbours to see if they’re having a tree removed or if they have a firewood pile you can look at.
It’s also worthwhile to check local online classifieds, like Facebook marketplace, Kijiji, and Craigslist. If you can go pick them up, a lot of people will offer free stumps and branches after they cut down a tree.
Finally, try calling local landscape companies or arborists – if you ask politely they might give you a call when they have some tree stumps available.

Do I have to sand the stumps?
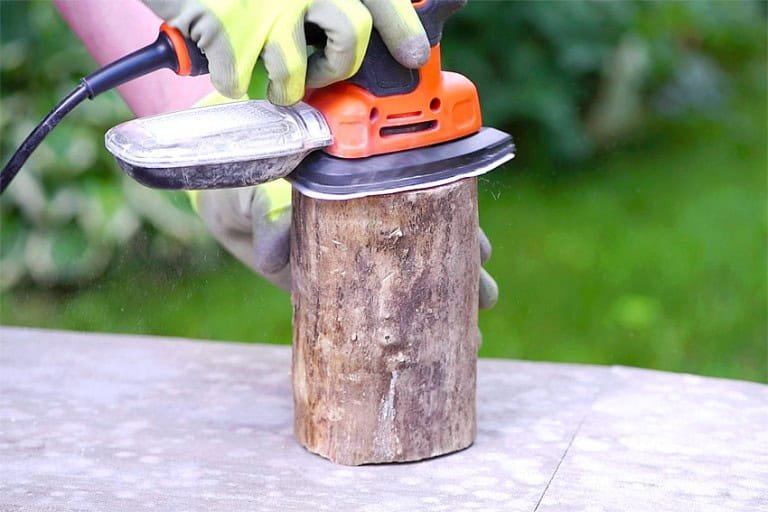
You don’t have to sand the stumps, but we do recommend it. Sanding the stumps allows for even paint coverage. We used an electric detail sander on the tops of the stumps to smooth out the ridges where the chainsaw cut.
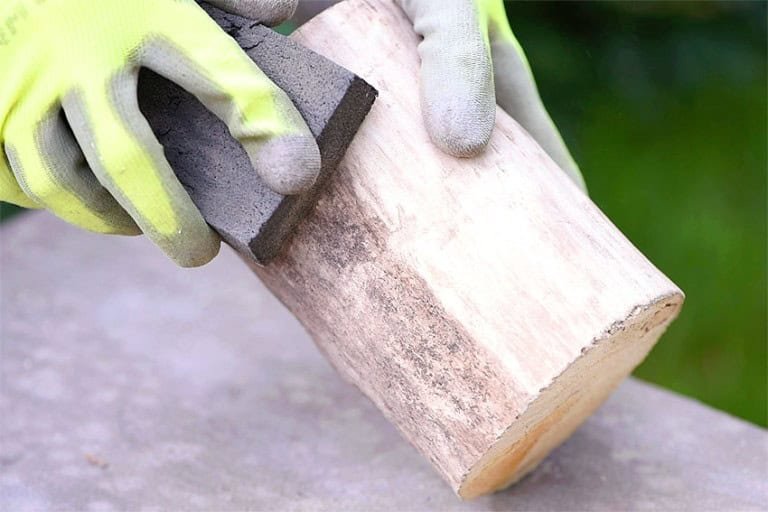
For the sides of the stumps we used a cheap sanding block from the dollar store. The foam block conforms to the surface of the stump and cleans it up, scratching the surface a bit to allow the paint to go on smoothly.
If you don’t sand your stumps, make sure to wipe them down and clean them before painting. And be aware that acrylic paint might not go on as smoothly (and you’ll need a lot more of it). If you want to keep the natural bark look on the stumps I’d recommend using spray paint.
What type of paint can be used?
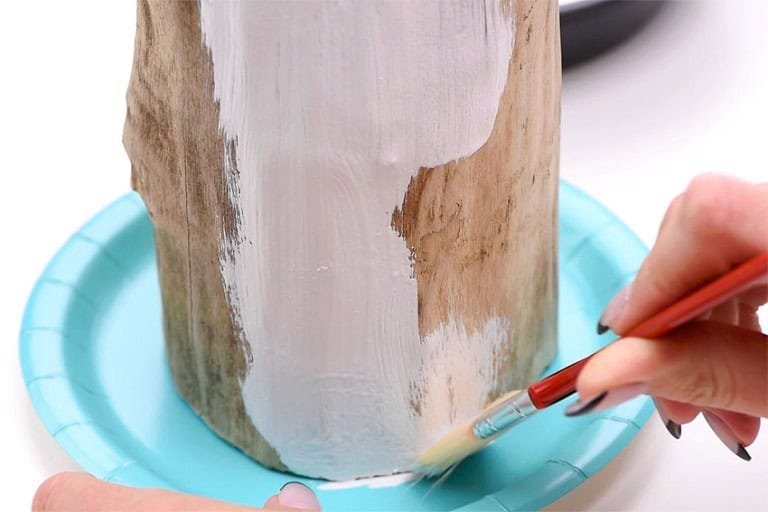
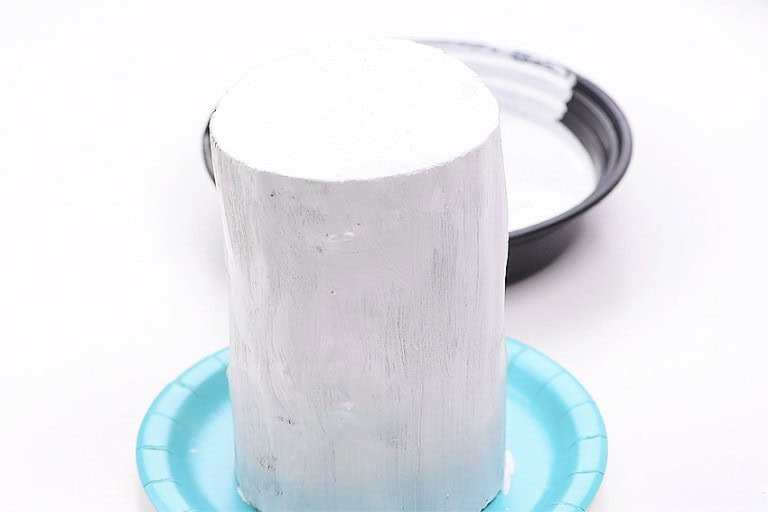
As a base coat we used white acrylic primer left over from painting our walls. You could also use white paint, or simply start with the orange. The primer just gives a nice smooth base coat so you can use less orange paint.
Our orange paint is an acrylic craft paint in “Jack o’ Lantern orange”, which is a nice inexpensive option. You could also get a sample can of wall paint from the hardware store (water based latex would work well), or use spray paint. With both of those options you probably don’t need the base coat.

DIY Tree Stump Pumpkins
Materials:
- Tree stump(roughly 6 inches tall with a 4 inch diameter)
- White latex primer(or white paint; optional)
- Orange acrylic paint(or latex or spray paint)
- Smaller tree branch piece(cut to approximately 2 inches long, with a 1-1/2 inch diameter)
- Raffia
Equipment:
- Chainsaw (not needed if stump is pre-cut)
- Electric detail sander (optional)
- Sanding block (optional)
- Paintbrush(1 inch size)
Instructions:
Step 1: Sand stump
- Use a chainsaw to cut a 4 inch wide tree stump to approximately 6 inches tall.With a small detail sander, smooth out the top of the tree stump.


- Using even pressure, bring a sanding block over the sides of the stump. This will clean up the surface for painting.If your stump has a lot of bark you may need to use a chisel to remove the excess before sanding it.


Step 2: Prime and paint stump
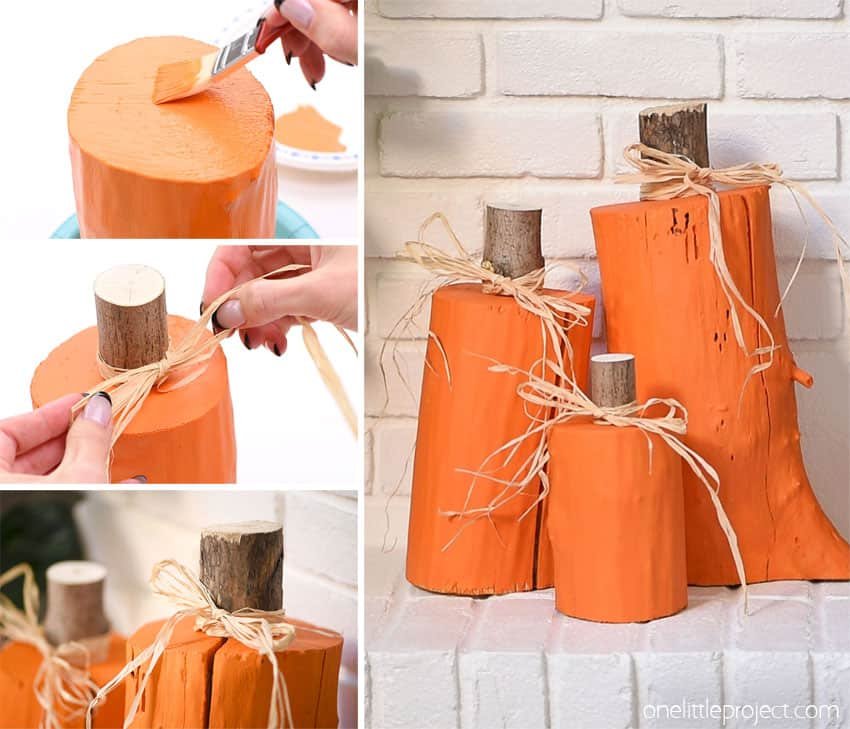
- Apply a thin coat of primer (or white paint) to the sides and top of the stump.


- Allow to dry.


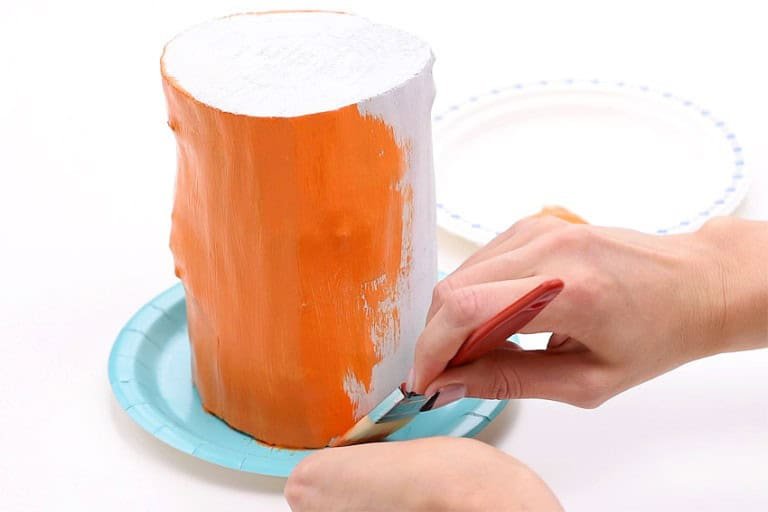
- Apply a layer of orange paint to the sides of the stump.


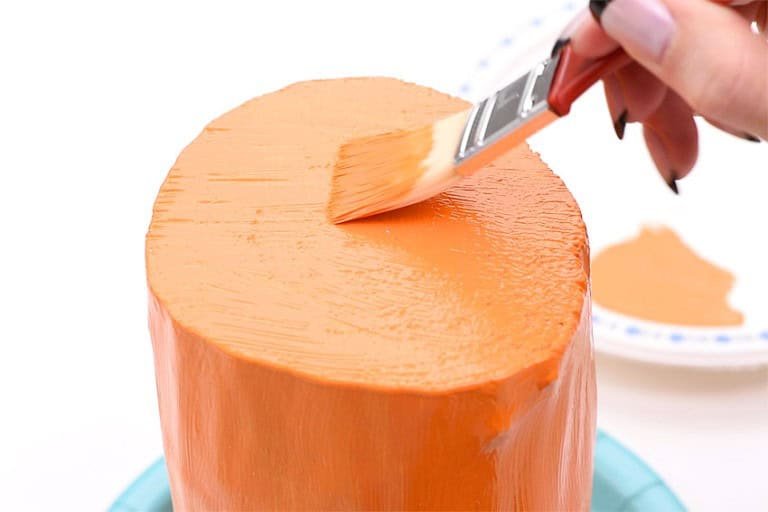
- Paint the top of the stump orange as well, ensuring all the white has been covered.


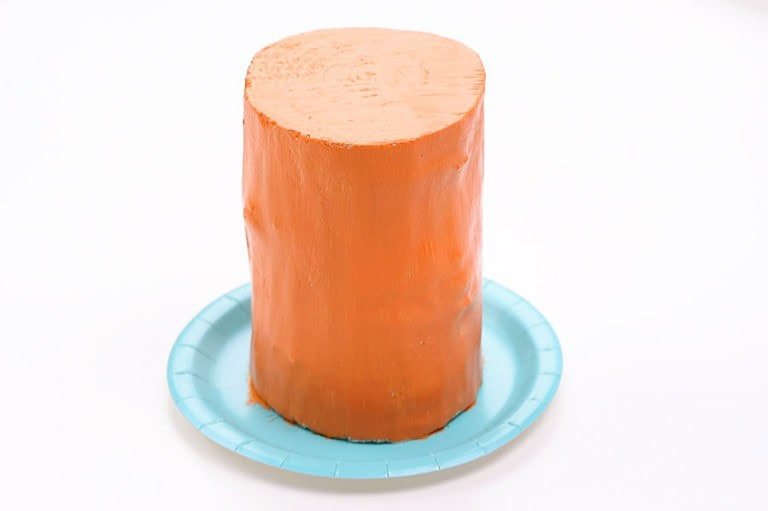
- Allow the orange paint to dry. Add a second coat of orange paint if needed.


Step 3: Attach stem and raffia
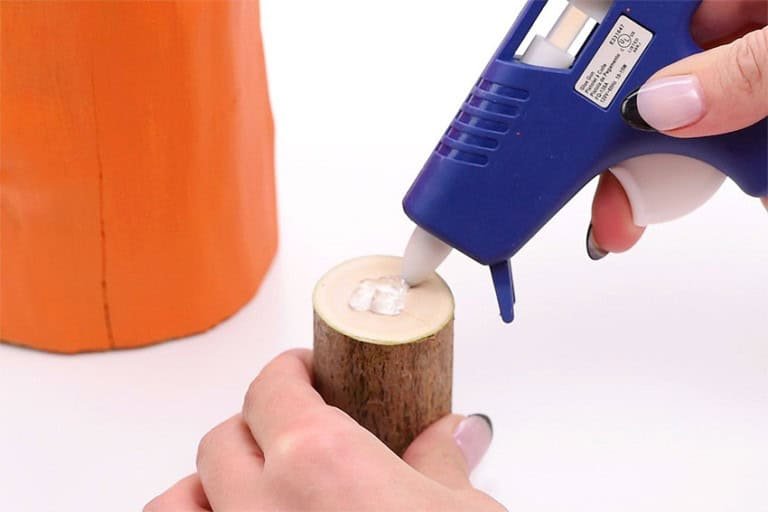
- Add a few dabs of hot glue to one end of the “stem”.


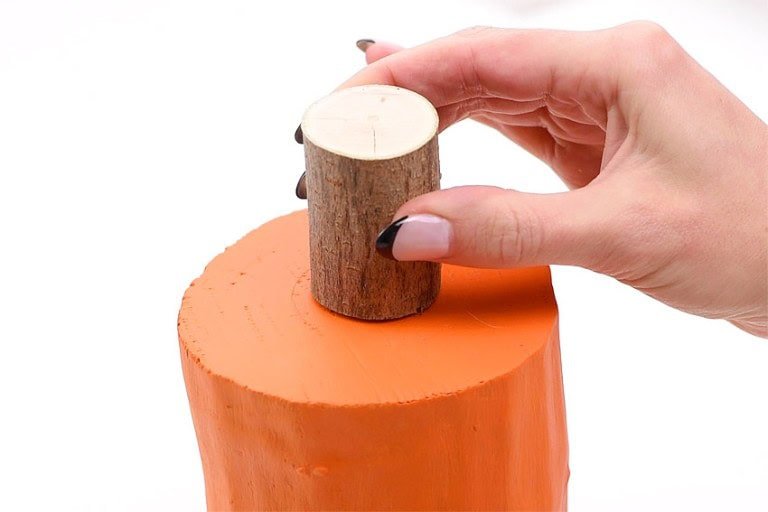
- Center the stem over the stump and connect it to the top with the hot glue.


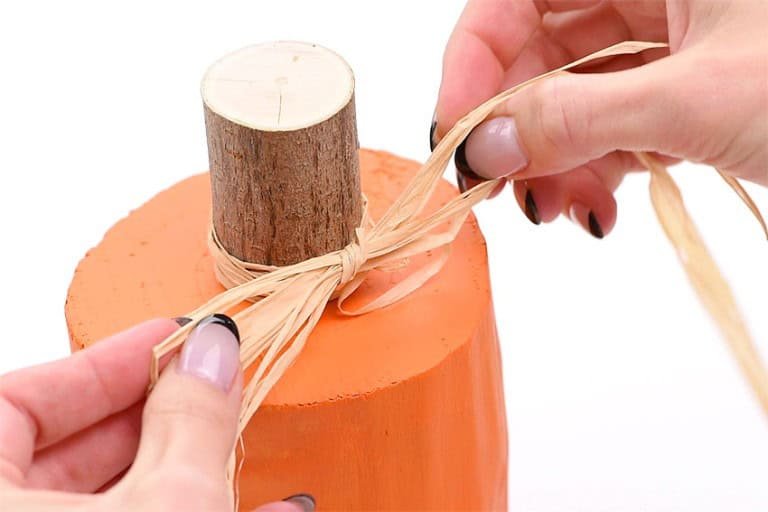
- Tie a piece of raffia around the pumpkin stem and make a bow.


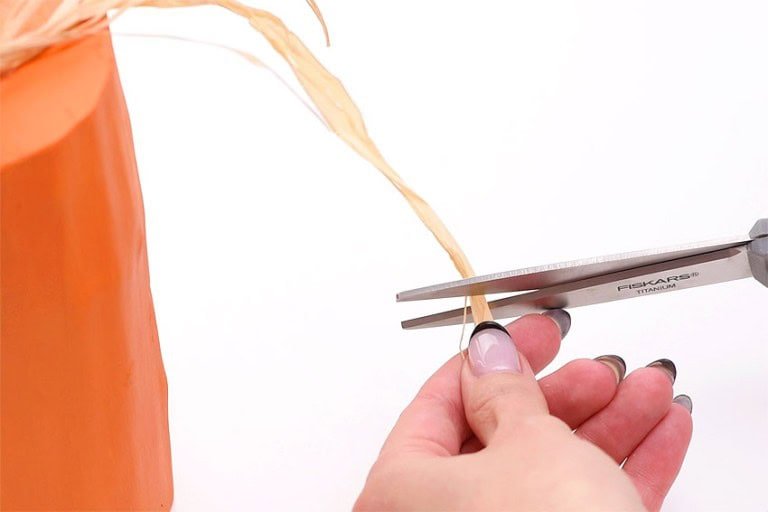
- You can leave the raffia as is, or snip the edges if they’re too long.


- Your stump pumpkin is complete!



Try painting Jack-o-Lantern faces on the stump pumpkins for Halloween specific decorations. And if you’re talented with a chainsaw you could even create a sloped pumpkin with ridges!

Here’s even more fun pumpkin crafts:
Our book Low-Mess Crafts for Kids is loaded with 72 fun and simple craft ideas for kids! The projects are fun, easy and most importantly low-mess, so the clean up is simple!
Where to buy:
You can purchase Low-Mess Crafts for Kids from Amazon, or wherever books are sold:
Amazon | Barnes and Noble | Books- A- Million | Indiebound | Indigo | Amazon Canada


