Paper Plate Handprint Ghost
Jump to:
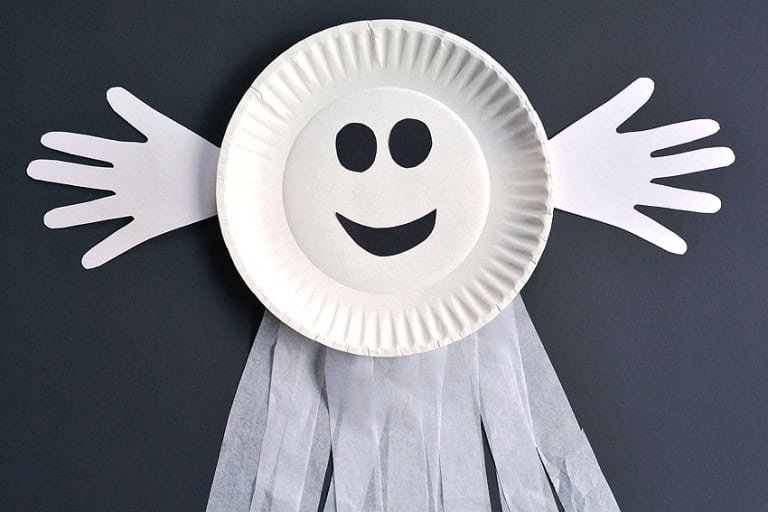
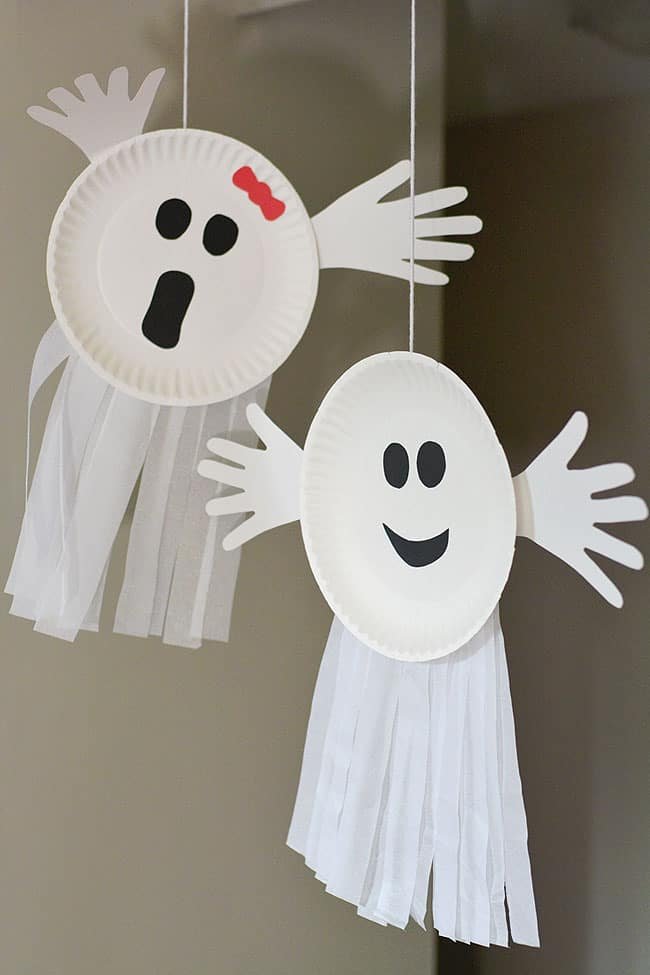
This paper plate ghost is such a fun handprint craft for Halloween! It’s SO EASY to make these handprint ghosts, and they’re such a cute homemade decoration.
Paper Plate Ghost Handprint Craft
Who says ghosts have to be spooky?? These friendly paper plate ghosts have hands made from a child’s handprint!
A handprint craft is always a great keepsake. These handprint ghosts would even make a fun gift for grandparents (or even parents, if they’re made at school!).
This is a really simple craft that’s great for younger kids, preschoolers and toddlers. It uses simple supplies and comes together easily. And it’s always fun to turn a handprint into something special!
Check out our Paper Plate Handprint Ghost video tutorial:
*Note: Scroll down for the step-by-step photo tutorial.
Looking for more handprint crafts? Here’s a few of our favourites:
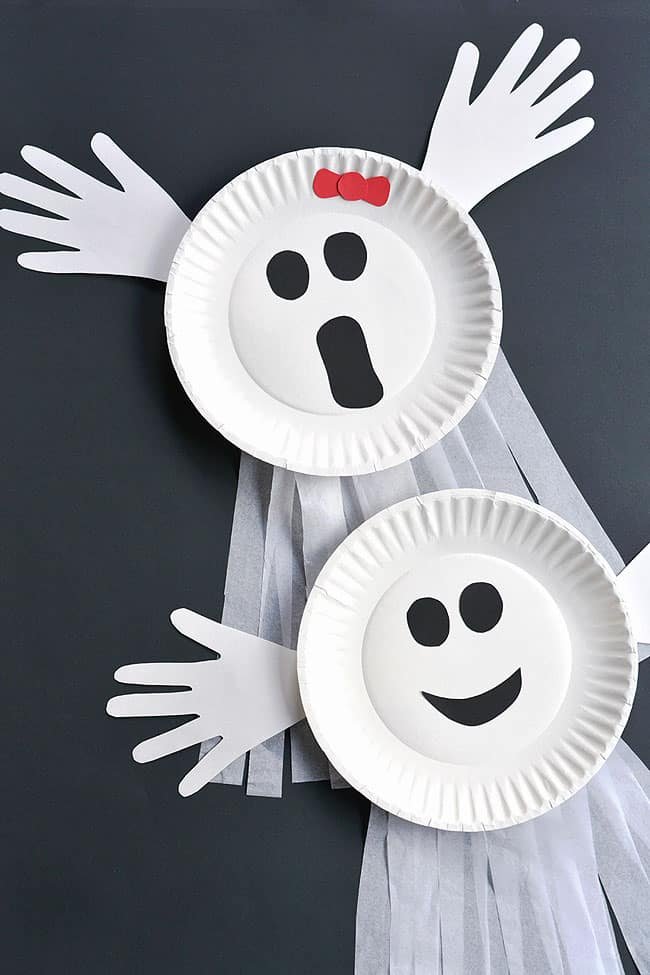

Here’s what you’ll need:
This post contains affiliate links. If you use these links to buy something we may earn a small commission which helps us run this website.
The full printable instructions are at the end of this post, but here’s a list of products on Amazon and Target that are similar to the supplies we used:


What can I use to make the face?
We cut out the faces from cardstock because of the nice dark colours, but you can easily use construction paper instead. Or why not paint the face on or draw it on with markers?
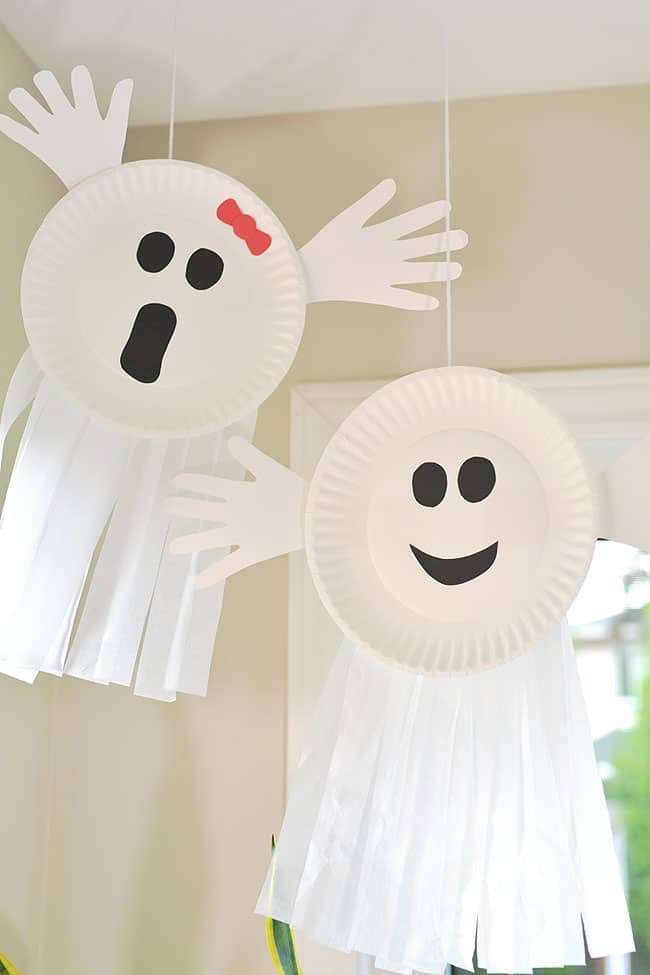

What if I don’t have tissue paper?
If you don’t have white tissue paper you can also use crepe paper streamers, gauze, or — hear me out — toilet paper. For a different look you could also attach strands of yarn!


How to Make a Handprint Paper Plate Ghost
Materials:
Instructions:
Step 1: Trace and cut handprint
- Fold a piece of printer paper in half.


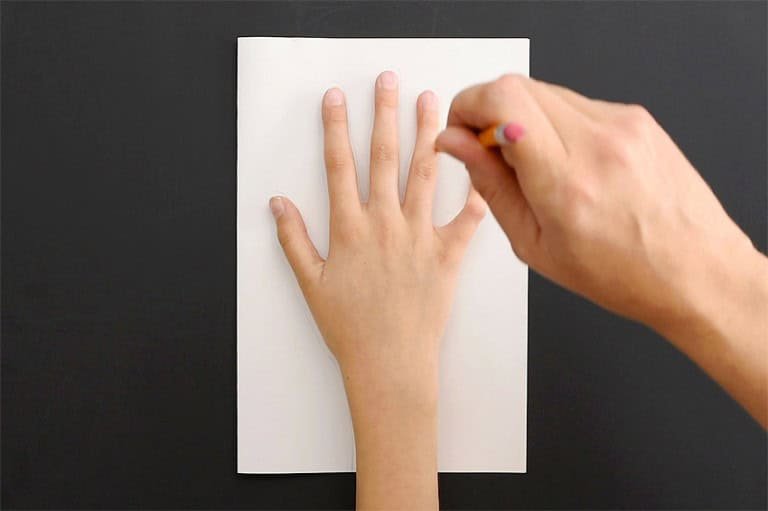
- Use a pencil to trace your child’s handprint, along with at least a couple inches of their wrist.


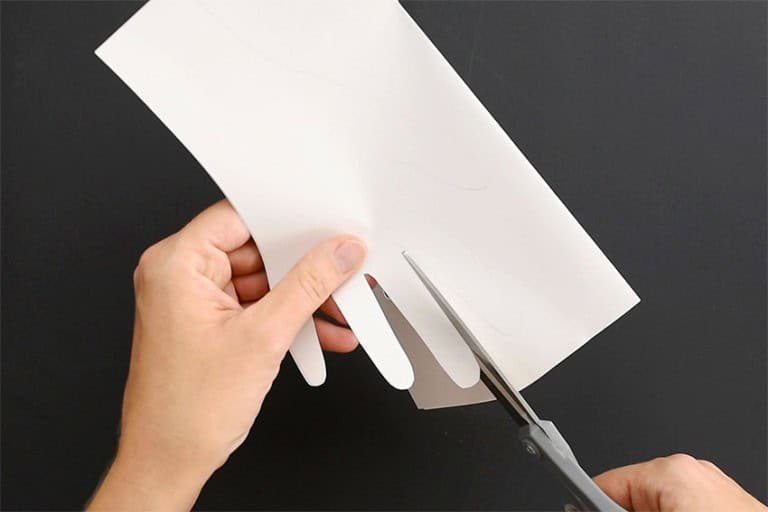
- Cut out the handprint through both layers of paper.


Step 2: Cut out and attach eyes and mouth
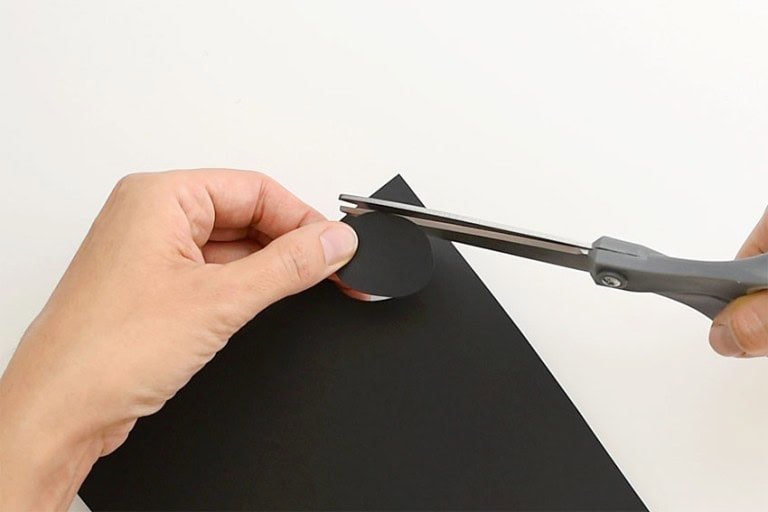
- Cut out a round eye shape from black cardstock or construction paper. You can draw the shape with pencil first, or cut it out freehand.Or you can skip this step and simply paint or colour the face on with markers.


- Cut out another eye (trace the first one if you want them identical), and a mouth shape.


- Attach the mouth to the paper plate with glue tape or a glue stick.


- Now attach the two eyes to the plate.


Step 3: Attach handprints
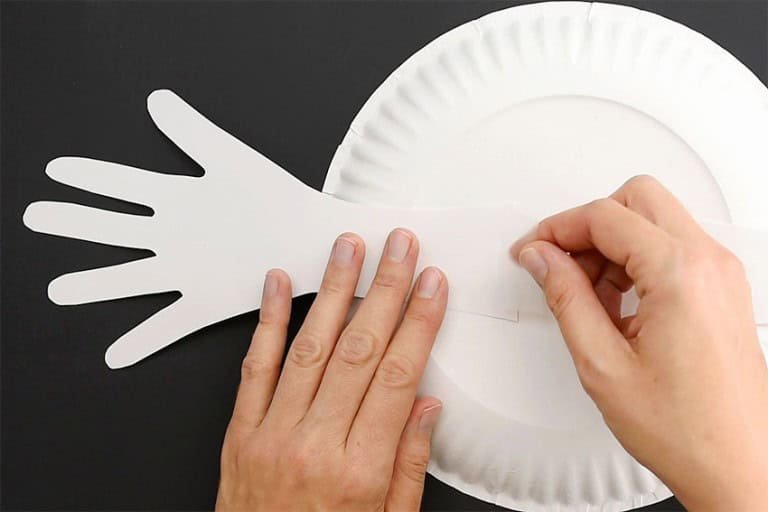
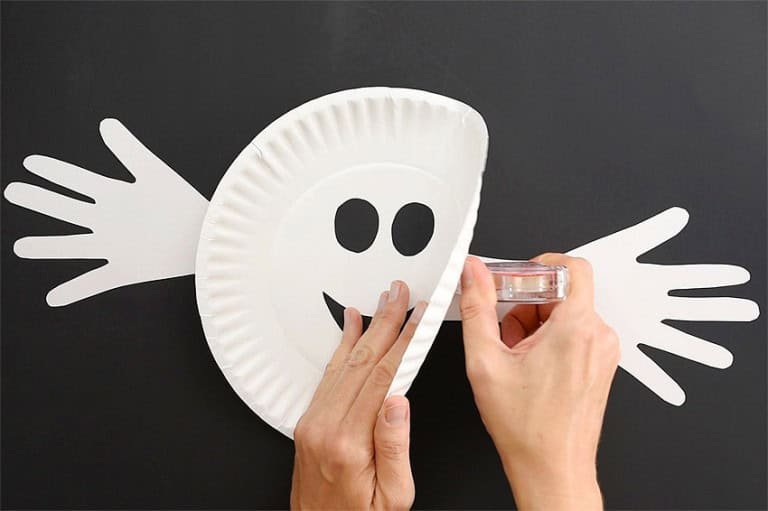
- Flip the paper plate over and attach the handprints to the back with tape (make sure you place them with the thumbs up!).


- Flip the plate back over and use glue tape or a glue stick to connect the wrist part of the handprint to the back of the plate so it doesn’t flop around too much.


Step 4: Cut and attach tissue paper
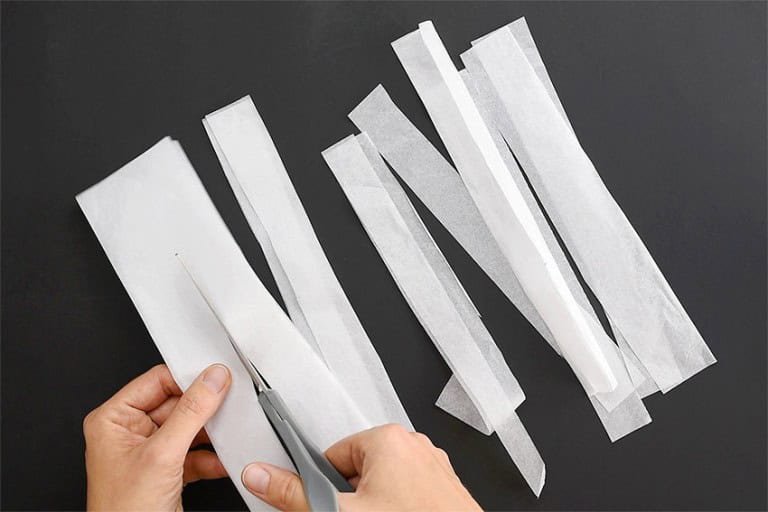
- Fold open a piece of tissue paper and cut it in half, setting aside one half.


- Cut the tissue paper lengthwise, making strips around 1 inch wide.


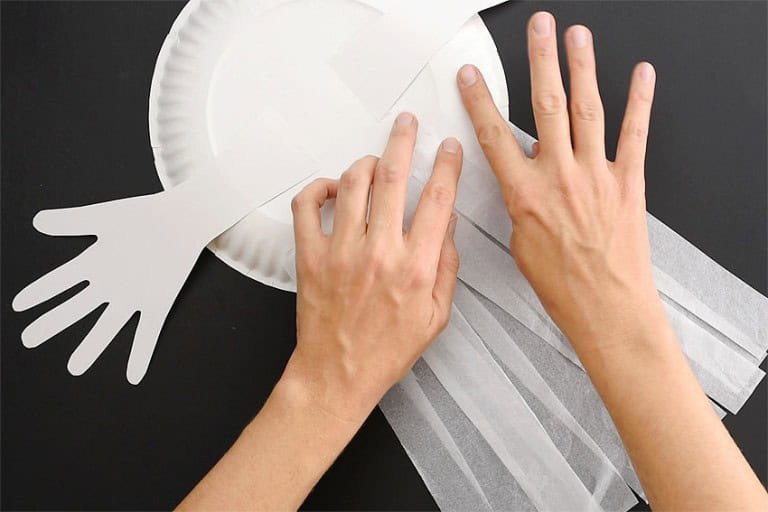
- Attach the tissue paper strips to the back of the paper plate with scotch tape.


- Your paper plate handprint ghost is complete!


Helpful Tip:
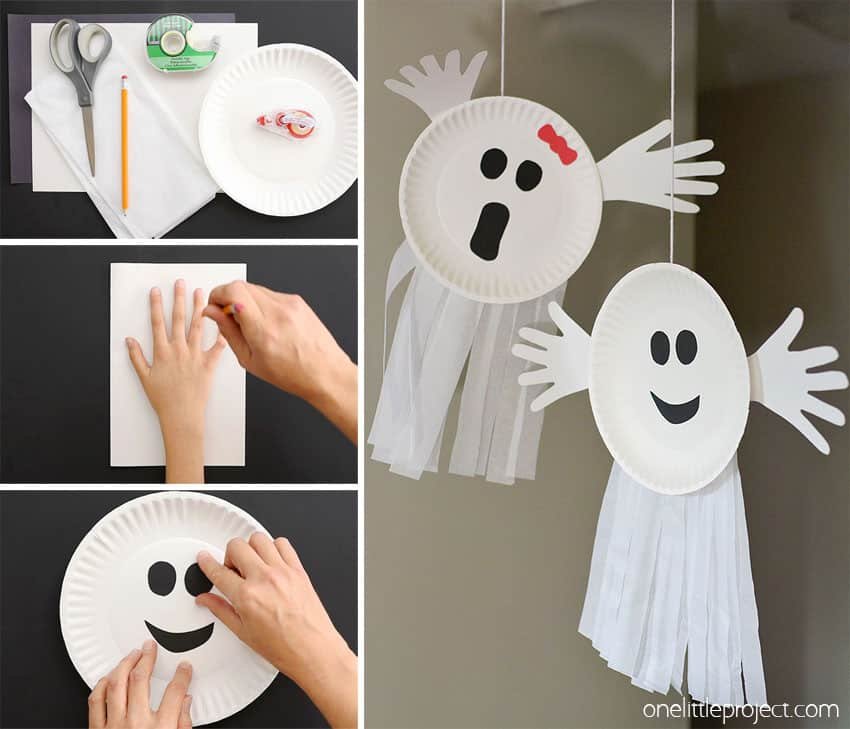

Hang these adorable handprint paper plate ghosts with a string, or stick a magnet on the back of them and hang them on the fridge. Either way you’ll enjoy these cute DIY Halloween decorations!


Here’s even more handprint craft ideas:
Our book Low-Mess Crafts for Kids is loaded with 72 fun and simple craft ideas for kids! The projects are fun, easy and most importantly low-mess, so the clean up is simple!
Where to buy:
You can purchase Low-Mess Crafts for Kids from Amazon, or wherever books are sold:
Amazon | Barnes and Noble | Books- A- Million | Indiebound | Indigo | Amazon Canada


