How to Make Paper Claws
Jump to:
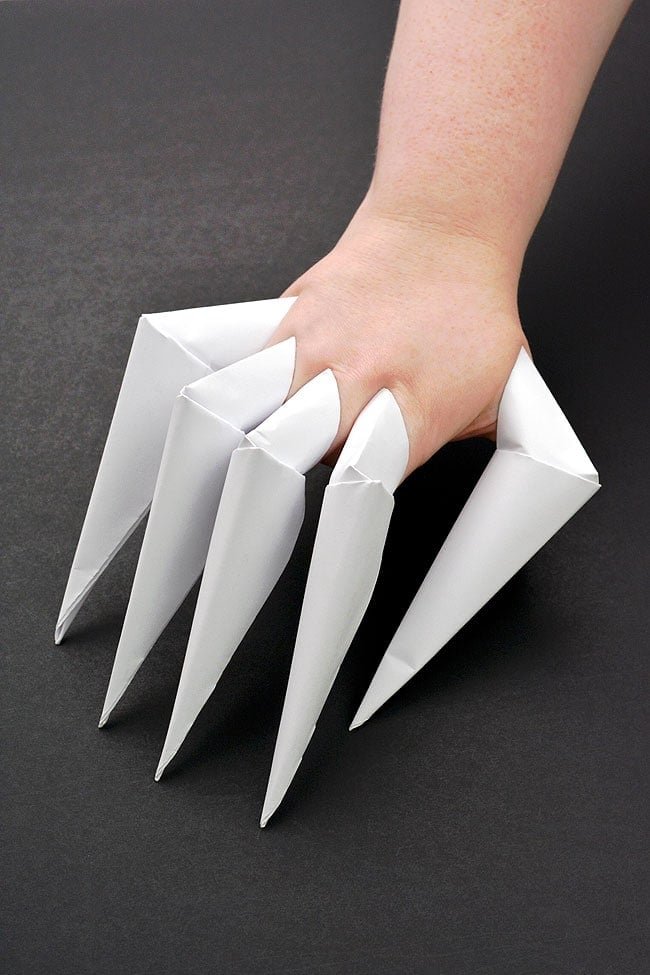
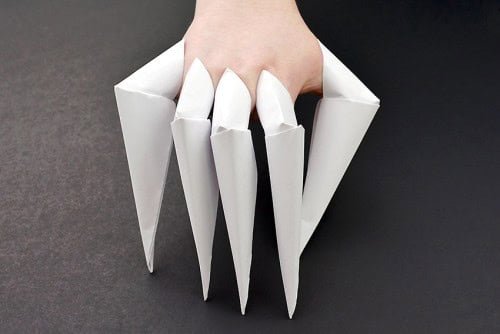
Learn how to make paper claws in less than 5 minutes! Or download and print our free template to make things really easy! These paper claws are a little bit scary, and a whole lot of fun.
Use basic origami folds to transform 1 piece of regular printer paper into a menacing paper claw! These paper wolf claws are great for pretend play and are the perfect addition to a Halloween costume.
How to Make Paper Claws
Materials:
- Printer paper(1 piece per claw)
Instructions:
- Fold the top right corner down so that the top edge of the paper lines up with the left edge.


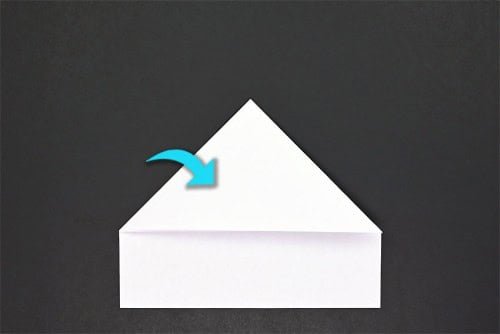
- Fold the top left corner down to the top right point, creating a point in the top middle.


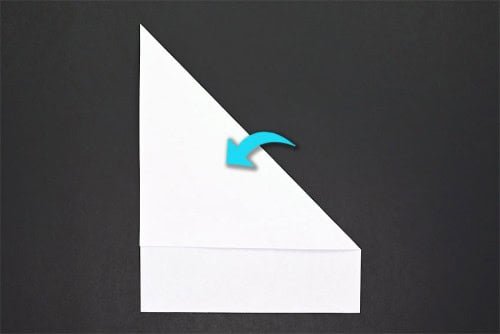
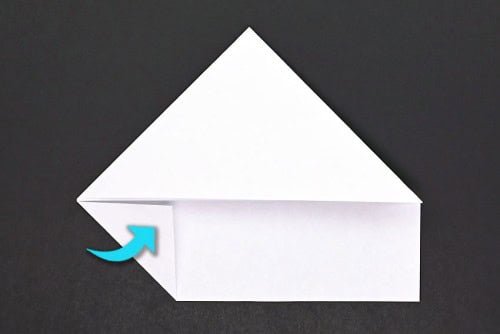
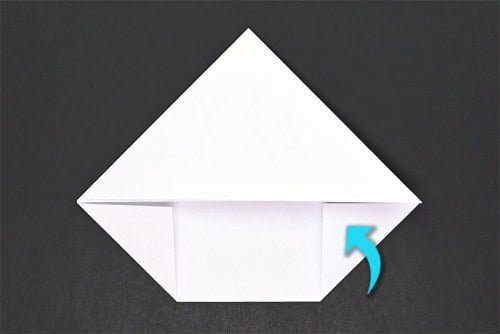
- Fold the bottom left corner up so that the left edge lines up with the horizontal edge of the previously folded paper.


- Repeat on the right side, folding the bottom right corner up so that the right edge lines up with the previously folded paper.


- Fold the bottom part of the paper up so that your paper is shaped like a triangle.


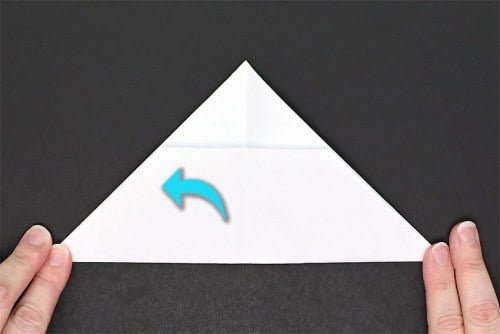
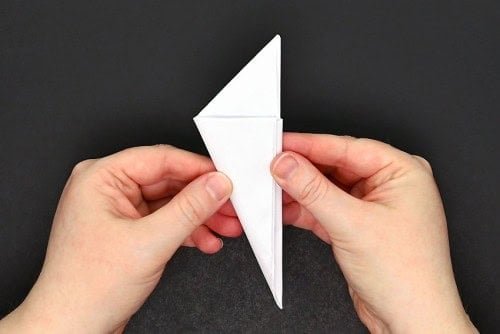
- Fold the paper in half from left to right (or right to left, it doesn’t matter).


- Open the last fold back up so you have a triangle again.


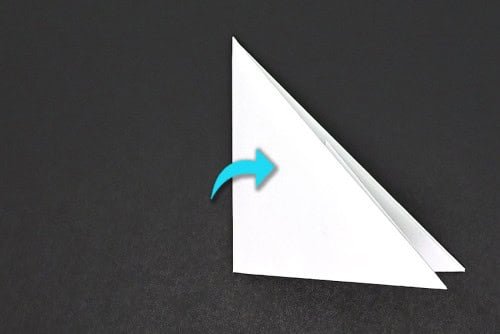
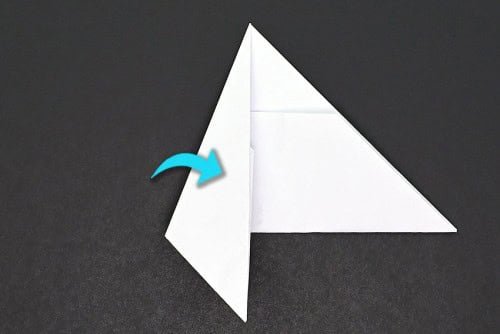
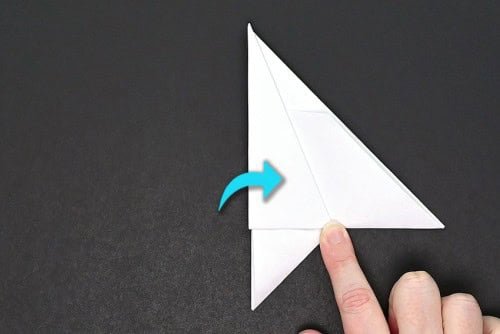
- Take the left edge of the paper and fold it in so it lines up with the center fold you just made.


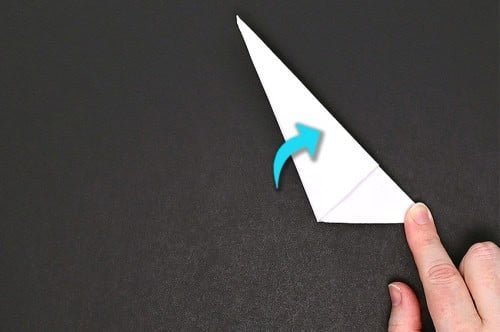
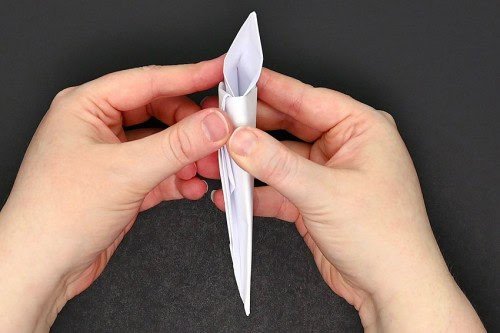
- Fold the paper to the right again, at the previous center fold mark, almost rolling the paper over itself.


- Fold the paper over to the right one last time, making sure to keep the top point folded neatly.


- Flip the paper over so that the long point is facing towards you.


- Open up the top fold. You should see a plain surface on the left and the folded part, which has a little pocket in it, on the right.


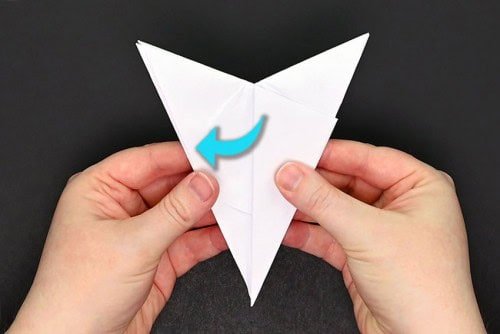
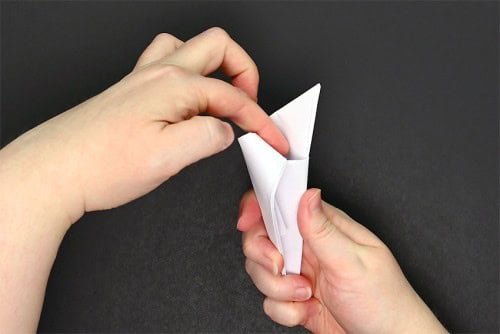
- Take the top left point and tuck it inside the pocket.


- Push the paper down inside and press it so that it’s folded neatly all the way inside.


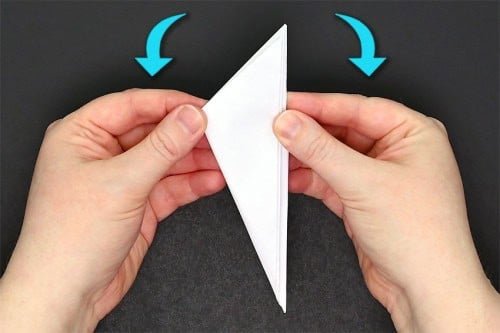
- Turn the paper once to the left, but don’t completely flip it over. You should see a paper fold at the top that easily opens up.Stick your finger inside and press on both sides of the claw to create a gap for your finger to fit in.


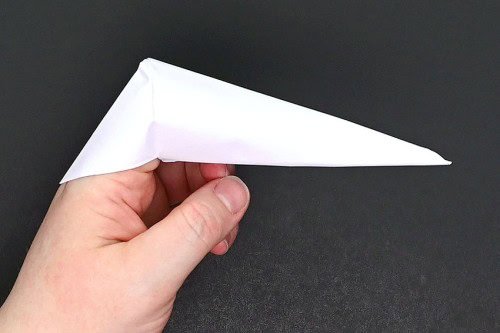
- Slide the claw onto your finger and push it all the way up. It should be a tight fit so that it stays on easily.


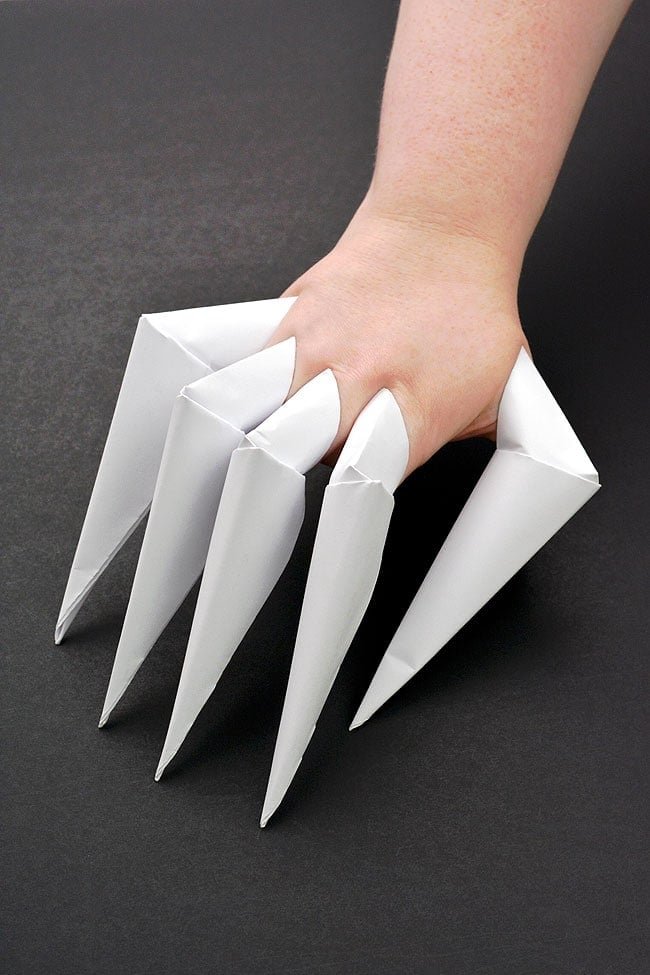
- Your paper claw is complete!Now fold some more to make enough to cover one or both of your hands!


Helpful Tips:
- Watch the video if you’re having trouble with the last few steps! It’s easy to do once you see the folds in action.
- Be careful not to poke or scratch yourself or others with the tips of the claws. They’re surprisingly sharp!
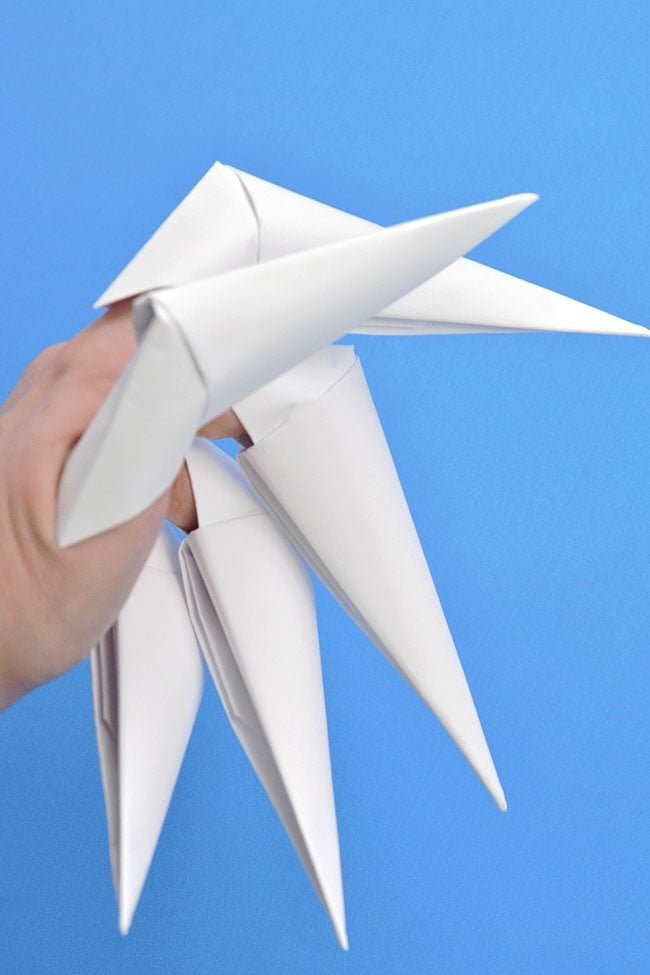

Download our free paper claws template:
To make this origami project super easy we’ve also created a template. Click on the link below to download our free, printable paper claw template! The PDF file will open in a new window.
>>> Paper Claws Template <<<
Then simply print the template onto regular 8.5 x 11 (letter size) paper and follow the numbered instructions! Be sure to use these printer settings: double sided, 100% (actual size), and flip on the long edge.
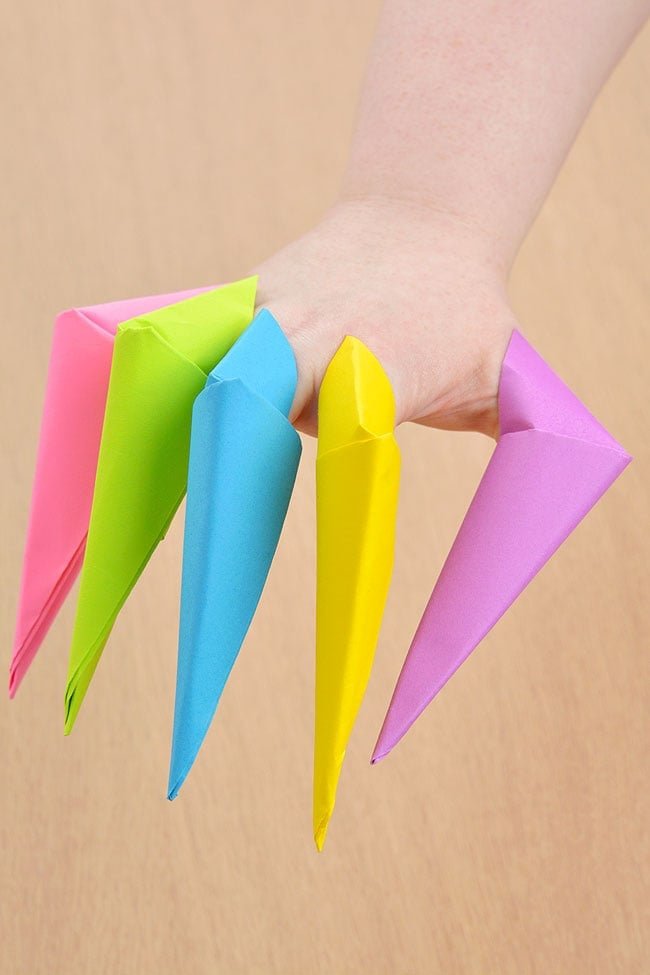

What paper is used to make paper claws?
To make a paper claw you’ll need rectangular, letter sized printer paper. We used 20 lb weight paper to make most of our paper claws, but the colored claws are made with 24 lb paper.
The thinner the paper, the easier it is to make all the folds. I wouldn’t recommend using paper any thicker than 24 lb because it will be too difficult to fold.
Are paper claws hard to make?
No, this is a quick and easy origami project, especially if you use our template! All of the folds are quite easy to make, perfect for origami beginners. The only part that’s a little bit tough to understand is the last step of tucking in the point to keep the claw together.
Make sure that you have the long point towards yourself, and you should see a folded over pocket on the top right. Stick the top left point in and press it down until the fold is flat. Then open up the triangle shaped opening at the top to find a spot for your finger!


How can I put all 10 paper claws on by myself?
Start by putting a claw on the pinky finger of your non-dominant hand. Continue until that hand is full. Push the claws up as much as you can to keep them from falling off.
Now grab a claw and start with the pinky finger of your other hand. Hold the tip of the claw between the thumb and index finger of your clawed hand and press your finger into the claw. Repeat until you have to use the claws to scoop up the last one for your thumb!
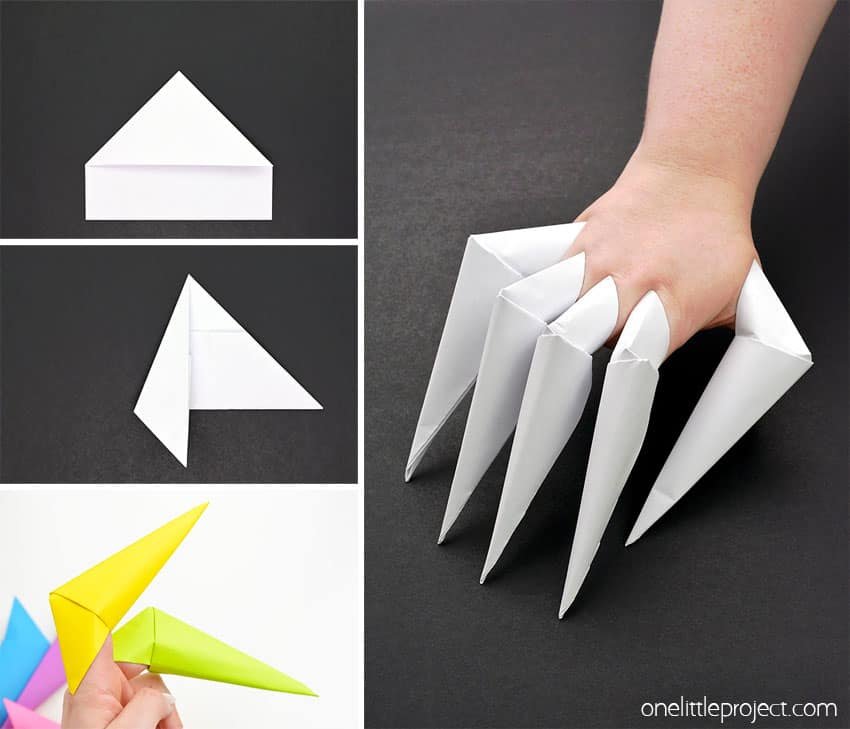

Origami crafts are so much fun to make, and it’s so easy to learn how to make paper claws! Make a paper claw in less than 5 minutes, and in no time you’ll have a whole hand’s worth!


