DIY Leaf Bowl
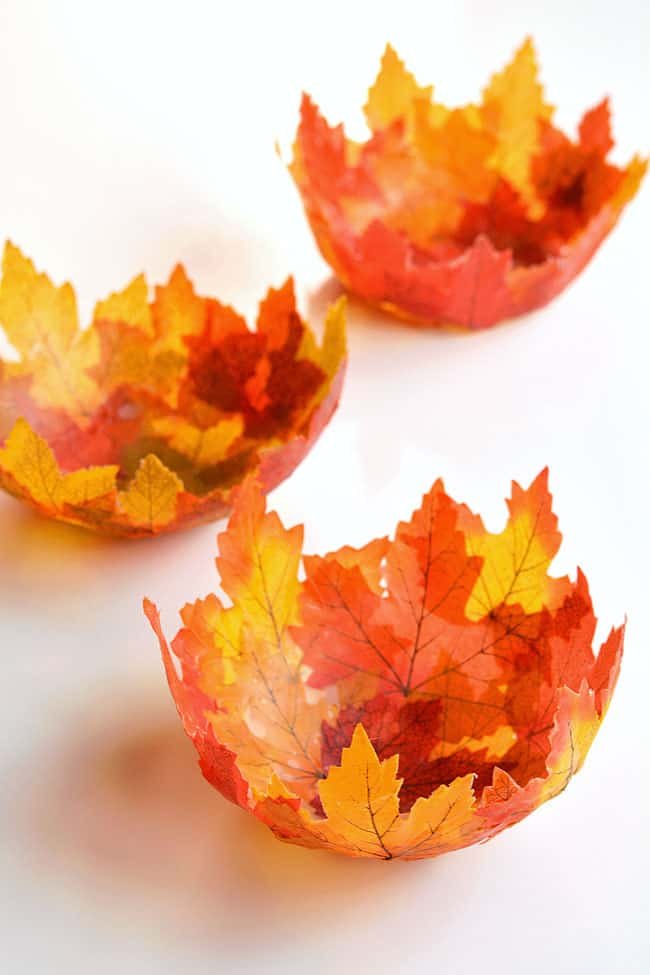
This leaf bowl made from artificial leaves and fabric stiffener is so cute! This DIY fall decor is so fun to make – the perfect craft for Halloween or Thanksgiving!
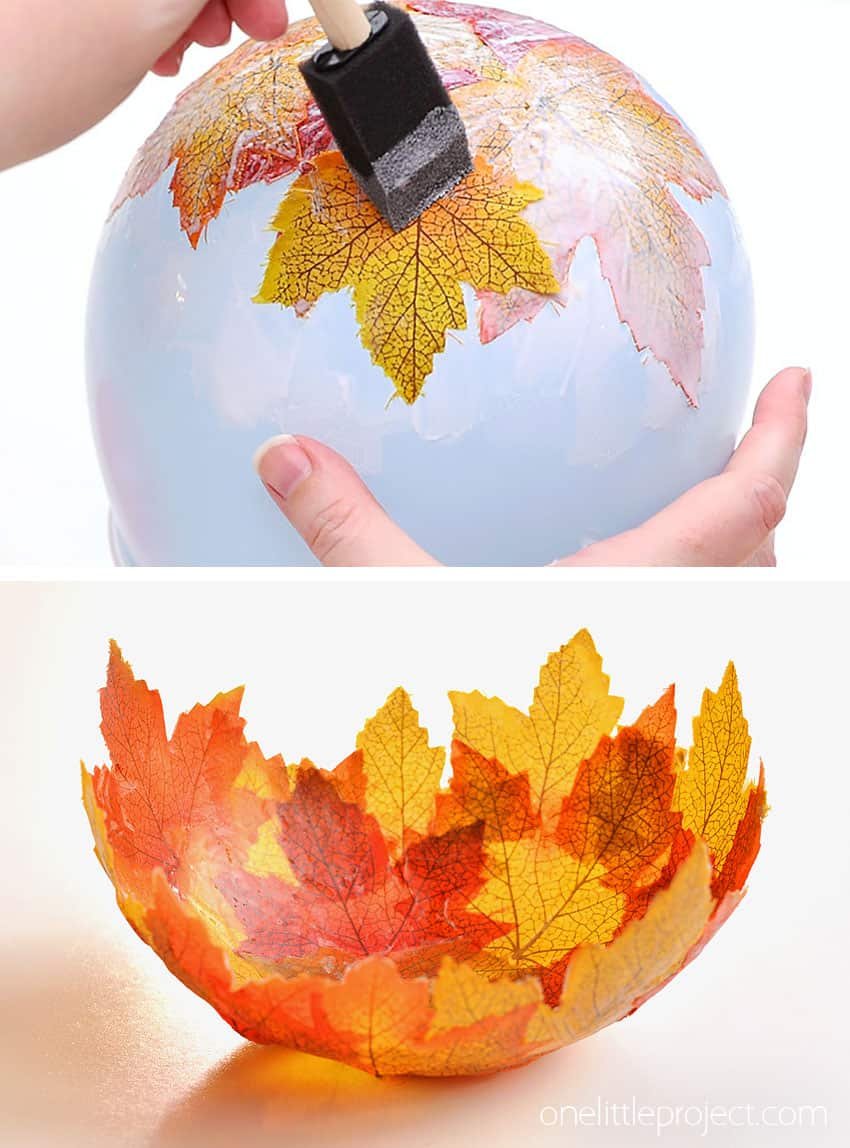
Fall Leaf Bowl
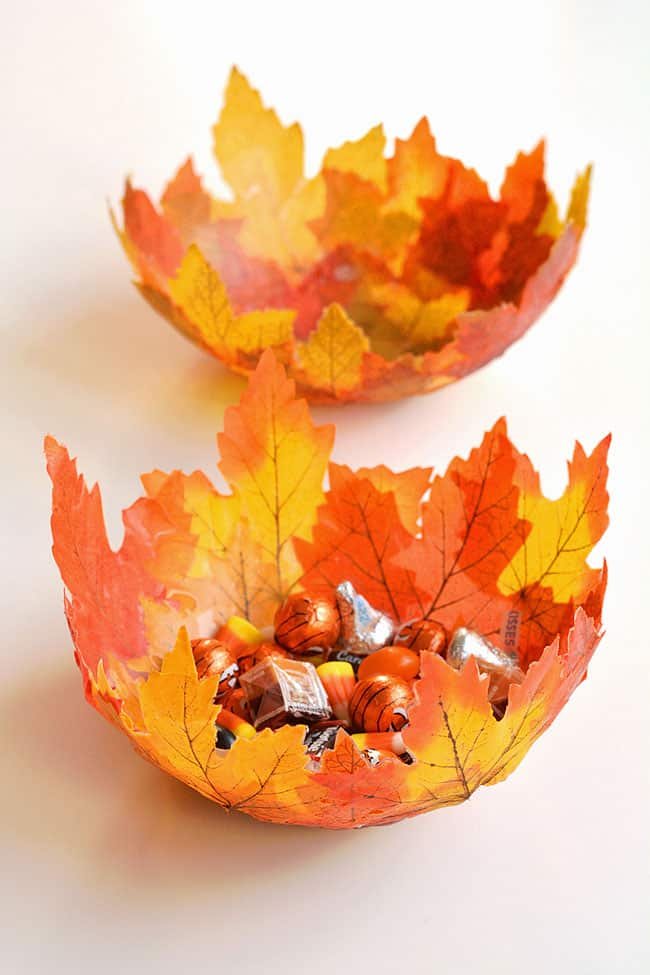
This bowl made out of fabric leaves just screams fall! It’s such a simple, pretty, and creative DIY project for autumn, Halloween, and Thanksgiving.
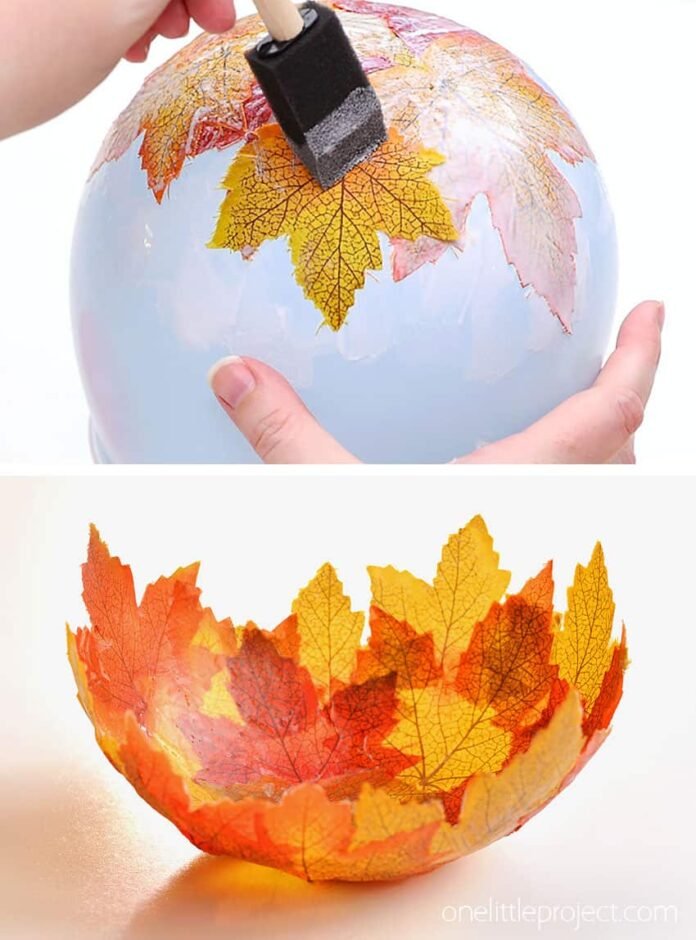
We made these fall leaf bowls by pressing artificial leaves onto a balloon with fabric stiffening glue. These are lightweight bowls that are good for smaller decorations, like chunky yarn pumpkins, and they also make great candy bowls!
This is such a great craft that can be made with leaves from the dollar store. Fabric leaves can be a bit fiddly to work with, but hopefully our tips (see them below!) will help you out!
Check out our DIY Leaf Bowl video tutorial:
*Note: Scroll down for the step-by-step photo tutorial.
Looking for more fall leaf crafts? Here’s a few of our favourites:

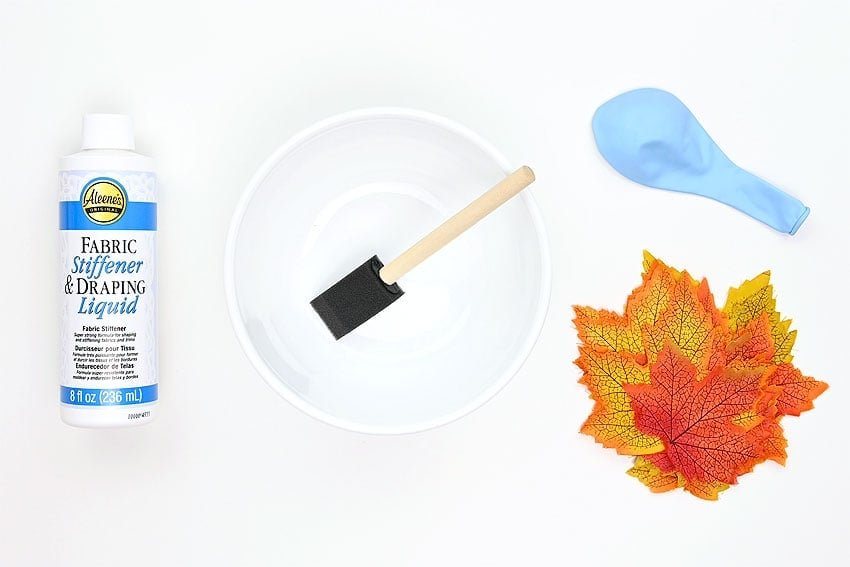
Here’s what you’ll need:
This post contains affiliate links. If you use these links to buy something we may earn a small commission which helps us run this website.
The full printable instructions are at the end of this post, but here’s a list of products on Amazon and Target that are similar to the supplies we used:
- Balloon
- Bowl (to fit inflated balloon)
- Fabric leaves
- Fabric stiffener
- Foam brush

What kind of leaves do I need?
In order for this craft to work you need to use thin, flexible leaves that are as close to plain fabric as you can get. If the leaves are very stiff and have a plastic or waxy coating on them, they won’t lay flat on the balloon and may not stick to one another.
We bought leaf bunches (attached to plastic stems) at the dollar store that felt soft and flexible.
Do I have to iron the leaves?
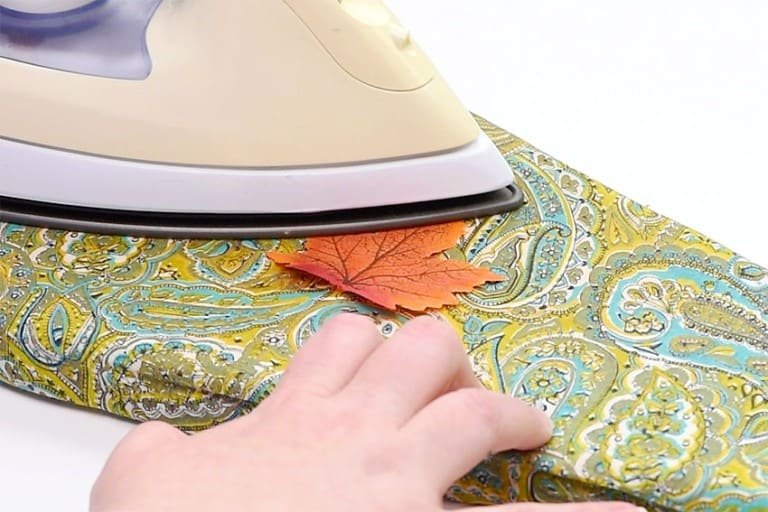
Yes – I would recommend ironing the leaves. Dollar store leaves tend to come with a wrinkled texture which makes it really difficult for them to lay flat and stick to the balloon. Ironing leaves isn’t the most exciting thing to do, but it will make assembling the bowl a lot easier!

Can I use Mod Podge or regular glue instead?
You can use Mod Podge and regular glue, but you probably won’t be happy with the results (especially regular glue). We made a test bowl using Mod Podge and not only was it difficult to get the leaves to stick to each other, but the finished bowl was also really flexible. The leaves rolled in towards the middle rather than keeping a firm bowl shape.
The bowls we made with Aleene’s Fabric Stiffener held their shape really well. You could probably use Mod Podge Stiffy, which is also a fabric stiffener, but I haven’t personally used it before.
Can I make a leaf bowl without a balloon?
Yes, you can! Simply cover the outside of your favourite bowl shape in plastic wrap and attach the leaves to the plastic covered bowl instead of a balloon.
Let the leaves on the outside of the bowl dry for a few hours and then remove them and the plastic wrap from the bowl. Peel away the plastic from the inside of the leaf bowl and let it dry for another hour or two.

How to Make a Leaf Bowl
Materials:
- Fabric leaves
- Fabric stiffener(brush on, not spray)
Equipment:
- Bowl(that fits inflated balloon)
- Small bowl(or plate, to put fabric stiffener on)
Instructions:
Step 1: Prepare leaves
- Cut or pull off the leaves you’d like to use, separating them from the bunch.
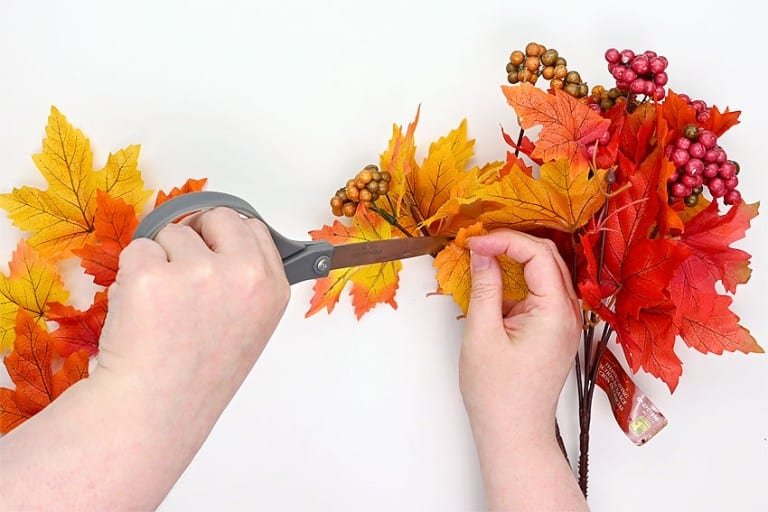

- Remove the plastic ribs from the leaves if they have any. Usually this plastic peels off easily, but sometimes you’ll need to use your fingernail to scrape them off. Make sure you’ve also picked off any dried glue from the leaves.


- Iron the leaves on medium temperature, removing any creases and flattening them down. If you feel any kind of waxy or plastic texture, be sure to iron your leaves between 2 pieces of parchment paper.

Step 2: Add leaves to balloon
- Blow up a balloon and tie a knot in the neck.Place the balloon in a bowl, neck down. You need a bowl that is deep enough and wide enough to hold at least 1/3 of the balloon so it doesn’t move around while you work on it.


- Add around 1/4 cup of fabric stiffening glue to a bowl or plate.
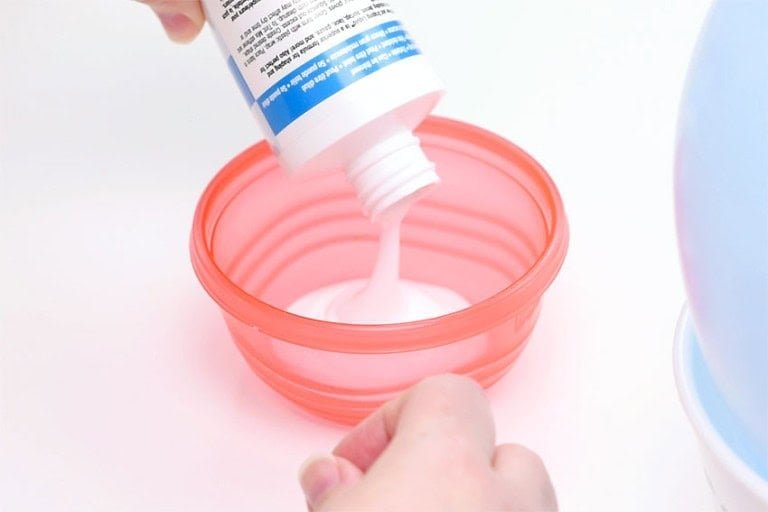

- Brush a thin layer of fabric stiffening glue over the top part of the balloon.
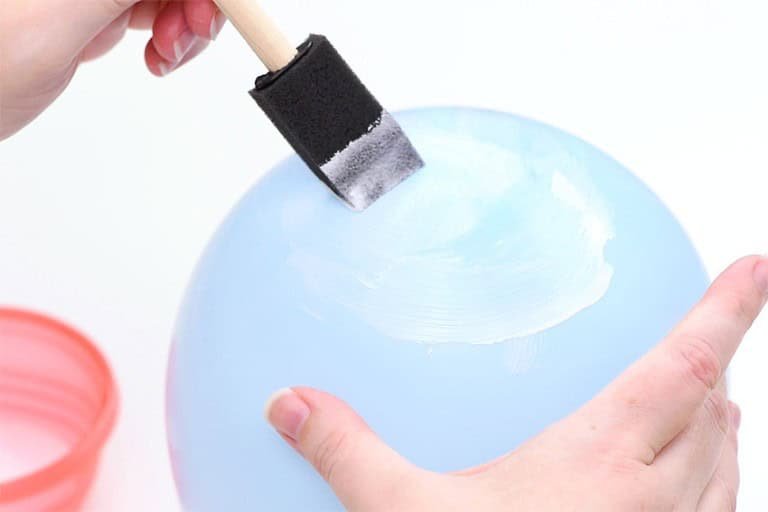

- Place a fabric leaf in the center of the balloon. This will be the center bottom of your bowl.


- Add a layer of fabric stiffener over top of the leaf.
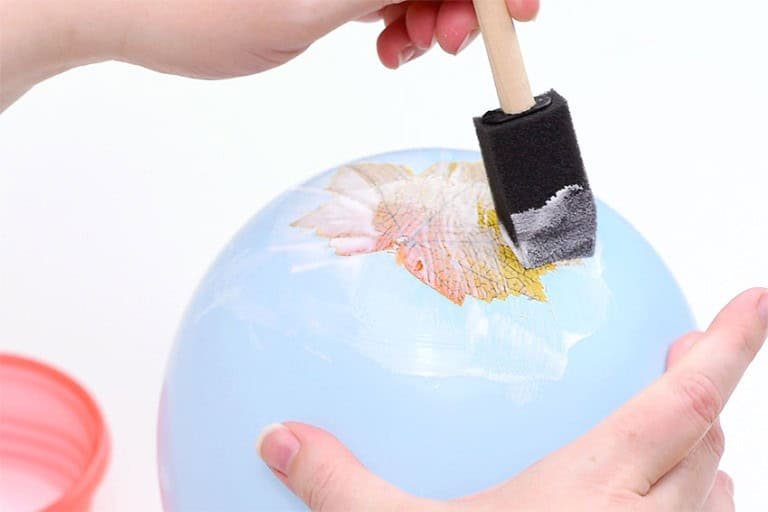

- Now add a second leaf, overlapping the first one. Place this leaf with the points down. Brush more fabric stiffener on top.
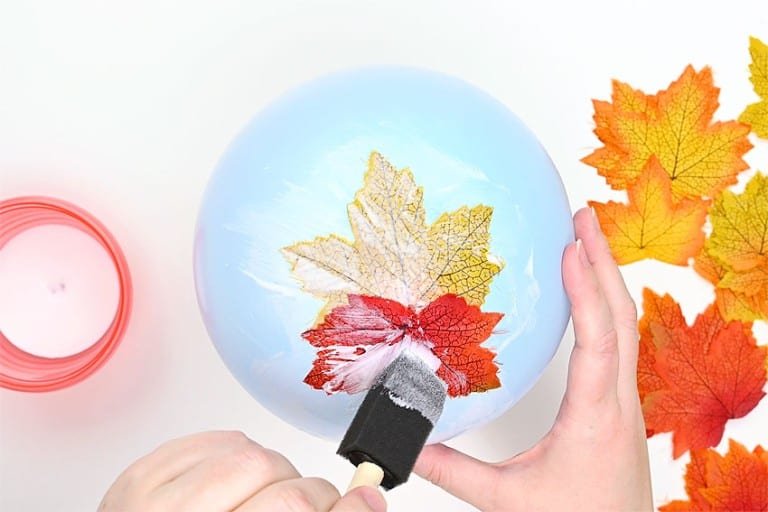

- Continue this pattern, working around the balloon and adding more leaves with the points down.Make sure you have a layer of fabric stiffener underneath and on top of every leaf you place.
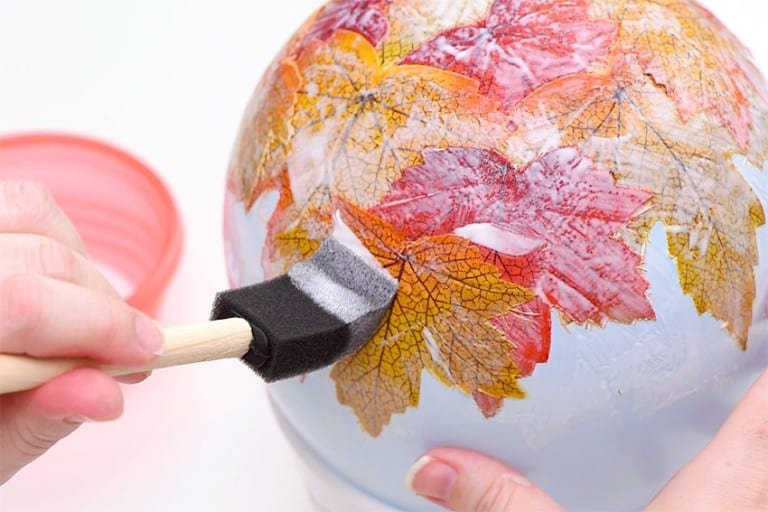

- Keep adding leaves until you’re happy with the depth of the bowl.Once you’ve finished, double check that all the leaves are stuck down well, and add more fabric stiffener where needed.
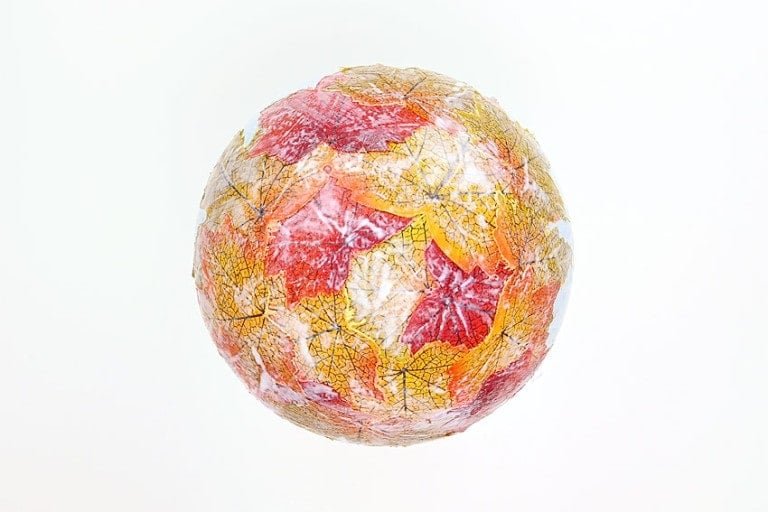

- Allow the bowl to dry for about 3 hours or until it’s dry to the touch.


Step 3: Deflate balloon
- Remove the balloon from the bowl.


- Cut a small hole in the balloon close to the knot.
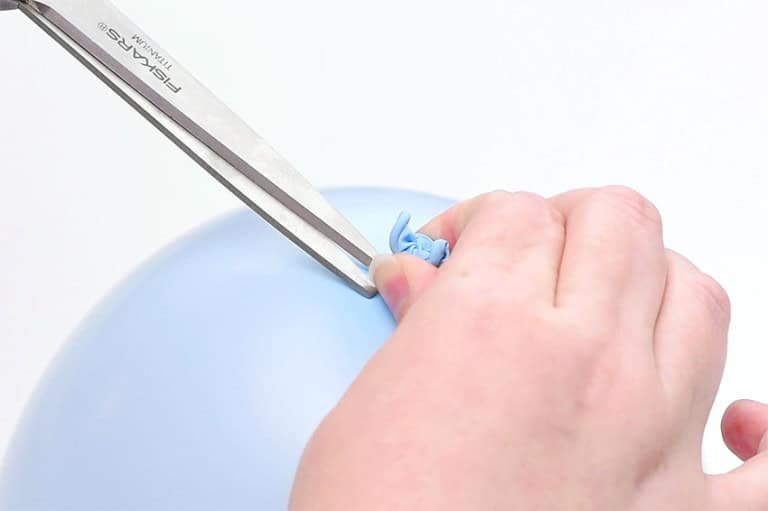

- Allow the balloon to deflate slowly, peeling the leaf bowl away from the balloon.


- Once you’ve removed the balloon you can also remove the excess dried fabric stiffener from around the top of the bowl.Most of it is easily removed just by picking it off with your fingers, but some you may want to cut with scissors.


- Re-shape the bowl so it’s nice and round.
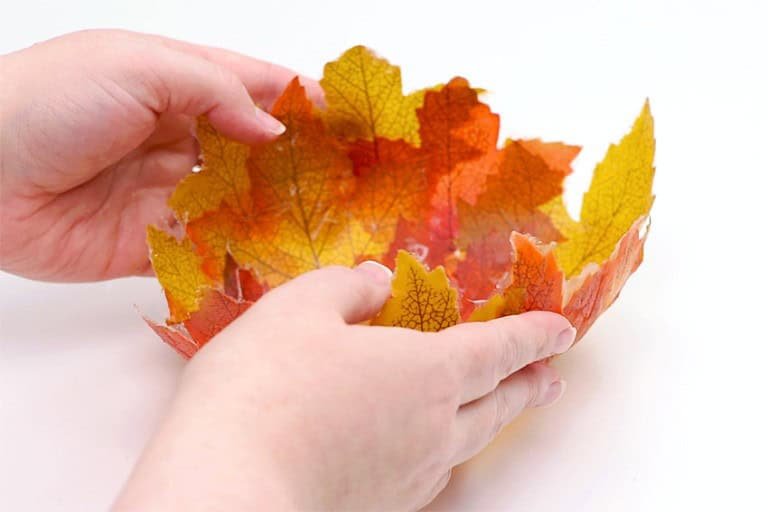

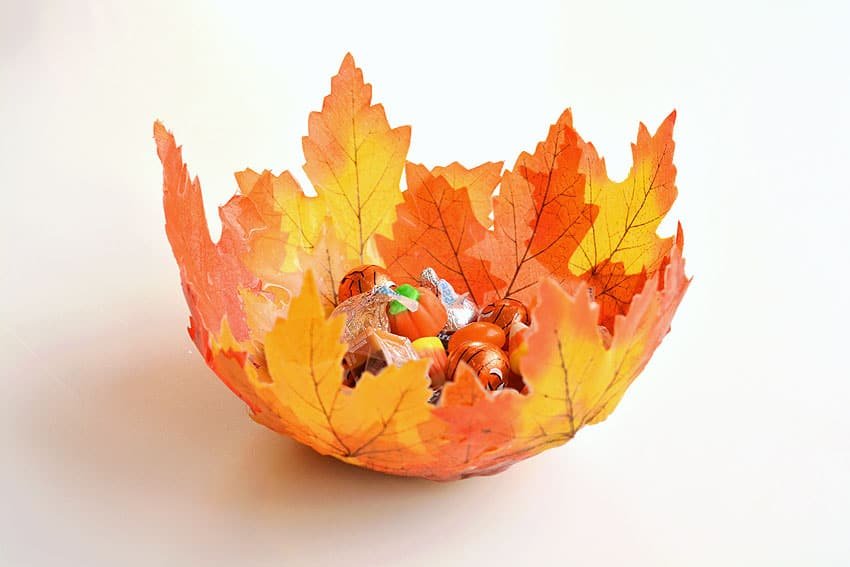
- Your leaf bowl is complete!
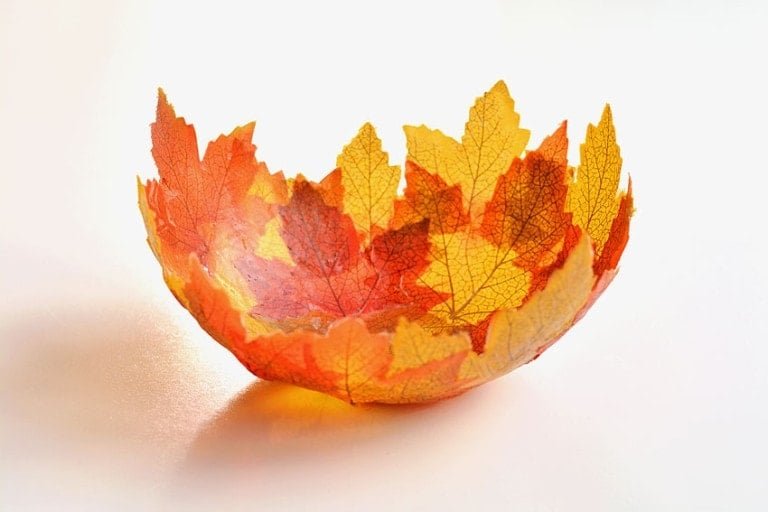

Helpful Tip:


Use your DIY leaf bowl as a centerpiece or place it on a side table. Use it as a candy bowl or fill it with fall decorations – like pinecones, acorns, or pot pourri – or even set it by the door to hold keys and sunglasses.


Here’s even more fall leaf craft ideas:
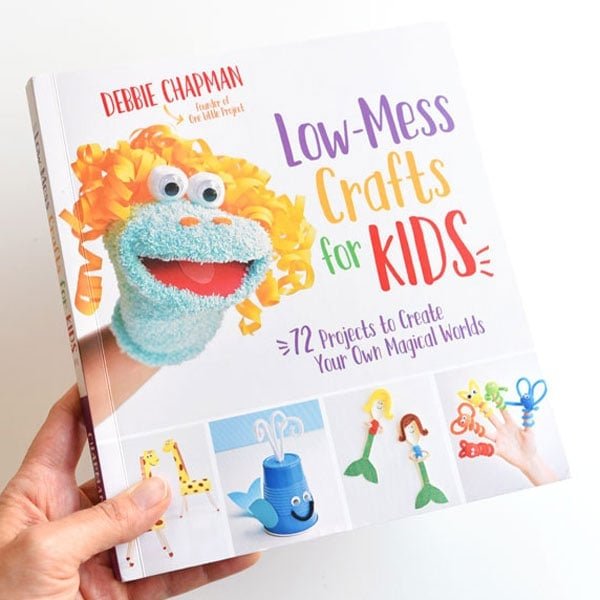
Our book Low-Mess Crafts for Kids is loaded with 72 fun and simple craft ideas for kids! The projects are fun, easy and most importantly low-mess, so the clean up is simple!
Where to buy:
You can purchase Low-Mess Crafts for Kids from Amazon, or wherever books are sold:
Amazon | Barnes and Noble | Books- A- Million | Indiebound | Indigo | Amazon Canada


