Popsicle Stick Scarecrow
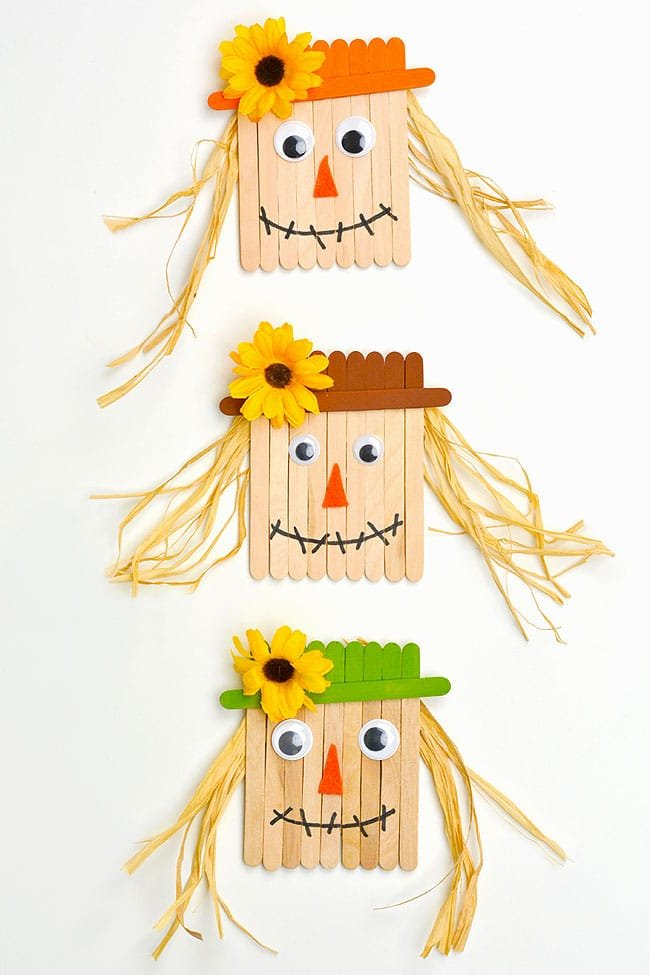
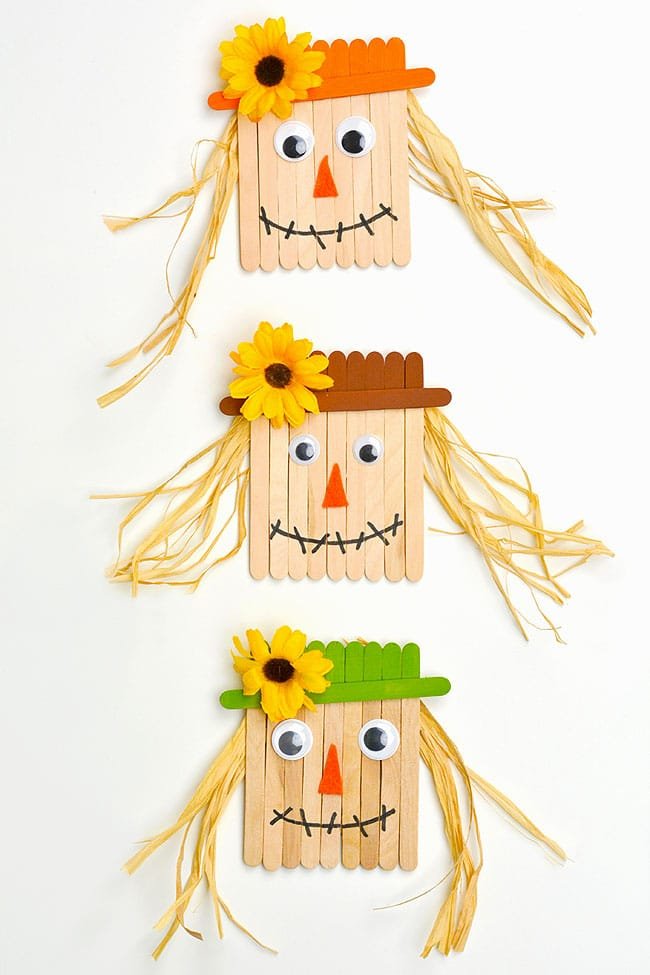
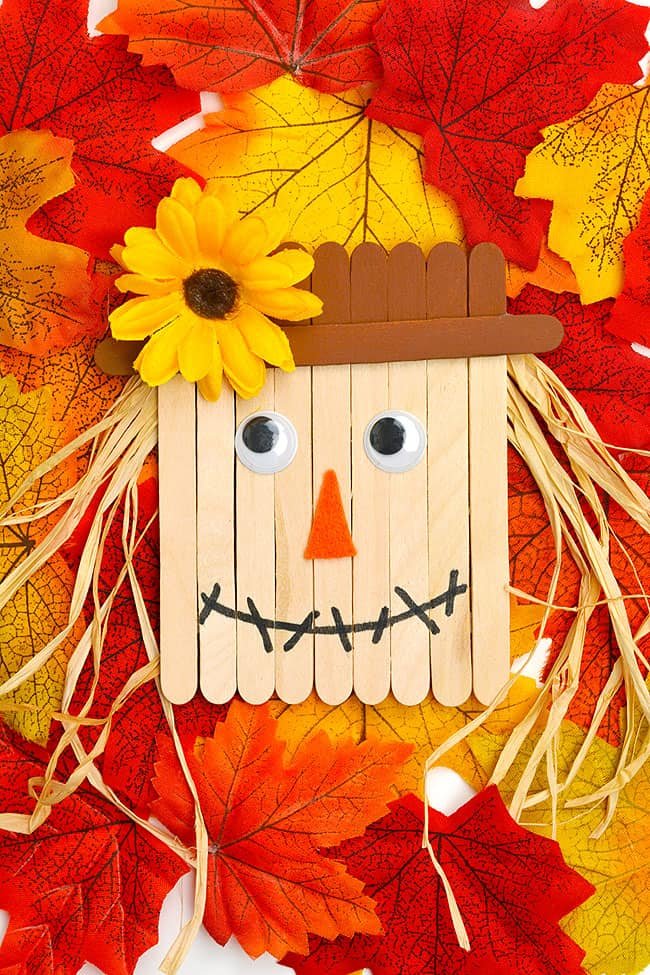
This popsicle stick scarecrow is SO EASY to make! It’s such a fun kids craft for fall, Halloween, and Thanksgiving, and you can make it in 15 minutes using simple dollar store supplies.
Create a scarecrow face with craft sticks, and then choose your favourite colour to paint the hat. These popsicle stick scarecrows are super cute, and they make such a fun DIY harvest decoration! Thanks to One Sharp Bunch for the super cute idea!
This post contains affiliate links. If you use these links to buy something we may earn a small commission which helps us run this website.
How to Make a Popsicle Stick Scarecrow
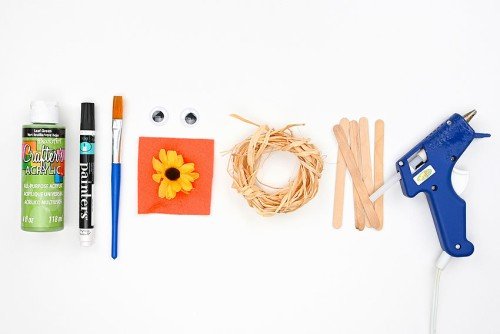
Materials:
- 12Popsicle sticks
- Acrylic paint(colour of choice)
- Raffia
- Fabric flower
- Orange felt
- Googly eyes(18mm or size of choice)
- Black paint pen
- Glue gun(or white glue)
Equipment:
Instructions:
Step 1: Find what you need
-
Gather your supplies and materials.

Step 2: Glue the scarecrow’s head together
-
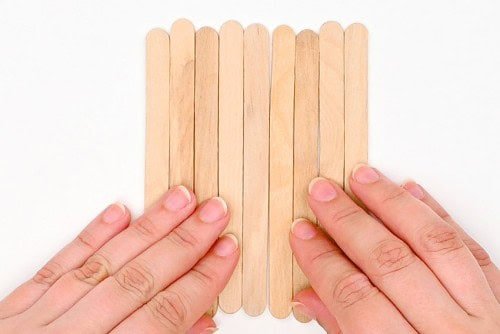
Set 9 popsicle sticks next to each other, lining them up so the tops and bottoms are even.

-
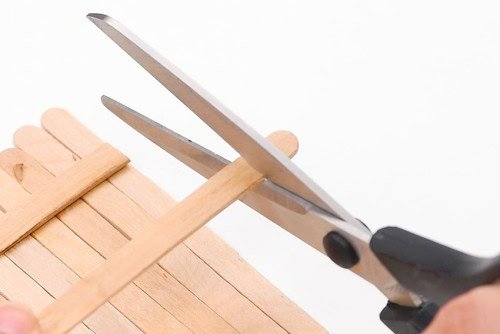
Cut the ends off 2 other popsicle sticks so they fit across the nine.

-
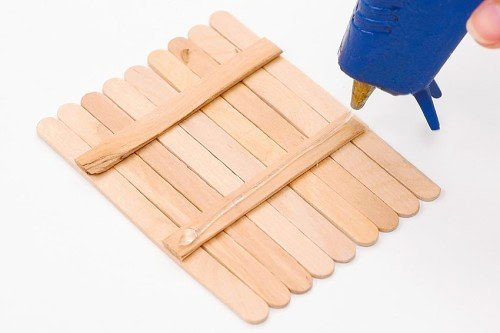
Add a line of glue to one side of the trimmed popsicle stick.

-
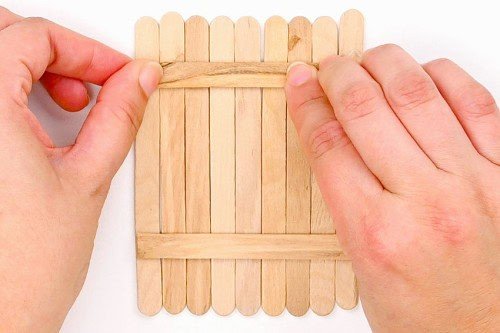
Flip it over and glue it into place about 1 inch away from the top of the sticks.Repeat with the second trimmed popsicle stick, placing this one an inch away from the bottom.

Step 3: Paint the scarecrow’s hat
-
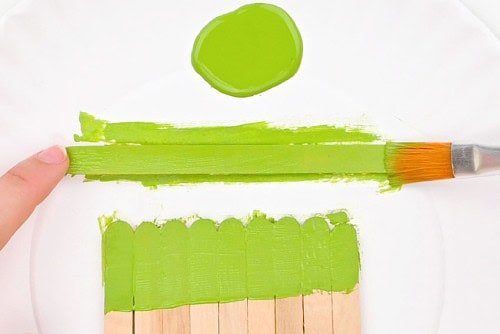
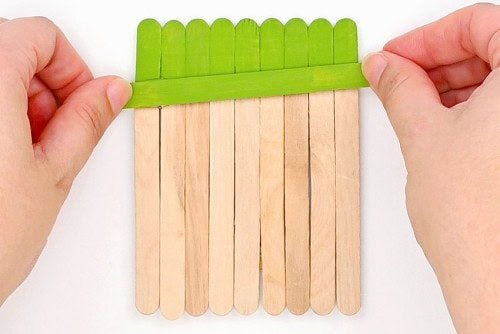
Flip the popsicle sticks over (so the glued ones are on the bottom). Starting at the left, paint the top inch or so green — or whatever colour you’d like the scarecrow’s hat to be.Paint across the popsicle sticks on a diagonal line, moving up towards the right.


-
Paint another loose popsicle stick the same colour. Be sure to paint the sides/edges of this stick as well.Allow the paint to dry.

-
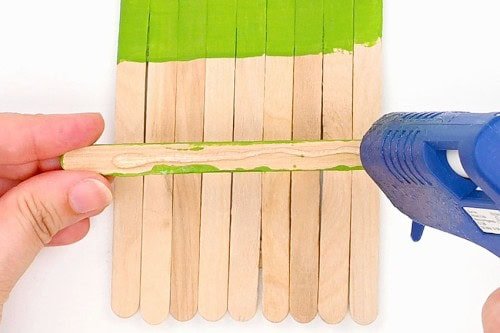
Add a line of glue to the back of the loose green popsicle stick.

-
Attach this popsicle stick at the edge of the painted section, creating a brim for the scarecrow’s hat.

Step 4: Attach the scarecrow’s hair
-
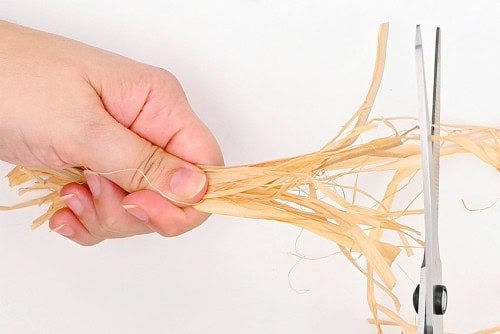
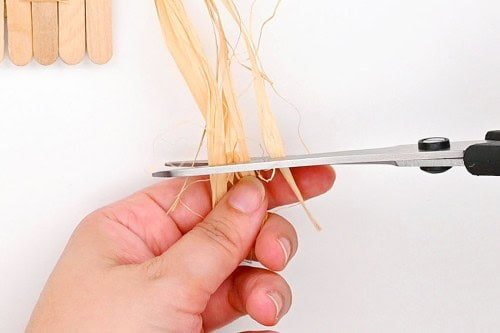
Make two little bundles of raffia (about 8 pieces each) and cut them to be about 8 inches long.

-
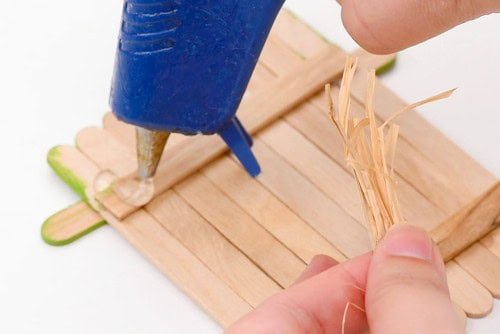
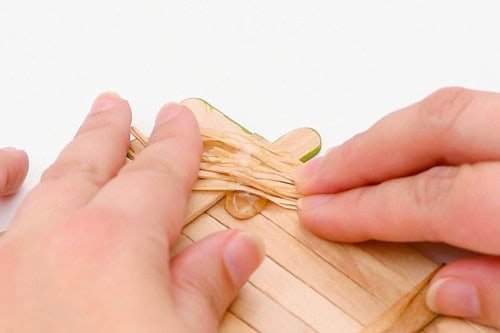
Turn the scarecrow over and add a generous dot of hot glue to the top back.

-
Place the bundle of raffia into the glue and then add more glue on top. Hold the raffia until it stays in place.

-
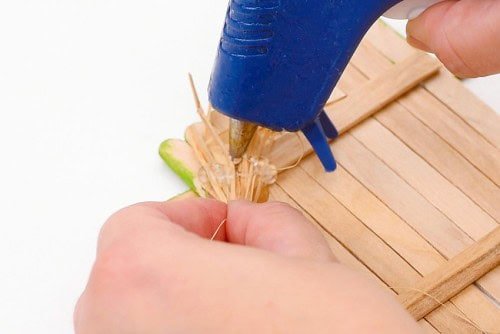
Repeat on the other side. Don’t turn the scarecrow back over until the glue is completely dry.

-
Trim the scarecrow’s hair to whatever length you think looks best. Ours is about 2 inches longer than the edge of the popsicle sticks.

Step 5: Add the scarecrow’s face
-
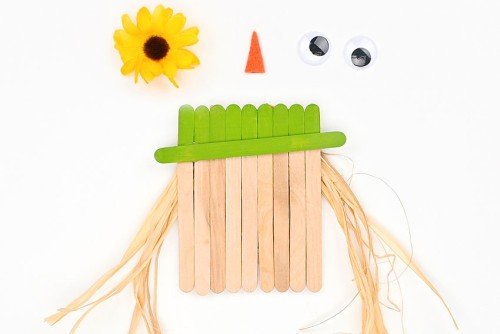
Cut a triangle shaped nose from orange felt and gather the pieces to put the scarecrow face together. You’ll need 2 googly eyes and a flower decoration for the scarecrow’s hat.

-
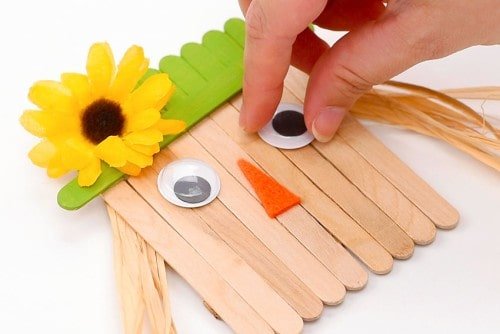
Add hot glue to the center back of the flower and attach it on the left side of the hat.Glue on the nose and then attach the googly eyes above and on either side of the nose.

-
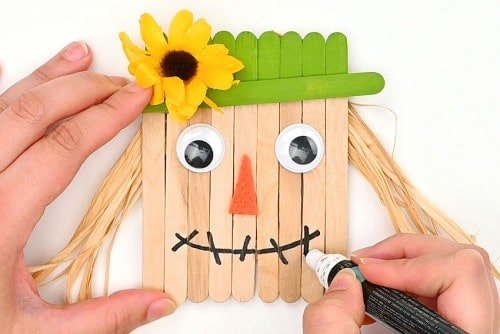
Use a paint pen or marker to draw a smile on the scarecrow’s face. Then draw vertical stitch marks across the smile.

-
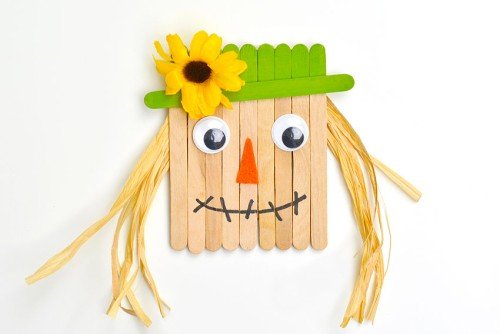
Your popsicle stick scarecrow is complete!

Helpful Tips:
- Make sure the popsicle sticks are lined up as best you can before gluing them together on the back.
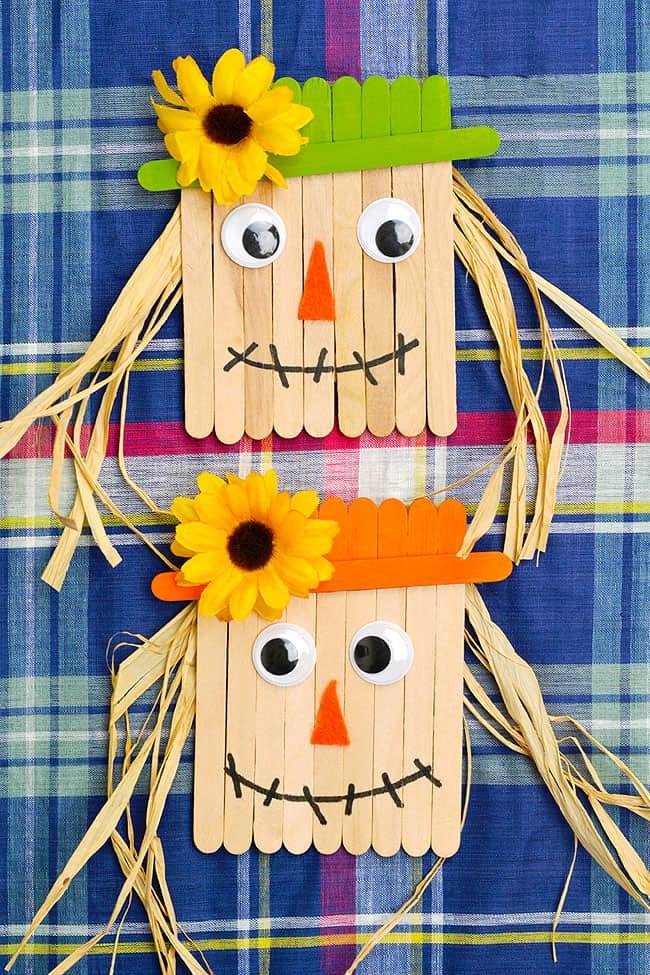
- Use different types of flowers or cut the hair to a different length to make each popsicle stick scarecrow unique!

Does the popsicle stick scarecrow need to be made with hot glue?
No, you can definitely use white glue to make this project. Try using Aleene’s Tacky Glue which tends to get sticky and dry faster than regular white glue.
We like using hot glue because it dries right away, but sometimes you have to move quickly so the glue doesn’t dry before you have a chance to set your pieces!
What if I don’t have felt for the craft stick scarecrow’s nose?
If you don’t have felt you could cut the nose from cardstock, construction paper, or craft foam. Or paint or draw on the triangle shaped nose!

Can I use a black marker for the mouth of the popsicle stick scarecrow?
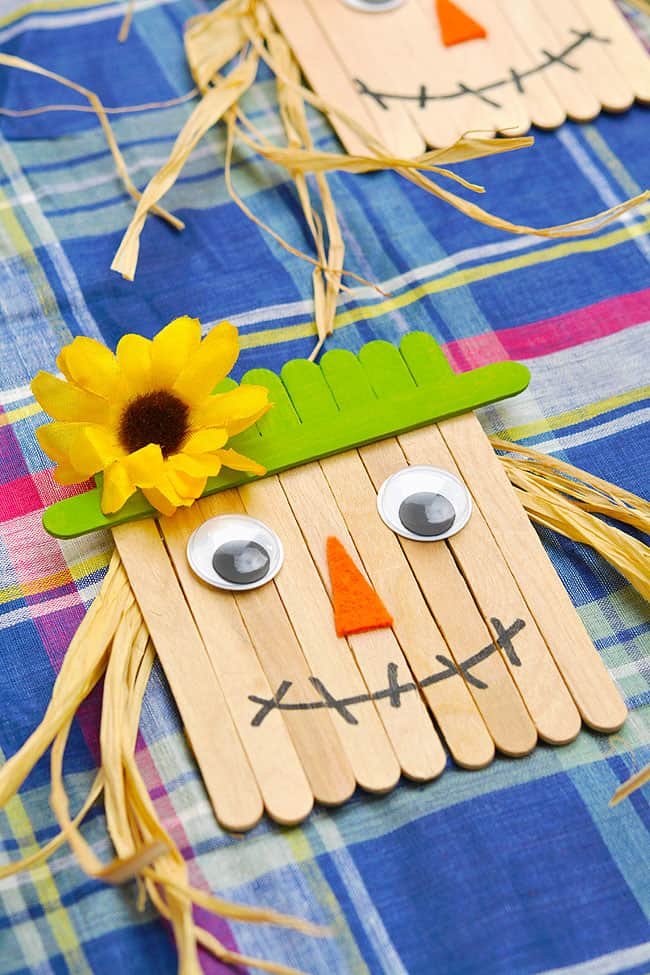
Yes, you can definitely use a permanent black marker to draw the scarecrow’s mouth. We used a paint pen because it creates a lot cleaner lines on the wood, whereas marker tends to “bleed”.
To prevent markers from bleeding, use your finger to spread a super thin layer of white glue over the area you’ll be painting. Then draw with the marker after the glue has dried. This really thin layer keeps the marker exactly where you want it to be!
What else can I use for the popsicle stick scarecrow’s hair?
If you don’t have raffia there are lots of other options for making the scarecrow’s hair. Use bits of yarn, twine, or even Easter grass! You can also cut thin strips of paper to make hair.

How else can I decorate the popsicle stick scarecrow’s hat?
If you don’t have a fabric flower, or don’t want to use one, you can also decorate the hat with a square of fabric and/or a button. You can also glue scraps of ribbon together to make a flower shape.
What can I do with my popsicle stick scarecrow craft?
Create a puppet for storytime or pretend play by attaching a jumbo popsicle stick to the back as a handle. You can also glue a magnet strip to the back and hang your popsicle stick scarecrow on the fridge.
Or use these scarecrows as a plant pot decoration. You can even write plant names on the scarecrow’s hat brim and use them as plant markers in an herb garden!
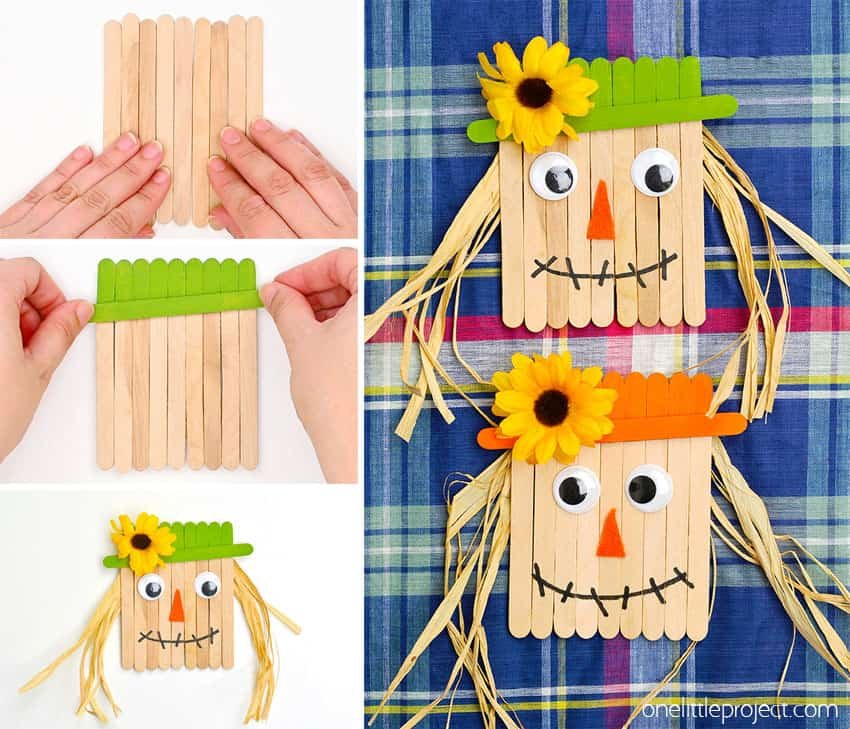

Choose your favourite fall flower and decorate your popsicle stick scarecrow. This autumn popsicle stick craft is super fun to make, and it would also make a great addition to a farm lesson at school.

Here’s even more fall craft ideas:
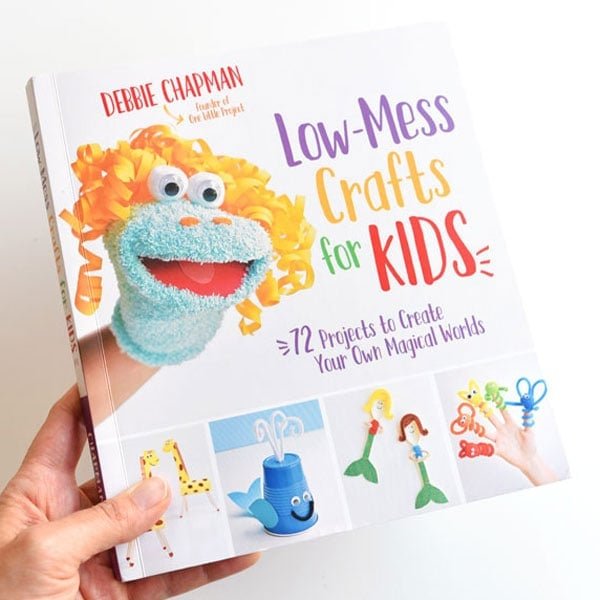
Our book Low-Mess Crafts for Kids is loaded with 72 fun and simple craft ideas for kids! The projects are fun, easy and most importantly low-mess, so the clean up is simple!
Where to buy:
You can purchase Low-Mess Crafts for Kids from Amazon, or wherever books are sold:
Amazon | Barnes and Noble | Books-A-Million | Indiebound | Amazon Canada


