Pumpkin Fizzy Art
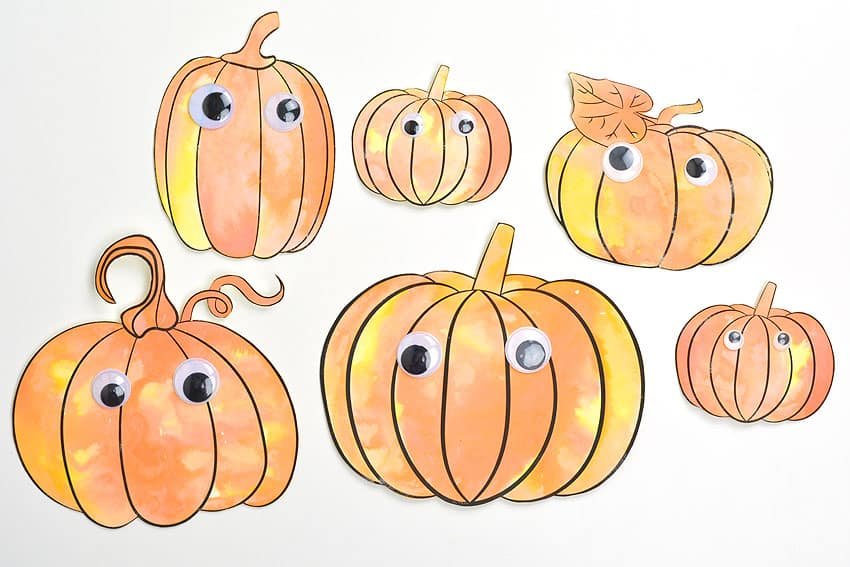
This pumpkin fizzy art is SO FUN to make! Celebrate the fall season with this activity that’s part process art and part science experiment.
Kids can learn about acid-base reactions and observe the fizzing and bubbling while having fun painting a pumpkin. It’s such a fun STEAM craft that’s perfect for fall, Halloween, and Thanksgiving!
This post contains affiliate links. If you use these links to buy something we may earn a small commission which helps us run this website.
How to Make Pumpkin Fizzy Art
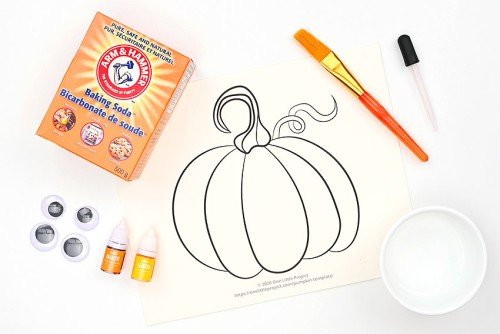
Materials:
- Free Printable Pumpkin template
- Watercolor paper
- 1TablespoonWater
- 2TablespoonsBaking soda
- 2TablespoonsVinegar
- Food colouring(yellow, orange, red)
- White glue(optional)
- Googly eyes(optional)
Equipment:
- Popsicle sticks(or spoons; to stir)
Check Out The Video Tutorial:
Instructions:
Step 1: Find what you need
- Gather your supplies and materials.

Step 2: Paint the pumpkin with baking soda paint
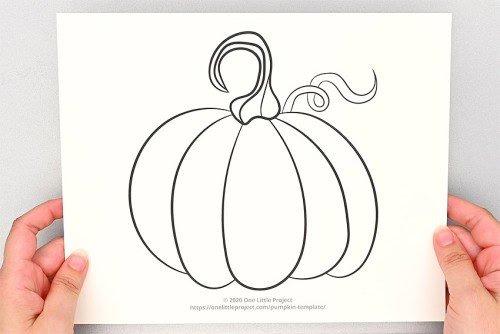
- Print out a pumpkin template on watercolor paper. Or if you prefer, you can draw a pumpkin freehanded on a piece of watercolor paper. Scroll down past the tutorial for more information on the types of paper you can use.

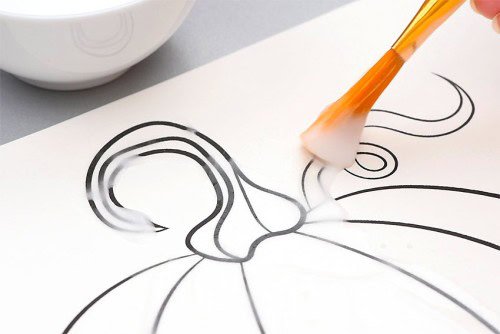
- Add the baking soda into a small bowl with water.


- Stir well to mix the two.


- Paint the entire pumpkin outline with the baking soda paste. Since we’ll be cutting out the pumpkin when we’re done, it’s okay if you paint outside the lines.

Step 3: Add coloured vinegar and watch the reaction
- In separate bowls, add the vinegar and 5 drops of each food colouring you’d like to use.We did one bowl of yellow and one of orange. If you don’t have orange food colouring, combine equal drops of red and yellow to make orange.
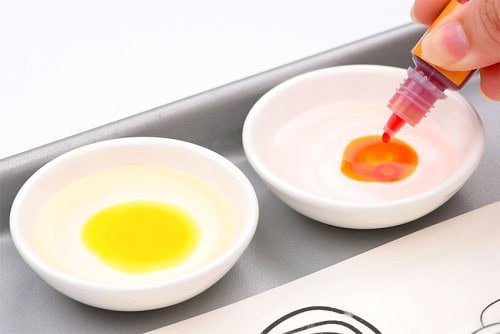

- Stir to combine the vinegar and food colouring.
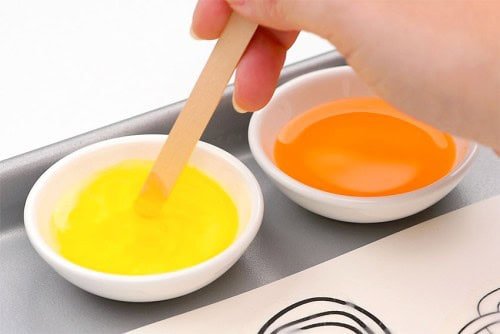

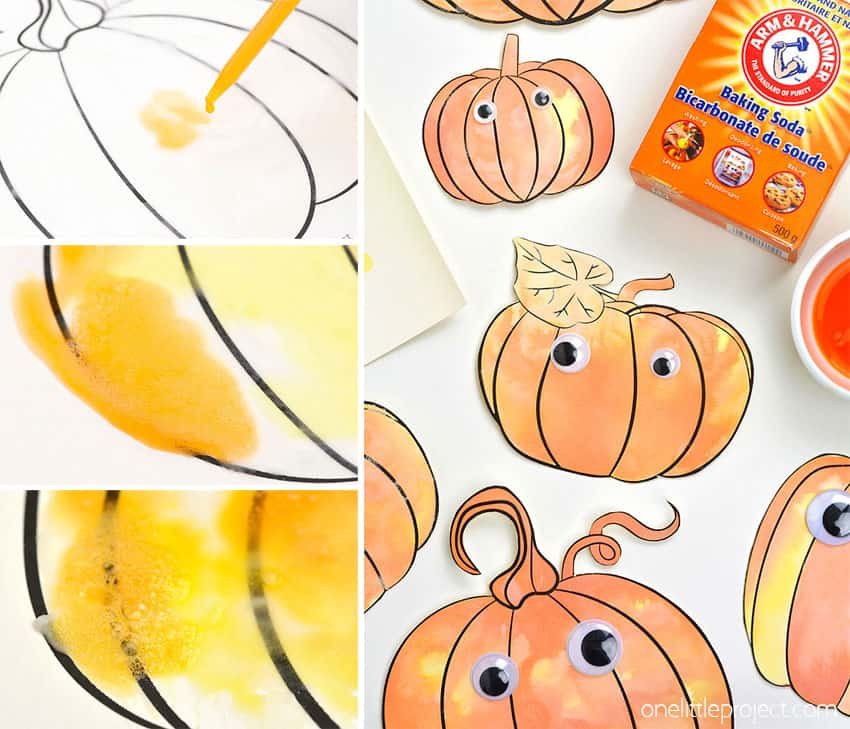
- Use an eye dropper to grab some of the coloured vinegar and add a drop or two at a time to the baking soda painted pumpkin.Watch the pumpkin begin to fizz!


- Add more coloured vinegar and enjoy watching the bubbles and the colours spreading.
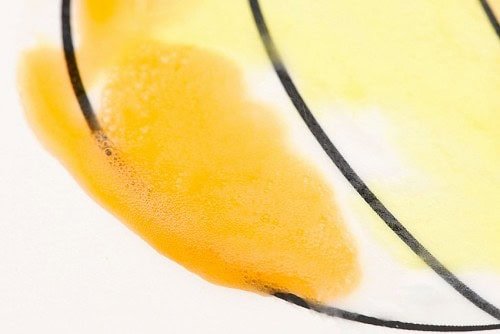

- Continue adding both colours, watching the fun fizzy chemical reaction (more on that below!) and watching the colours combine.


- Keep adding drops of colour until your entire pumpkin shape is coloured.


Step 4: Decorate your pumpkin (OPTIONAL)
- Allow the fizzy pumpkin painting to dry overnight. If your artwork is feeling really ‘sandy’, you can rub the dry artwork gently with a dry cloth or paper towel to remove the baking soda texture.
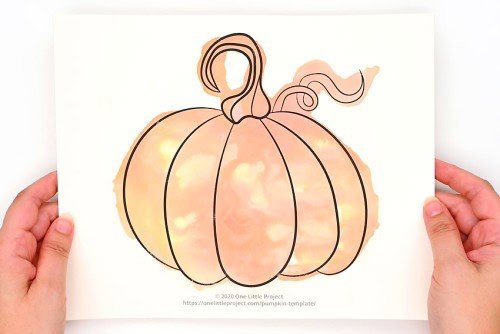

- Cut out the coloured pumpkin outline.


- Add white glue to a googly eye.


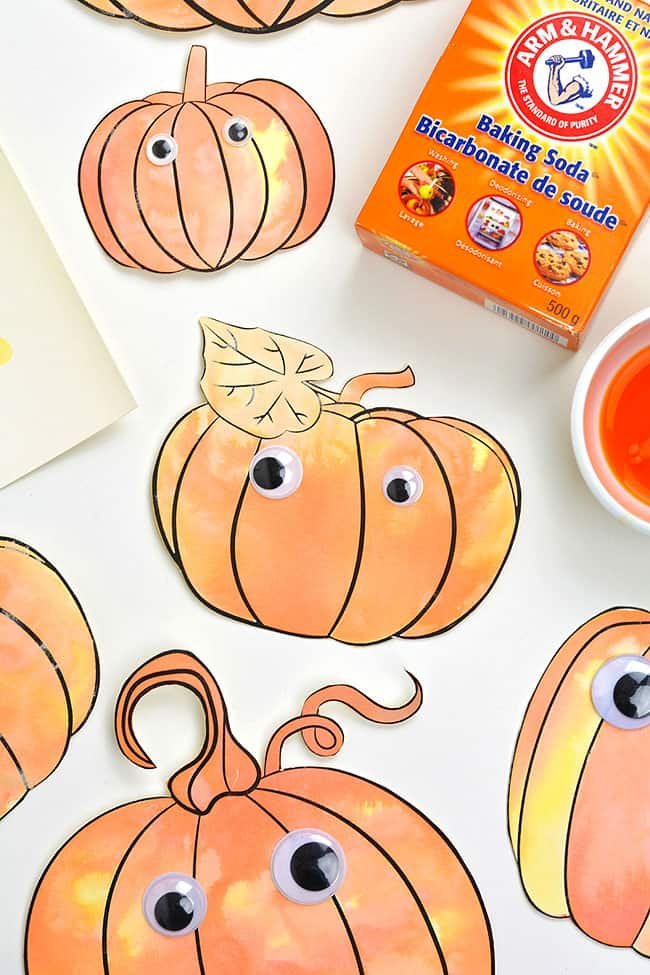
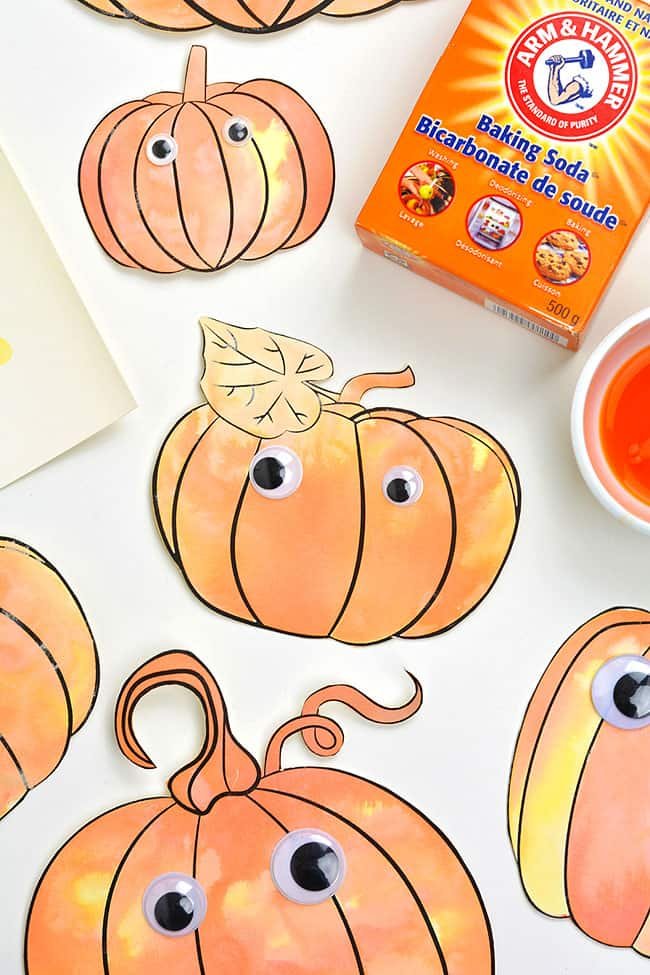
- Attach the googly eye to the pumpkin and repeat for the 2nd eye.We added googly eyes to our pumpkins, but you could also cut out a jack-o-lantern face from black construction paper!
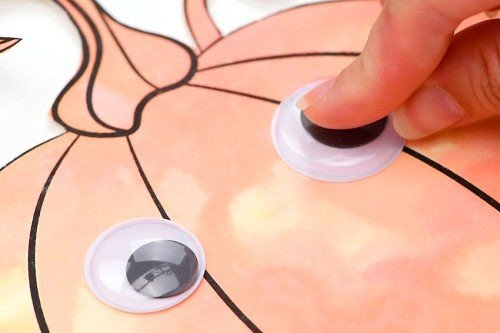

- Your pumpkin fizzy art is complete!


Helpful Tip:
You can use lemon juice or citric acid to create pumpkin fizzy art, instead of using vinegar. Simply replace the vinegar with lemon juice, or dissolve 1 part citric acid into 1 part water before adding the food colouring. Play around with different ratios of ingredients to see what creates the biggest fizz!
Where can I find a pumpkin template?
We have 4 different pumpkin templates for you, and they’re all FREE and ready to download and print! Whether you want a detailed pumpkin with lines inside, or a totally blank pumpkin outline, we’ve got you covered!
>>> Pumpkin Template <<<
Click the link above and find the pumpkin you want to use. Each link will open a PDF file in a new window. Then you can print the pumpkin on watercolour paper or on regular 8.5 x 11 (letter sized) printer paper.
How does this pumpkin fizzy art work?
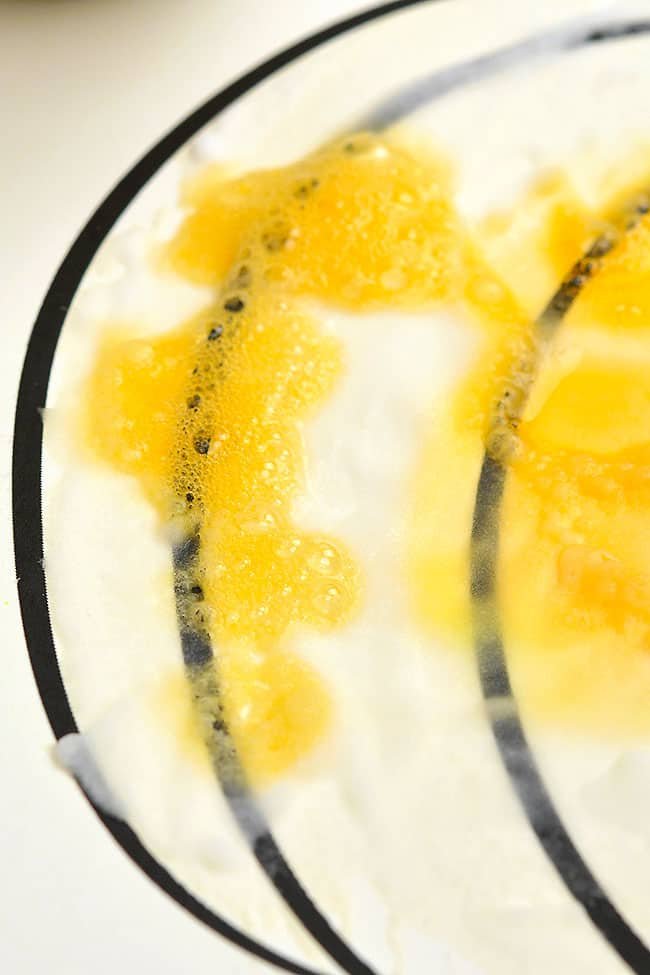
This pumpkin fizzy art is caused by a chemical reaction! Combining baking soda (a base) with vinegar (an acid) creates a gas called carbon dioxide.
You can see and hear the bubbles fizzing as the vinegar paint touches the baking soda paint. If you hold your hand close enough, sometimes you can even feel the bubbles popping — just like you can from a freshly poured glass of soda!
Baking soda and vinegar experiments teach about acid-base reactions, and they also demonstrate changes in states of matter. This reaction shows a solid (baking soda) combining with a liquid (vinegar) to create a gas (carbon dioxide)! You can see a visible representation of this with baking soda and vinegar balloons.

What paper is best for making a pumpkin fizzy painting?
We recommend using watercolour paper if you have it. Watercolour paper absorbs both colour and water really well without warping and will help your art last a long time.
We tried regular printer paper and cardstock, and they both worked, just not as nicely as with the watercolour paper. They’re not meant to absorb water so they took a long time to dry, the colours weren’t as bright when they dried, and the paper warped.
If you’re just interested in the experiment (and not necessarily keeping the artwork at the end) you can definitely use regular paper to watch the fizzing!
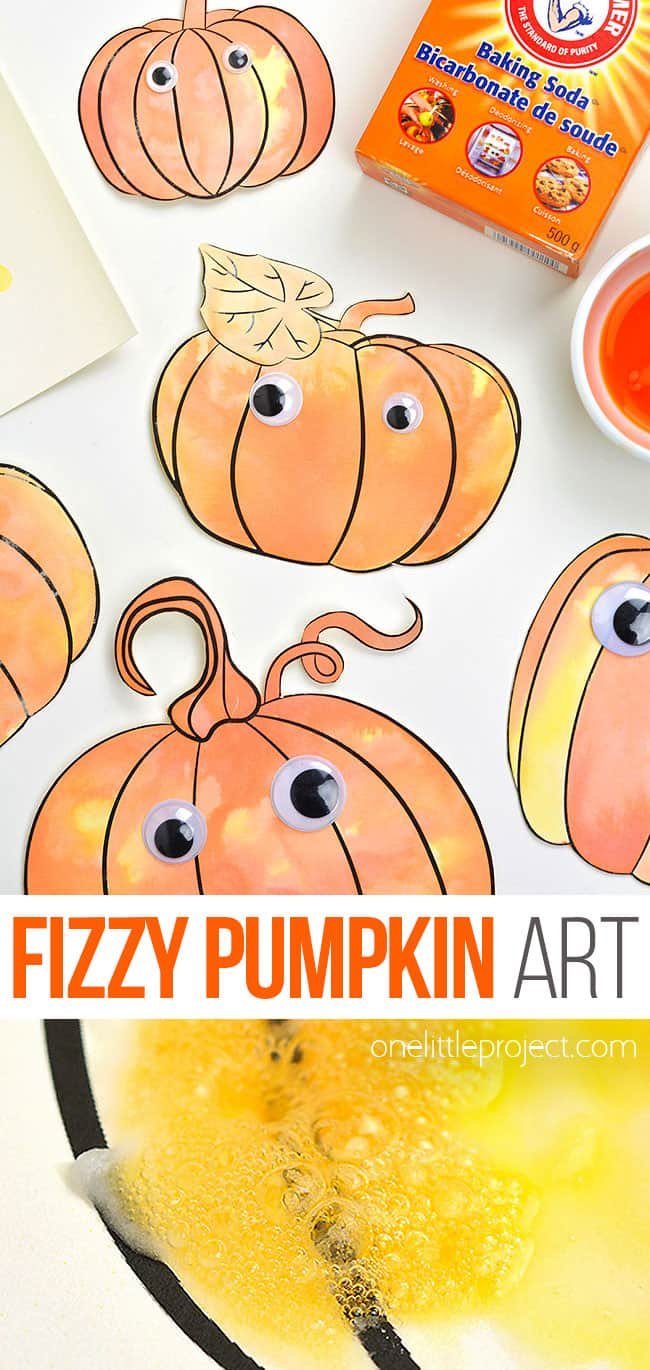
Use traditional fall colours like orange, yellow, and red to make this fizzy pumpkin art, or create pumpkins in a rainbow of colours. This science experiment uses simple pantry supplies and it’s so fun and easy to try!
Here’s even more fall craft ideas:
Monster Blow Painting
Coffee Filter Turkey Craft
Marbled Fall Leaves Painting
Our book Low-Mess Crafts for Kids is loaded with 72 fun and simple craft ideas for kids! The projects are fun, easy and most importantly low-mess, so the clean up is simple!
Where to buy:
You can purchase Low-Mess Crafts for Kids from Amazon, or wherever books are sold:


