Fruit Foam Marbling
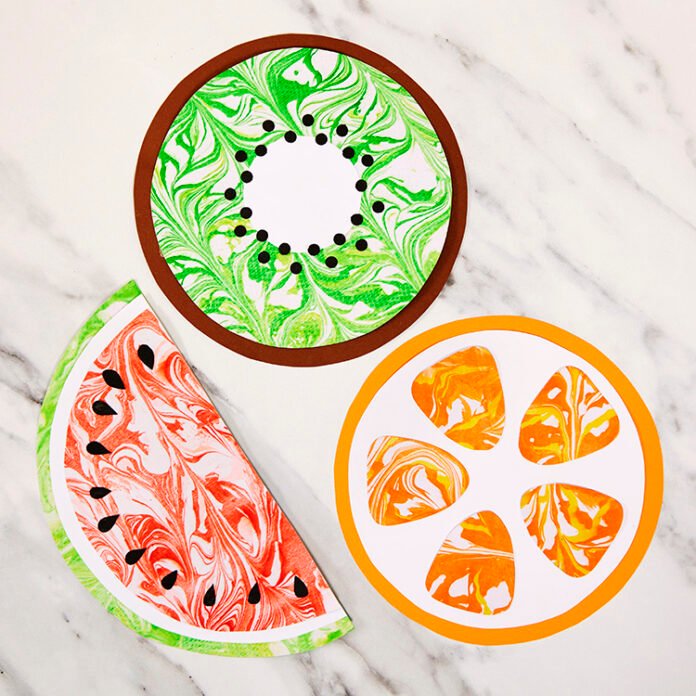
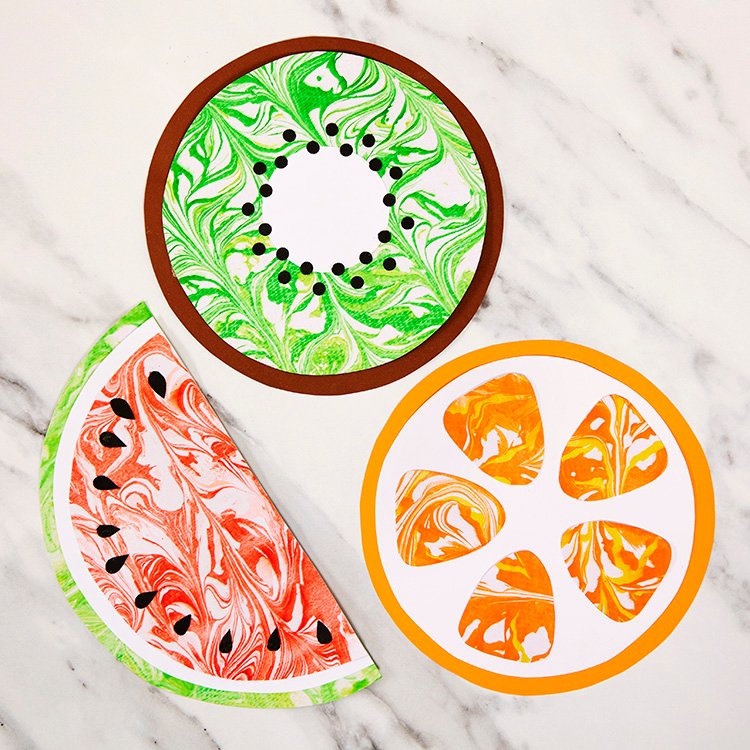
Try this fun painting technique using shaving foam to create colourful, marbled fruits. This is such a great messy, sensory activity for little ones exploration.
Items you’ll also need
- Shaving Foam
- Ruler
- Tray
- Pencil
- Scissors
- Double sided tape
Top Tip
You don’t always need to wash up the foam in between marbling, you can just add another layer and more paint when it begins to get messy. However, it is recommended to wash between changing colours.
How to Make
Step 1
Step 2
Step 3
- First, fill a tray with shaving foam filling enough area to cover the watercolour paper.
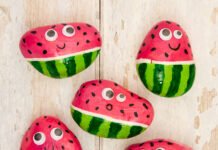
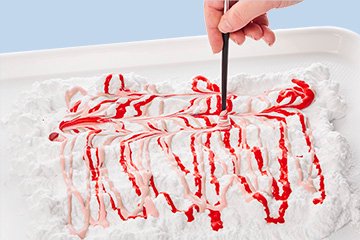
- For the watermelon, squirt red and pink paint on top of the shaving foam and swirl it using the end of a paint brush.
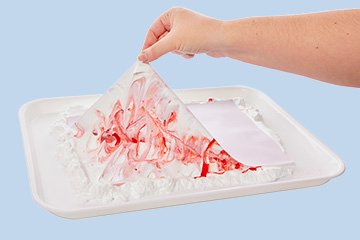
- Place a piece of A4 watercolour paper into the foam and paint mixture. Slightly push down to ensure all areas of the watercolour paper are covered.
- Take the paper out of the tray and scrape off the excess foam and paint with a ruler or something similar e.g., cardboard.
- Wash your tray and repeat the steps using green paint.
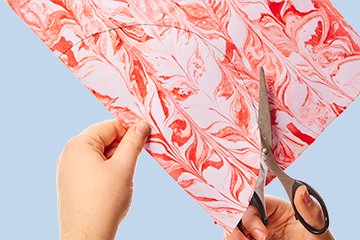
- Using the template cut out the 3 semicircles, the largest from green marbled paper, the middle size from white paper, the smallest size from red marbled paper and the seeds from black paper.
- Layer and stick the semicircles on top of each other. Stick the white on top of the green and the red on top.
- Stick the seeds on top.
- Repeat steps for the other fruits.


