
A sewn-and-stuffed throw pillow is one of the most forgiving sewing projects you can make. There is no zipper to install, no buttonhole to measure, and no separate pillow insert to fit. You sew two fabric pieces together, leave one opening, turn the shell right side out, add stuffing, and close the gap.
This tutorial keeps that simple construction, but tightens up the details that make a first pillow look better: how much seam allowance to add, which fabrics are easiest to control, how to avoid bulky corners, how to distribute stuffing evenly, and how to close the opening neatly.
If you are completely new to sewing, this is a good project for practicing straight seams and corner turns before moving on to fitted covers, zippers, or more structured home-decor sewing.
Jump to:
What You Are Making
This is a stuffed throw pillow with a sewn-closed opening. It is different from an envelope pillow cover, which wraps around a removable insert, and different from a zippered cover, which can be taken off for washing.
The method works well for small decorative pillows, kids’ room accents, handmade gifts, seasonal decor, or a first sewing-machine project. Because the cover is closed after stuffing, choose fabric that suits the way you plan to use and clean the finished pillow.
Materials and Tools
- Fabric: beginner-friendly woven cotton, quilting cotton, lightweight canvas, or a stable home-decor fabric
- Matching or coordinating thread
- Polyester fiber fill or other suitable pillow stuffing
- Fabric scissors or a rotary cutter and cutting mat
- Ruler or measuring tape
- Pins or sewing clips
- Iron and ironing surface
- Sewing machine, or a hand-sewing needle if you prefer to sew by hand
- Hand-sewing needle for closing the final opening
- Optional: fabric marker or tailor’s chalk
For a first pillow, avoid very stretchy knits, slippery satin, loose-weave fabrics, or thick upholstery fabric. They can all work, but they add problems that are unrelated to learning the basic pillow construction.
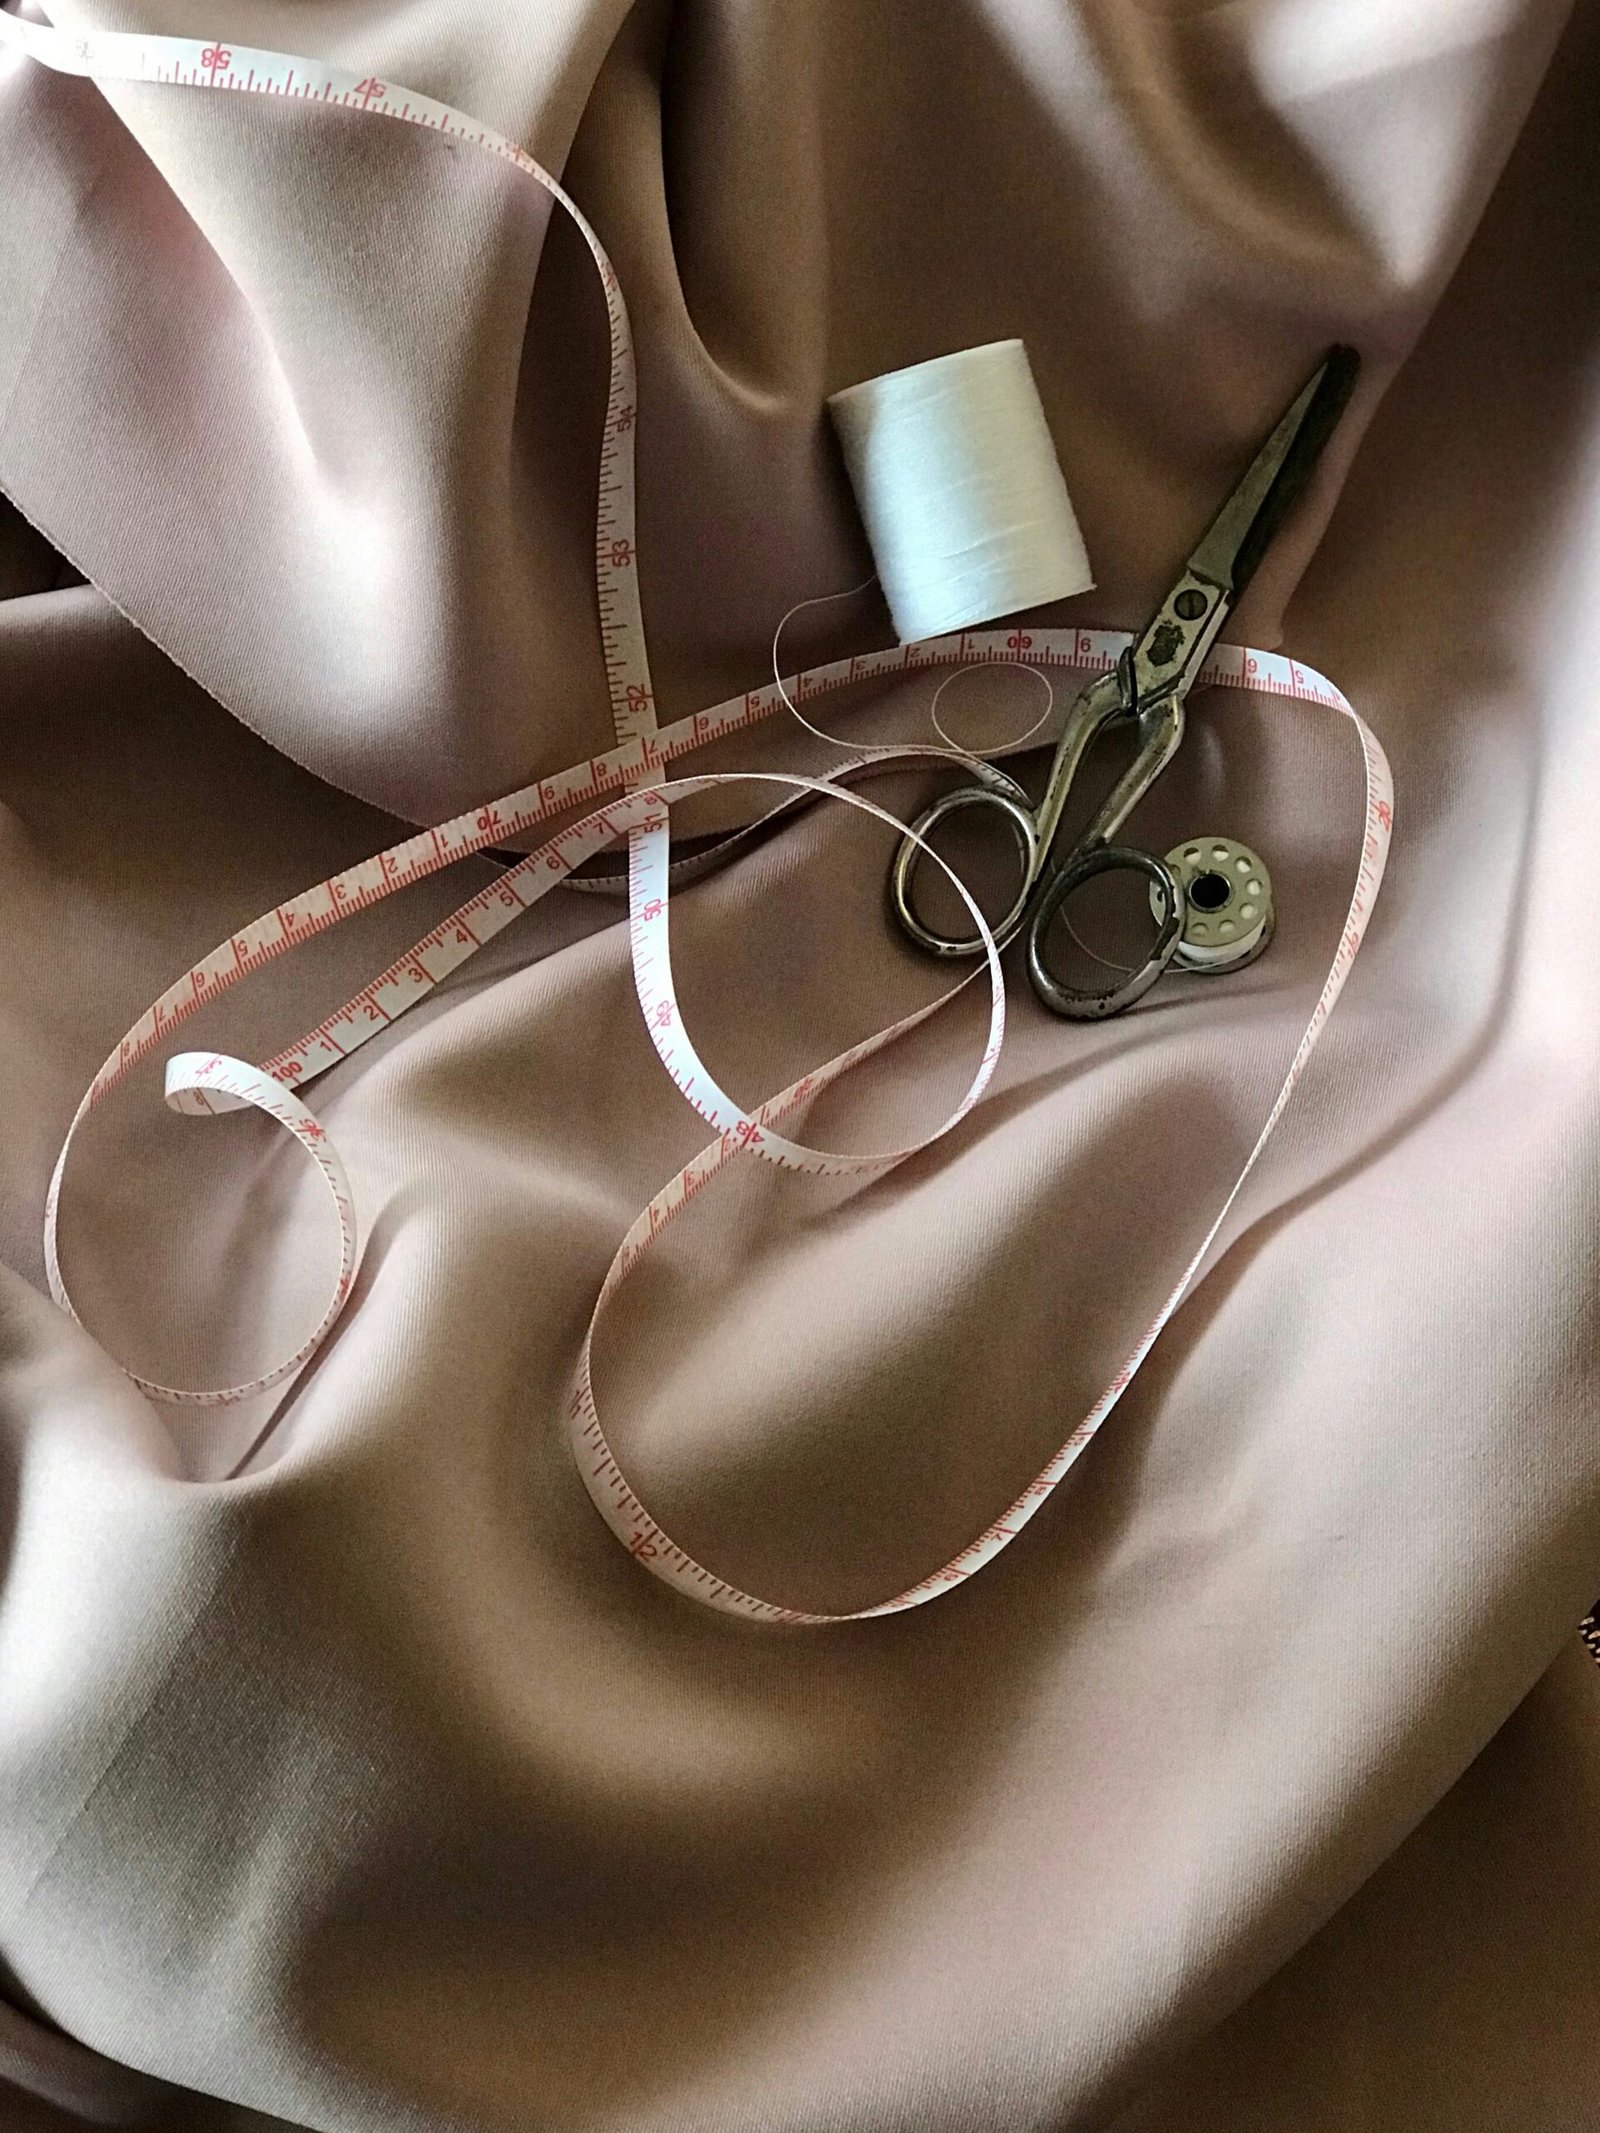
If you are building a basic sewing setup from scratch, Craft Ideas also has guides to sewing kits and sewing scissors. You do not need a large collection of notions for this project; accurate cutting and a reliable straight stitch matter more.
Before You Cut: Work Out the Pillow Size
Decide on the finished size first. If you use a 1/2-inch seam allowance on all four sides, add 1 inch to both the finished width and finished height when you cut each fabric piece.
For example, to make an approximately 12 x 12 inch finished pillow, cut two fabric squares measuring 13 x 13 inches. After sewing a 1/2-inch seam around the edges, the finished shell will be close to 12 x 12 inches before stuffing.
If your fabric is washable and you expect the finished pillow to be cleaned with water, prewash and dry the fabric before cutting. Press it flat so wrinkles do not distort your measurements.
Step 1: Measure and Cut Two Fabric Pieces
Place the fabric on a flat surface and measure two pieces the same size. A square is easiest for a first pillow, but the same construction works for rectangles.
Mark the cutting lines with tailor’s chalk or a removable fabric marker, then cut carefully. If the fabric has a directional print, check that the design runs the same way on both pieces before you cut the second panel.
Beginner tip: measure twice before cutting. Small differences are usually manageable, but two accurately matched panels are much easier to pin and sew.
Step 2: Put the Right Sides Together and Pin
Place the two fabric pieces together with their right sides facing each other. The side you want visible on the finished pillow should now be on the inside.
Match the raw edges and pin or clip around the perimeter. Leave enough room along one side for the stuffing opening. For a small 12-inch pillow, an opening of roughly 3 to 4 inches is usually easier to work with than an opening that is barely wide enough for two fingers.
Mark the beginning and end of that opening so you do not accidentally sew it closed in the next step.
Step 3: Sew Around the Pillow and Leave an Opening
Using a straight stitch, sew around the pillow with a consistent 1/2-inch seam allowance. Backstitch at the beginning and end of the seam so the stitches beside the stuffing opening do not pull apart while you turn and fill the pillow.
At each corner, stop with the needle down in the fabric, lift the presser foot, pivot the fabric 90 degrees, lower the foot, and continue sewing. This makes the corner cleaner than stopping the seam and starting a new one on each side.
If you are hand sewing, use small, even backstitches around the perimeter. The project takes longer by hand, but the construction order is exactly the same.
Step 4: Trim the Corners Without Cutting the Stitches
Before turning the pillow right side out, trim each corner diagonally. Leave a small amount of fabric beyond the stitching and be careful not to cut through the seam.
This removes bulk from inside the corners. Without trimming, multiple layers of fabric bunch together when the pillow is turned and make the corners look rounded or lumpy.
You can also trim unusually bulky seam allowances if your fabric is thick, but do not cut them so narrow that the seam becomes fragile.
Step 5: Turn the Pillow Right Side Out
Reach through the opening and gently pull the fabric through until the right side is facing out. Work slowly around the corners rather than pulling hard on one point.
Use a blunt tool such as a chopstick, point turner, or the rounded end of a knitting needle to shape the corners from the inside. Do not use the sharp point of scissors or a pencil tip aggressively; it is easy to push through the fabric or split the corner seam.
Press the pillow shell now, before stuffing. It is much easier to flatten the seams and crease the opening’s raw edges inward while the pillow is still empty.
Step 6: Add the Stuffing Evenly
Add fiber fill in small handfuls instead of pushing in one large clump. Start with the corners and edges, then fill the center. Pull the stuffing apart lightly before inserting it; this helps avoid hard lumps inside the pillow.
Keep checking the pillow from both sides as you work. If one corner looks soft, move a small amount of fill toward it. If the center feels too firm while the edges are flat, redistribute the stuffing rather than simply adding more.
The pillow should look full without becoming so tightly packed that the seams are under constant tension. A decorative pillow can be plump, but overstuffing makes the final opening harder to close neatly.
Step 7: Close the Stuffing Opening
Fold the raw edges of the opening inward so they line up with the sewn seam. Pin or clip the folded edges together.
For the neatest finish, hand sew the opening with a ladder stitch (also called an invisible stitch). Take a small stitch inside the folded edge on one side, then a matching stitch inside the fold on the opposite side. Continue back and forth, then pull the thread gently so the opening closes and the stitches disappear between the folds.
If appearance is less important, a small whipstitch also works. A sewing machine can close the opening too, but the line of stitching will be visible on the outside of the pillow.
How to Fix the Most Common Beginner Problems
The corners look round or bulky
Check whether you trimmed the seam allowance diagonally at each corner. If the pillow is already turned, push the corners out gently with a blunt tool. Do not force them into a sharp point; that can weaken the seam.
The pillow looks lumpy
Remove some stuffing through the opening and pull large clumps apart. Refill using smaller pieces, placing them in the corners first and then building up the center gradually.
The two fabric layers shifted while sewing
Use more pins or clips, especially near the corners, and check that the raw edges remain aligned before each side is sewn. A stable woven cotton is much easier for a first pillow than slippery or stretchy fabric.
The seam is opening near the stuffing gap
This usually happens when the seam was not secured at the two ends of the opening. Reinforce those points with backstitching or several small hand stitches before closing the gap.
The finished pillow is smaller than expected
Remember that seam allowance comes out of both sides. If you want a 12-inch finished square and use a 1/2-inch seam allowance, each cut panel needs to be 13 inches square.
Ways to Personalize the Pillow
Once the basic construction makes sense, the front panel becomes a blank canvas. Add embroidery before assembling the pillow, use fabric markers or fabric paint, piece together contrasting fabrics, sew on flat appliqué shapes, or add simple trim that will not interfere with the seam.
Buttons, beads, pom-poms, and other small decorations can become choking hazards or snag points, so they are not a good choice for pillows intended for babies or very young children. For a pillow that will actually be slept on, keep embellishments soft, secure, and comfortable against the face.
If you want another easy practice project before working on more complex sewing, the site’s beginner sewing projects also use short seams and simple construction techniques.
Why This Method Is Different From an Envelope Pillow Cover
An envelope cover uses overlapping back panels and a removable pillow insert. It is convenient when you want to wash or swap covers regularly. This tutorial instead makes the pillow itself: the stuffing goes directly inside the sewn shell and the final opening is stitched closed.
For a first sewing lesson, that direct construction has an advantage. You practice measuring, matching right sides, sewing corners, turning, stuffing, and hand finishing without adding zipper installation or overlapping back-panel calculations.
Final Thoughts
A simple throw pillow is useful precisely because the construction is uncomplicated. The important skills are not decorative: accurate cutting, an even seam allowance, clean corner turns, controlled stuffing, and a tidy final closure.
Make the first pillow in a stable cotton fabric and keep the shape simple. Once the seven-step process feels comfortable, the same foundation can lead to envelope covers, zippered cushion covers, patchwork fronts, piping, appliqué, and more detailed home-decor sewing.