

Macrame looks complicated when you see a finished wall hanging, but the craft itself starts with something much simpler: cord, a few repeatable knots, and a stable place to work. You do not need to learn a large knot library before making something useful.
I’m Lê Ruby, and this guide is designed as a practical starting point for macrame for beginners. Instead of treating macrame as a passing trend, we will focus on the choices that matter when you are new: which cord is easiest to handle, which knots are worth learning first, how much cord to cut, and which projects build confidence without becoming frustrating.
If you already know the basics and want a project to follow step by step, browse our macrame craft tutorials. This page is the foundation: learn the setup first, then move into a dedicated project.
Jump to:
What is macrame?
Macrame is a textile craft built by knotting cord rather than knitting or weaving it. The same small set of knots can be arranged into plant hangers, wall decor, keychains, coasters, jewelry, bags, and decorative pieces. That repeatable structure is one reason it is friendly to beginners: once your hands understand a knot, you can reuse it in many different patterns.
For a first session, the goal should not be to finish a large wall hanging. A better goal is to learn how the cord behaves and tie a few clean, consistent knots without constantly checking the instructions.
Getting Started With Macrame
You only need a small set of supplies to begin. Start simple so you can concentrate on knot tension instead of managing too many tools.
Basic supplies for beginners
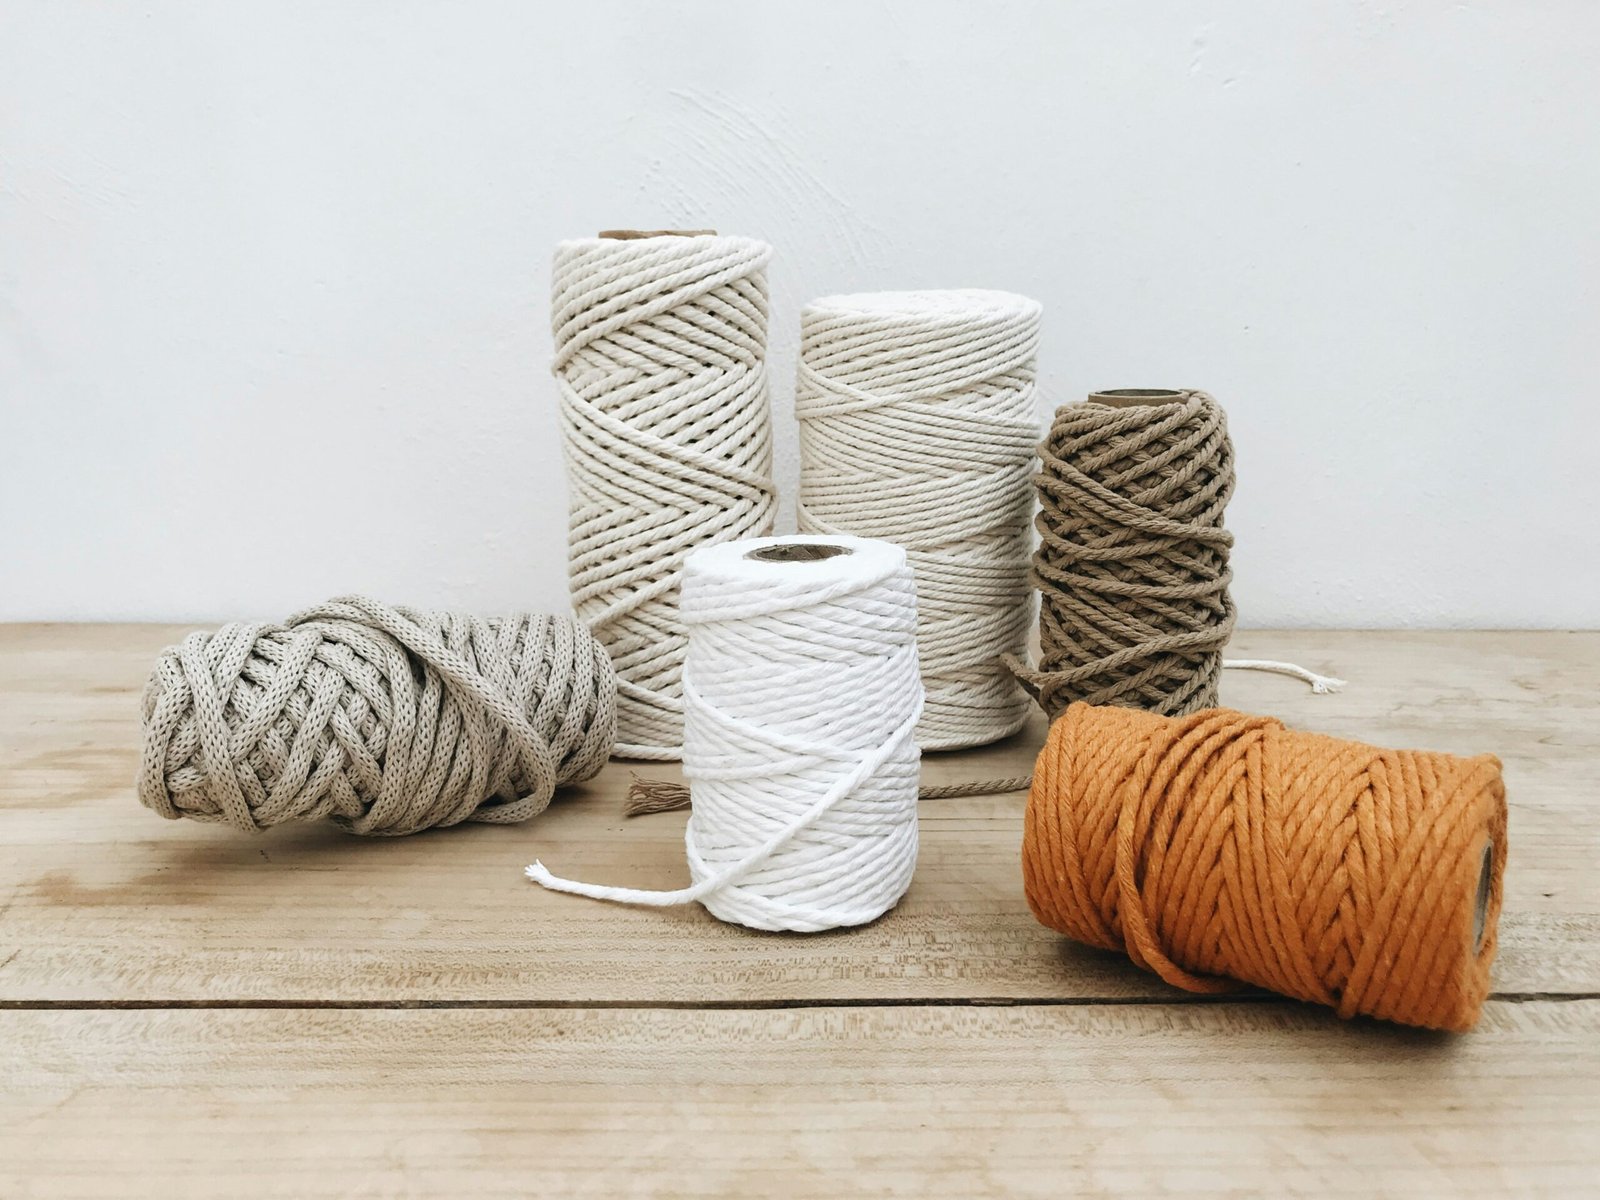
- Macrame cord: soft cotton cord is comfortable to handle and easy to undo when a knot needs correcting.
- Sharp scissors: clean cuts make measuring and finishing easier.
- Tape measure or ruler: useful for cutting strands evenly and checking spacing.
- An anchor: depending on the project, use a wooden dowel, metal or wooden ring, keychain clasp, or another stable support.
- Tape, clips, or an S-hook: keeping the work steady makes learning much less frustrating.
What size macrame cord is easiest to learn with?
For practice and medium-size decor, cord around 3 to 5 mm is easy to see and comfortable to control. Thinner 1 to 2 mm cord is useful for jewelry and small accessories, but it makes mistakes harder to spot. Very thick cord creates bold knots but can become expensive and tiring on a larger project.
If you want a ready-to-buy starting option, the jijAcraft natural macrame cord on Amazon is one of the beginner-oriented cords already covered in our macrame cord guide. Choose a diameter that matches the project you plan to make rather than assuming one size works for everything.
This post may contain affiliate links. If you buy through a qualifying Amazon link, Craft Ideas may earn a commission at no extra cost to you.
Three knots worth learning first
You can go a long way with three fundamentals:
- Lark’s head knot: commonly used to attach folded cord to a dowel, ring, or clasp.
- Square knot: a flat, balanced knot made with two working cords around two filler cords. It appears in plant hangers, wall hangings, bags, and many accessories.
- Half square knot / spiral: repeat the same half of a square knot and the work naturally twists into a spiral. This is useful for plant hanger arms and simple bracelets.
A gathering or wrapping knot is also useful once you start plant hangers, because it bundles multiple cords neatly at the top or bottom. You do not need to master every decorative knot before starting your first project.
How much cord should you cut?
Macrame uses more cord than the finished length suggests because knots consume material. A common beginner starting point is to cut each working strand several times longer than the finished section, then allow extra for folding, fringe, and dense knotting. The exact amount changes with cord thickness and pattern, so a project-specific cut list is more reliable than a universal formula.
When you are unsure, cut a little longer. Leftover cord can be reused for a macrame feather or another small practice piece; running out halfway through a pattern is much harder to fix.
Your First Larger Project: A Macrame Plant Hanger
A plant hanger is a useful beginner project because the structure is repetitive. You practice mounting, spacing, square knots or spirals, and a final gathering knot without needing dozens of techniques.
The original version of this article included a short plant-hanger walkthrough. The safest way to approach it as a beginner is to keep that same logic while using a dedicated pattern for exact measurements:
- Cut equal lengths of cord based on the finished hanger size.
- Fold and attach the cords to a ring or create a hanging loop.
- Divide the hanging cords into even groups.
- Tie the same knot pattern on each group, checking that the rows sit at matching heights.
- Reconnect neighboring groups to form the basket that supports the pot.
- Finish below the pot with a secure gathering knot and trim the fringe only after checking the fit.
For exact cut lengths, photos, knot placement, and pot sizing, use our full DIY macrame plant hanger tutorial. That page is the better target for readers specifically searching for a plant-hanger pattern, while this guide stays focused on beginner fundamentals.
A quick tension check that prevents crooked work
After every small section, let the cords hang naturally instead of judging the pattern while it is taped flat to a table. If one arm is shorter, a knot may be tighter than the others. Correcting tension early is easier than undoing a long finished section.
A Faster Practice Project: Macrame Jewelry
If a full plant hanger feels like too much for a first session, a bracelet is a better way to practice. It uses less cord, you can see your tension immediately, and finishing one small piece gives you a useful reference for your next project.
The basic sequence from the original article is still a good learning path:
- Measure cord for the wrist size and leave extra for knots and finishing.
- Secure the center or filler cords to a stable surface.
- Use the outer working cords to tie a square knot or repeat a half knot for a spiral pattern.
- Keep the filler cords straight while tightening the working cords evenly.
- Continue until the knotted section reaches the needed length.
- Finish with a secure closure that suits the pattern.
If you want exact measurements and an adjustable closure, follow our beginner-friendly macrame bracelet guide. For another small project that introduces multiple knots, the macrame keychain tutorial is a good next step.
Common Macrame Mistakes Beginners Can Avoid
Cutting every cord too short
Dense knots use cord quickly. Follow the project cut list when one is available and give yourself a margin rather than trying to minimize waste on the first attempt.
Pulling every knot as tight as possible
Macrame is not a strength test. Consistent tension matters more than maximum tension. If one knot is pulled much tighter than the next, rows drift and the finished piece can twist.
Letting filler cords cross
In a square knot, the center filler cords should remain straight while the outer working cords move around them. If the center strands switch places, the pattern becomes harder to read and the knot may not sit flat.
Starting with a project that is too large
A large wall hanging can look inspiring, but it magnifies every measuring and tension mistake. A keychain, feather, bracelet, or compact plant hanger teaches the same fundamentals with less material and less commitment.
What Should You Make First?
Choose based on the skill you want to practice rather than the most impressive finished photo:
- Macrame feather: best when you want a very small first project and leftover-cord practice.
- Bracelet: good for learning repeated knot tension and a wearable result.
- Keychain: useful for learning attachment knots plus a compact pattern.
- Plant hanger: a good first decor project once you are comfortable keeping multiple groups of cords even.
Once those feel comfortable, browse the Macrame Crafts collection for coasters, earrings, dream catchers, seasonal decor, and larger patterns.
Final Thoughts From Lê Ruby
The easiest way to learn macrame is to stop treating every knot as a separate skill. Learn how the cord feels, keep your filler strands organized, practice one or two knots until the movement becomes familiar, and choose a first project small enough that you can finish it without rushing.
A neat first bracelet or slightly uneven plant hanger is more useful than a perfect project you never start. The consistency comes with repetition.
Happy knotting,
Lê Ruby