Christmas Wax Melts
Jump to:
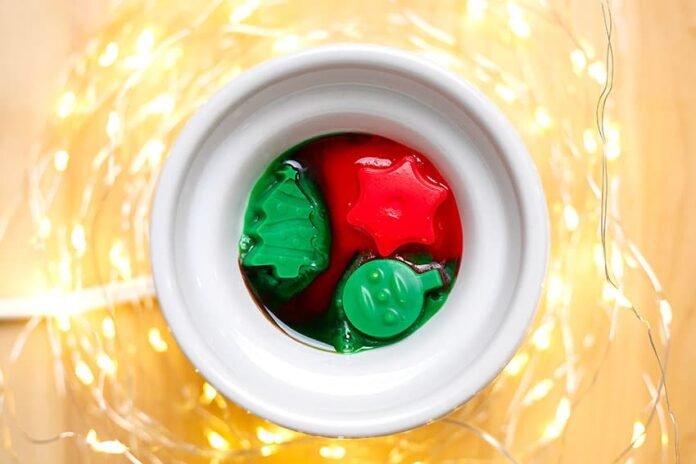
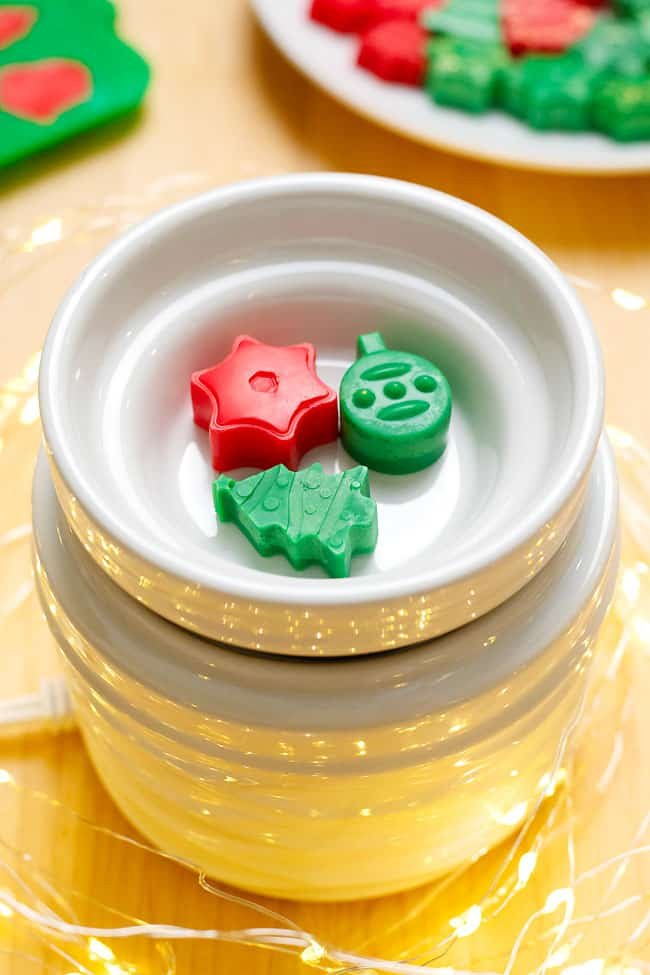
These Christmas wax melts are SO CUTE, and they smell amazing too! Learn how to make these festive wax melts, using natural soy wax and essential oils.
Wax melts are really easy to make, and you can create such cute holiday shapes using silicone molds. Add a cozy winter vibe to your home with these Christmas scented wax melts, or give them as a homemade gift!

This post contains affiliate links. If you use these links to buy something we may earn a small commission which helps us run this website.
How to Make Christmas Wax Melts
Materials:
- 2ouncesSoy wax(we used Golden Brands 444)
- 2pinchesWax dye(red or green)
- 0.12ouncesVanilla and Peppermint essential oils(or other Christmas scent)
- Chunky glitter(gold or colour of choice)
Equipment:
- Christmas silicone mold(these are the exact ones we used)
Instructions:
Step 1: Find what you need
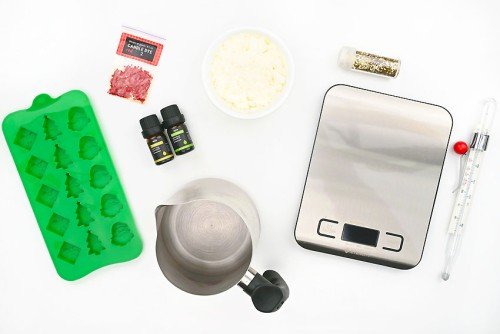
- Gather your supplies and materials.


Step 2: Melt the wax and dye
- Weigh out 2 ounces of wax into a melting pot.This amount should fill a small silicone tray. Our tray is about 4 x 8 inches and makes 15 wax melts that are roughly 1 inch in size and 3/8 inch deep. Adjust the amount of wax, as needed.


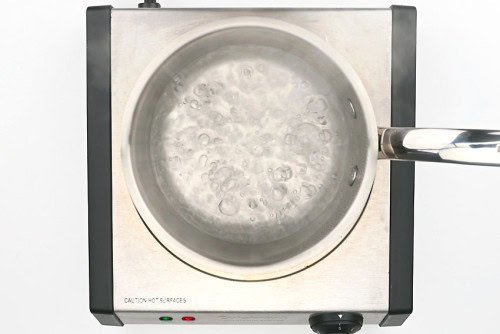
- Add about 1 inch of water to a saucepan and bring it to a boil over high heat.Once the water boils, reduce the temperature to low.


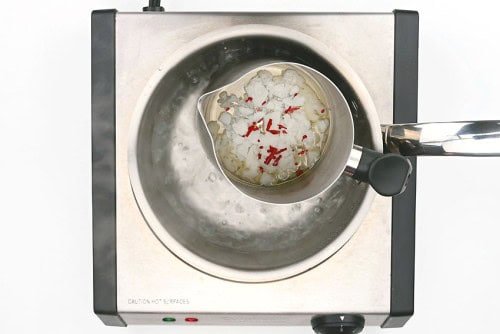
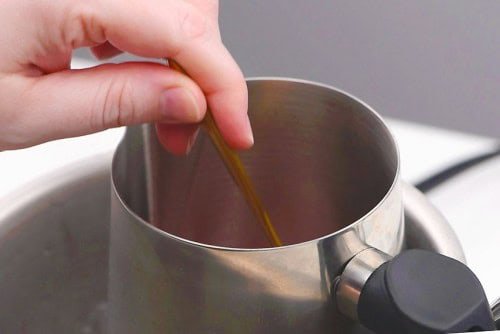
- Insert the melting pot into the simmering water and add a couple pinches of wax dye.The exact amount of colour needed will depend on how light or dark you’d like your wax melts to be. Read more tips below the tutorial for adding colour to wax.


- Stir gently to combine the melting wax and the wax dye.


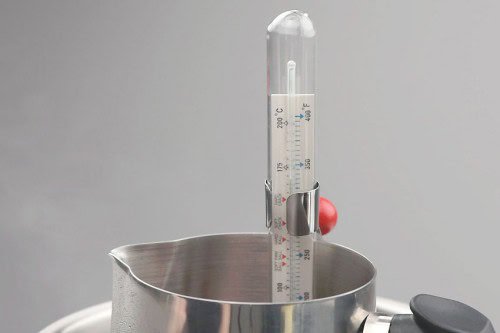
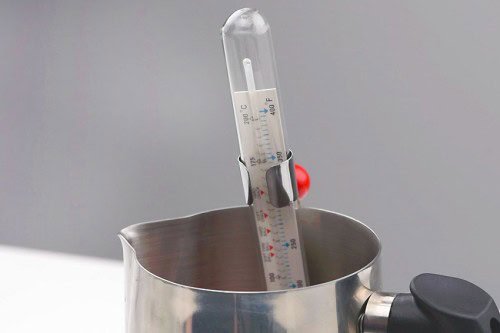
- Once the wax is liquid, add the thermometer into the melting pot.Heat the wax to 175F.


Step 3: Add the essential oils
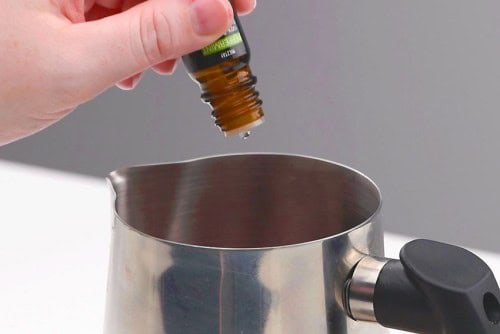
- Remove the melting pot from the water and place the pot on the scale. Tare the scale to zero and weigh in the essential oils (0.12 ounces).We used a combination of peppermint and vanilla oils, but you can use whatever scent you’d like (read below for some suggestions!).


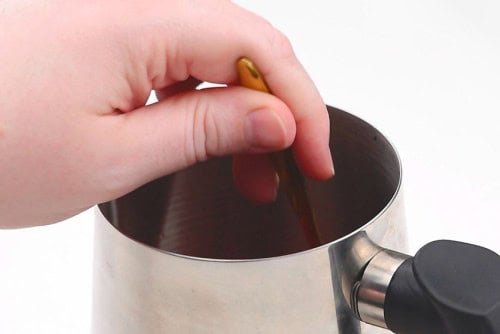
- Stir the wax gently and slowly for about 2 minutes to combine the ingredients.


- Cool the wax until it’s between 110F to 120F.


Step 4: Pour the wax into the mold
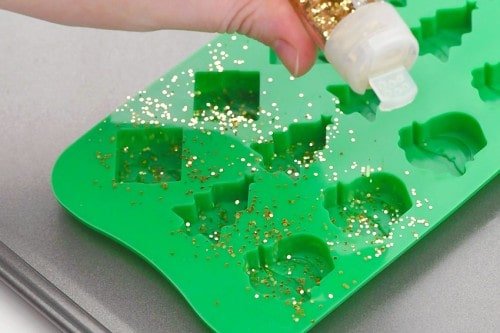
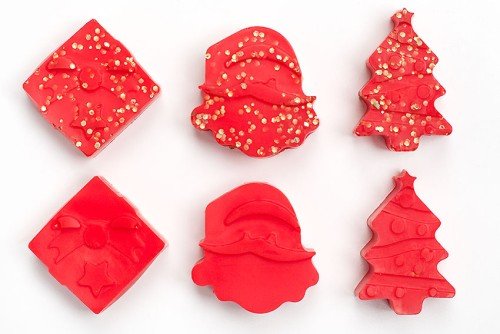
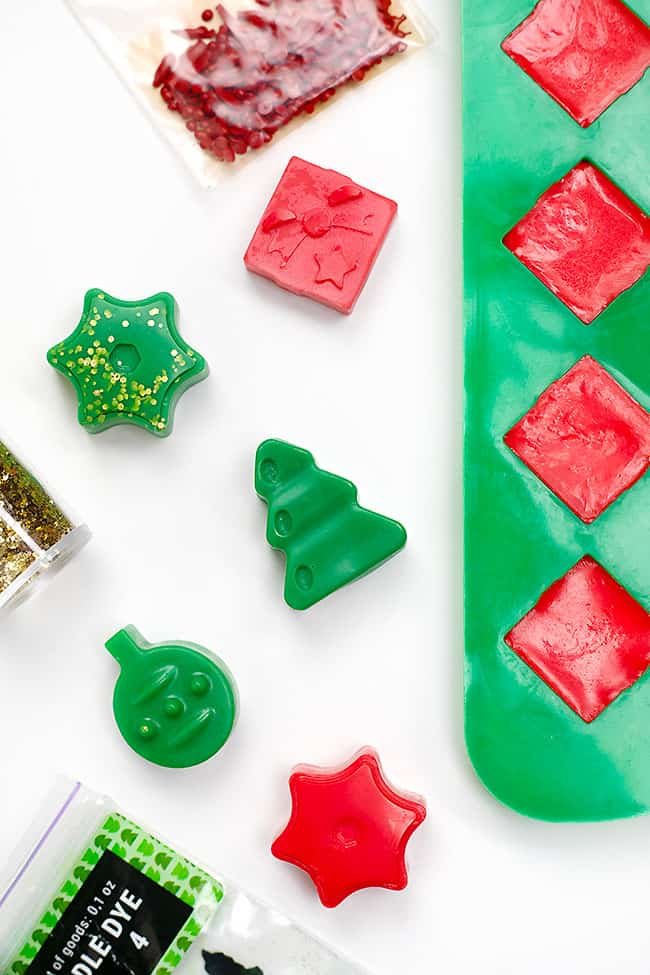
- While the wax is cooling you can set up your tray. Set the silicone mold on a baking sheet to support it, and then add a sprinkling of glitter to some (or all) sections of the mold.We used a chunky gold glitter on some of our melts, but you can also use a fine glitter in a complimentary colour. The smaller glitter adds a more subtle shimmer.


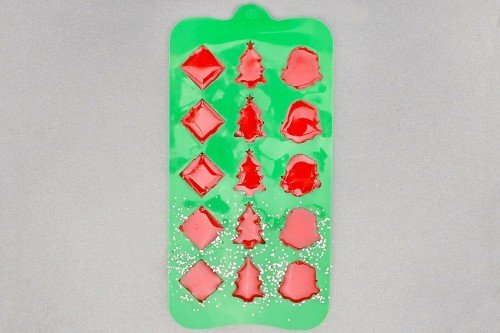
- Once the wax is at pouring temperature, pour it into the mold slowly but steadily.


- Allow the wax to harden.Don’t move or disturb the wax as it sets. The melts should be hard within 3 – 4 hours.


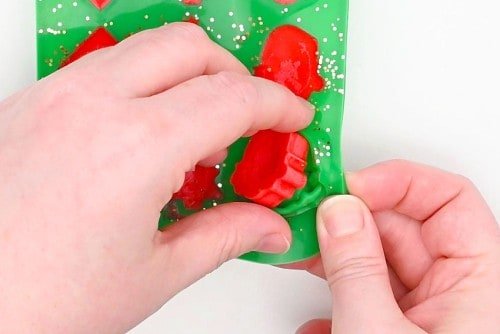
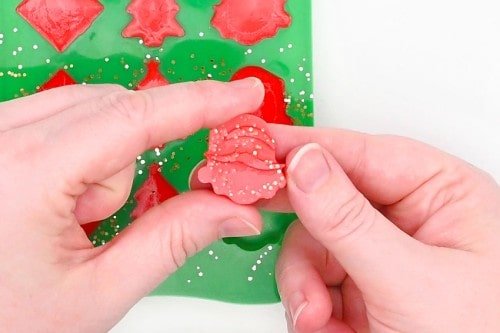
- Ideally you should let the wax “cure” for a few days before using the wax melts. This helps the wax and oil to fully combine, and allows the wax to harden.Remove the shaped wax cubes by pressing on the bottom of the silicone mold.


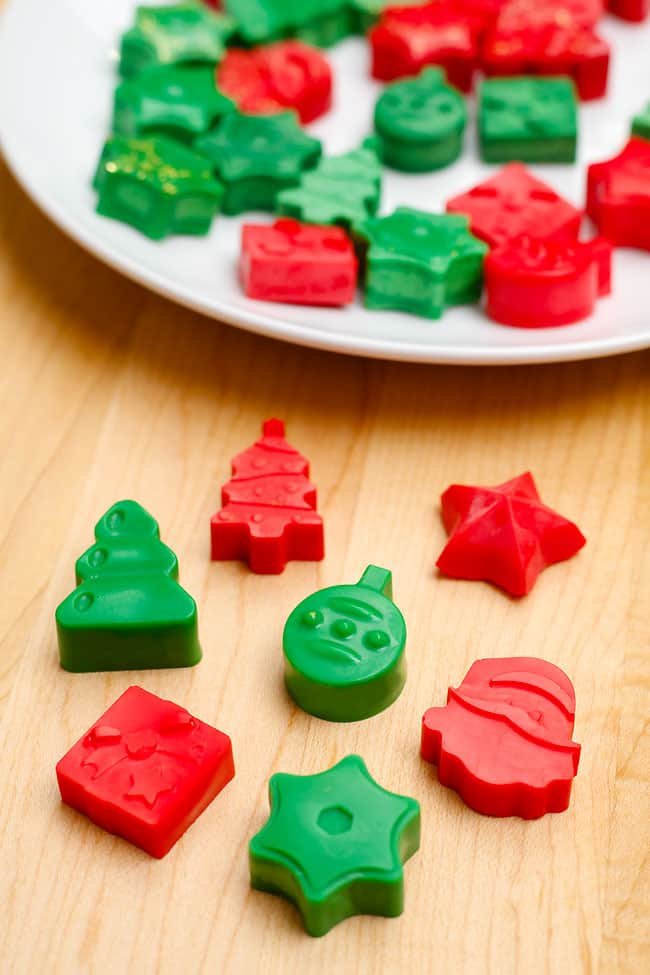
- The silicone molds give you a really detailed Christmas wax melt, and the glitter adds a fun holiday element.


- Your Christmas wax melts are complete!


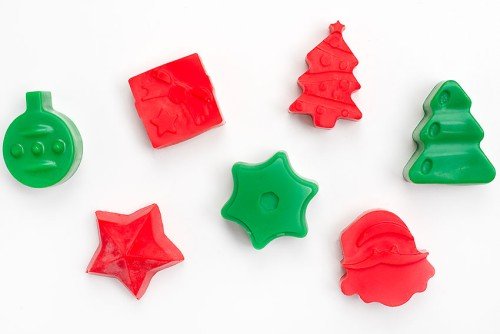
- Now enjoy making more wax melts in fun Christmas shapes and colours.


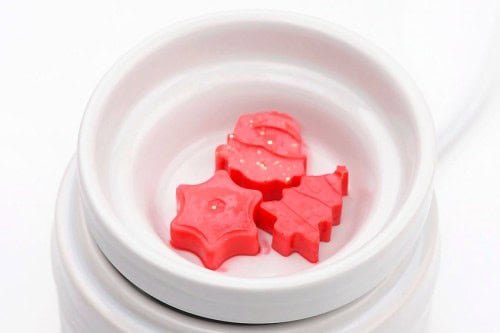
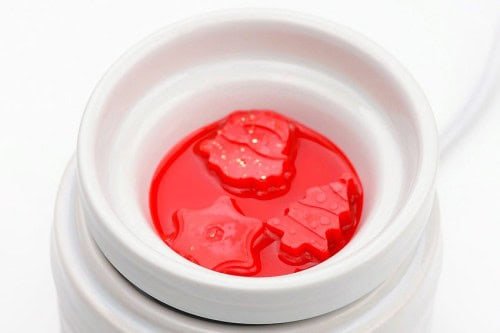
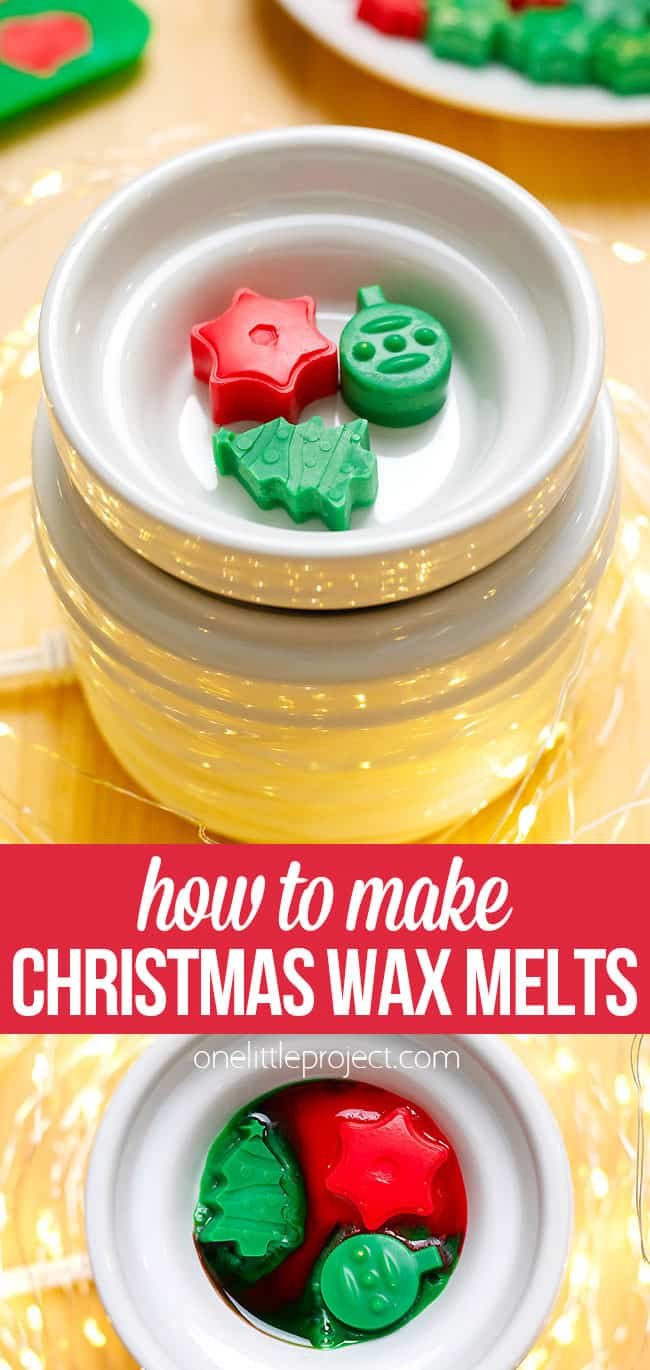
- Add 1 – 3 wax melts into your wax warmer. More wax melts equals more scent.


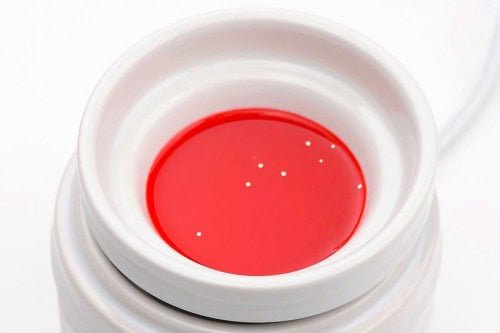
- The shapes will slowly melt down into a pool of liquid wax.


- Enjoy as the holiday scent fills your home!


Helpful Tips:
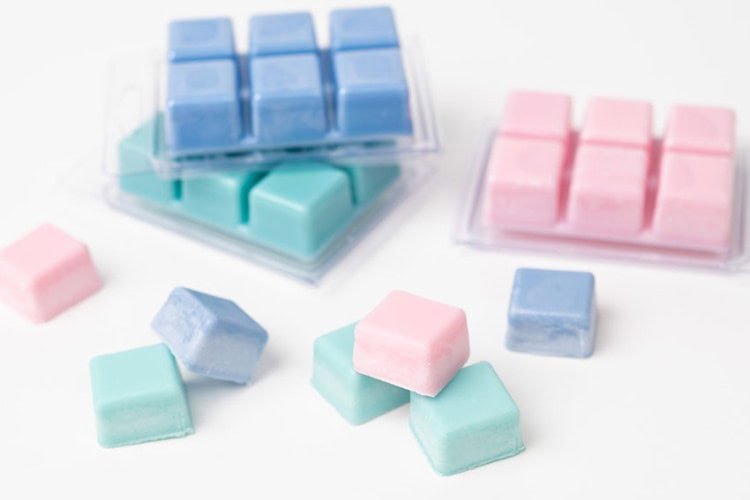
- If you don’t want to make Christmas specifics shapes, you can also make wax melts in a clamshell mold.
- Make sure you test the colour of your wax melts, since the liquid wax colour and completed melt colour are very different. Scroll down to learn how to test the colour below.
- Wax melts are a safer alternative to candles, especially for children and pets, because there’s no open flame and they melt slowly using a low temperature heat source.

What colour can you add into these Christmas wax melts?
We used wax dye flakes to add colour to our Christmas wax melts, which you add as the wax is melting. You can also use a liquid dye, after you’ve taken the melted wax off the burner.
We also added glitter to some of our wax melts, which you normally can’t do with a candle. Since you don’t have to worry about a candle wick, you can also add mica powder for colour, or even herbs and spices.
How do I know how much colour to add to my Christmas wax melts?
The melted wax is a lot darker than the melts will be after they harden so it’s best to add a small amount of dye to start with.
After the wax dye is mixed in, put a drop of the wax onto parchment paper. Within a few minutes the wax will harden, and you’ll be able to see the true colour of the wax.
Then you can add more colour, if needed. The small amount of wax dye needed is too light to register on a scale, so it’s hard to give the exact amount of colour we used, but it was definitely less than 1/4 teaspoon per batch.


What scents are best for Christmas wax melts?
We used a mix of peppermint and vanilla essential oils (mixed together in a 1:1 ratio) in our Christmas scented wax melts. And they smelled so good! It’s such a warm and cozy scent for winter!
Christmas is a great time to make an essential oils blend, using a combination of your favourite scents. Here are some examples of essential oils that would smell great for the holiday season, either on their own or together with one or two others:
- peppermint
- vanilla
- cinnamon
- cloves
- ginger
- nutmeg
- cardamom
- frankincense
- myrrh
- cedarwood
- spearmint
- juniper berry
- eucalyptus

My Christmas wax melts have frosting on them. How can I stop this?
Frosting is the white crystal-like coating that sometimes appears on soy candles or wax melts giving them a cloudy looking finish. It’s a purely cosmetic issue, and it doesn’t affect how the wax burns or melts.
We see frosting as an inevitable part of using a 100% natural soy wax. It happens as the wax hardens, because of the crystalline structure of vegetable wax.
Too much dye, or certain types of dye can change how much frosting appears on the wax melts. We had more issues with frosting on our green wax melts, compared to the red, even though we added the same amount of colour to each.
To combat frosting, make your wax melts in an area without a lot of air flow or temperature changes. And try to pour the wax at a lower temperature. We found that changing our pouring temperature to between 110F and 120F gave us the best results.
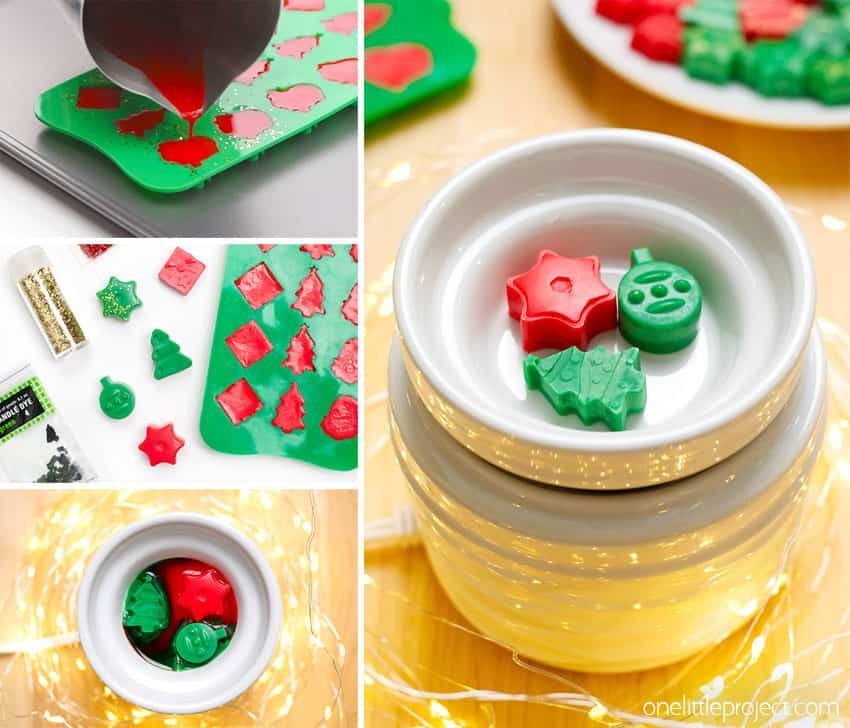

These Christmas wax melts are so much fun to make and unmold! It’s so cool how many small details the wax can pick up from the silicone molds, and the Christmassy smell they give off is amazing!

Here’s even more candle craft ideas:
How to Make Citronella Candles
Our book Low-Mess Crafts for Kids is loaded with 72 fun and simple craft ideas for kids! The projects are fun, easy and most importantly low-mess, so the clean up is simple!
Where to buy:
You can purchase Low-Mess Crafts for Kids from Amazon, or wherever books are sold:
Amazon | Barnes and Noble | Books-A-Million | Indiebound | Amazon Canada


