How to Make a Macrame Owl
Jump to:
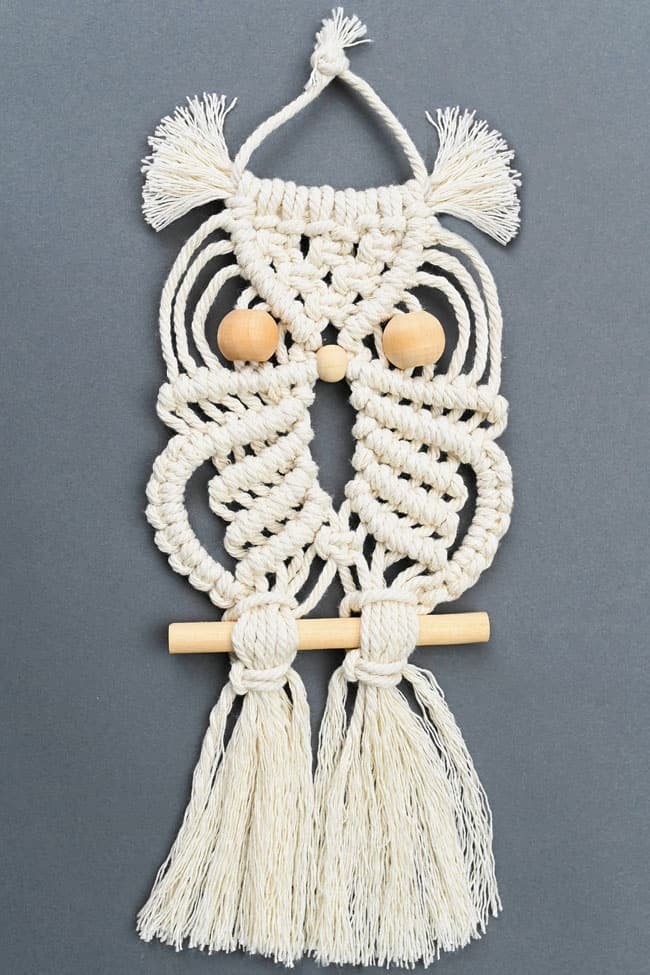
Add a touch of bohemian charm to your home with this DIY macrame owl! Follow our simple step by step photo and video tutorials and use a few simple knots (we’ll show you them below!) to make this super cute wall hanging.
This fun macrame project is a great way for beginners to practice their knots and you only need a few simple supplies to make it! Create these minimalist macrame owls for yourself or give one as a thoughtful homemade gift.
This post contains affiliate links. If you use these links to buy something we may earn a small commission which helps us run this website.
How to Make a Macrame Owl
Materials:
- 3mm Macrame cord
- 3Wooden bead(s)(1 x 3/8 inch, 2 x 3/4 inch)
- 1/2inchDowel rod(5 – 6 inches long)
Equipment:
- Fine tooth comb(or wire pet brush)
Instructions:
Step 1: Find what you need
- Gather your supplies and materials.


Step 2: Attach cords to make the top of the owl
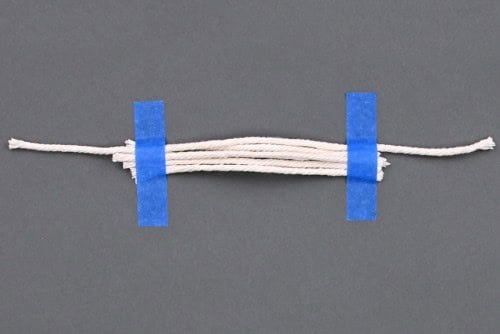
- Cut 5 pieces of macrame cord to each be 5 inches long. Cut another piece 10 inches long.


- Arrange the cords together on your work surface in a horizontal pile. Tape the edges of the 5 inch cords down with painter’s tape.Leave a little bit of wiggle room in the center of the cords — enough to get your finger underneath them.


- Cut 8 pieces of 7 foot long macrame cord.


- Fold one of the 7 foot pieces in half and attach it to the taped cords with a lark’s head knot.To do this, place the loop on top of the cords and then bring it behind and under them. Put the cord ends through the loop and then pull to tighten the knot.


- Attach the rest of the 7 foot cords using lark’s head knots. Arrange them so that they’re in the center of the cords.


Step 3: Make square knots
- Set the 2 leftmost cords (cords 1 and 2) to the side. Then make a square knot using cords 3, 4, 5, and 6.Begin by bringing cord 3 over 4 and 5, and under cord 6.Then bring cord 6 to the left under cords 4 and 5, and up through the loop created by cord 3.Pull the outer cords to tighten the knot. This is the first half of the square knot.


- To complete the square knot do the same half knot starting on the right side this time.Bring the right cord (the new 6) over cords 4 and 5 and under cord 3. Then bring cord 3 under the center cords and up through the loop.Adjust the cord as needed and pull to tighten.


- Use the next 4 cords (cords 7, 8, 9, 10) to make another square knot. Then create a third square knot with cords 11 to 14.The first and last two cords should be the only ones without a square knot.


- Now make an alternating square knot. You’ll use the right 2 cords from the first square knot and the left 2 cords from the second. (Cords 5, 6, 7, 8.)


- Make another alternating square knot using the next four cords (cords 9, 10, 11, 12).


- Finally, make one last alternating square knot in the middle (cords 7, 8, 9, 10).


Step 4: Tie double half hitch knots
- Now you’ll be making double half hitch knots starting on the outside going down to the center on an angle.All knots on the left will be tied around cord 2.


- To begin the double half hitch knot bring the left cord (cord 1) over the right (cord 2).Bring the left cord up through the loop and pull to tighten. Repeat the same knot to complete the double half hitch.


- Continue tying double half hitches using each cord as you work in towards the center. Maintain the angle of the cords as you do so.


- Repeat, making double half hitches on the right side.All knots will be tied around the second last cord (cord 15) this time.Tie these knots by bringing the right cord over the left and down through the loop.


Step 5: Connect the two sides and add the beads
- Tie 2 more half hitch knots with the center cords.With cords 7 and 8 place the right over the left to tie the knot. With cords 9 and 10 place the left over the right.Only make half hitches for these knots — 1 knot only, instead of the double half hitches you’ve been doing so far.


- Attach the owl’s beak (the 3/8 inch wooden bead) to cord 9, the one just right of center. You can tape the end of the cord to make the bead easier to string, if necessary.Arrange the cord so that it’s coming out the left of the bead. Then push cord 8 in through the bottom of the bead (going out to the right).Pull the cords to adjust the bead snug against the last knots, so that the holes are at the sides.


- Attach the 3/4 inch beads to make the owl’s eyes. Place one bead onto cords 4 and 5, and connect the other one onto cords 12 and 13.For now just push them up near the nose bead. They’ll get secured in the next step.


Step 6: Knot rows of double half hitches
- Now tie more double half hitches. Start in the center and work down and outwards to the left.The knots will be tied around cord 8 (the one just left of center).


- Hold cord 8 over the other cords, and bring the next cord up and over through the loop.Remember to tie each cord twice to complete the double half hitch and maintain the downward angle towards the outside.


- Repeat these steps on the right side, tying double half hitch knots around cord 9.Again, start in the center and work your way out. These knots will be made by bringing the right cord up and over, pulling through the loop.


- Make a second row of double half hitches on the left, tying them on an angle that goes gradually down as you go towards the outside.The leftmost knot should be about 1/2 inch below the last row.


- When you get to the last cord only make a half hitch knot. Then reserve the 2 leftmost cords off to the side.


- Do 3 more lines of double half hitch knots on the left, again angling them down towards the outside.These lines should have smaller gaps of about 1/4 inch.


- Repeat the 4 double half hitch rows on the right side.


Step 7: Make vertical lark’s head knots
- Use cords 1 and 2 to make vertical lark’s head knots on the left side.To make the first half of the knot, bring cord 1 over cord 2 and up through the loop. Pull the knot tight.


- Now bring cord 1 under cord 2, and over through the loop. Pull the knot.This completes the vertical lark’s head knot, which is also called a continuous lark’s head knot.


- Make 7 more vertical lark’s head knots on the left side.


- Repeat on the right side, making 8 vertical lark’s head knots.On this side, bring the right cord over and under to make the knots.


Step 8: Add the owl’s wooden perch
- Make a square knot in the center to connect the 2 sides (using cords 7, 8, 9, and 10).


- Divide the cords in half, placing cords 1 to 8 on the left and 9 to 16 on the right.Use the left and right cords of each section to make a half square knot around that section. A half square knot is simply the first part/knot of the square knot.


- Place the dowel rod below the half square knots with the outer cords behind the dowel and the inner cords of each section at the front.


- Make square knots on each side below the dowel to connect it in place.


Step 9: Add the finishing touches to your macrame owl
- Cut the cords around 3 to 4 inches below the last knots.


- Comb or brush out the cords, creating a fringe, and then trim the cord ends so that they’re even.


- Remove the tape from the top cords and tie the 2 longest ends into a knot at the top.


- Brush out the rest of the cords at the top to make the owl’s ears. Then trim them so they’re about 1 inch long.


- Your macrame owl is complete!


Helpful Tip:
- If you don’t have a dowel you can also use a small piece of driftwood or gather a thin branch/stick from outside.


How much cord do you need for a macrame owl?
You need approximately 59 feet of macrame cord to make this owl wall hanging.
What type of cord is used to make a macrame owl?
We used 3mm cotton macrame cord in natural white. You can also choose another colour of cord, or if you want to make a more rustic looking owl you can use jute twine.


Which side of the macrame owl should I display?
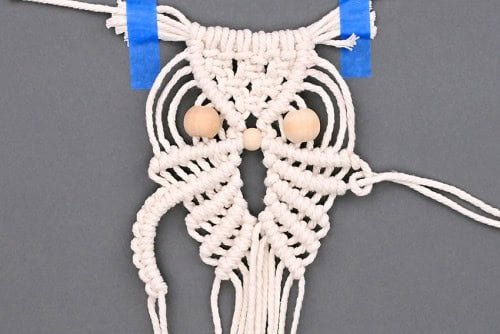
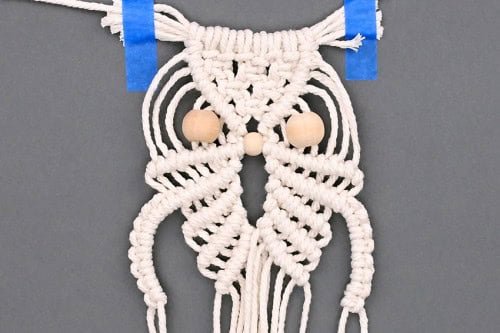
You can choose for yourself which side of the owl looks better! See the picture above to view the back of the macrame owl.
The knots and the way it’s holding onto the “branch” look a little different, but we still think it looks great from the back. This means you can hang your owl in a window or any other place where you can see it from both sides.
What size macrame owl does this make?
This macrame owl is about 9 inches tall and 4-1/2 inches wide (not including the dowel rod). If you want to make a smaller owl wall hanging use thinner cord. Or use thicker cord for a larger owl.


Do I have to add a dowel to my macrame owl?
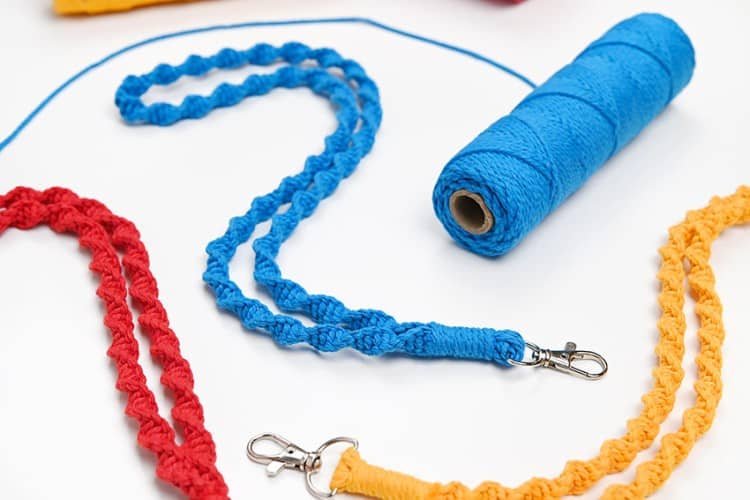
No, if you don’t want to include the dowel for the owl to “perch” on you can also connect the two sides at the bottom with a wrapping knot (also known as a gathering knot). See our macrame lanyard post for an example of this knot.


Have fun making this boho chic macrame owl! It’s such a fun and easy craft for owl lovers and it’s a great macrame pattern for all skill levels.


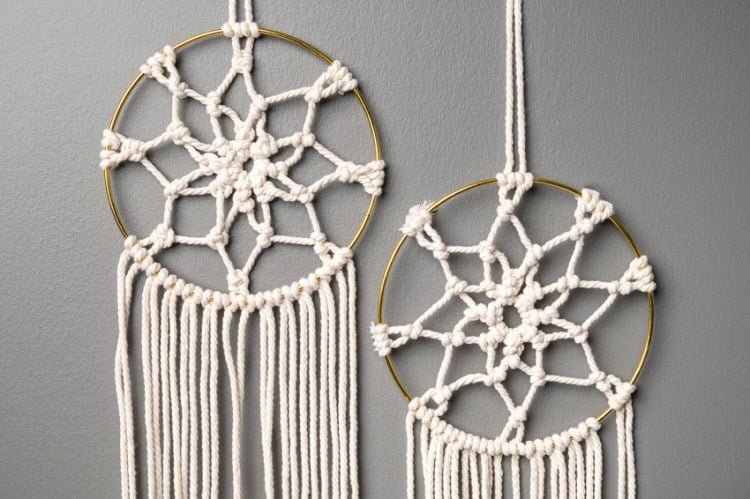
Here’s even more macrame craft ideas:
Our book Low-Mess Crafts for Kids is loaded with 72 fun and simple craft ideas for kids! The projects are fun, easy and most importantly low-mess, so the clean up is simple!


