Pom Pom Ice Cream Cones
Jump to:
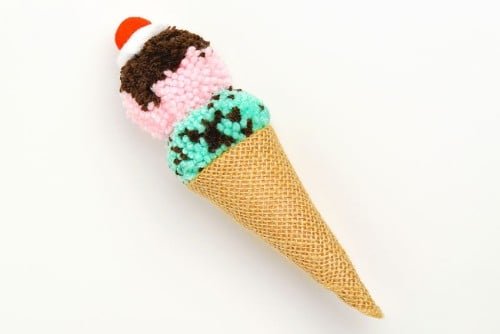
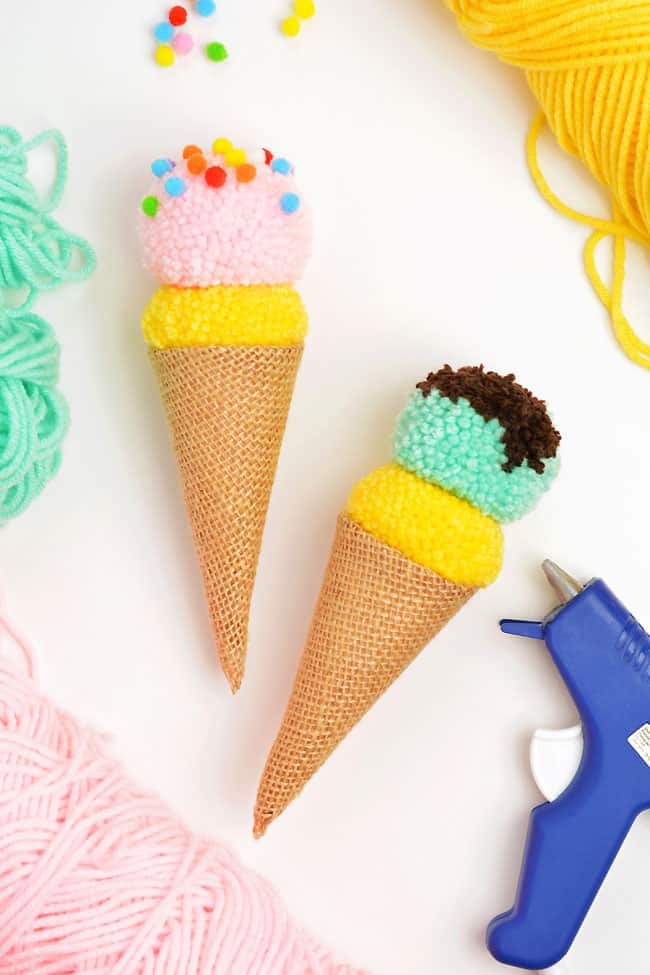
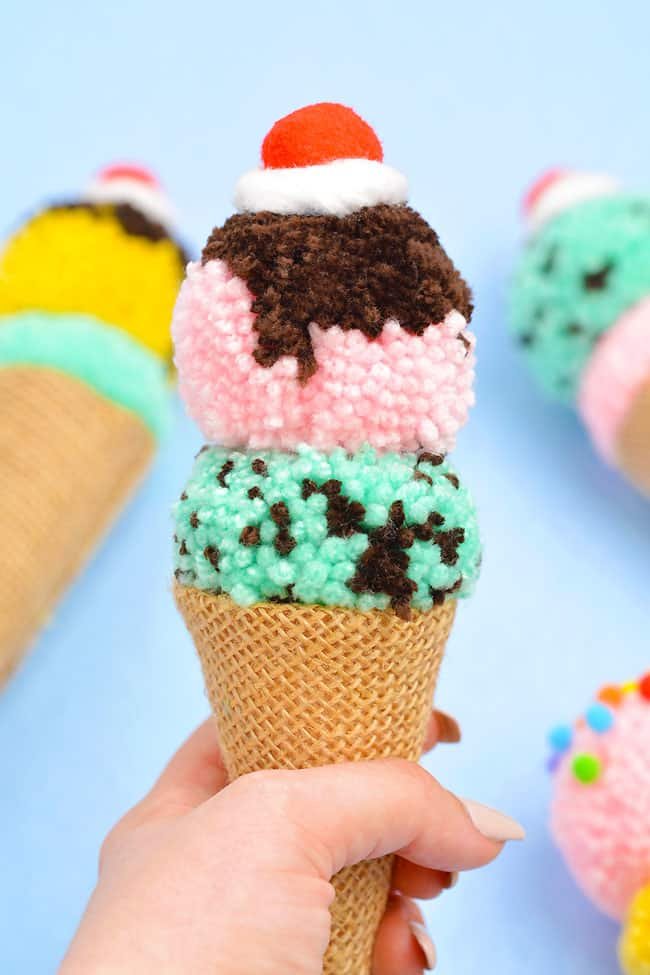
These pom pom ice cream cones are SO CUTE! Make ice cream cones from construction paper and burlap. Then use your hand to make adorable ice cream scoop pom poms – no special tools required.
This sweet treat won’t melt in the summer heat, and it’s such a fun project for both kids and adults. Celebrate National Ice Cream Day (the 3rd Sunday in July!), summer, or even a birthday by making this fun and easy ice cream craft!

This post contains affiliate links. If you use these links to buy something we may earn a small commission which helps us run this website.
How to Make a Pom Pom Ice Cream Cone
Materials:
Instructions:
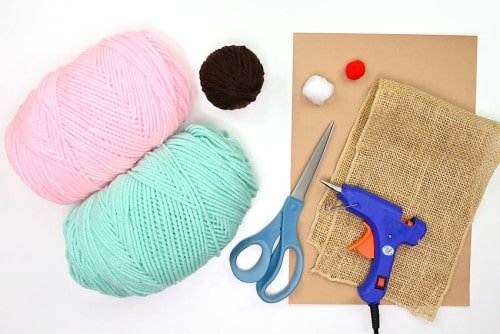
Step 1: Find what you need
- Gather your supplies and materials.


Step 2: Make the ice cream cone
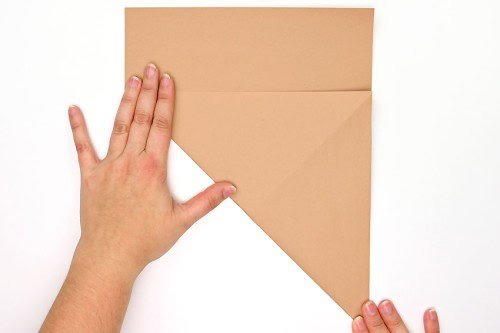
- Fold the bottom right corner of the construction paper up and left so that the bottom edge lines up with the left edge.Unfold and bring the bottom right corner up and right so that the bottom edge lines up with the right edge.


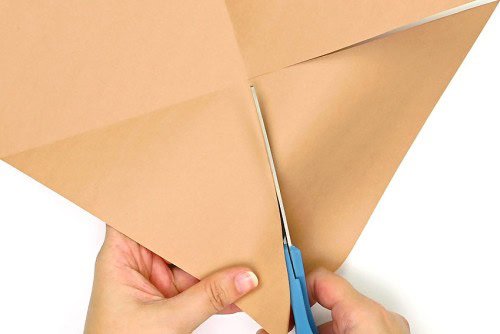
- Unfold again and cut out the bottom triangle made from the fold lines.


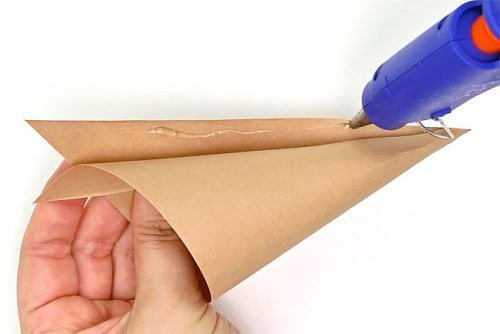
- Roll the triangle shape to make a cone (make sure there’s no gaps at the point) and hot glue it together.


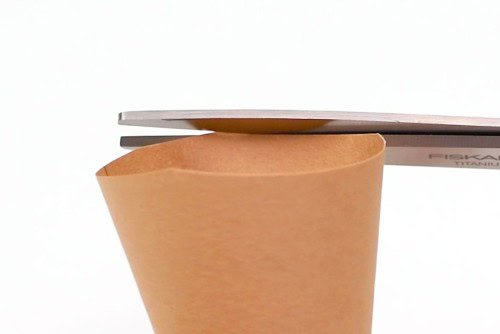
- Cut off the extra paper at the top of the cone, making it straight and even.


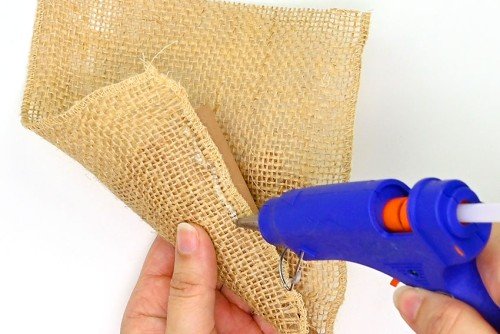
- Cut a piece of burlap that’s slightly larger than the cone and hot glue it around the paper cone.


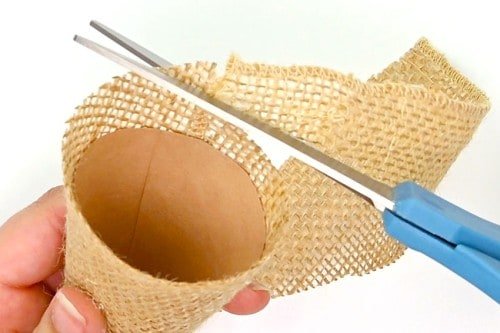
- Cut off the extra burlap so it’s about 1/2 inch taller than the cone.


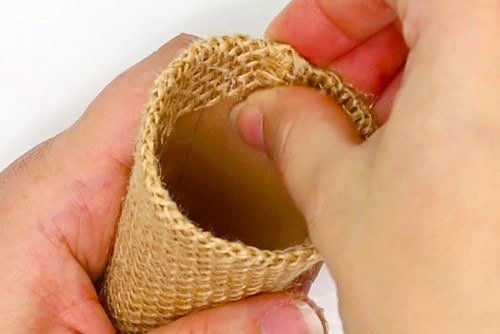
- Add hot glue inside the paper cone and carefully press the burlap down.


Step 3: Make the mint chip ice cream scoop
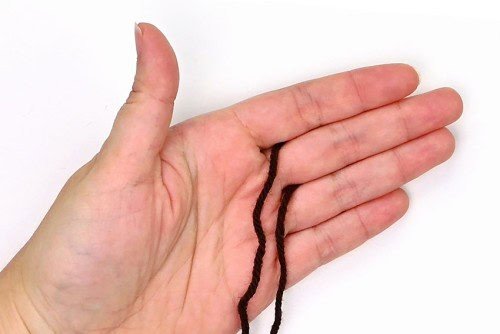
- Cut a piece of dark brown yarn about 12 inches long and slide it between your middle and index finger.


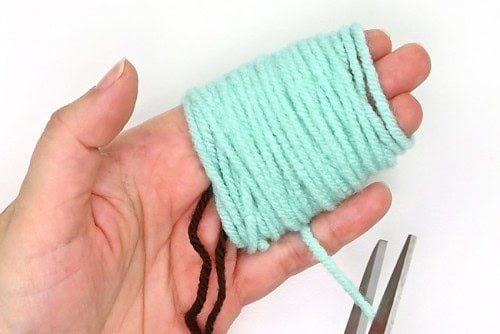
- Wrap mint green yarn around three of your fingers 40 times. Then cut the yarn off from the ball.(Children may need to wrap the yarn around 4 of their fingers to make the same size pom pom).


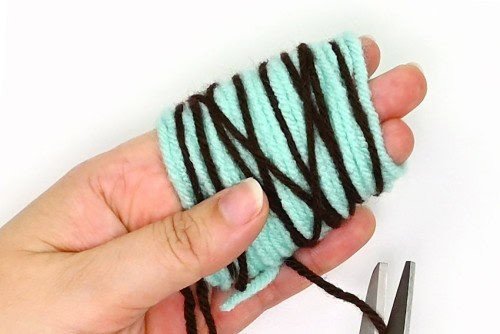
- Wrap the brown yarn around your fingers 10 times, spreading it randomly over top of the green yarn.


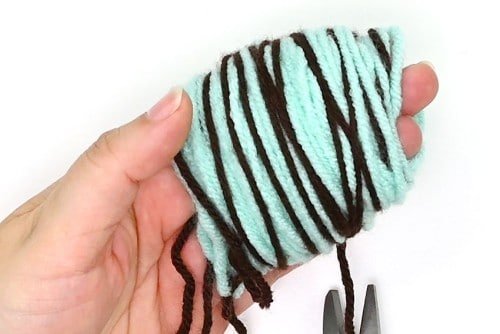
- Wrap the green yarn 40 more times and cut it. Then wrap the brown yarn 10 times, again spreading it randomly. Cut it off from the ball.Repeat again, adding more green yarn (40 more times) and brown yarn (10 more times). You should have about 150 wraps of yarn on your fingers total.


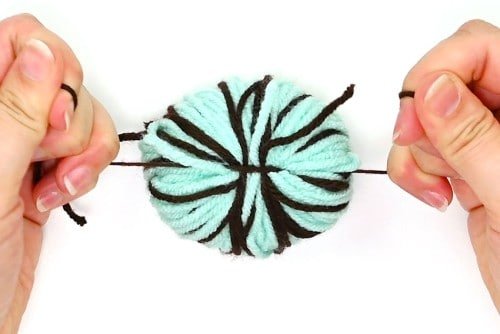
- Tie the loose 12 inch piece of yarn around the wrapped yarn and then carefully slide the yarn bundle off your hand.Pull the yarn tight and tie it in a double knot around the center of the bundle.


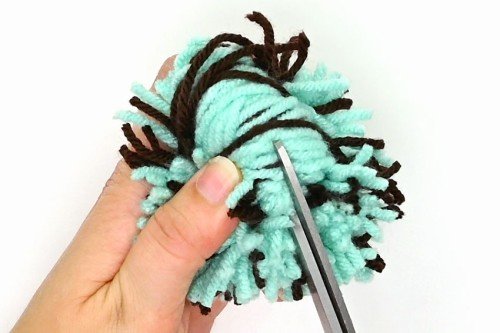
- Use sharp scissors (or fabric scissors) to cut through the loops of yarn to create a rough pom pom shape.


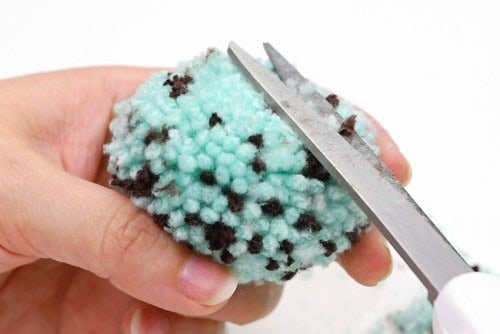
- Give the pom pom a “haircut”, trimming and shaping it into a ball.


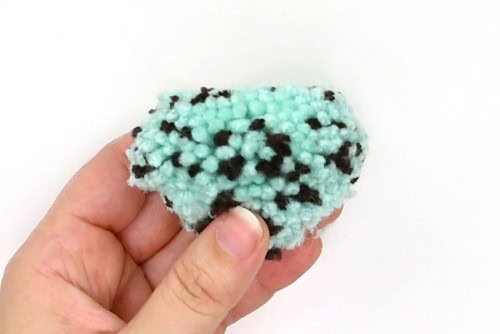
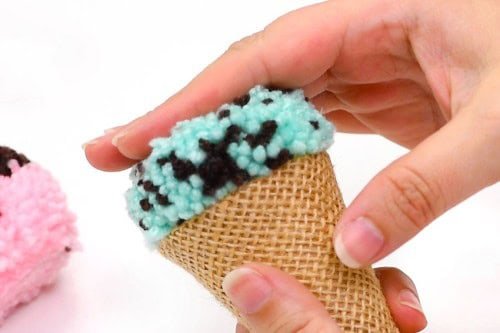
- Continue to cut the pom pom so that it’s shaped like a diamond.The bottom should come to a point, which will make it fit easily in the cone, and the top should be flat, so that the second scoop of ice cream can sit nicely on top.


Step 3: Make the chocolate covered scoop of ice cream
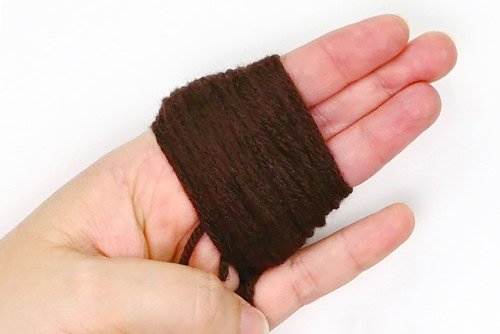
- Cut a piece of dark brown yarn about 12 inches long and slide it between your middle and index finger.Wrap the brown yarn around 3 of your fingers 60 times and cut it off from the ball.


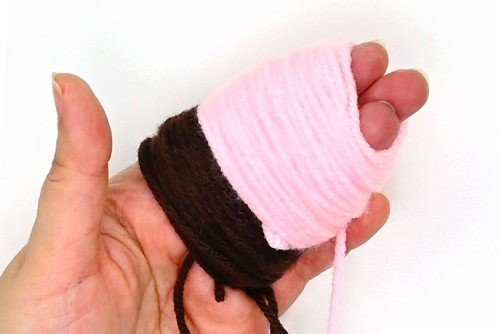
- Wrap the pink yarn (or whatever ice cream colour you’d like) around your 3 fingers. Start by overlapping it slightly with the brown yarn and continue towards the tips of your fingers, wrapping it 90 times before cutting it off.Again, you’ll want to wrap it about 150 times total between the two colours.


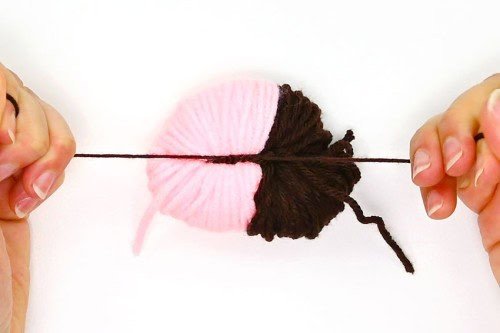
- Tie the loose 12 inch piece of yarn around the yarn and then carefully slide the bundle off your hand.Pull the yarn tight and tie it in a double knot around the center of the bundle.


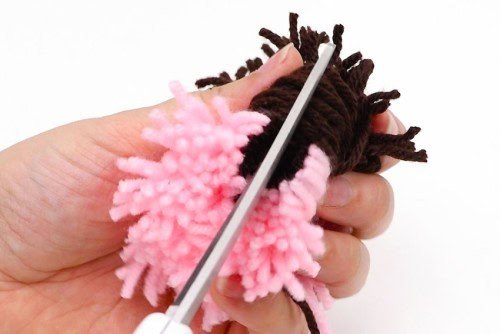
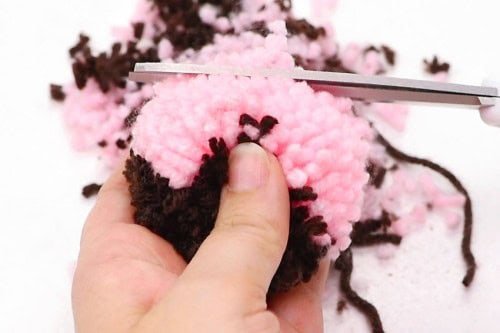
- Cut through the loops of yarn to create a rough pom pom shape.


- Trim the ends of the pom pom, shaping it to look like a round ice cream scoop.


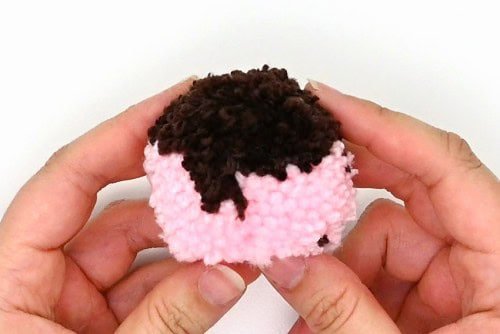
- Continue to shape the second scoop so that the pink (bottom) side is flat and the chocolate top is nicely rounded.The flat part will allow the pom pom to sit on the bottom scoop with the chocolate part on top.


Step 4: Add the ice cream and toppings to the cone
- Add hot glue inside the cone and attach the bottom pom pom scoop.


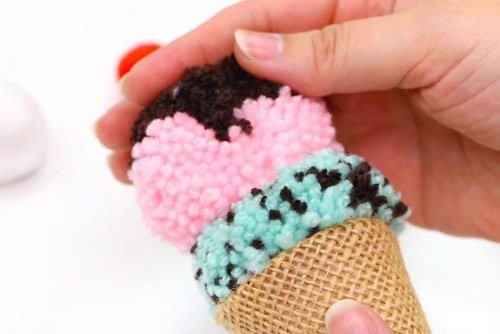
- Add hot glue on the top center of the bottom scoop and press the second scoop on top, holding it in place until it sticks.


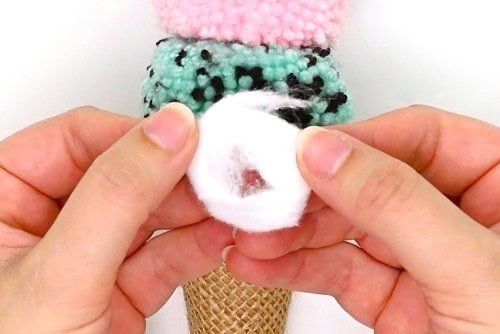
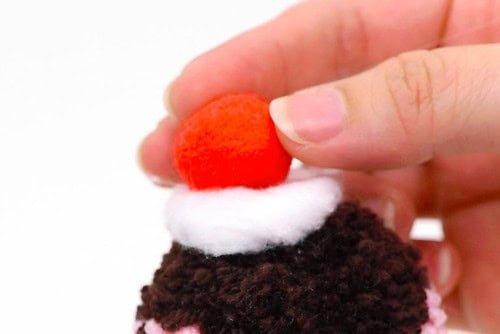
- Rip off part of a cottonball. Stretch and form it into a swirl of whipped cream with a hole in the center.


- Glue the “whipped cream” onto the center of the top scoop and then attach a red pom pom in the center as the cherry on top.


- Your pom pom ice cream cone is complete!


Helpful Tip:
- To make a solid colour ice cream pom pom, follow the instructions above, except wrap one colour of yarn around three of your fingers 150 times.

Do pom poms stick with glue?
We used hot glue to connect our pom poms to each other, and to the ice cream cone, and it worked really well! You could also use white school glue or tacky glue, but you’ll need a way to hold everything together and keep it stable until the glue dries.

What yarn is best for making a pom pom ice cream cone?
We used a medium weight acrylic yarn (Craft Smart yarn from Michaels) and it worked really well! Acrylic yarn is nice for making pom poms because it doesn’t split at the end like cotton yarn does.
Chunky yarn is also a great option for making pom poms, because you only have to wrap the yarn around your fingers half as many times!
What size are these pom pom ice cream cones?
Our pom pom ice cream cones are about 8 inches tall and the widest part has a 2-1/2 inch diameter.

How else can I decorate my ice cream pom pom?
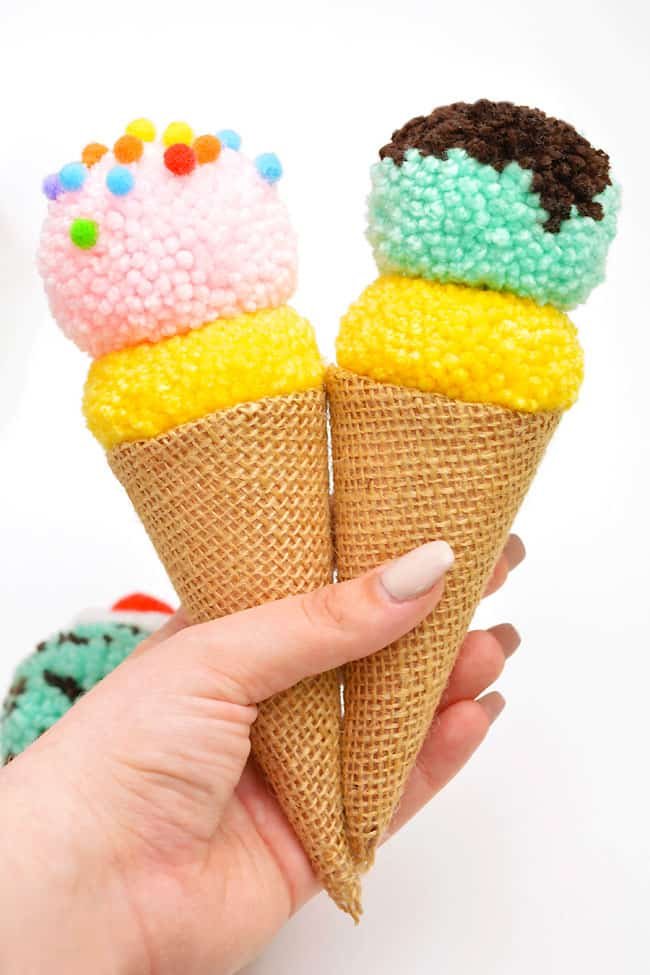
Add sprinkles to your ice cream scoop pom pom by adding mini pom poms, sequins, rhinestones, or even foam balls (the kind used in slime)!
What can I do with this ice cream craft?
Use the ice cream cone pom poms for storytime or pretend play, or turn them into decorations for an ice cream social or ice cream themed party. You can even attach them to a garland. So cute!
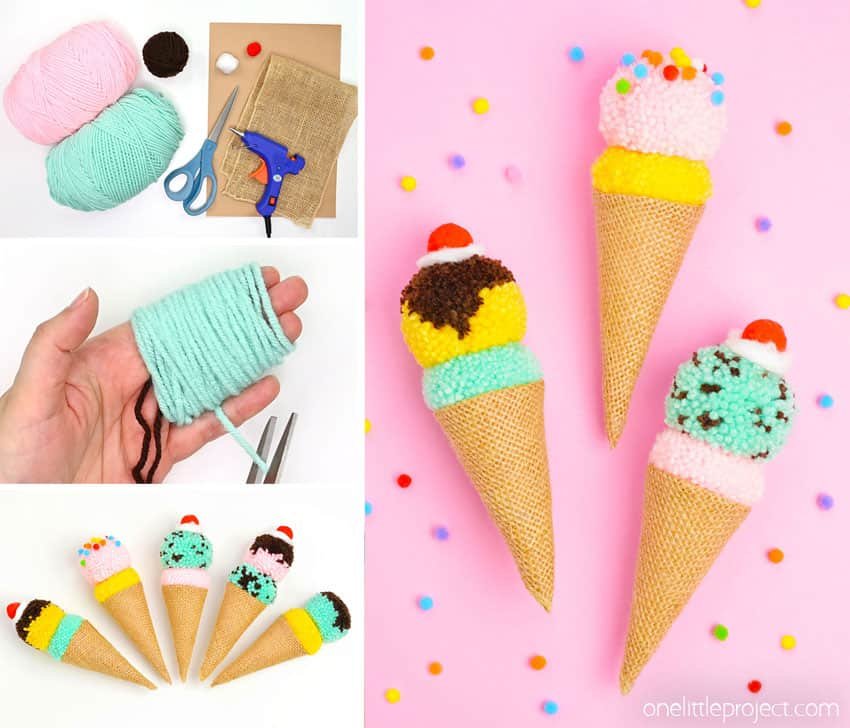

Anytime is a good time for ice cream, but this is an especially fun summer craft. Keep the kids busy over summer break and let them create their favourite flavours of ice cream out of yarn!
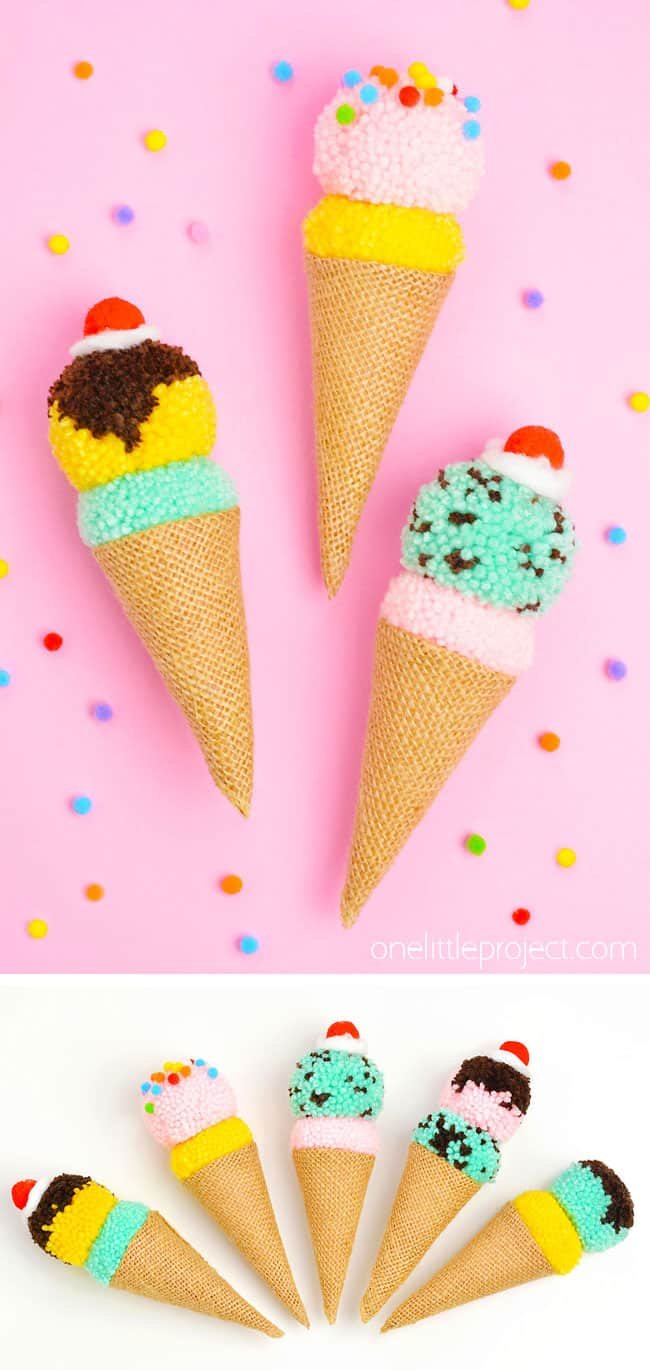

Here’s even more pom pom craft ideas:
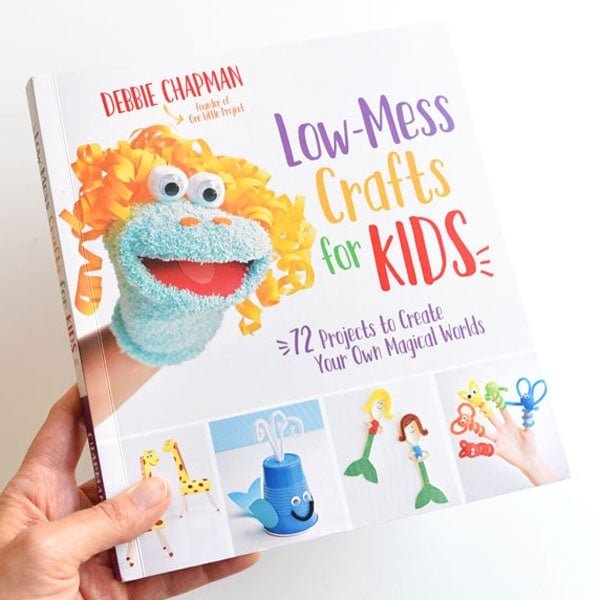
Our book Low-Mess Crafts for Kids is loaded with 72 fun and simple craft ideas for kids! The projects are fun, easy and most importantly low-mess, so the clean up is simple!
Where to buy:
You can purchase Low-Mess Crafts for Kids from Amazon, or wherever books are sold:
Amazon | Barnes and Noble | Books-A-Million | Indiebound | Amazon Canada


