How to Make Pom Pom Penguins
Pom pom penguins are a cute and fun project for crafters of all ages. In this guide, we show you how to use yarn to create these lovable penguins, perfect for wintertime crafting.
You don’t need any special tools – basically just yarn, felt, scissors and a glue gun! You can do it. I promise! I made most of these little guys while I was curled up on the couch in my pajamas watching Call the Midwife on Netflix – I’ve been watching it every night for weeks and I’m going to be so sad when I run out of episodes!
It was during the big snowstorm we had the other day, so it was such a cozy feeling to be safe and warm at home. It feels like I’ve been stuck indoors for weeks!


My kids were sooooo excited for me to finish these pom pom penguins! It took a few days for me to get through the photos and they know they aren’t allowed to keep any blog crafts until I’m done photographing. So they kept checking in to see if they could adopt them yet. They were also disappointed that I only made 4 of them. They wanted more of them!
Last night my 4 year old and my 6 year old were getting these pom pom penguins to play soccer on the table where I take my photographs. They used Kleenex boxes as the goals. Those two seem to always be bickering, so I was so happy to see them playing nicely!
How to Make Pom Pom Penguins
Here’s what you’ll need. The affiliate links below will take you to products on Amazon that are similar to the ones I used for this craft:
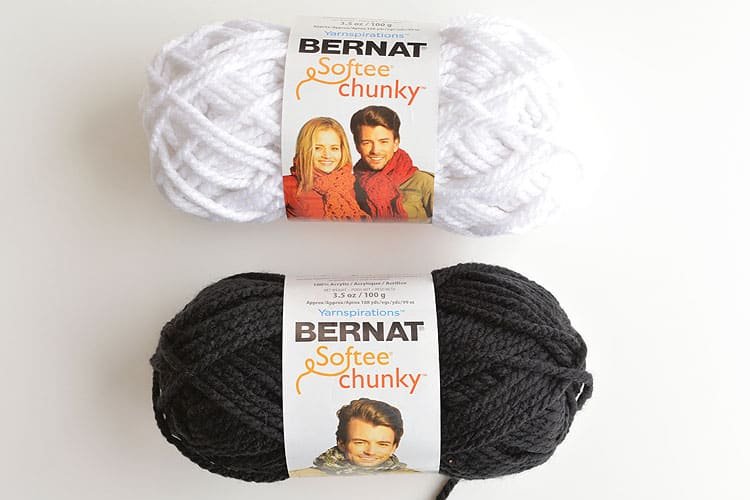
- Chunky Yarn (I used this exact yarn in Black, White and Grey Heather)
- Felt
- 6mm Black Beads (or Googly Eyes)
- Scissors
- Glue Gun
Make sure you use chunky yarn. If you try to make these pom pom penguins with regular thickness yarn the pom poms won’t look very full. I tried it and mine looked really messy. The chunky yarn looked waaaaaay better!
When I got to the cash register at Michaels with my black and white yarn, they told me it was buy 2 get 1 free. So I ran back to the yarn section and quickly picked out some gray yarn. And even though I wasn’t even planning on gray, I think the gray little penguin might actually be my favourite!?

I don’t actually own a pom pom maker, so I used my hands to make the pom poms. It’s super easy!
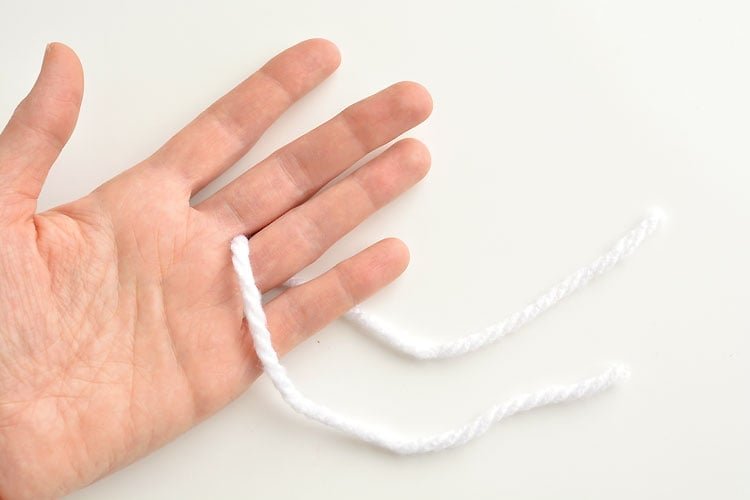
Cut a piece of white yarn about 8 inches long. Then slide it between your middle fingers like in the photo below.

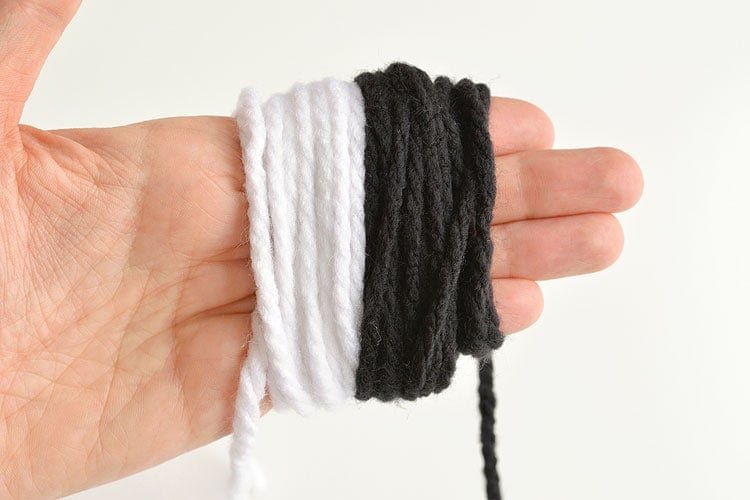
Then wrap the yarn around your fingers.
Wrap the white yarn about 30 times. Then wrap the black yarn right next to it, about 40 times. Trim the ends of the yarn.

Remember that yarn you slid between your middle fingers? Wrap it around the middle of the yarn and tie it as best you can.
Don’t knot it yet. Tie it just tight enough to keep the yarn together when you slide it off your fingers.
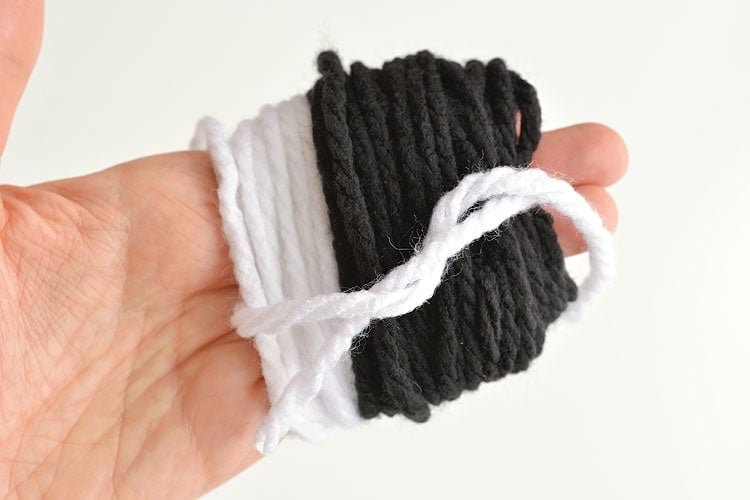

Carefully slide the yarn off your fingers then tie it as tightly as you can. Then you can knot it to keep it in place.
Trim the ends of the yarn.
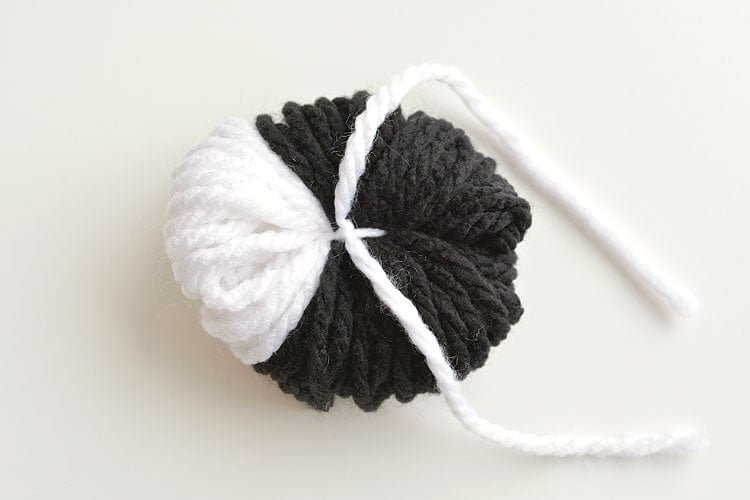

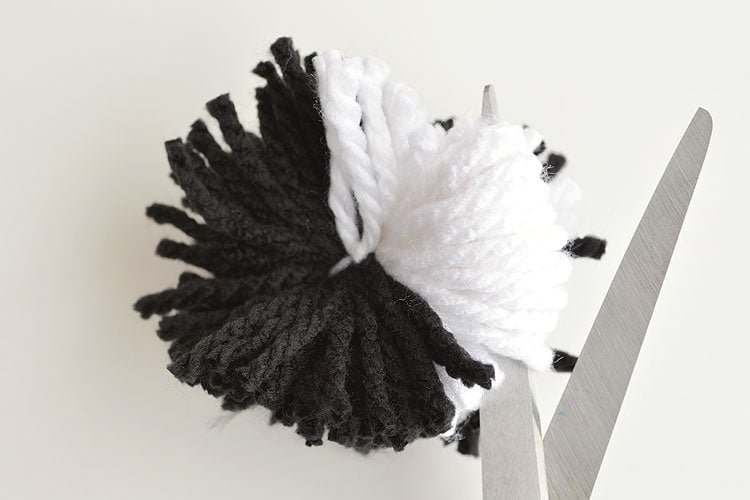
Make sure you’re using nice sharp scissors, or this part will drive you crazy. Carefully slide your scissors into the loops and cut them, working your way around the circle.

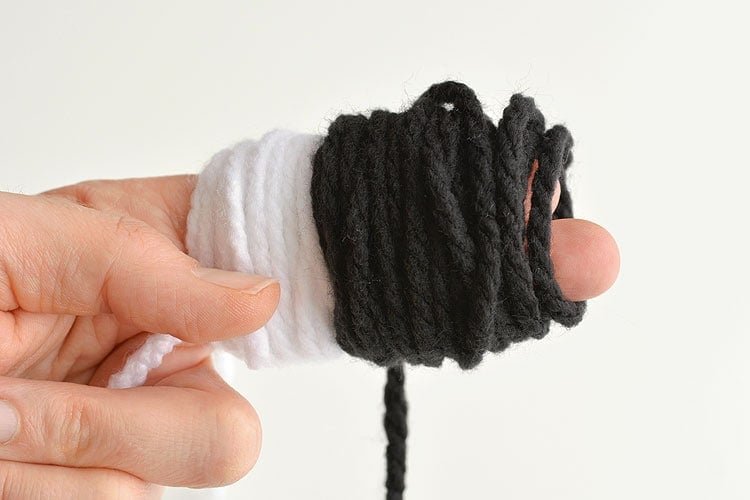
Make a second pom pom by repeating the steps above. Except this time, only wrap the yarn around two of your fingers.
Wrap the white yarn 25 times and wrap the black yarn 40 times.

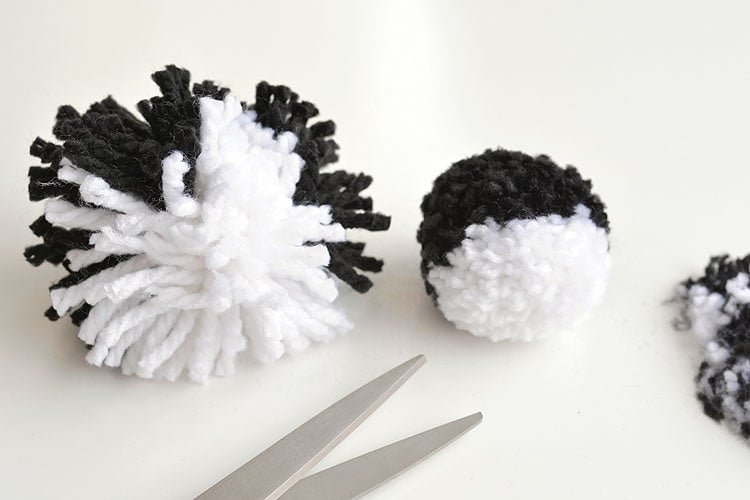
When you finish your pom poms they look like a crazy mess like the one on the left in the photo below. Don’t worry. This is normal.
You have to give the pom poms a really good “haircut” to make them look even. Just work your way around each of the two pom poms shaping them with scissors until you’ve made nice, even, round balls.

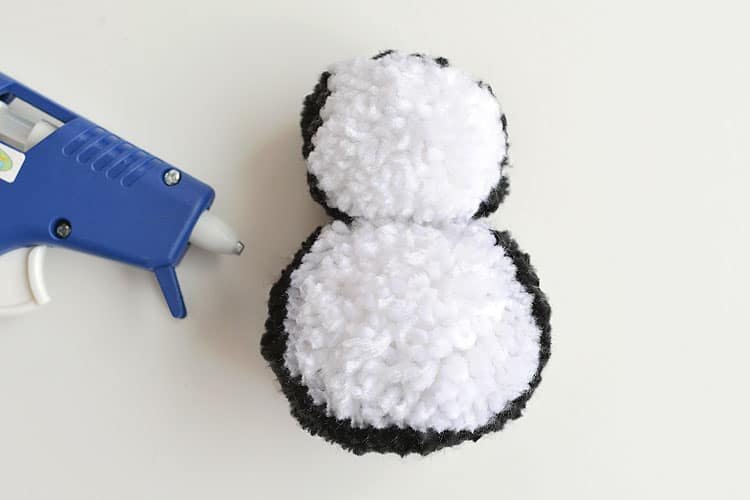
Attach the small pom pom to the large pom pom using a generous amount of hot glue from a glue gun.
Make sure the white parts of the two pom poms match up.

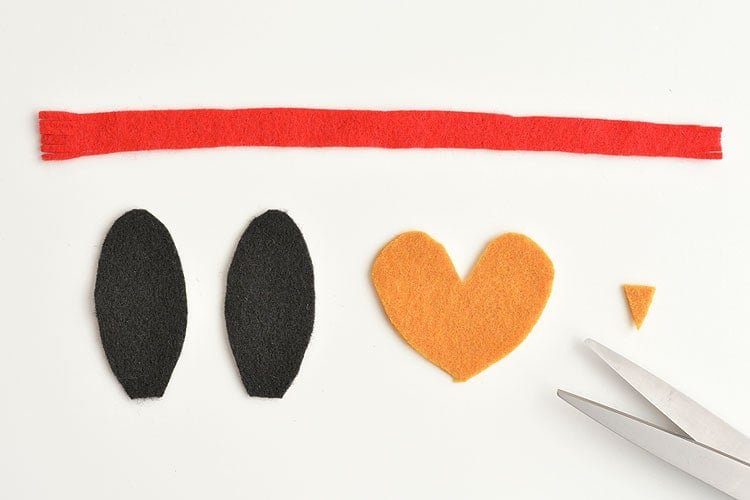
Cut out your felt pieces. You’ll need a scarf, two wings, feet and a beak. I used black for the wings, a goldish orange for the beak and feet, and bright colours for the scarves.
The pieces are pretty easy to eyeball, but if you’d like a pattern, feel free to print out the printable template to use as a pattern.
>>> Template for Pom Pom Penguins <<<

Using a hot glue gun, attach the beak, feet and wings to the pom poms.
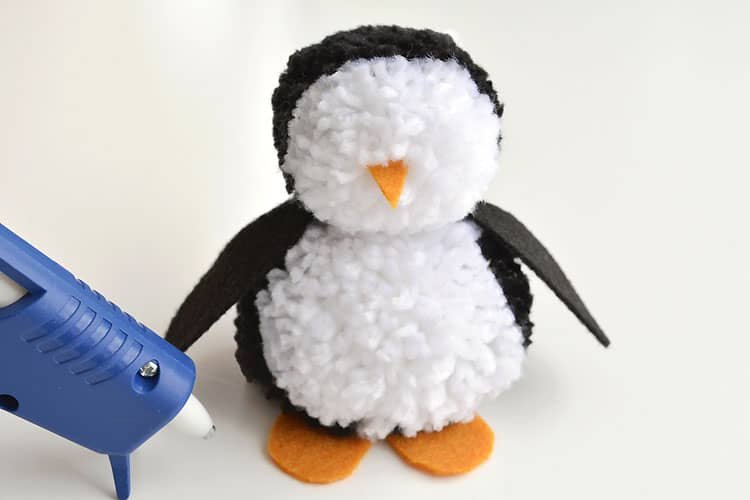

Next, attach the eyes, again using a glue gun. Use a mechanical pencil to separate the fluff of the pom pom where the eyes will go. Then carefully add a small glob of hot glue to the back of each bead and place them in position in the pom pom.
I used black beads for the eyes, but if you don’t have any black beads, you can easily use googly eyes instead.
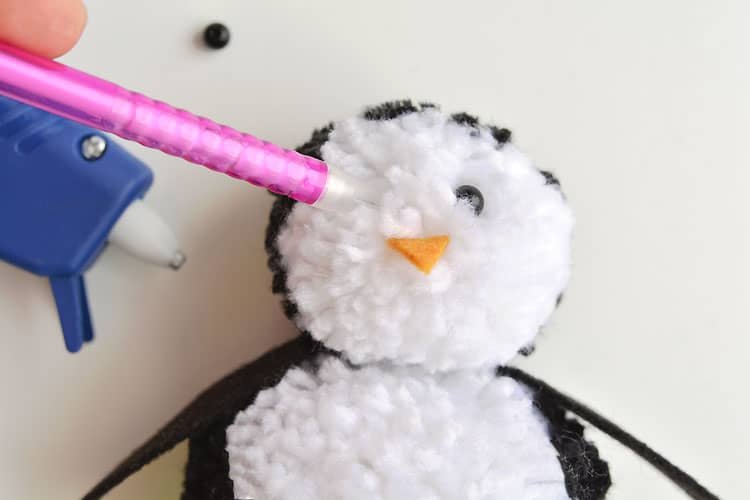

Finally, wrap the scarf around the penguins neck. Add a small dab of hot glue where the scarf crosses itself to hold it in place.
Or you can leave the scarves loose. My kids loved being able to change the scarves from one penguin to another, so we haven’t actually glued our scarves yet.
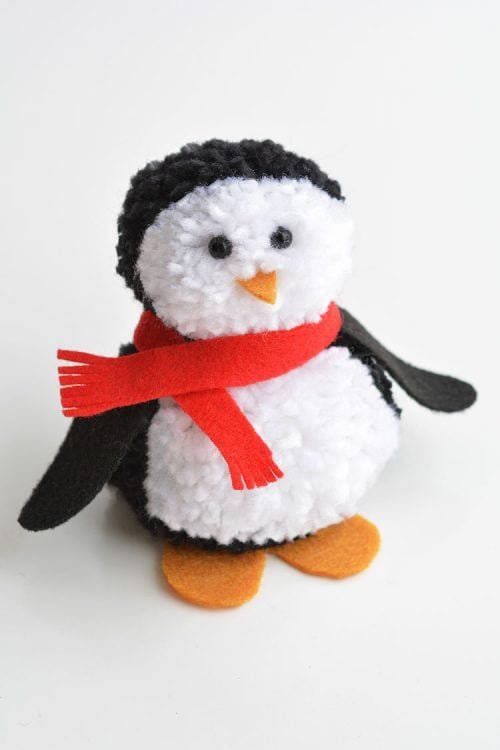

Aren’t they adorable?!
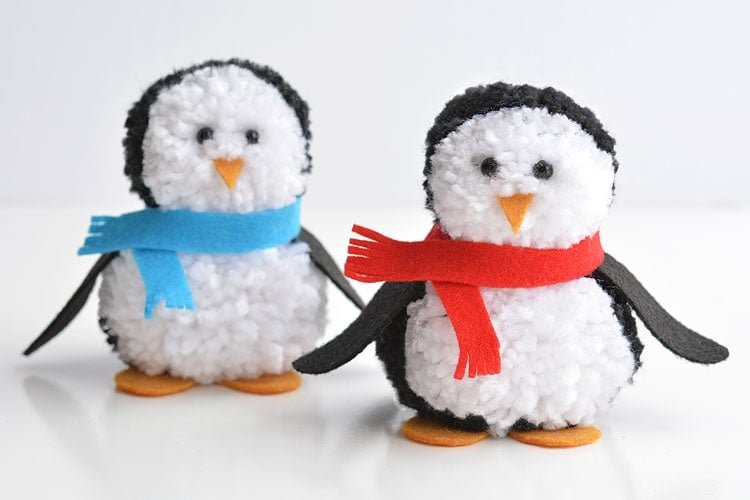

They were so much fun to make and they look so flipping cute!!
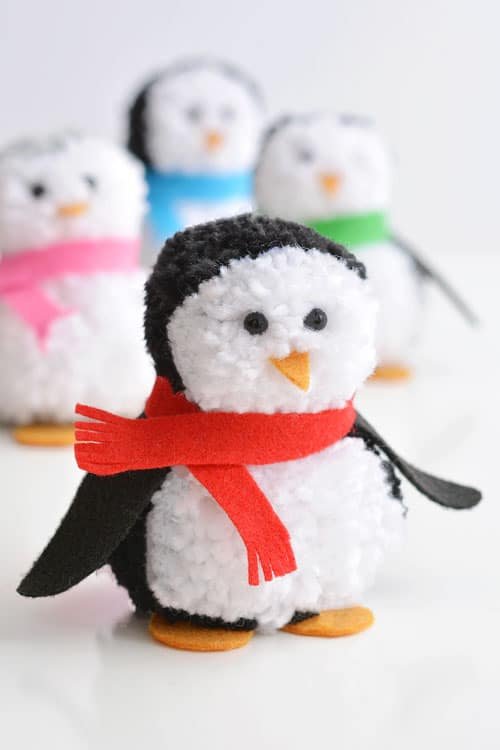

Each one takes about 20 minutes to make, give or take. The most time consuming part is shaping the pom poms after you’ve made them. After that it moves along really quickly!
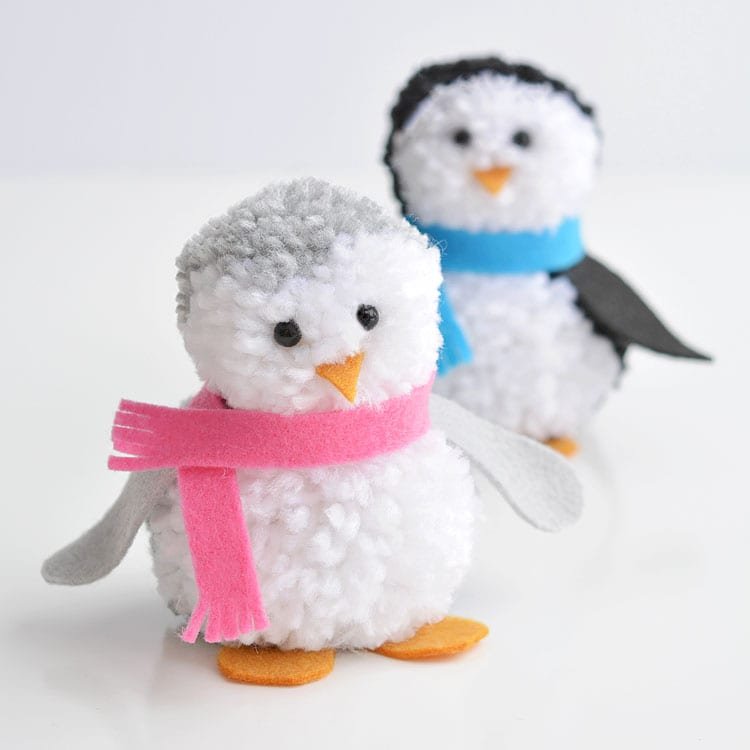

The gray little one is supposed to be a baby… I think… aren’t baby penguins gray?? Either way, the gray one is super cute!!
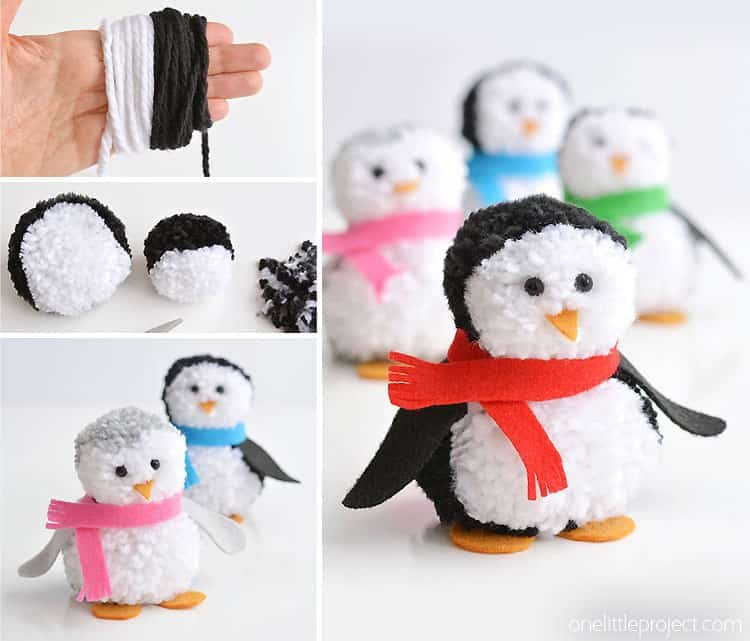

These pom pom penguins are so easy to make and they’re sooooooooo cute!! This is such a fun winter craft idea for kids! You can easily make your own pom poms just by using your hands! This is such a fun and easy winter DIY project!
Here’s even more pom pom craft ideas:
For more fun craft ideas, check out our new book Low-Mess Crafts for Kids for 72 fun and simple craft ideas for kids! The projects are fun, easy and most importantly low-mess, so the clean up is simple!
Where to buy:
You can purchase Low-Mess Crafts for Kids from Amazon, or wherever books are sold:
Amazon | Barnes and Noble | Books-A-Million | Indiebound | Amazon Canada


