Monogram Crochet Coasters
Personalize your home decor with these monogram crochet coasters! These homemade letter coasters are so cute, and they make a great homemade gift for Mother’s Day, Father’s Day, or any other special occasion.
Follow our step by step photo and video tutorials to make one of these monogram coasters. And download our free printable alphabet graphs to make a crochet coaster for each letter of the alphabet. Read more below about following our simple grid patterns — it’s really easy!

This post contains affiliate links. If you use these links to buy something we may earn a small commission which helps us run this website.
How to Make Monogram Crochet Coasters
Materials:
- Free Printable Monogram Crochet Coasters Pattern
- Free Printable Alphabet Crochet Graph
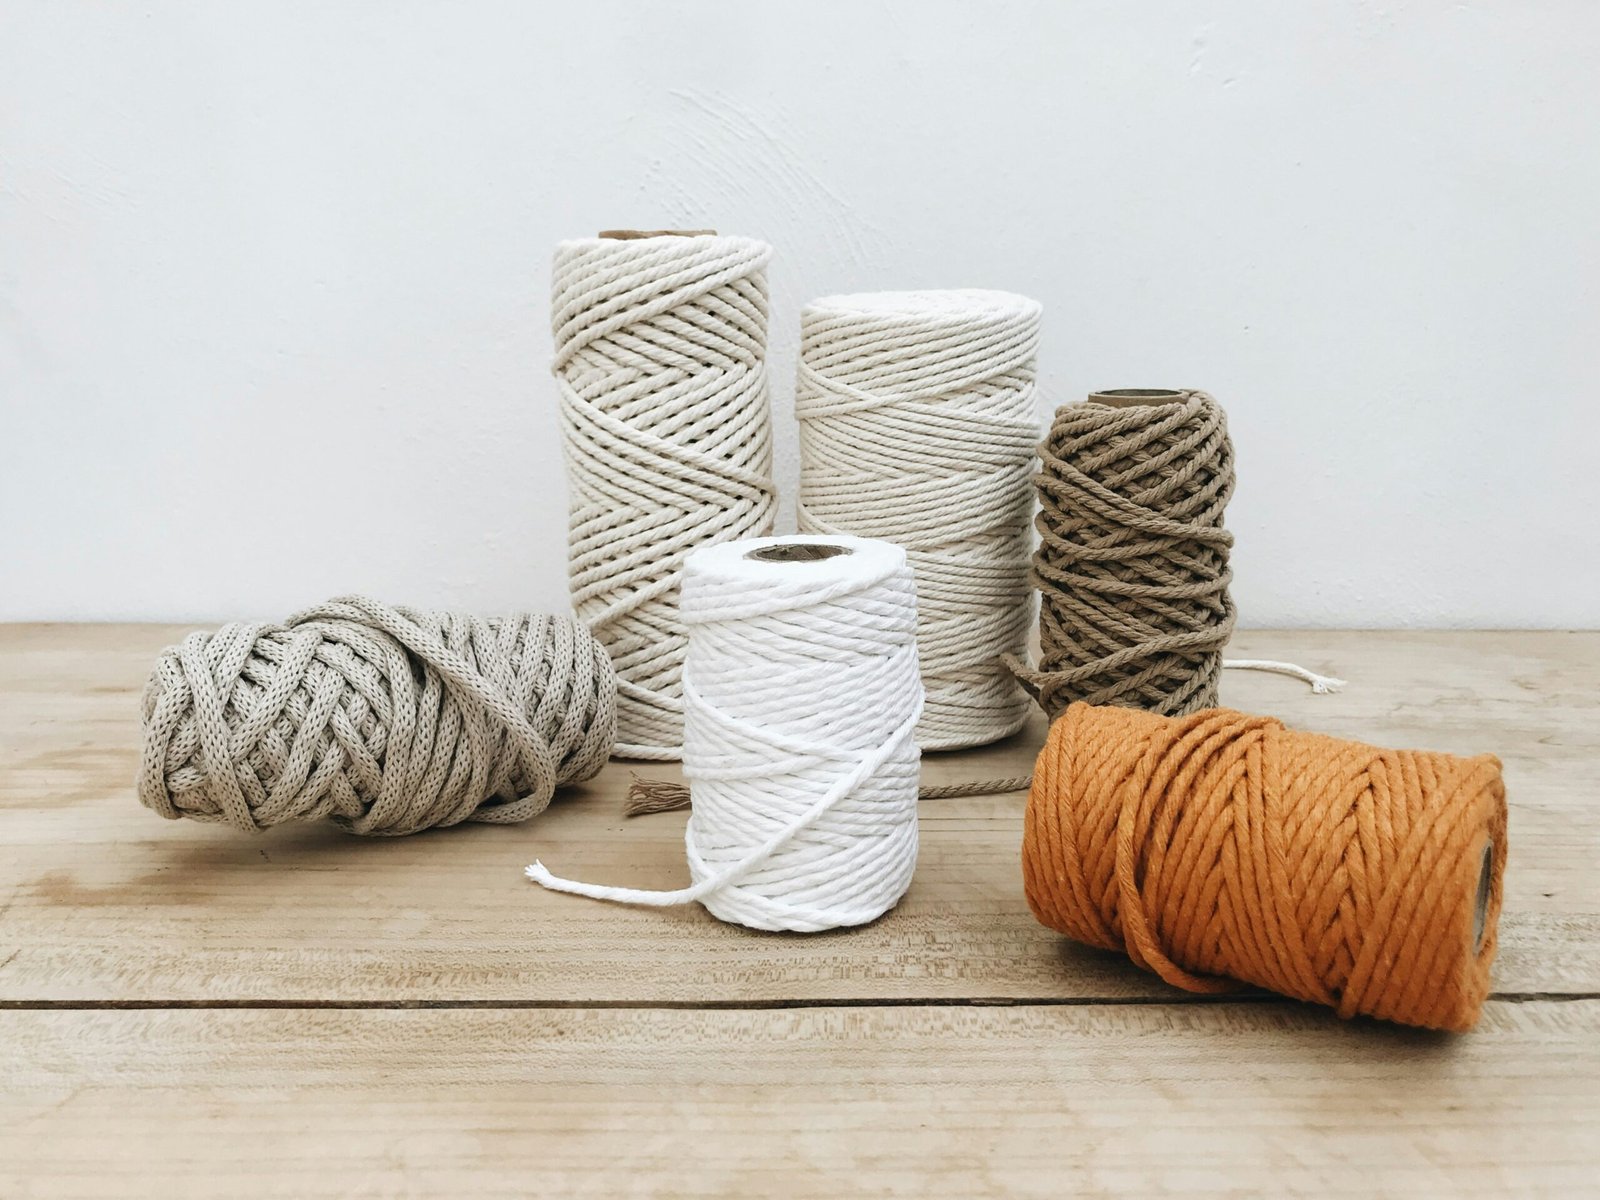
- Cotton yarn(2 complementary colours)
Equipment:
Check Out The Video Tutorial:
Instructions:
Find what you need:
- Gather your supplies and materials.This step by step tutorial teaches you exactly how to make a “D” coaster, but you can use the same basic technique to make any letter of the alphabet.Find our free, printable alphabet graph templates linked above, and read more information about following a grid below!


Preparation and starting chain:
- Start by dividing your yarn into a few smaller balls. This allows you to have several working strands at once.For the “D” Coaster, you’ll need 3 balls of colour A (grey) and 2 balls of colour B (blue).


- Form a slip knot with colour A (grey) and tighten it on your hook. Chain 18.


Row 1:
- Starting with the third chain from the hook, insert 1 double crochet into each chain across.Each row of the coaster will have 16 double crochet total.


Row 2:
- Turn your work, chain 2, and insert 1 double crochet into each of the next 6 stitches.


- Cut colour A.At this specific point we cut the yarn, but you can leave the yarn uncut if the template shows adjacent squares that you’ll be returning to later. Or carry your yarn across the whole square.
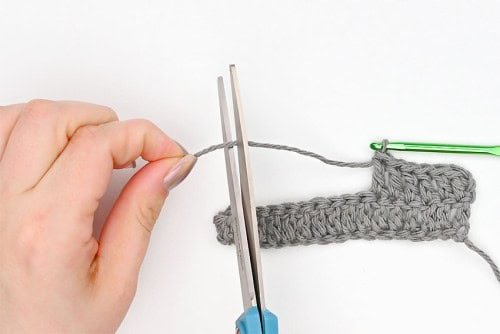

- Attach colour B (blue) and insert 1 double crochet into each of the next 8 stitches.


- Drop colour B, leaving it attached, and connect a new strand of colour A. Insert 1 double crochet into each of the last 2 stitches.


Row 3:
- Turn your work, chain 2, and insert 1 double crochet into each of the first 2 stitches.


- Drop colour A and pick up colour B. Insert 1 double crochet into each of the next 2 stitches.


- Drop colour B and attach another strand of colour A. Insert 1 double crochet into each of the next 6 stitches.


- Cut colour A and attach a new strand of colour B. Insert 1 double crochet into each of the next 2 stitches.


- Cut colour B. Attach colour A and use it to insert 1 double crochet into each of the last 4 stitches of the row.


Row 4:
- Continue to follow the graph and flip your work after each row. Proceed with colour changes as you did before, switching and cutting the yarn when necessary.Colour A: Chain 2 and insert 1 double crochet into each of the first 2 stitches.Colour B: Insert 1 double crochet into the next 2 stitches.Colour A: Insert 1 double crochet into each of the next 8 stitches.Colour B: Insert 1 double crochet into each of the next 2 stitches.Colour A: Insert 1 double crochet into each of the last 2 stitches.


Row 5:
- Colour A: Chain 2 and insert 1 double crochet into the first 2 stitches.Colour B: Insert 1 double crochet into each of the next 2 stitches.Colour A: 1 double crochet into each of the next 8 stitches.Colour B: Insert 1 double crochet into each of the next 2 stitches.Colour A: Insert 1 double crochet into each of the last 2 stitches of the row.


Row 6:
- Colour A: Chain 2 and insert 1 double crochet into each of the next 2 stitches.Colour B: Insert 1 double crochet into each of the next 2 stitches.Colour A: Insert 1 double crochet into each of the next 8 stitches.Colour B: Insert 1 double crochet into the next 2 stitches.Colour A: Insert 1 double crochet into each of the last 2 stitches of the row.


Row 7:
- Colour A: Chain 2 and insert 1 double crochet into the first 2 stitches.Colour B: Insert 1 double crochet into the next 2 stitches.Colour A: Insert 1 double crochet into the next 8 stitches.Colour B: Insert 1 double crochet into the next 2 stitches.Colour A: Insert 1 double crochet into the last 2 stitches of the row.


Row 8:
- Colour A: Chain 2 and insert 1 double crochet into each of the first 4 stitches.Colour B: Insert 1 double crochet into each of the next 2 stitches.Colour A: Insert 1 double crochet into each of the next 6 stitches.Colour B: Insert 1 double crochet into each of the next 2 stitches.Colour A: Insert 1 double crochet into each of the last 2 stitches of the row.


Row 9:
- Colour A: Chain 2 and insert 1 double crochet into each of the first 2 stitches.Colour B: Insert 1 double crochet into each of the next 8 stitches.Colour A: Insert 1 double crochet into each of the last 6 stitches.


Row 10:
- Chain 2 with colour A and insert 1 double crochet into each stitch across.


- Cut and tie off your yarn.
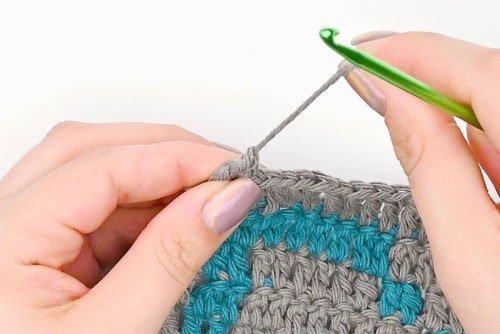

Make a border and tie in ends:
- Add a border of your choosing. We used colour B and inserted 1 single crochet into each stitch around.To create the corners, do 2 single crochet, chain 1, 2 single crochet.Finish the border by slip stitching into the first single crochet.
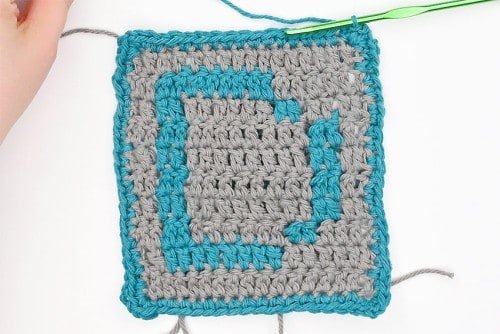

- Use a yarn needle to tie in all your ends.


- Your monogram crochet coaster is complete!


Helpful Tips:
- All of our crochet patterns are written in US terminology.
- Our step by step photo tutorial and our free PDF pattern will show you exactly how to follow the graph to make a “D” coaster. Then use the same basic concept to make all the other letters of the alphabet.


Get our free monogram crochet coasters pattern:
Use the link or photo below to download our free, printable monogram crochet coasters pattern! The 8 page PDF file will open in a new window. Then simply follow along with the crochet pattern on your device’s screen, or print it on 8.5 x 11 (letter size) printer paper.
>>> Monogram Crochet Coasters Pattern <<<
Get our free crochet monogram letters patterns:
Use the link or picture below to download our free, printable alphabet graph patterns. The 13 page PDF file (with 2 letters per page) will open in a new window.
We have graph patterns available for all 26 letters of the alphabet. You can follow along with the grid on your device’s screen, or print the chart on 8.5 x 11 (letter size) printer paper.
>>> A – Z Graph Patterns for Crochet Coasters <<<
How do I read a crochet graph?
We highly recommend watching our video tutorial above! It gives helpful step by step instructions about how to read our alphabet graphs and follow along with the pattern.
You can also simply follow along with the instructions on the graph page. For example, our graphs start on the bottom left, which is noted on the pattern. Other graphs might start on the bottom right, so pay attention to the instructions of the specific graph you’re using.
Make sure you flip your work after each row is complete. Every other row is worked from the “right side”, with the ones in-between on the “wrong side”. Other patterns may be worked in the round.
With a graph chart, each square represents 1 stitch or a set of stitches. For our chart, each square represents 2 double crochet (which is noted on the page).
Other patterns may have different symbols for different stitches. Our simple pattern only uses double crochet, with colour changes being the only noted difference. The colour changes are indicated by the darker (filled in) squares on the grid.


How to do a colour change on crochet coasters?
There are many different ways to do a colour change, so you can choose the method you like best. Here’s a description of how we did our colour changes:
- Drop the working yarn (or end) of your current colour and pick up the strand of your new colour. This may already be attached, or it could be a new strand.
- Proceed as you would with any double crochet. Yarn over with your new colour and insert your hook into the next stitch.
- Yarn over again, and pull the yarn through the stitch. You should now have 3 loops on your hook — 2 of the new colour and 1 of the old colour.
- Yarn over again and pull the yarn through 2 of your loops (the ones of the same colour).
- Then yarn over again and pull it through the last 2 loops. You should now have 1 loop of the new colour on your hook.
- Pull the tail of the last colour if you need to tighten up the stitch a bit.
If you want your letter to have a really flawless look, use an invisible or seamless colour change.


Do I have to use cotton yarn to make these monogram crochet coasters?
You don’t have to use cotton yarn, but we definitely think it’s the best choice for making crochet coasters. It’s easy to work with and it makes coasters that are heat resistant, durable, absorbent, and easy to clean.
Acrylic yarn, while popular for numerous other crochet projects, isn’t recommended for making coasters. It doesn’t absorb liquids as easily, it doesn’t offer as much heat resistance (it can melt if the drink is hot enough!), and it isn’t as durable, pilling or losing its shape after heavy use.
What size monogram crochet coasters does this pattern make?
Our pattern makes a coaster that’s about 4-3/4 x 5 inches, including the border.


Protect your tables with these monogram crochet coasters made using a tapestry crochet graph. It’s so fun to make these DIY crochet coasters in your favourite colour combination to match your decor!
This crochet project is perfect for intermediate crocheters and beginners to graph patterns.


Here’s even more crochet craft ideas:
Our book Low-Mess Crafts for Kids is loaded with 72 fun and simple craft ideas for kids! The projects are fun, easy and most importantly low-mess, so the clean up is simple!
Where to buy:
You can purchase Low-Mess Crafts for Kids from Amazon, or wherever books are sold:
Amazon | Barnes and Noble | Books-A-Million | Indiebound | Amazon Canada


