Straw Weaving Instructions | How to Weave with Drinking Straws and Yarn
Weaving with drinking straws is a simple and engaging craft that kids will love. Our guide shows you how to use straws and yarn to create colorful woven designs that are both fun and educational.
This is such a great craft for older kids and tweens. My 7 and 9 year old daughters really enjoy it… although, they’re still a little young to do it completely on their own. They need a little bit of my help to get things set up and to tie off the ends. But with such a simple over, under, over, under pattern, they do a really great job with the weaving part!
When you’ve mastered the basic technique using three straws, you can try the exact same method making wider bracelets using 4, 5 or even 6 straws. You can keep on weaving to make your creation as long (or as short) as you like!
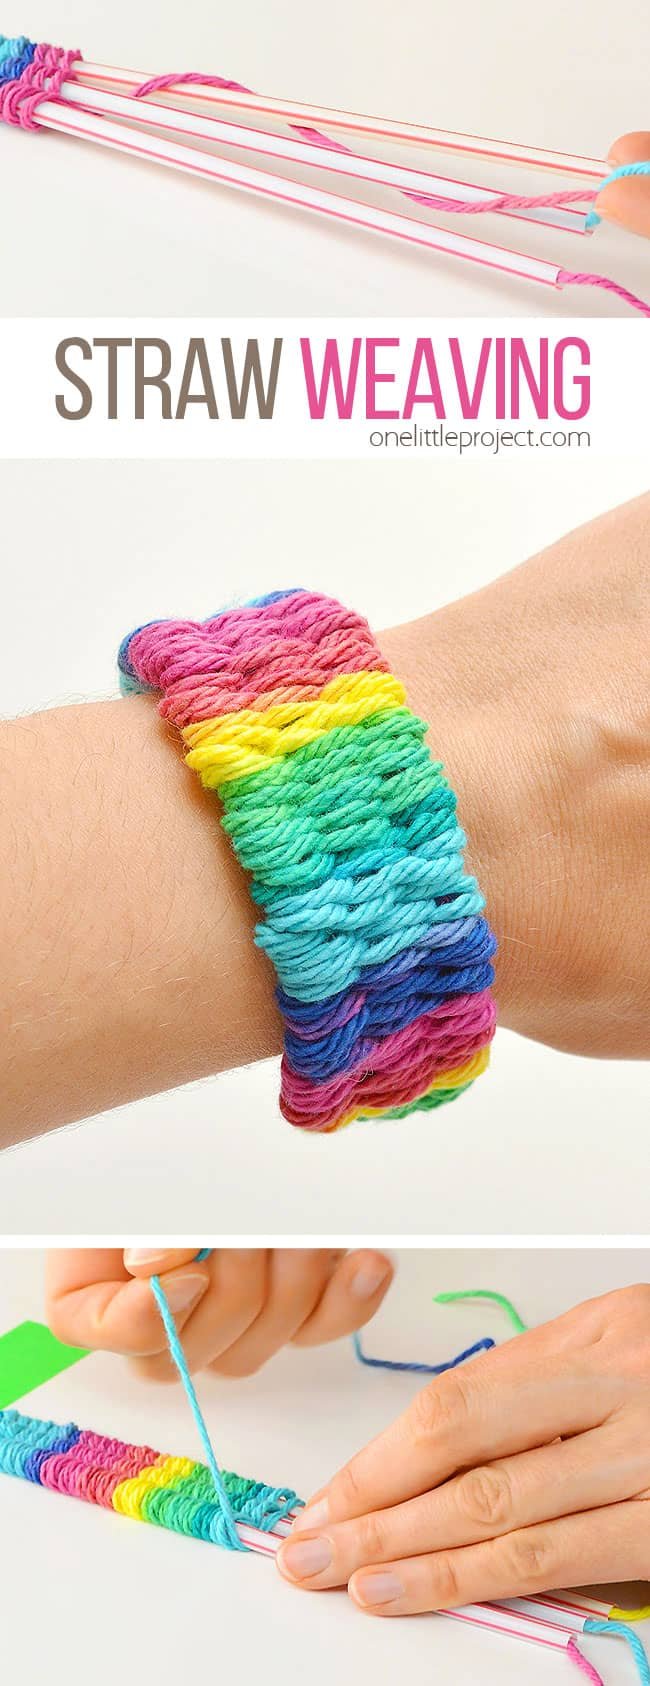

I really love the yarn we used for these bracelets! Most multi-coloured yarns have longer sections of colour, so you’d only get 2 or maybe 3 colour changes in your bracelet. But with this yarn, the colours changed every few inches, so it really made an awesome looking rainbow bracelet!
I used Bernat Handicrafter Cotton Yarn in the colour “Psychedelic”. I bought mine at Michaels, but here’s an affiliate link to the same yarn on Amazon: Bernat Psychedelic
Check out our video for straw weaving instructions:
Watch our video for how to finger knit as well. It’s even easier than straw weaving because all you need are your hands!
How to Finger Knit | Finger Knitting Instructions
Straw Weaving Instructions
Here’s a list of what you’ll need. The affiliate links below will take you to products on Amazon that are similar to the supplies we used for straw weaving:
I used regular plastic drinking straws that I bought at the grocery store once upon a time, but you could also use paper straws. These are just regular sized drinking straws. Exactly the same size as you’d get at a fast food restaurant. Just try to avoid using the type of straws that bend.
I used cotton yarn by Bernat, mostly because that was the only brand I could find with awesome rainbow colours (the link to the exact yarn I used is in the list above). You can definitely use any type of yarn, as long as it fits through your straws.


Tape the ends of 3 straws together so that they are side by side, just like in the photo below.


Cut three pieces of yarn, about 3 times the length of your straws. Then thread one piece of yarn through each of the straws.
Helpful Tip: Having trouble threading the yarn through the straws? Use a wooden skewer or knitting needle to push the yarn through each straw. If you don’t have skewers, you can place the tip of the yarn at one end of the straw, and suck (carefully!) on the other end of the straw to pull it through.


Tie the ends of the three pieces of yarn into a knot. Leave a little extra yarn after your knot – about 2 to 3 inches – so you can tie them into a bracelet at the end. (Leave MORE yarn at the knotted end than what I show in the photo.)
Tape the straws to the table using masking tape or painters tape. The painters tape wasn’t as secure as I would have liked, so I’ll use masking tape next time. But either works.


Using another piece of yarn (from the ball of yarn), tie a knot around the top straw.


Then you can start weaving!
Take your yarn under the middle straw, then over the bottom straw.


Then go under the bottom straw, over the middle straw, then under the top straw.


Then repeat the pattern: Go over the top straw, under the middle straw, then over the bottom straw.


Keep weaving following this pattern:
- Under and around the bottom straw, over the middle straw, under the top straw.
- Over and around the top straw, under the middle straw, over the bottom straw.
- Repeat.
Every 3 to 4 lines, push your yarn towards the tape and pull the yarn to make sure all the loops are snug.


Keep following the over, under, over, under weaving pattern until you’re happy with the length of your bracelet.
Cut the yarn, then tie it in a single knot around whichever straw you finished weaving on. Don’t double knot it yet. You just want it to stay in place while you pull it off the straws.


Remove the tape holding the straws to the table. Then remove the tape holding the straws together.
Then carefully slide the woven loops off the straw. Push them off towards the end of the three pieces of yarn that were knotted together before you started weaving.


Find the end of the yarn where you finished weaving, and tie it in another knot around the yarn it was woven around. This time you can tighten the double knot to keep it in place.


You should have 4 pieces of yarn at the end where you finished. Tie them into a knot, as close to the woven bracelet as you can.
If your weaving got a little messy while you were sliding it off the straws, lay it flat on the table, and reshape any areas that might need it.


Tie the ends together and slide the bracelet onto your wrist and you’re done! Isn’t the rainbow pattern awesome!?


There’s just something so relaxing and rewarding about weaving, and slowly watching your creation grow and turn into something!


Straw weaving is such a fun craft idea! It’s a great summer craft for camps and an awesome craft for kids or tweens. You can weave bracelets, necklaces, headbands and even belts. Wouldn’t they make awesome friendship bracelets!? This method of weaving is easy to learn and it’s lots of fun!
For an even easier method of weaving, check out our instructions for finger knitting. It’s super easy since all you need are your hands!
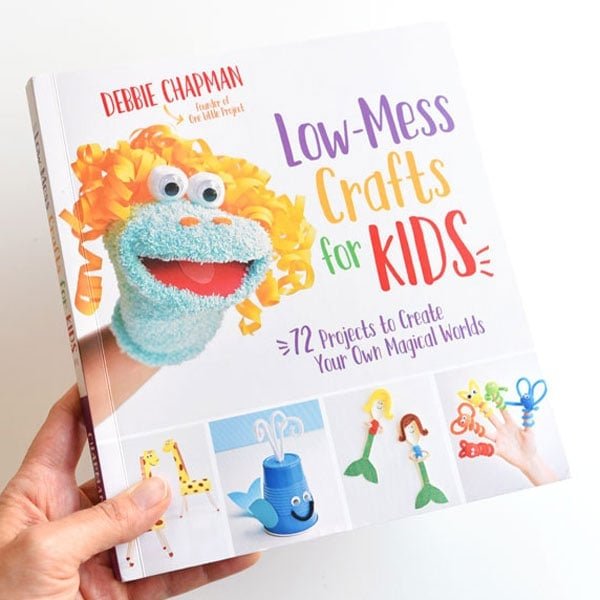
Our book Low-Mess Crafts for Kids is loaded with 72 fun and simple craft ideas for kids! The projects are fun, easy and most importantly low-mess, so the clean up is simple!
Where to buy:
You can purchase Low-Mess Crafts for Kids from Amazon, or wherever books are sold:
Amazon | Barnes and Noble | Books- A- Million | Indiebound | Indigo | Amazon Canada


