How to Make your Own Bubble Blower
Children are always captivated by bubbles. The sight of gleaming, floating orbs can stimulate their curiosity and get their creative juices flowing. That’s why creating a DIY Bubble Blower is much more than just a fun activity. It’s a chance to spend quality time with your child, introduce them to scientific principles, and give them the thrill of creating something with their own hands. With just a few common household items and a little bit of imagination, you can make a homemade bubble blower that provides hours of entertainment. Let’s get started!
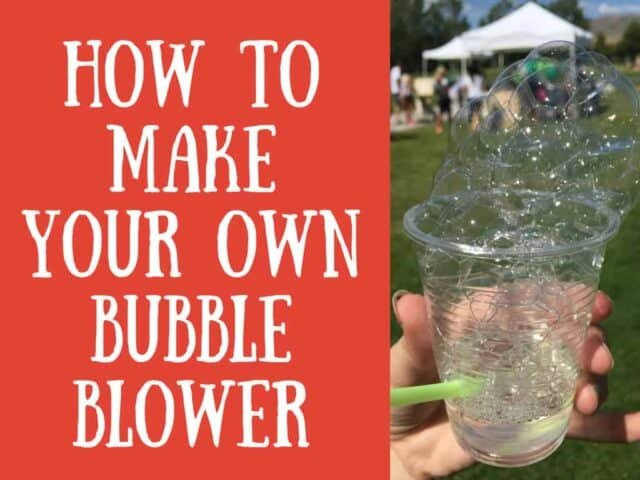
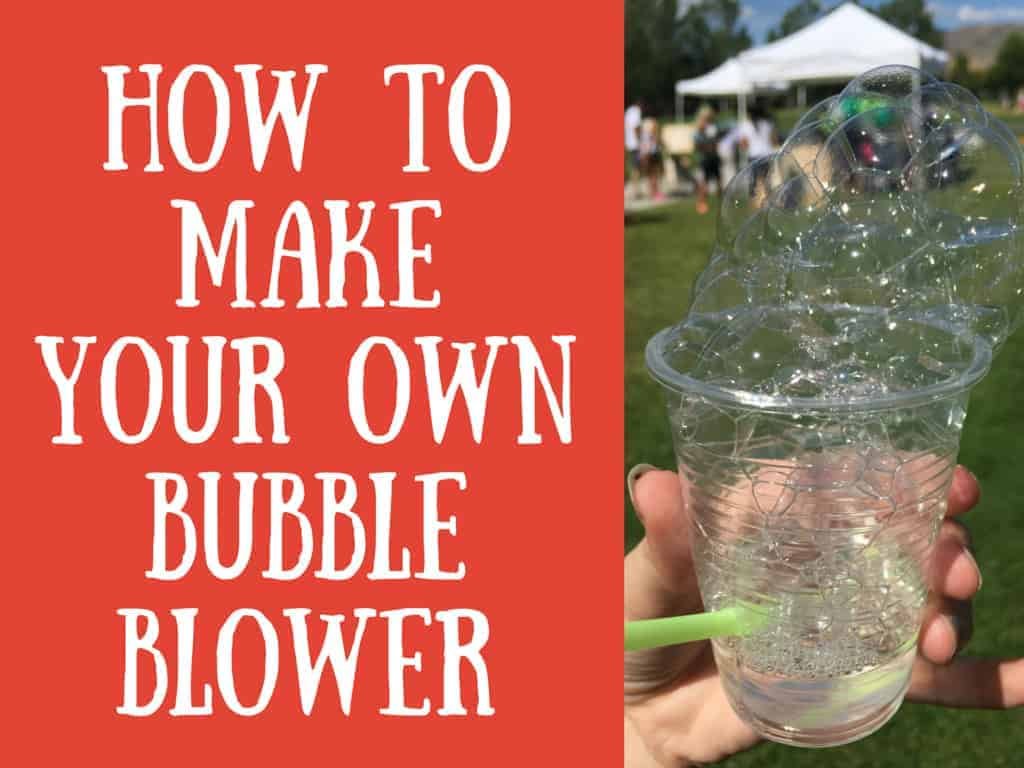
This craft is so fun for summer because it keeps your kids happy and entertained and it is super easy to make with items that you can normally find in your house.
My kids have had so much fun making their own bubble blowers and even the younger ages are able to do this themselves.
This is a great summer craft, preschool craft or activity for camping.
DIY Science Experiment
Kid love bubbles! My kids are entertained for hours playing with bubbles. Traditional bubbles use a bubble wand to blow your bubbles. A Bubble Blowers works more like a science experiment where kids can create their own blower from start to finish.
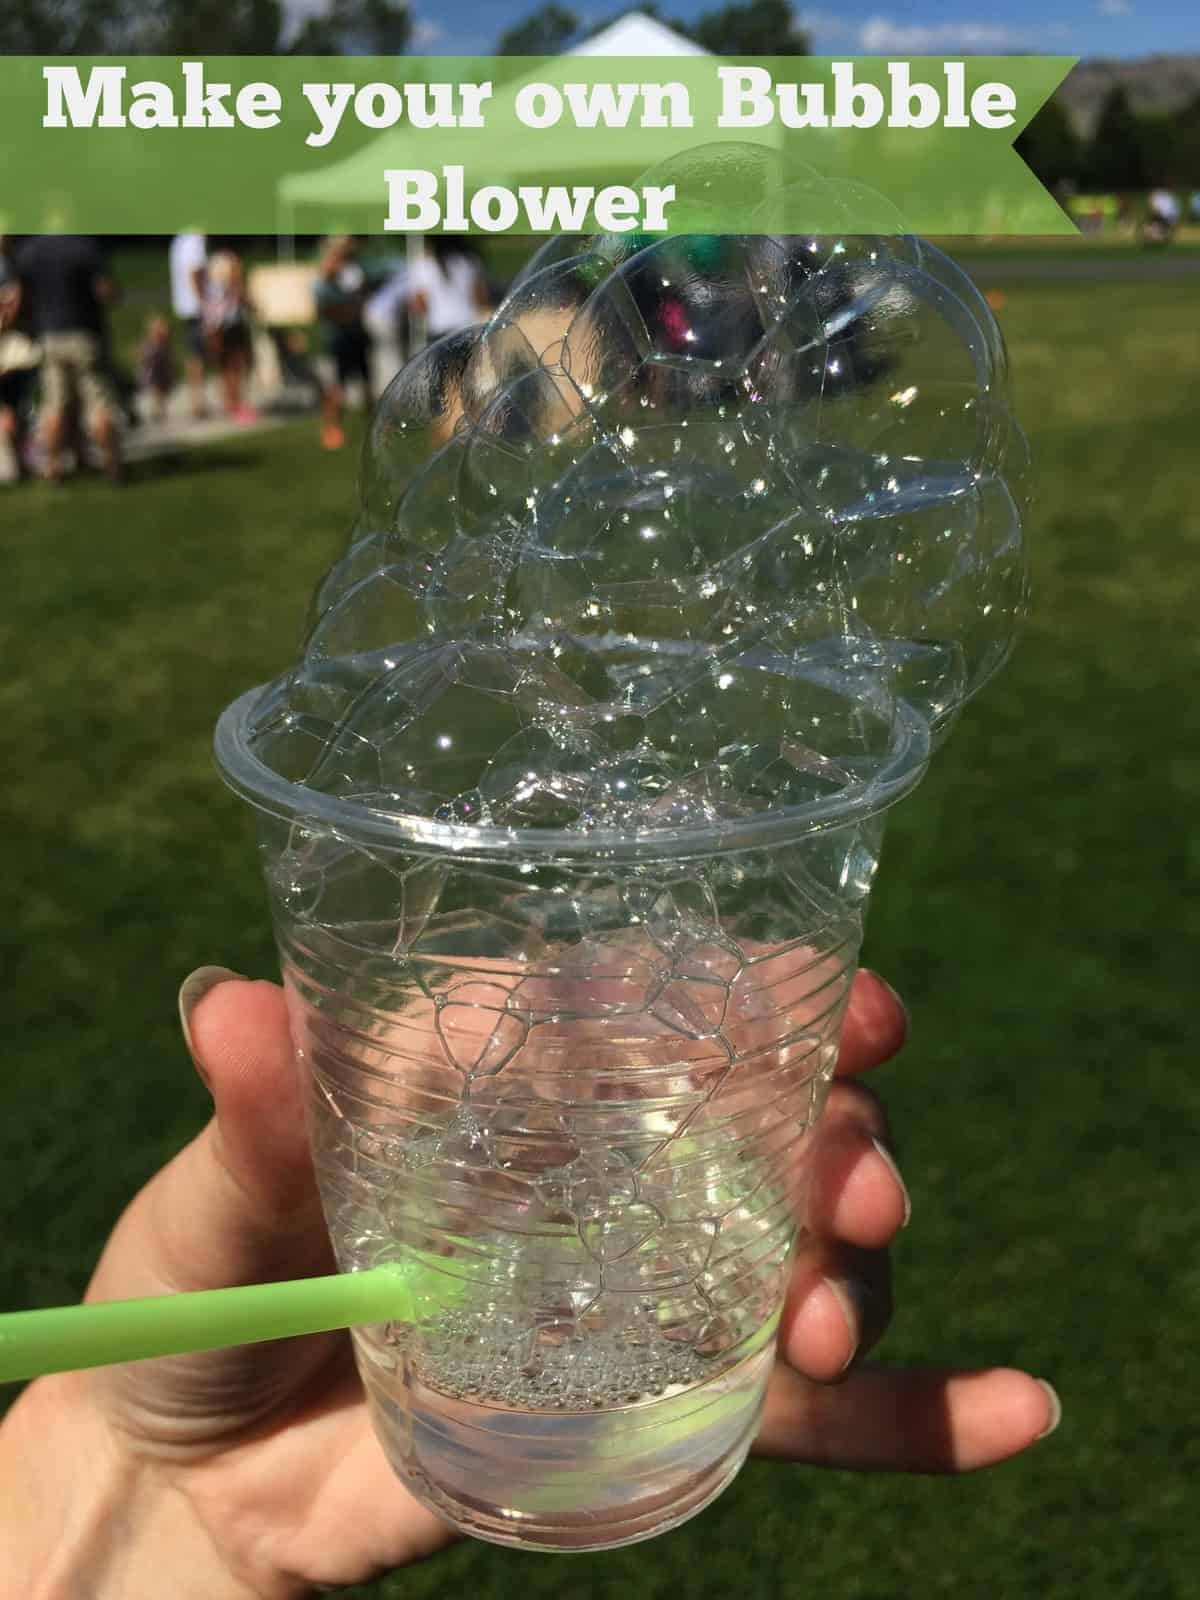
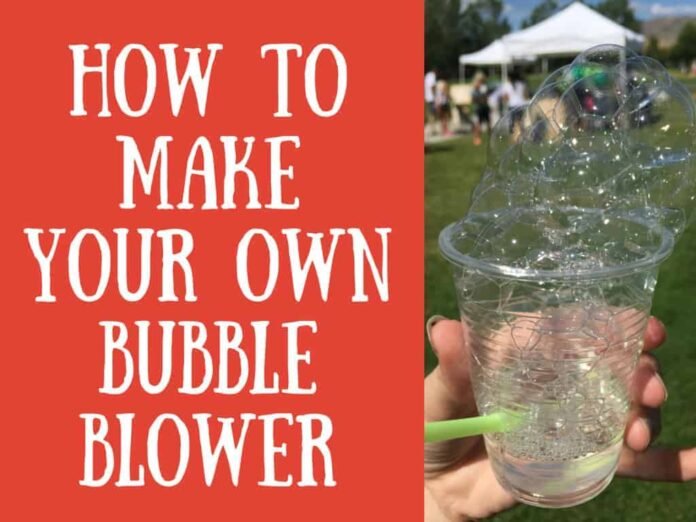
Using a cup and a straw can teach your child about bubbles and how when you blow harder, more bubbles form or if you blow slower there will be less. This is a fun way to teach your kids science. This can also be a fun homeschool or preschool project.
How to Make your Own Bubble Blower:
What you need:
Plastic Cup
Plastic Straw
Water
Soap
[500 Pack] Neon Colored Drinking Straws – Flexible, Disposable Kid Friendly, Assorted Colors
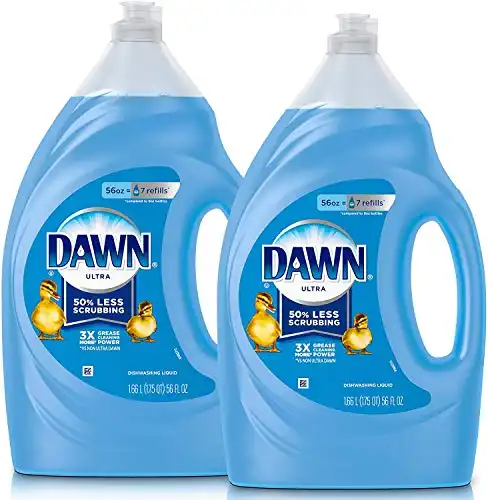
Dawn Dish Soap Ultra Dishwashing Liquid, Dish Soap Refill, Original Scent, 56 Fl Oz (Pack of 2)
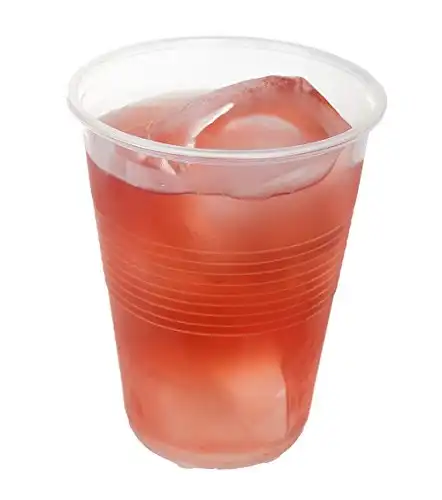
TashiBox 9 oz clear plastic cups – Disposable cold drink party cups (200)
A Step-by-Step Guide to Making Your Own Bubble Blower
Creating a bubble blower at home is a surprisingly simple and incredibly rewarding process. Here’s how you can get started:
What You Will Need:
- A Plastic Cup
- A Plastic Straw
- Water
- Soap
Step 1: Preparing the Cup and Straw
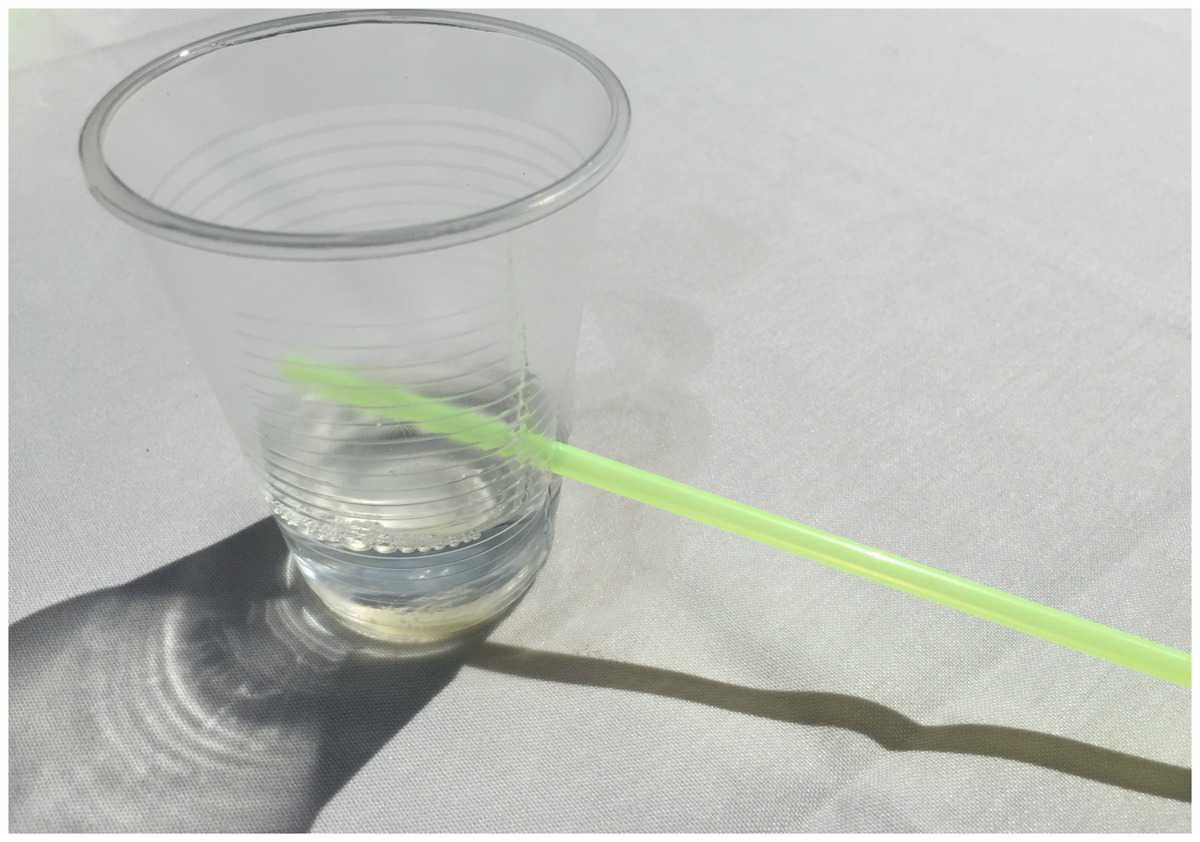
First, you will need to poke a small hole in your plastic cup, big enough to stick your straw into. This is an essential step in making your own bubble blower, as the hole will allow air to enter the cup and create the bubbles. Remember, safety first – adult supervision is required for this part to prevent any accidental injuries.
Step 2: Making the Bubble Mixture
In the bottom of your cup, pour equal parts of water and soap. You don’t need a lot; about an inch deep of the mixture should do the trick. Ensure your liquid is lower than the hole you’ve poked, which is crucial for the proper function of your homemade bubble blower.
Step 3: Get Ready to Blow Bubbles!
Insert your straw into the cup, making sure to tilt it towards the bubble mixture. Now comes the exciting part – blowing bubbles! The harder you blow, the more bubbles will form, and if you blow slower, there will be fewer bubbles. This is a fascinating way to demonstrate the science behind bubble formation to your child.
How to Customize Your DIY Bubble Blower
Having learned the basics, you can experiment with various elements to add more fun to your DIY bubble blowing session. Here are some fun crafts ideas to customize your bubble blower:
Use Different Materials
You can make your own bubble wands using a variety of materials like a wire hanger, pipe cleaners, or even a hula hoop for giant bubbles! Try using a paper towel roll or a cardboard roll for a bubble snake blower, or a water bottle bubble blower for an eco-friendly alternative.
Experiment with the Bubble Mixture
Enhance the bubble fun by experimenting with the bubble mixture. Instead of just using soap and water, try adding corn syrup or glycerin for bigger bubbles, or even add food coloring to the soapy water for vibrant bubbles.
Create Unique Bubble Shapes
DIY bubble wands can help create bubbles in unique shapes. Bend a wire hanger or pipe cleaner into different shapes, dip it into your bubble mixture, and watch as your child marvels at the exciting bubble shapes!
Make it a Group Activity
Encourage your kids to involve their friends in this fun activity. Creating homemade bubble blowers and blowing bubbles together can be a fantastic summer activity and an easy recipe for a good time.
DIY Bubble Blower: A Fun-Filled Adventure for Creating Big Bubbles
Are you looking for a delightful and engaging activity that will bring much fun to your children? Look no further! Creating your own bubble blower is the perfect way to spend quality time with your kids while exploring the wonders of homemade bubbles and the joy of making big bubbles. In this DIY guide, we will take you through the step-by-step process of crafting your very own bubble blower using simple household items. So let’s dive into the world of bubbles and embark on an exciting adventure!
Crafting Your Homemade Bubble Blower
To create your bubble blower, you will need some easily accessible materials such as a plastic bottle, a rubber band, a plastic straw, duct tape, and a shallow dish. These items are commonly found in households, making this project convenient and budget-friendly.
Begin by cutting off the bottom of the plastic bottle. This will serve as the container for your homemade bubble solution. In a large bowl, mix together a cup of dish soap with a few cups of water to create your own bubble solution. Feel free to experiment with different soap brands and ratios until you find the best recipe that produces the biggest bubbles and best results.
Now, take your plastic straw and attach it to the bottom of the bottle using a rubber band. Make sure it is securely fastened to prevent any leaks. This will serve as the blowing mechanism for your bubble blower.
Next, attach the shallow dish to the top of the bottle using duct tape. This will be the bubble-making section of your blower, where you dip the straw and create a soap film for blowing bubbles. Ensure that the dish is securely attached to prevent any spills or leaks.
The Magic of Bubble Snakes and Giant Bubble Wands
Once you have assembled your DIY bubble blower, it’s time to explore the endless possibilities of bubble fun! With your own bubble wand in hand, you can create bubble snakes that twist and turn, or use a giant bubble wand to produce massive bubbles that will leave everyone in awe.
To make bubble snakes, dip the bubble blower dish into your homemade bubble solution and blow gently through the straw. Watch as the bubbles flow out of the blower, forming long and mesmerizing bubble snakes. Children of all ages will have a blast chasing after and popping these delightful bubble creations.
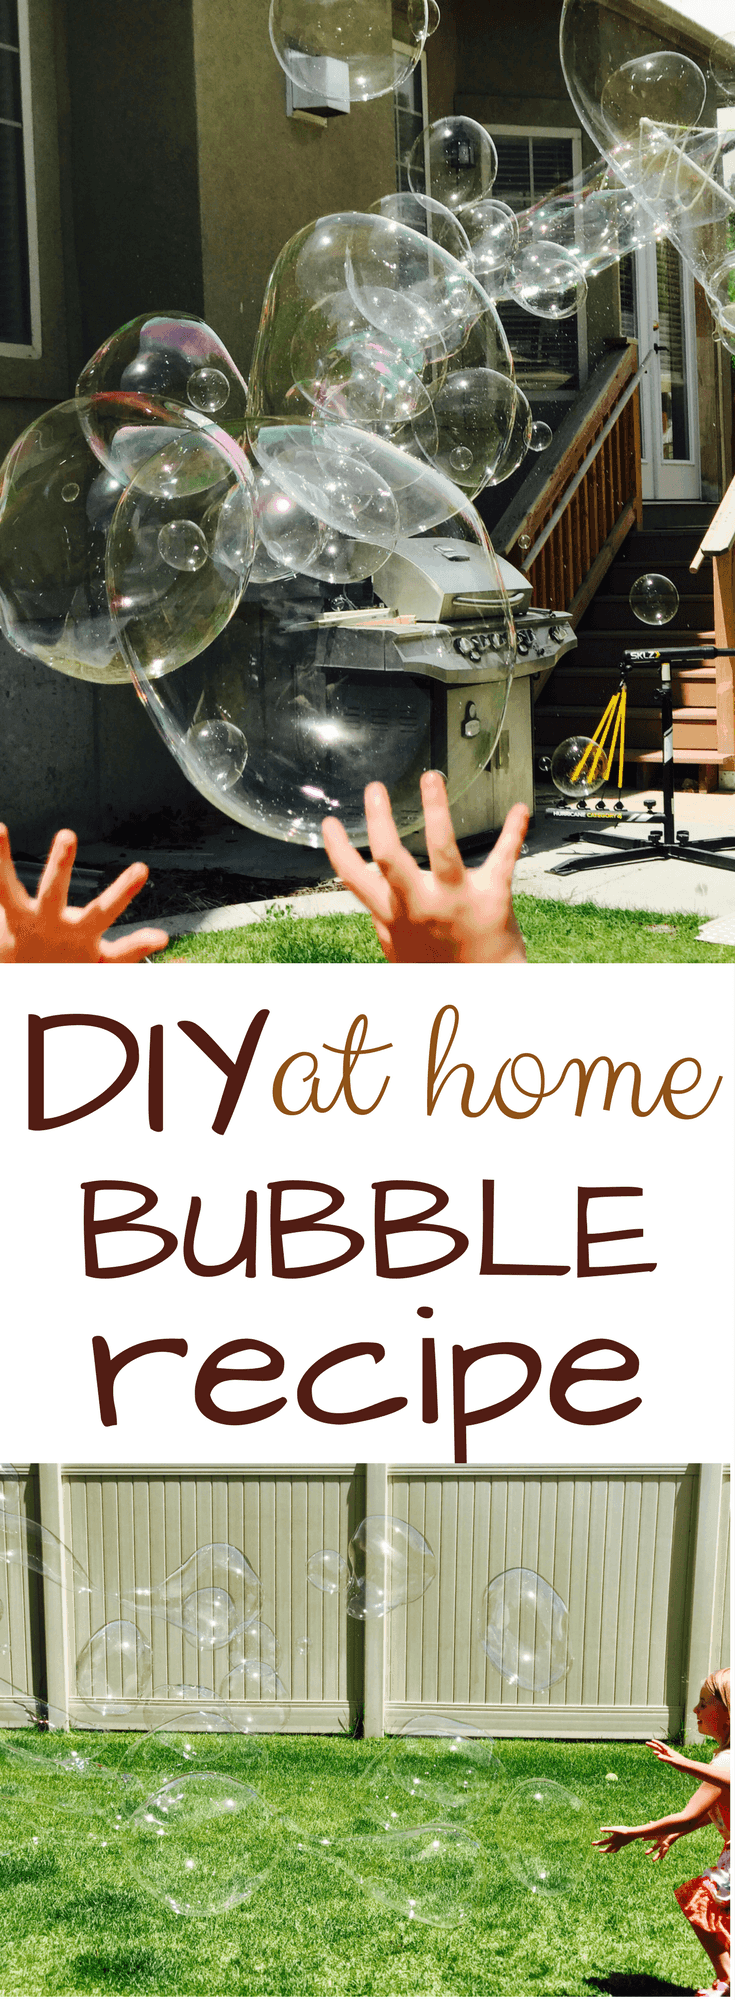
For those seeking the ultimate bubble experience, grab a giant bubble wand and immerse it in the bubble solution. Carefully lift the wand, allowing the excess solution to drip off, and then wave it through the air. Behold as gigantic bubbles come to life, floating majestically in the breeze. These larger bubbles will create memories that last a lifetime, especially on sunny days or humid summer afternoons.
Making Your Own Bubble Solution for Optimal Results
If you find yourself running out of bubble solution, don’t worry! It’s simple to whip up another batch using common household ingredients. Consider experimenting with different recipes to find the perfect balance for creating the best bubbles.
One popular recipe includes mixing one part dish soap, one part water, and a small amount of vegetable oil or corn starch. This combination helps create a soap mixture that produces bubbles with great longevity and stability. Feel free to adjust the ratios to achieve larger bubbles or add a few drops of food coloring to make the experience even more vibrant and exciting.
The Joy of DIY Bubble Blowers and Family Bonding
Engaging in the creation and exploration of bubbles through DIY bubble blowers is not only an entertaining activity but also an excellent opportunity for family bonding. Children will have a blast as they participate in crafting their own bubble blower, mixing bubble solutions, and experiencing the joy of bubble play.
As you embark on this adventure with your little ones, don’t forget to capture these precious moments with photographs or videos. They will serve as cherished memories of shared laughter and learning. Engaging older kids in the process can be a rewarding experience, allowing them to showcase their creativity and problem-solving skills.
Frequently Asked Questions About DIY Bubble Blowers
1. How can I make the best homemade bubble solution?
The key to the best homemade bubble solution is the right balance of ingredients. Typically, a mix of one part dish soap to two parts water works best. For extra-strong bubbles, add a tablespoon of glycerin or corn syrup.
2. What can I use instead of a plastic cup and straw for my DIY bubble blower?
Common household items like plastic bottles, paper towel rolls, or even an old wire hanger can work great for your DIY bubble blower. Experiment with different materials for fun and unique results.
3. Why are my bubbles popping too quickly?
Bubbles can pop for several reasons – too much wind, too little humidity, or your bubble solution might be off balance. Try adding glycerin or corn syrup to your solution to make your bubbles last longer.
4. Can I add color to my bubbles?
Absolutely! Adding food coloring to your bubble solution can result in beautifully colored bubbles. But remember, colored bubbles may stain clothes or outdoor surfaces.
5. Is making a DIY Bubble Blower a suitable activity for kids of all ages?
Yes, creating a DIY bubble blower is a great activity for kids of all ages. However, it’s always essential to supervise young children, especially when they’re using scissors or other sharp objects.
Key Takeaways from Your DIY Bubble Blower Project
- Educational Fun: Making your own bubble blower is a fun way to introduce your child to basic scientific principles.
- Creativity: This DIY project encourages your child’s creativity, as they can experiment with different materials and bubble solutions.
- Sustainable: By repurposing items like plastic bottles and wire hangers, you’re teaching your child about sustainability and reducing waste.
- Affordability: Most of the materials required for this project can be found around your house, making this a budget-friendly activity.
- Quality Time: This project provides an excellent opportunity to bond with your child, making it not just an activity, but a cherished memory.
Comparing DIY Bubble Blower with Commercial Bubble Blowers
| DIY Bubble Blower | Commercial Bubble Blower | |
|---|---|---|
| Cost | Low | High |
| Customization | High | Low |
| Fun of Making | High | None |
| Sustainability | High | Variable |
| Educational Value | High | Low |
In conclusion, a DIY Bubble Blower is a fantastic, fun-filled activity that provides an exciting learning experience. This affordable and sustainable project can be easily customized, and is a perfect way to bond with your child and spark their interest in science. So gather your materials, roll up your sleeves, and get ready to blow some bubbles!
Conclusion: Unleash the Magic of Bubbles with Your DIY Bubble Blower
In conclusion, creating your own bubble blower using common household items is a fantastic way to bring joy, laughter, and a touch of science to your family activities. From making big bubbles and bubble snakes to exploring the fascinating world of homemade bubbles, this DIY project provides endless entertainment for kids of all ages.
Remember, the recipe for a successful bubble adventure lies in using a simple bubble solution, experimenting with different techniques, and letting your imagination soar. So why wait? Gather your materials, embrace the simplicity of this DIY project, and enjoy hours of bubbly fun with your loved ones. Unleash the magic of bubbles today and create unforgettable memories that will be treasured for years to come.
How to Make your Own Bubble Blower:
Ingredients
- Plastic Cup
- Plastic Straw
- Water
- Soap
Instructions
-
. Poke a small hole in your plastic cup. This needs to be big enough to stick your straw into.
-
Pour 1/2 part water and 1/2 soap into the bottom of your cup. You don’t need very much. In total, it will be about an inch. Make sure your liquid is lower than your hole.
-
Stick your straw into your cup, tilt your straw so it is into the bubble liquid and BLOW!!
Make your own Bubble Mixture Recipe:








![51vi2w1vchl-_sl500_ [500 Pack] Neon Colored Drinking Straws - Flexible, Disposable Kid Friendly, Assorted Colors](https://craftideas.blog/wp-content/uploads/2024/08/51vi2w1vchl-_sl500_.webp)
