Paper Pumpkin Craft
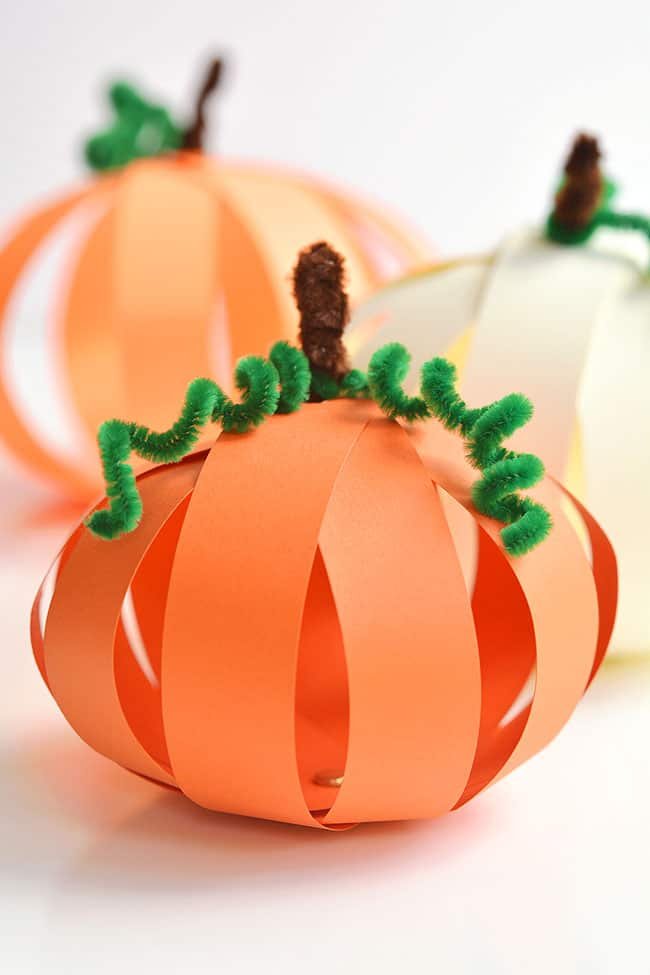
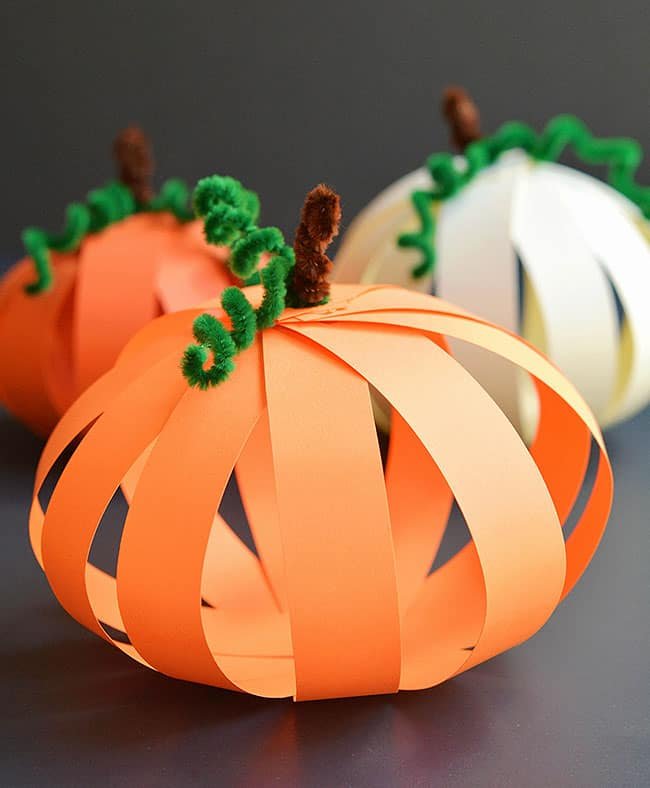
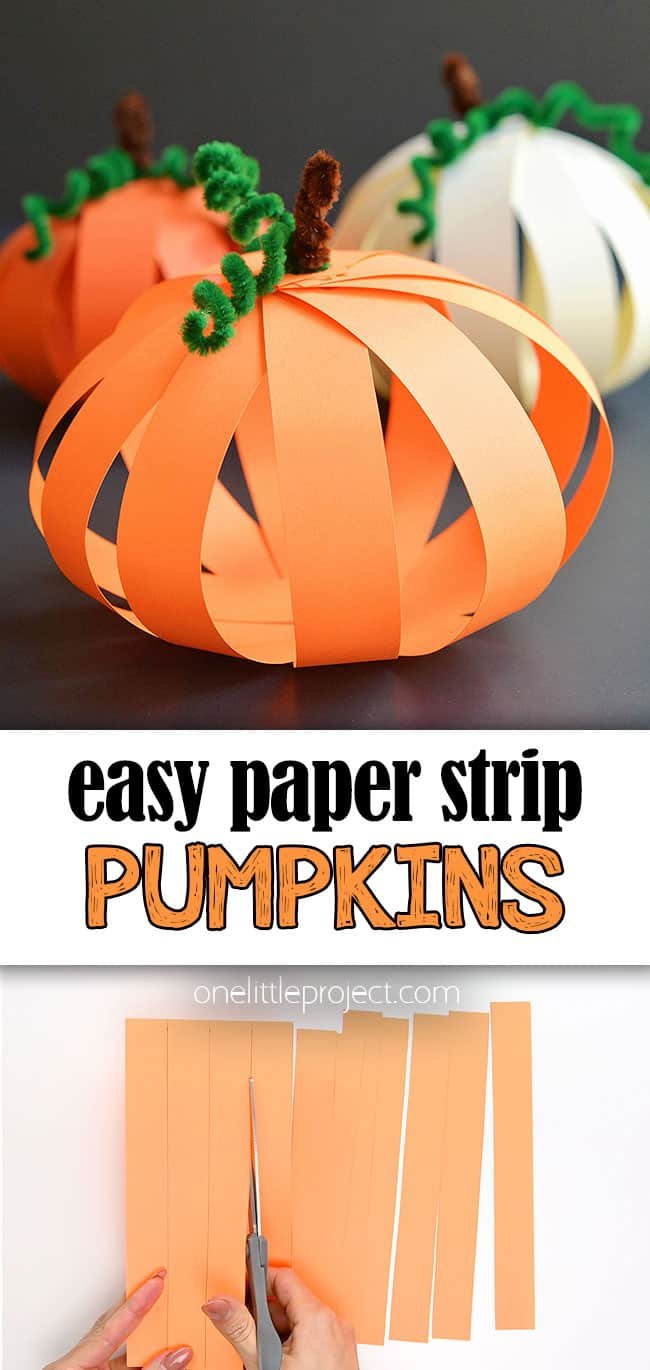
This paper pumpkin is SO SIMPLE – it’s the perfect craft for Thanksgiving or Halloween! Make this super cute paper strip pumpkin in just a few minutes, using simple supplies.
Paper Strip Pumpkin
These 3D paper strip pumpkins are quick, fun, and easy to make! Transform a simple piece of construction paper or cardstock into an adorable pumpkin in just a few minutes.
This is a great fall craft for kids of all ages. There’s no glue needed so it’s also a low mess craft – which I always appreciate! These paper pumpkins are inexpensive and you can make them in any size and colour.
They make cute fall decorations and fun homemade centerpieces for Thanksgiving dinner! They also look great sitting on a mantelpiece or coffee table alongside fabric leaves or even marbled leaves.
Check out our Paper Pumpkin video tutorial:
*Note: Scroll down for the step-by-step photo tutorial.
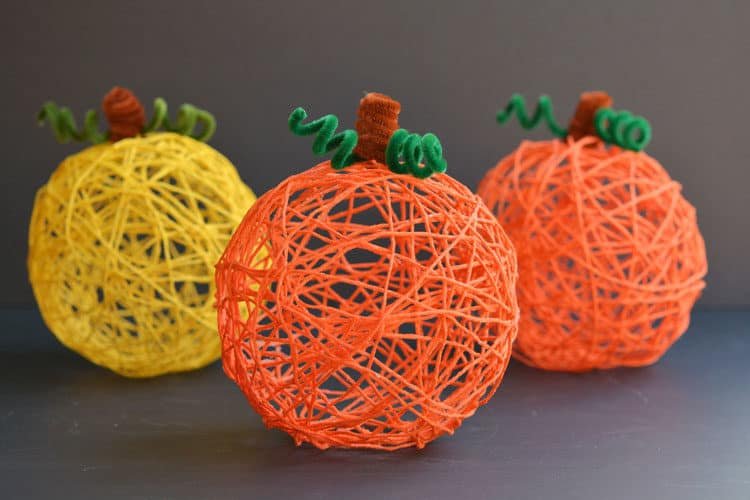
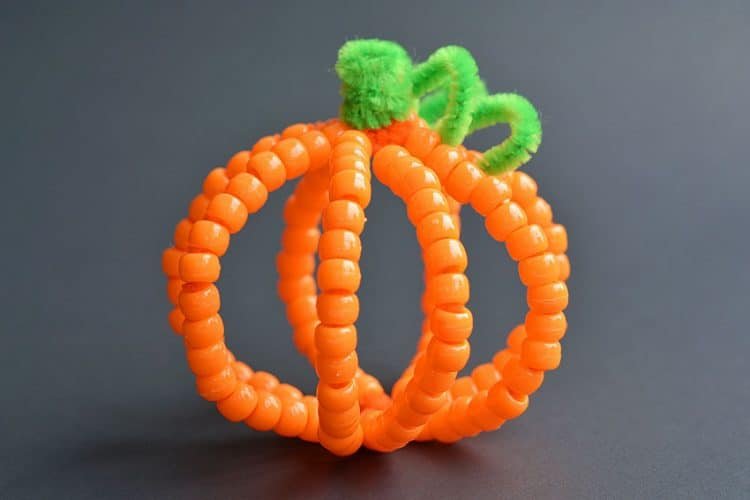
Looking for more pumpkin crafts? Here’s some of our favourites:

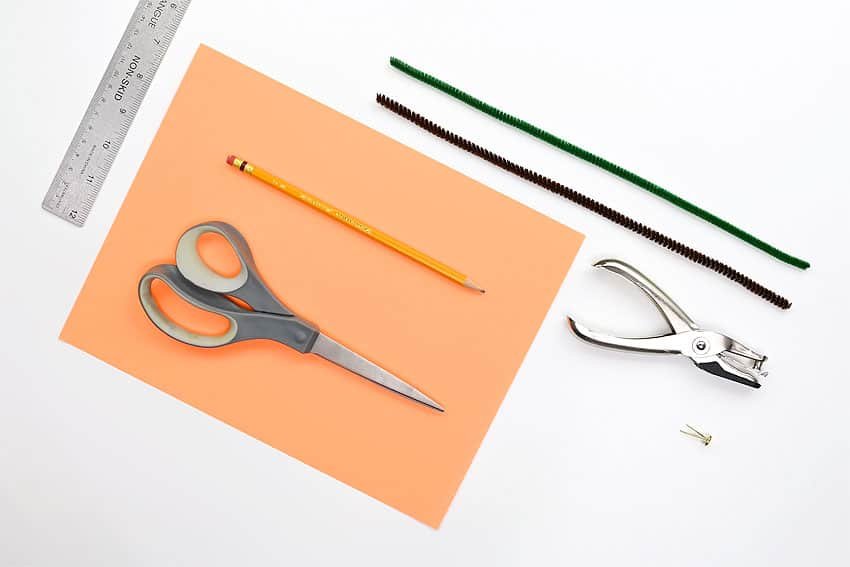
Here’s what you’ll need:
This post contains affiliate links. If you use these links to buy something we may earn a small commission, which helps us run this website.
The full printable instructions are at the end of this post, but here’s a list of products on Amazon and Target that are similar to the supplies we used:

What type of paper should I use?
We used cardstock because it holds the 3D pumpkin shape well. You can also use construction paper for an inexpensive and kid friendly paper pumpkin. Or, for a fancier look, try using glitter paper or patterned scrapbook paper.
What if I don’t have paper fasteners?
You can easily buy paper fasteners or “brads” online, or you can find them at Target, Walmart, or an office supply store like Staples. You might even be able to find them at the dollar store!
If you don’t want to buy paper fasteners you can skip the step of hole punching the paper strips and simply glue them into place. Or you can make your own paper fasteners using a drinking straw or pipe cleaner.
Drinking straw fastener: Add the paper strips to the drinking straw, cut slits in the bottom of the straw, then spread them apart and tape them to the bottom paper strip. Trim the straw and repeat for the top.
Pipe cleaner fastener: Add the paper strips to the pipe cleaner then wind the ends into tight spirals on the top and bottom of the paper strips to hold them in place.

How to Make a Paper Pumpkin
Materials:
- 1pieceOrange cardstock(8.5 inch x 11 inch)
- 1Paper fastener
- 1Brown pipe cleaner(12 inch)
- 1Green pipe cleaner(12 inch)
Equipment:
Instructions:
Step 1: Cut and connect the paper
-
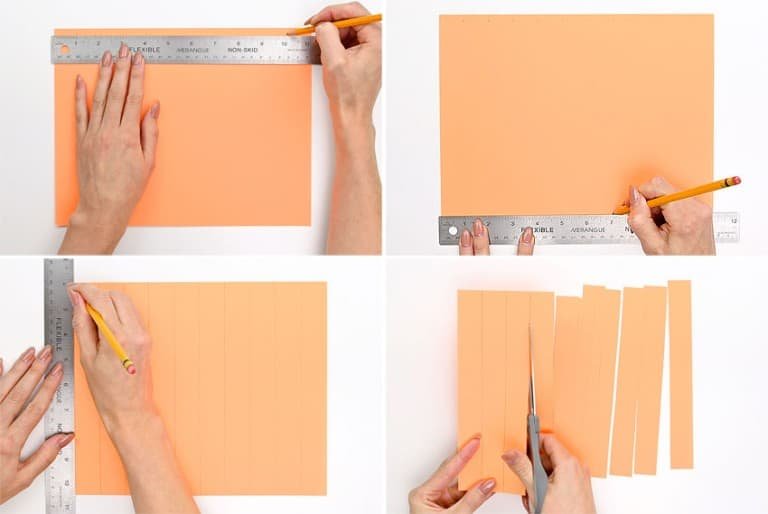
Make a small mark every inch along the top and bottom of long edge of the paper. Using a ruler, draw lines from the top marks to the bottom. Cut along the lines so you end up with 11 strips.

-
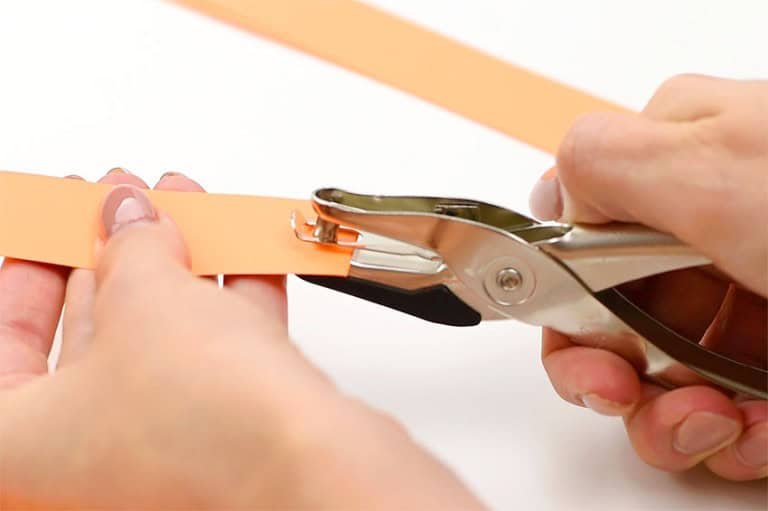
Use a single hole punch to punch holes on both ends of the strips. You can line up the strips and punch several at a time.

-
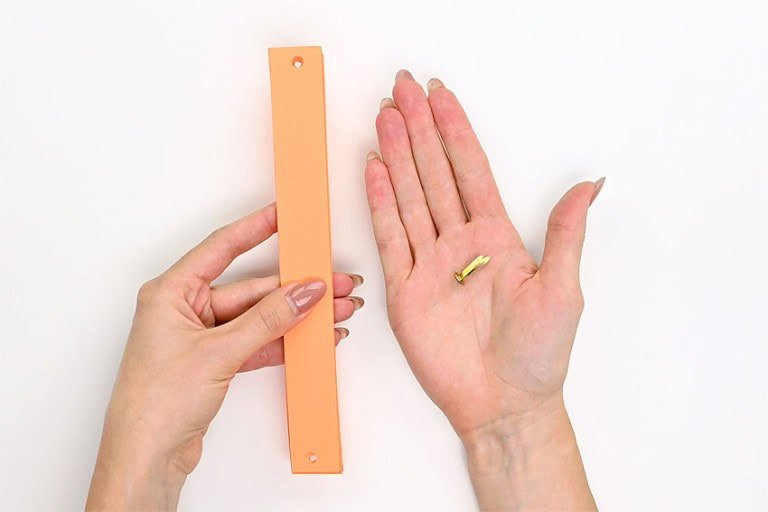
Once all the strips have been hole punched, gather them into an even stack and put a paper fastener through one end.

-
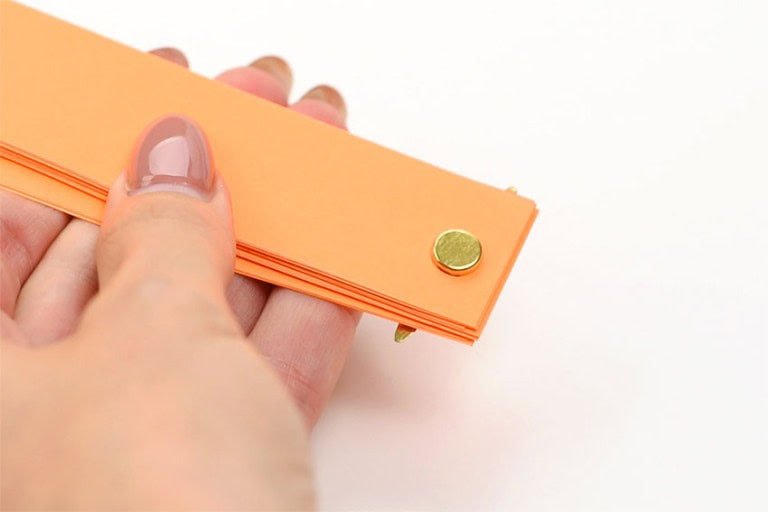
Close the paper fastener to secure the paper strips together.

Step 2: Form the pumpkin
-
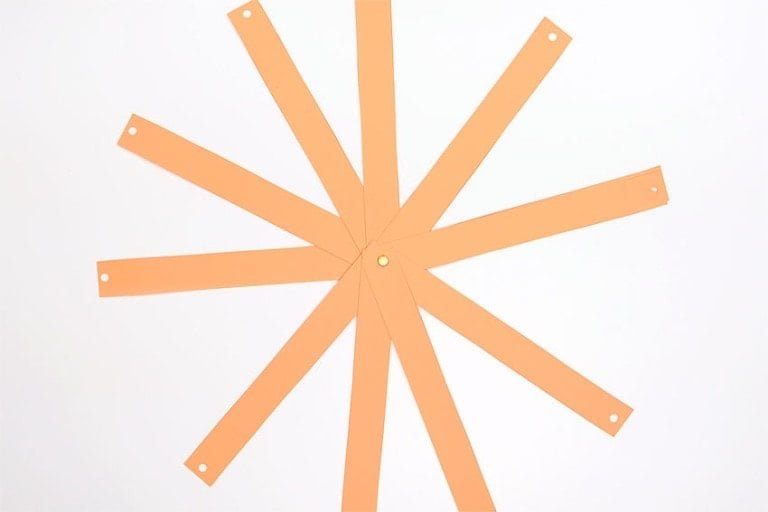
With the round part of the paper fastener facing up, spread out the paper strips evenly.

-
Fold a brown pipe cleaner in half.
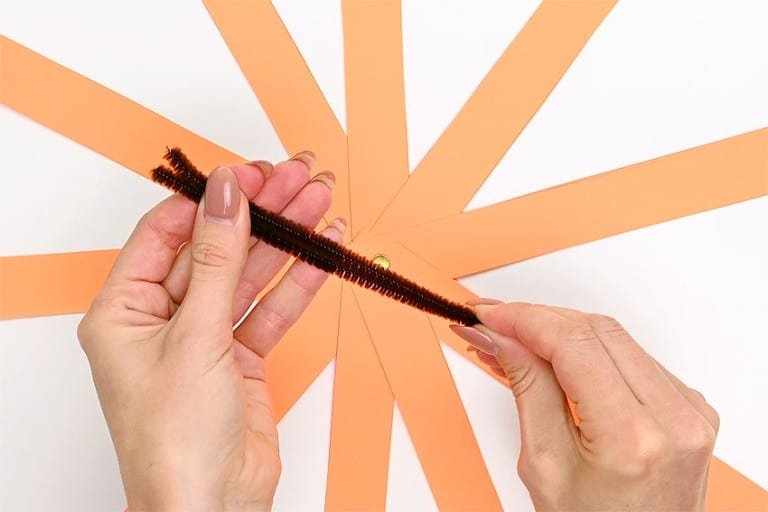

-
Bend the pipe cleaner into an “L” shape and hold it with the two ends of the pipe cleaner pointing upwards.Lift a paper strip up and feed the pipe cleaners through the hole. Add the next paper strip on top of the first. Continue adding each paper strip in order.
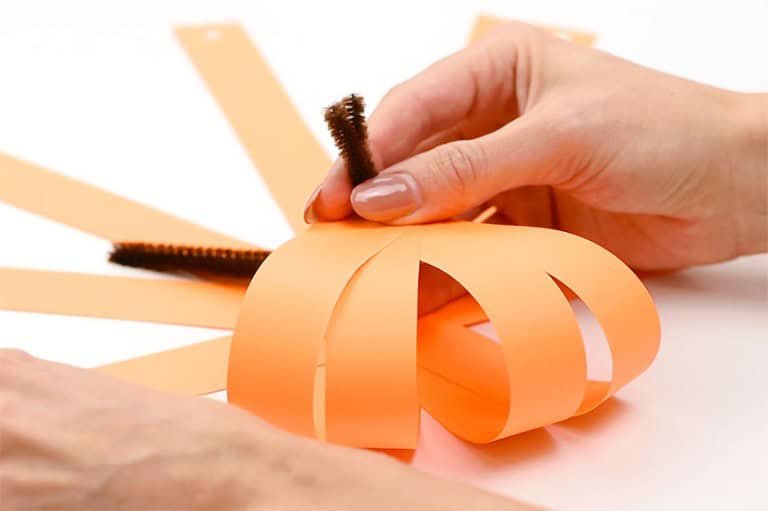

-
Once all the paper strips are on the pipe cleaner, pull the pipe cleaner most of the way out (leave about a 1 inch inside the pumpkin).
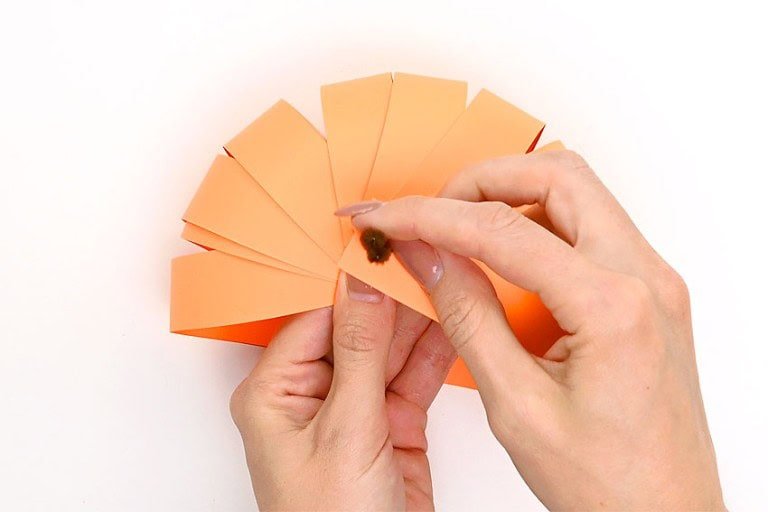

Step 3: Form the stem and vines
-
Open the folded pipe cleaner inside to form a loop shape. Twist the loop around several times and then bend it 90 degrees so it’s flat against the paper strips.Fold the stem on the outside of the pumpkin in half and twist the extra pipe cleaner around the stem to make it thicker.
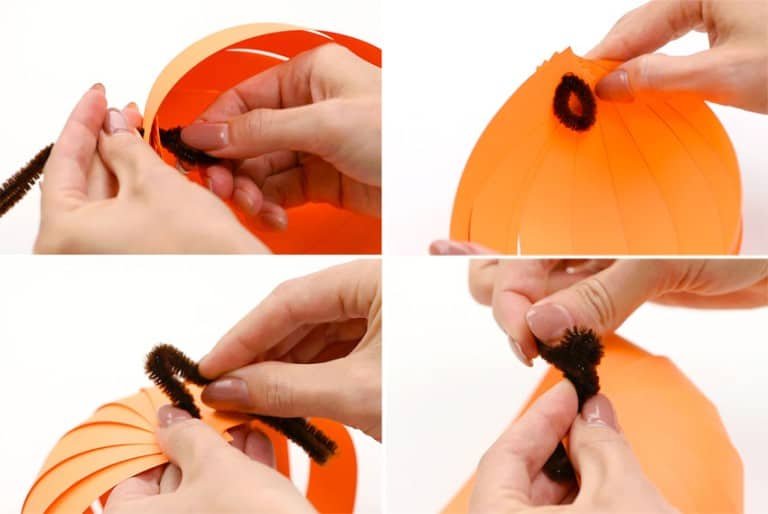

-
You should now have a short pumpkin stem with a “hook” inside that will keep the paper strips together.
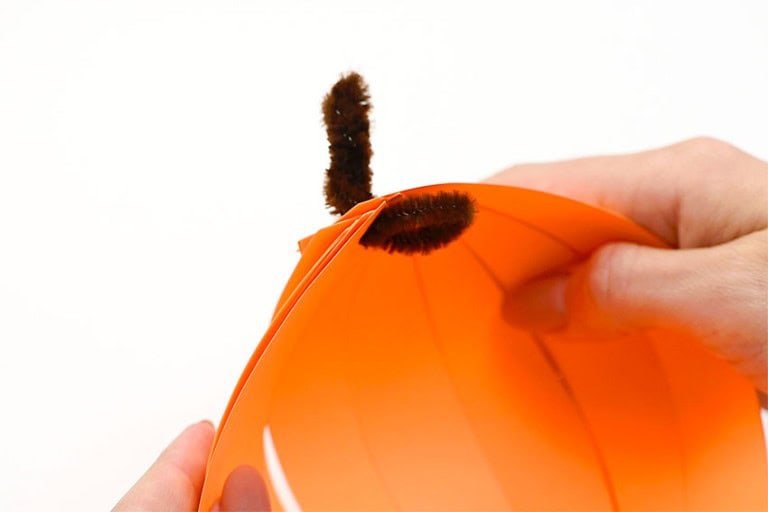

-
Center the green pipe cleaner on the base of the stem.
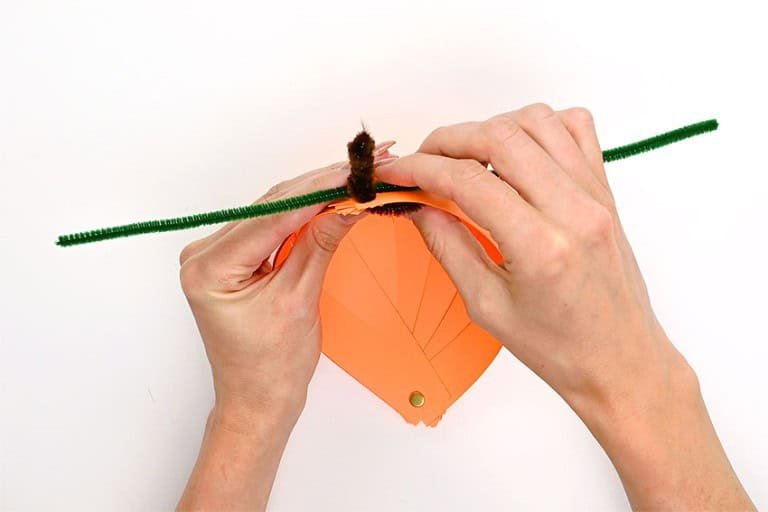

-
Wrap each side of the green pipe cleaner around the brown stem a couple times.
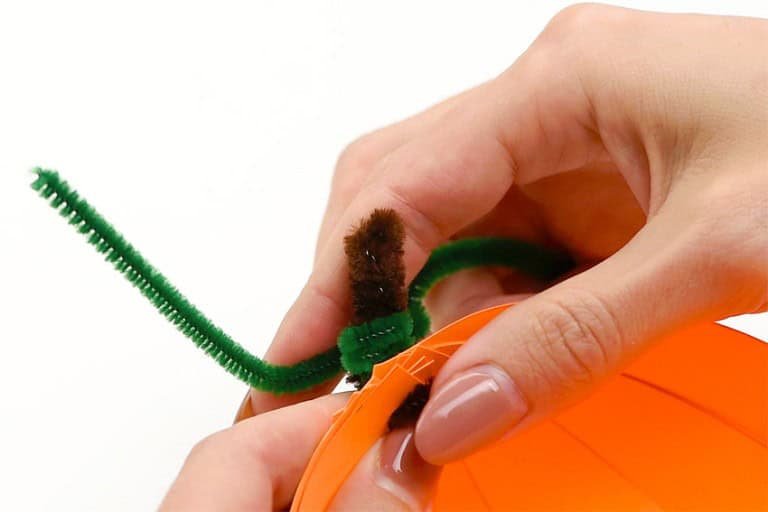

-
Wind each end of the green pipe cleaner around a pencil to form the vines.
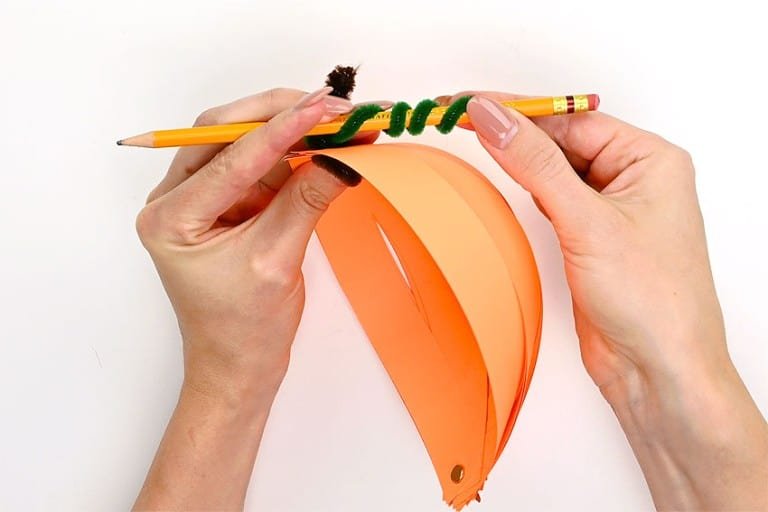

-
Separate the strips so they are evenly spaced around the pumpkin.
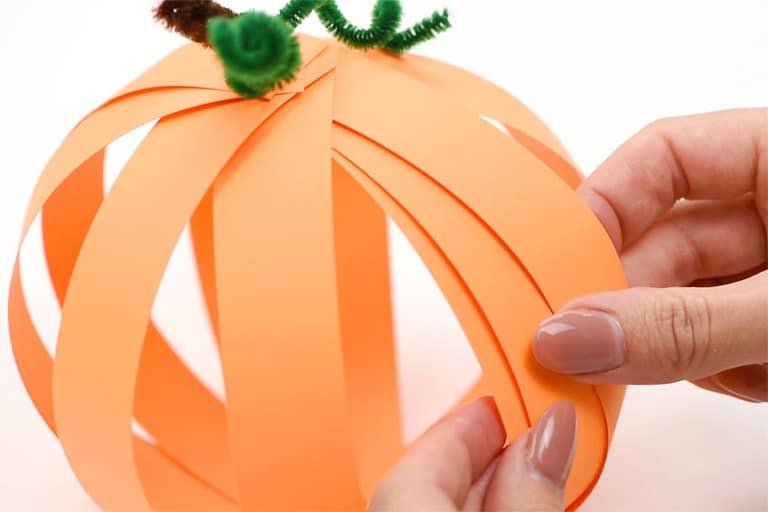

-
Your paper pumpkin is complete!
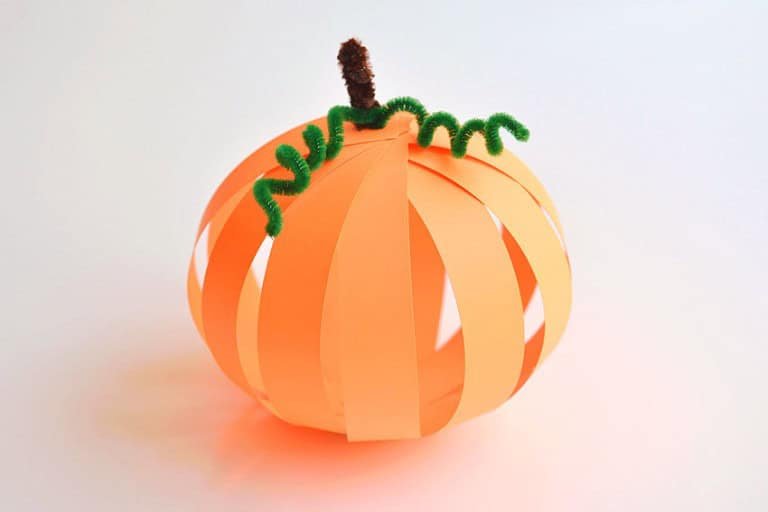

Helpful Tip:
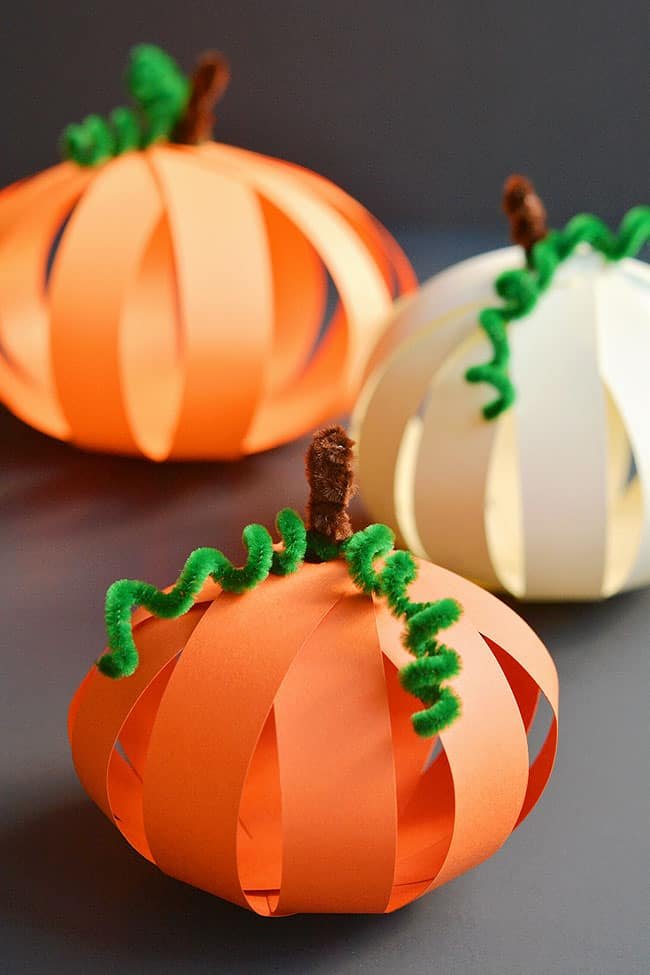

How can I make a different size pumpkin?
To make a different size pumpkin you simply need to use a different size of paper. You can use a larger (legal) size of paper, or you can cut down regular sized paper before making the strips.
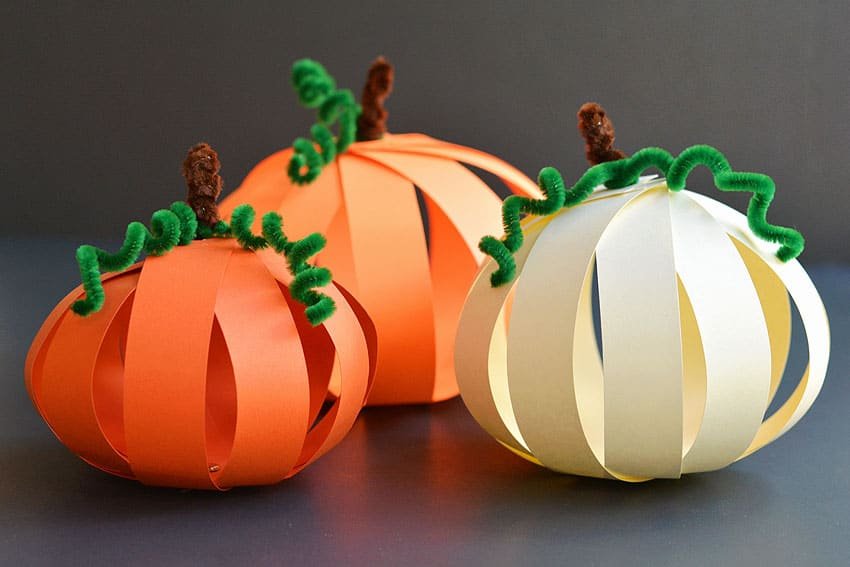
For the white pumpkin we cut off 1 inch (making the paper 7.5 by 11 inches), while the darker orange has 2 inches cut off (6.5 by 11 inches).
You can also cut thinner or thicker strips of paper, or you can make a wider pumpkin by cutting longer paper strips.
What can I use instead of pipe cleaners?
You can connect all the paper strips with another paper fastener and then glue on a stem and vines and leaves made of paper. Try rolling up brown paper for the pumpkin’s stem and winding paper vines around a pencil to curl them.
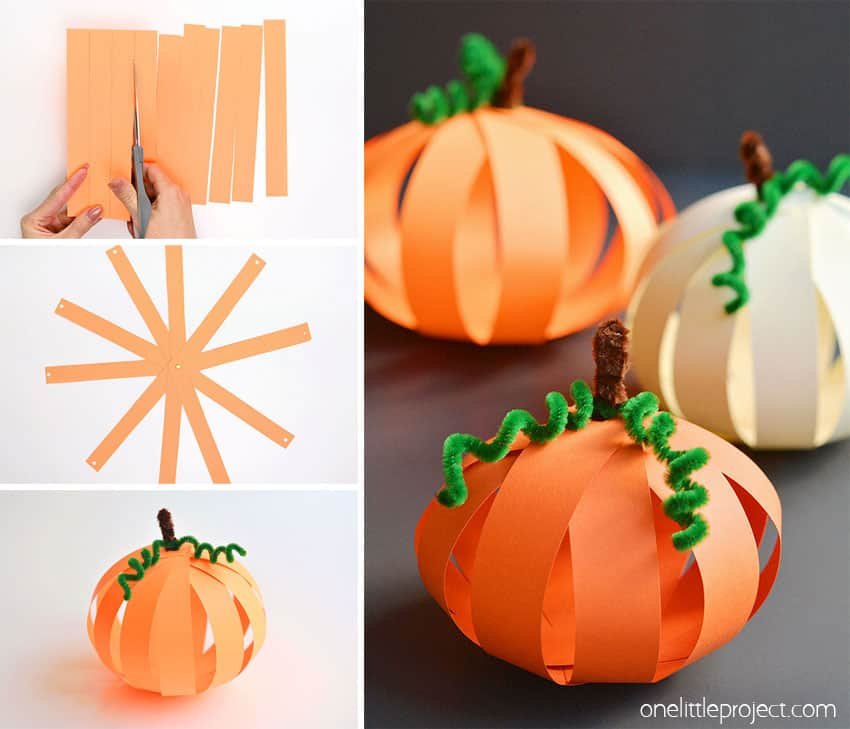

These paper pumpkins are a fun craft for kids of all ages. Try drawing a face across a couple of the strips or glue on some paper pieces to form a Jack-o’-Lantern face!

Here’s even more pumpkin craft ideas:
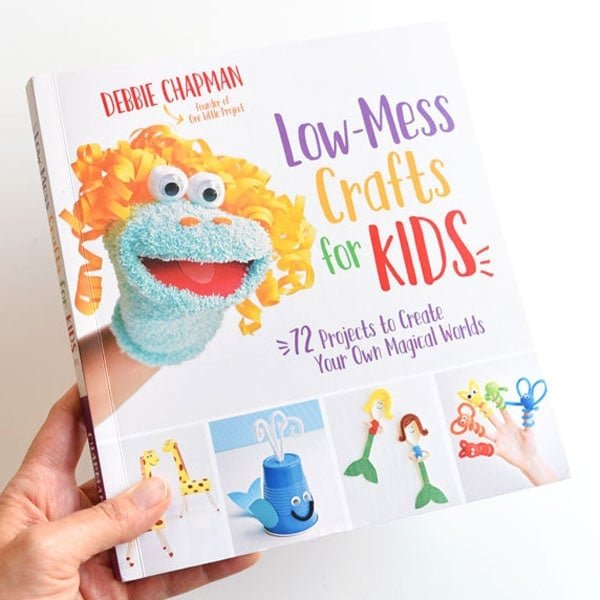
Our book Low-Mess Crafts for Kids is loaded with 72 fun and simple craft ideas for kids! The projects are fun, easy and most importantly low-mess, so the clean up is simple!
Where to buy:
You can purchase Low-Mess Crafts for Kids from Amazon, or wherever books are sold:
Amazon | Barnes and Noble | Books- A- Million | Indiebound | Indigo | Amazon Canada


