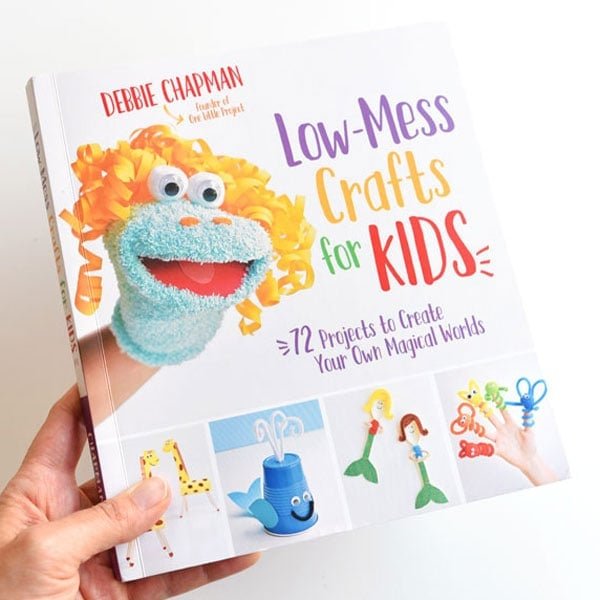
Felt Pumpkin Pattern
Use our FREE felt pumpkin pattern to make super cute decorations for fall! They’re so easy to make and perfect for sewing beginners. It’s such a fun and festive autumn craft!
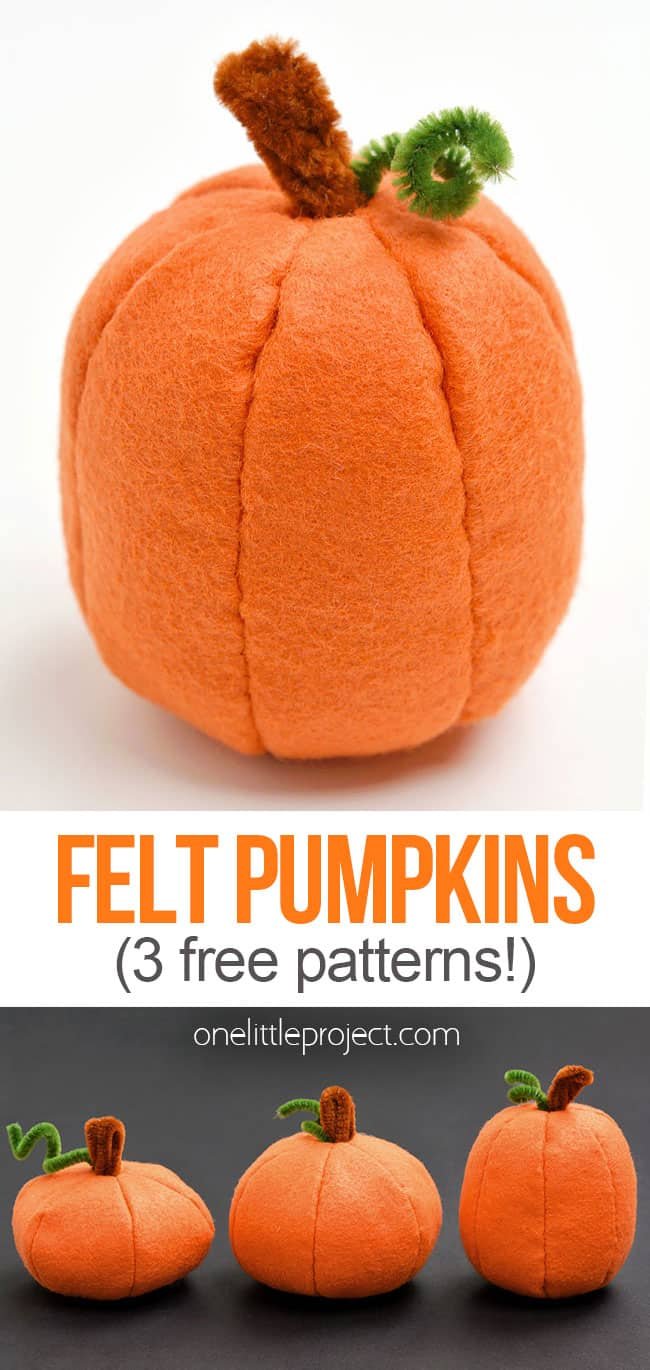
Create your own pumpkin patch with our printable patterns (in 3 different pumpkin sizes!). Place your handmade decorations on the mantel for Halloween, or use them as part of a centerpiece for Thanksgiving dinner.
This post contains affiliate links. If you use these links to buy something we may earn a small commission which helps us run this website.
How to Make Felt Pumpkins
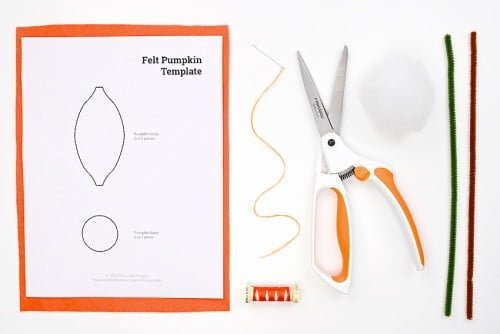
Materials:
- Free Printable Felt Pumpkin Pattern(More pattern sizes below)
- Orange felt
- Orange thread
- Fiber fill stuffing
- Brown pipe cleaner(12 inch)
- Green pipe cleaner(12 inch)
Check Out The Video Tutorial:
Instructions:
Step 1: Find what you need
- Gather your supplies and materials.
Step 2: Cut out the pieces for the pumpkin
- Print out one of our FREE felt pumpkin templates.Find a link in the list above, or download more sizes of pumpkins below.
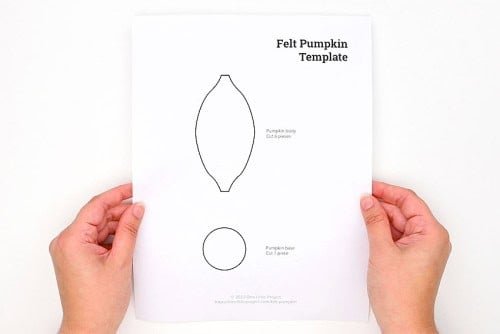
- Cut out both of the pattern pieces.
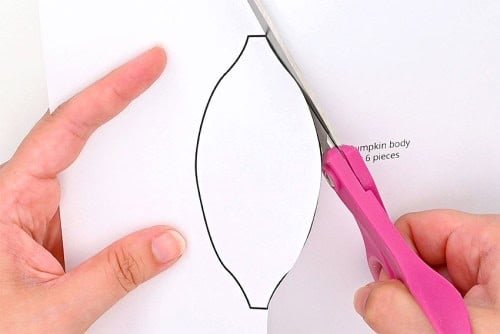
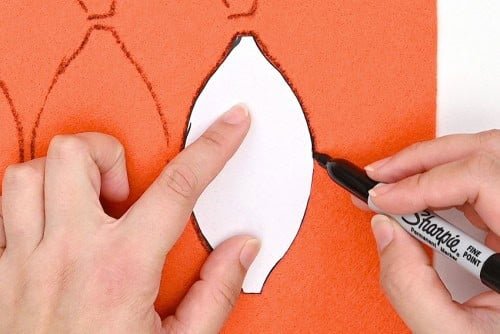
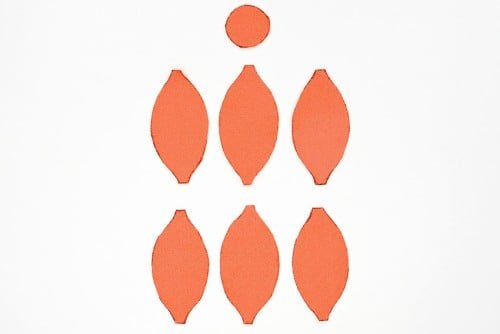
- Trace the pumpkin body onto the orange felt 6 times.We used a marker, but you can also use a gel pen or tracing pencil.
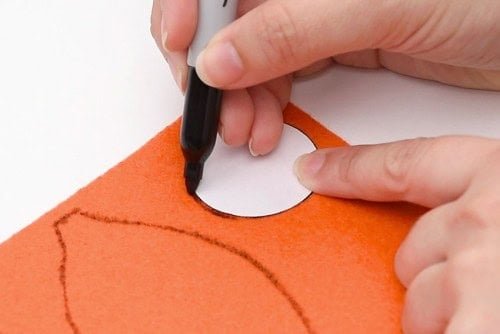
- Trace the round pumpkin bottom piece onto the felt.
- Use fabric scissors (or other sharp scissors) to cut out the pieces.
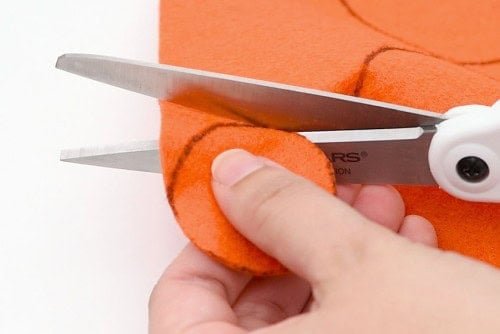
- You’ll need 6 pumpkin pieces and 1 circle for the bottom to make your felt pumpkin.
Step 3: Connect the first two pumpkin pieces
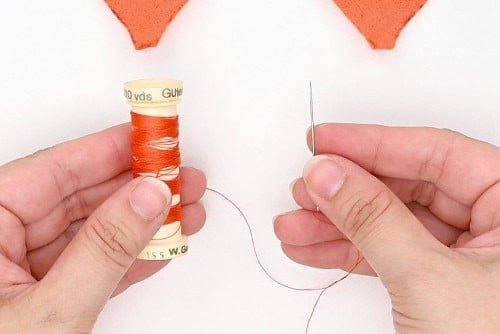
- Choose an orange thread to match the colour of the felt and thread it onto a sewing needle.
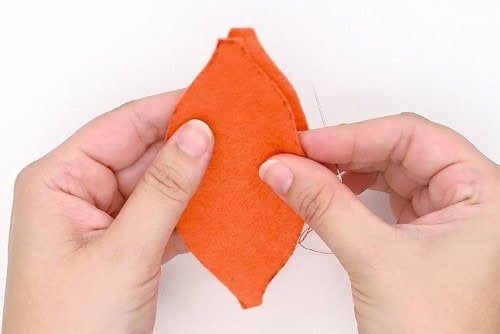
- Place two of the pumpkin body pieces together, one on top of the other.If your pumpkin pieces have pen markings on them, place these parts facing outwards so they’ll be hidden inside the pumpkin.
- Start sewing about 1/8 inch away from the edge of the felt and about 1/4 inch from the bottom.Normally you would tie a knot at the end of the thread to keep it from going through the fabric. If your knot is too small and it slips right through the felt, try this instead:Bring the needle in from the back, through both layers of felt. Don’t pull the thread all the way through – leave a couple of inches that can be cut off later.Then make a small stitch by putting the needle back through the felt, very close to where the thread first came through. Repeat this three more times and your thread will be secured without a knot.
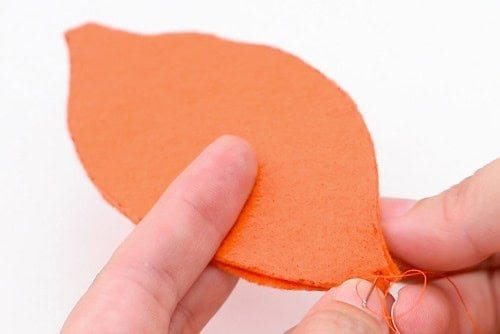
- Begin sewing the felt together with a running stitch. To do this, pass the needle in and out of the fabric at a regular distance.
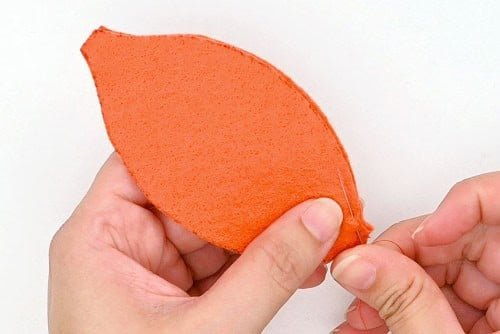
- Continue sewing a running stitch all the way up the pumpkin. When you reach the top, flip the felt over and begin stitching backdown the same side.
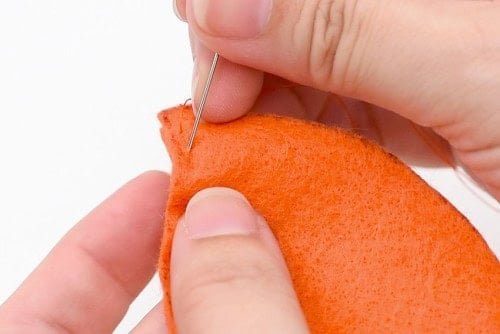
- Alternate where your stitches are, so they go in between the previous stitches. This will create a continuous line of stitching, instead of a dashed line, making a clean, straight line for the pumpkin once it’s stuffed.
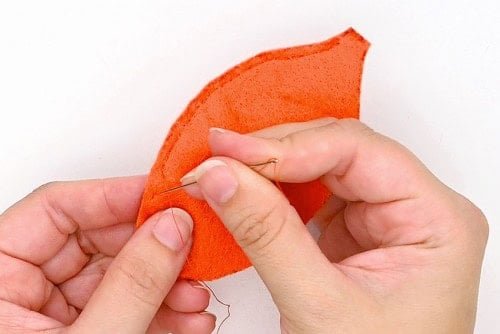
- Secure the thread, in the same way you started it, and cut it off. You should have 2 pumpkin pieces secured and connected with a clean seam.
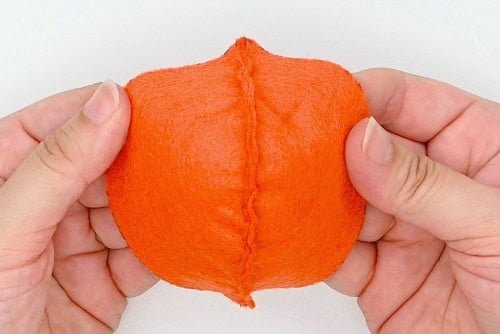
Step 4: Sew together the rest of the pumpkin body
- To attach the next piece of felt, open the two connected pieces and match up the third piece with the previous piece.Again, keep any pen marks facing outwards.
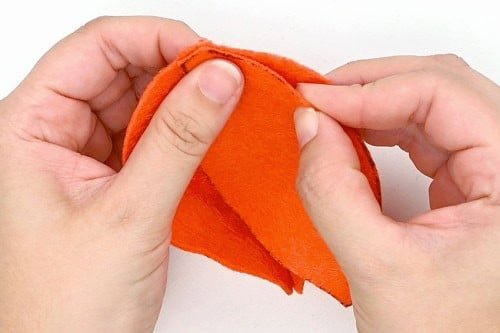
- Now sew these two pieces together along the right side.Keep track of where you started sewing with the first pieces and make sure to leave another 1/4 inch plain (not sewed) at the bottom. This will eventually be where you turn the pumpkin right side out and add the stuffing.Continue sewing, making sure to once again alternate the stitches on the other side.
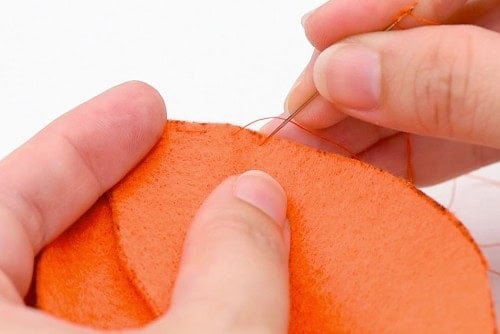
- Repeat, until you’ve connected all 6 pieces of the pumpkin body.
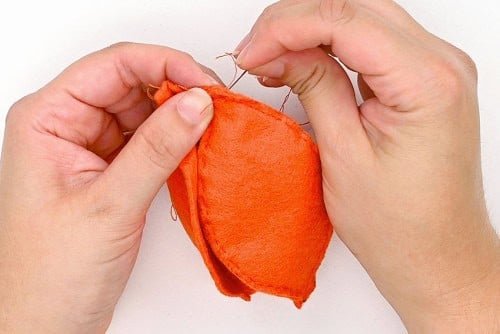
- Sew together the two sides, creating a round pumpkin. Secure the thread and cut it off.
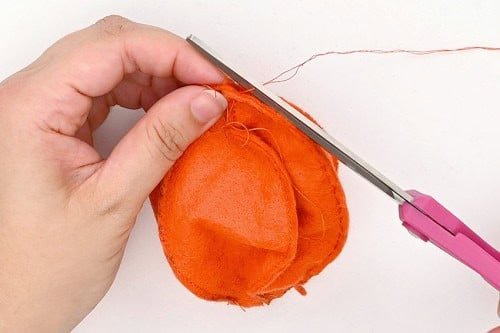
- Turn the pumpkin right side out so that the seams are now on the inside. There should be a tiny hole on the top and a larger hole on the bottom.
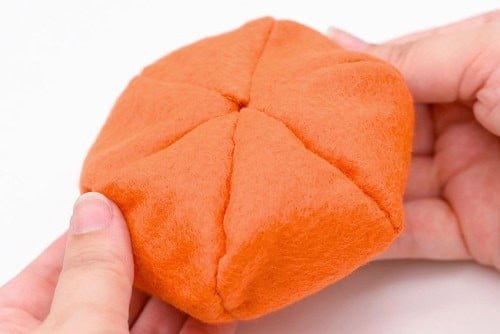
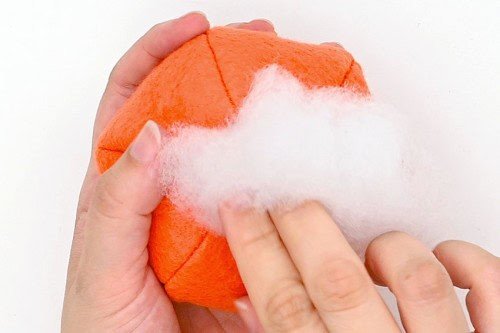
- Add stuffing to the pumpkin, filling it as much or as little as you’d like.Add a small amount of stuffing to make a pumpkin that’s squishy and soft. The more you add, the more firm the pumpkin will be.
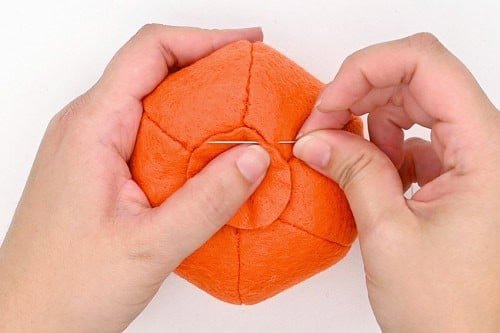
- Once you’re happy with the amount of stuffing, center the round piece of felt over top of the hole.Start connecting the bottom piece by sticking your needle through the body of the pumpkin and bringing it up from the bottom of the felt circle. Leave a few inches of thread loose, so that you can tie it off later.Then sew the cover on with a running stitch. (No need to do 2 passes on this part.)
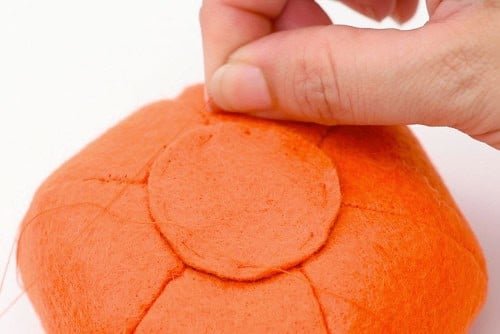
- Once you’ve sewn around the circle, finish with a stitch down into the pumpkin. Cut off the thread, leaving a few inches extra, and tie it to the starting thread. Secure them with a double knot and cut off the extra thread.
Step 5: Make and attach the pumpkin stem and tendrils
- Fold a brown pipe cleaner in half.
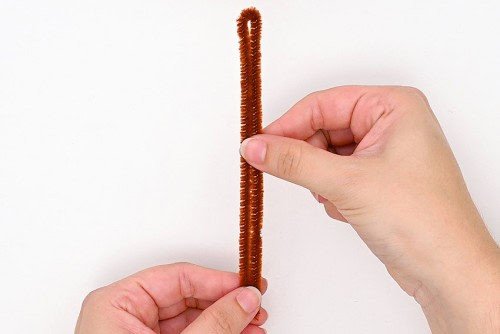
- Fold it in half again.
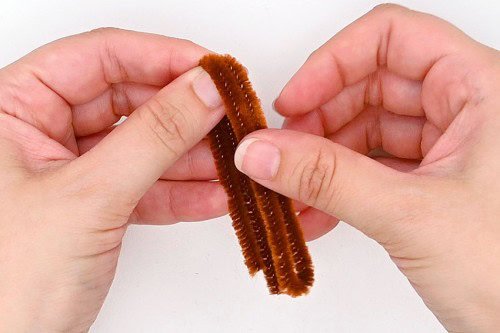
- Fold it in half one last time (a total of three times).
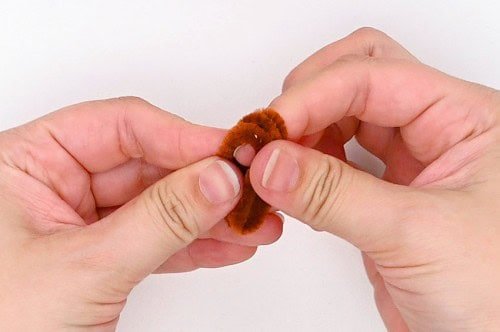
- Twist the pipe cleaner together at the bottom to help it stay together.
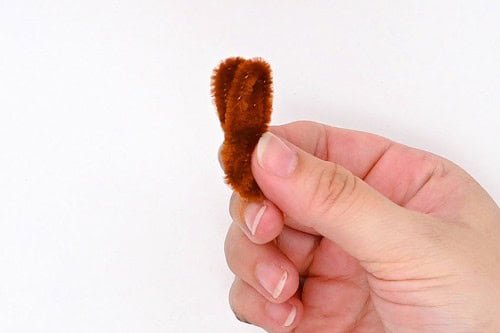
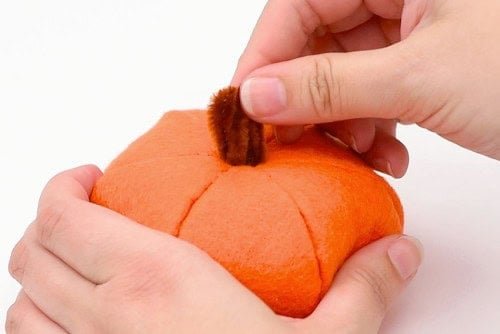
- Insert the twisted part of the pipe cleaner into the small hole on the top of the pumpkin.
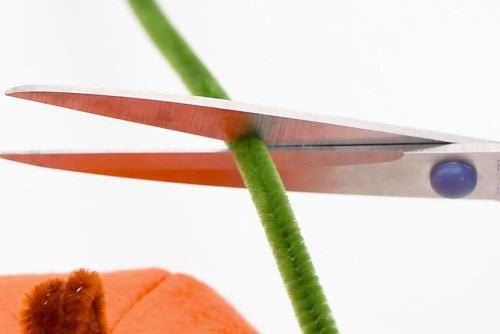
- Cut off a 4 inch piece of green pipe cleaner.
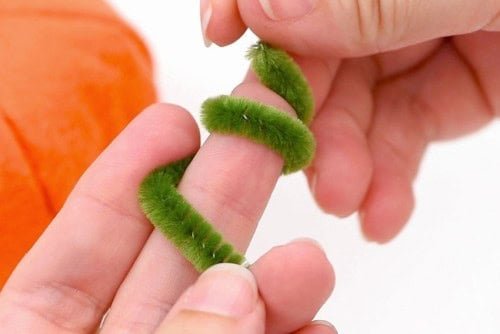
- Wind the pipe cleaner around your finger (or a pencil) to create a pumpkin tendril.
- Insert the twisted pipe cleaner into the top of the felt pumpkin, beside the brown stem. It should be a tight fit that keeps them stuck in place.
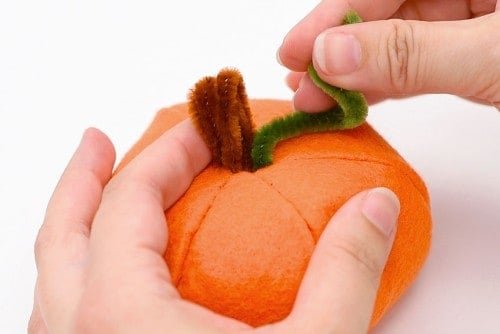
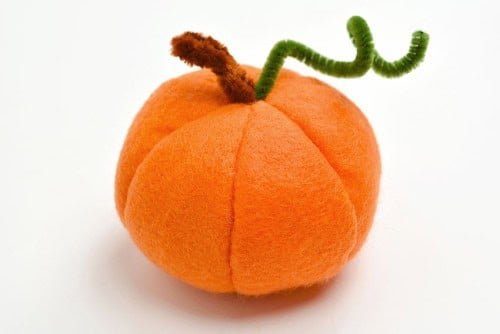
- Your felt pumpkin is complete!
Helpful Tips:
- If you use a marker to trace the pattern pieces be sure to attach the pumpkin pieces to each other with the marker side out so the ink doesn’t show. You can also use a regular gel pen or a chalk tracing pencil, meant for drawing on fabric.
- You can also sew your felt pumpkin on a sewing machine. This requires a bit more seam allowance and will create a slightly smaller pumpkin.
Download our free felt pumpkin patterns:
Click on the links below to download our free, printable felt pumpkin patterns! The PDF files will open in a new window. Then simply print the templates on 8.5 x 11 (letter size) printer paper.
>>> SMALL Felt Pumpkin Pattern #1 <<<
>>> MEDIUM Fabric Pumpkin Pattern #2 <<<
>>> TALL Felt Pumpkin Pattern #3 <<<
What’s the best felt to use for making a felt pumpkin?
We used a basic polyester craft felt to make our fabric pumpkins. You can buy individual felt sheets at the craft store, or purchase a larger pack on Amazon. If you’re looking for felt online, make sure you’re purchasing “soft felt” (as opposed to “stiff felt”).
What can be used to stuff these felt pumpkins?
We used stuffing from an old pillow, but you can also buy polyester fiber fill. Or stuff your felt pumpkin with fabric scraps, crumpled up plastic bags, or even rice.
What size pumpkins does this felt pumpkin pattern make?
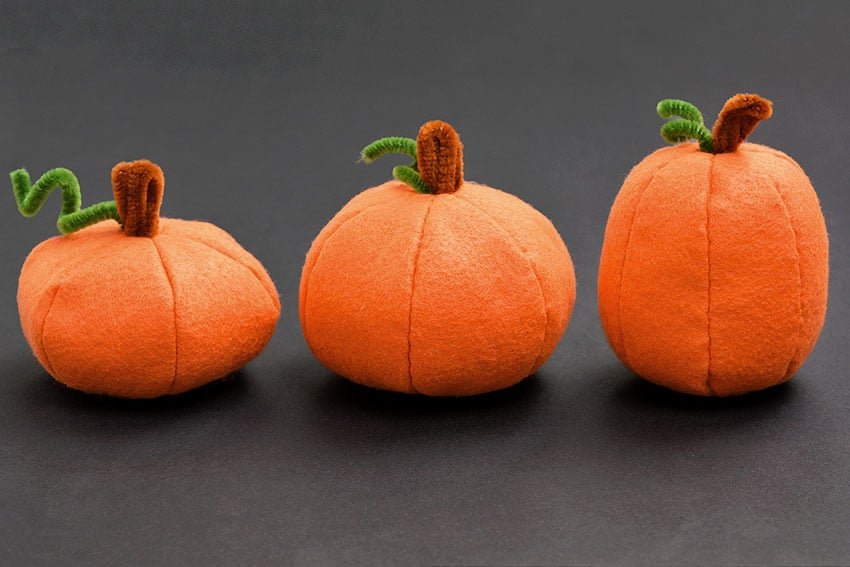
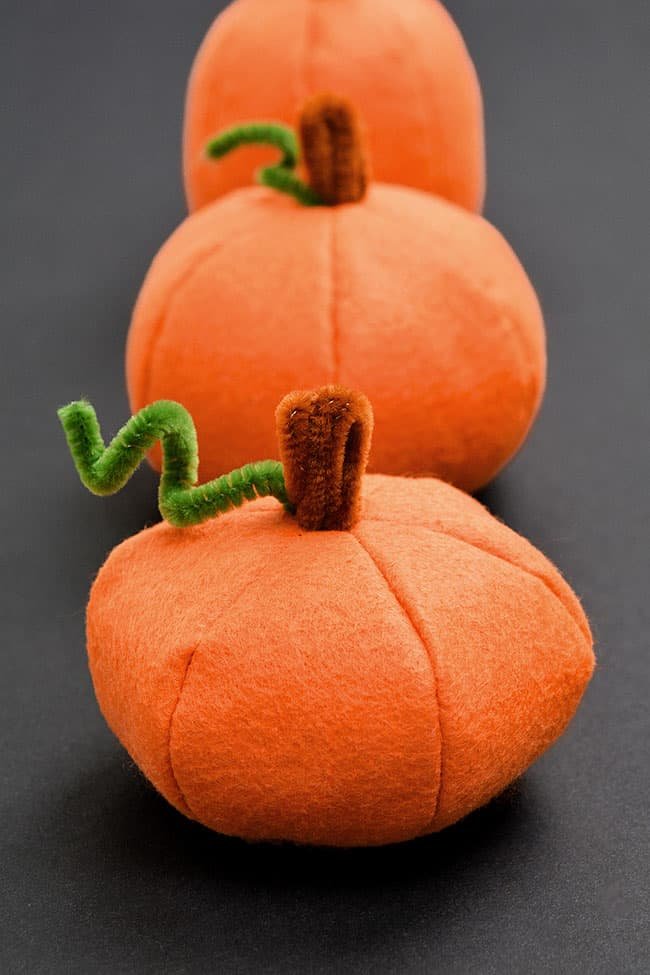
The exact size of the pumpkin will depend on how big you make your seams. The rough sizes of the pumpkins we made are as follows:
Small pumpkin: 2-1/2 inches tall, 3-1/2 inches diameter
Medium pumpkin: 3 inches tall, 4 inches diameter
Large pumpkin: 4 inches tall, 3 inches diameter
How else can I decorate my felt pumpkin?
Turn your felt pumpkin into a jack-o-lantern by cutting a face from black felt. Or even use black, purple, or bright green felt to make Halloween themed pumpkins!
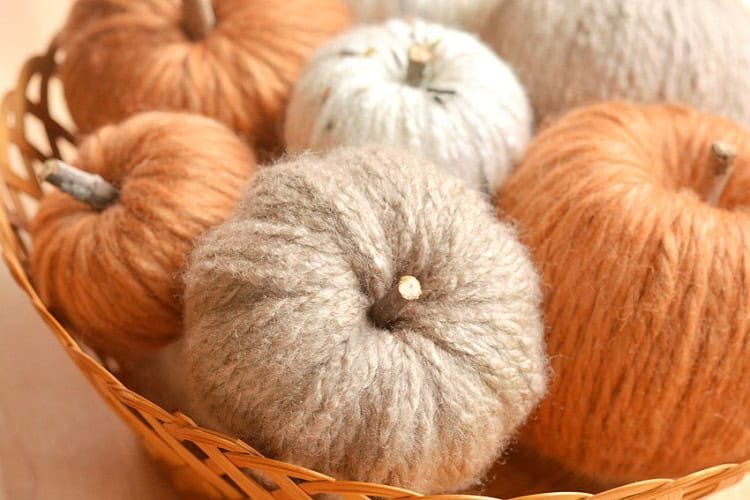
For a more neutral pumpkin for Thanksgiving, use white or beige felt. You can also make your pumpkin from another type of fabric, like a fall patterned cotton.
For the stem, you can wrap the pipe cleaner in brown felt for a bendable stem, or simply roll up a small length of felt. You could even use a small branch or stick for the pumpkin’s stem!
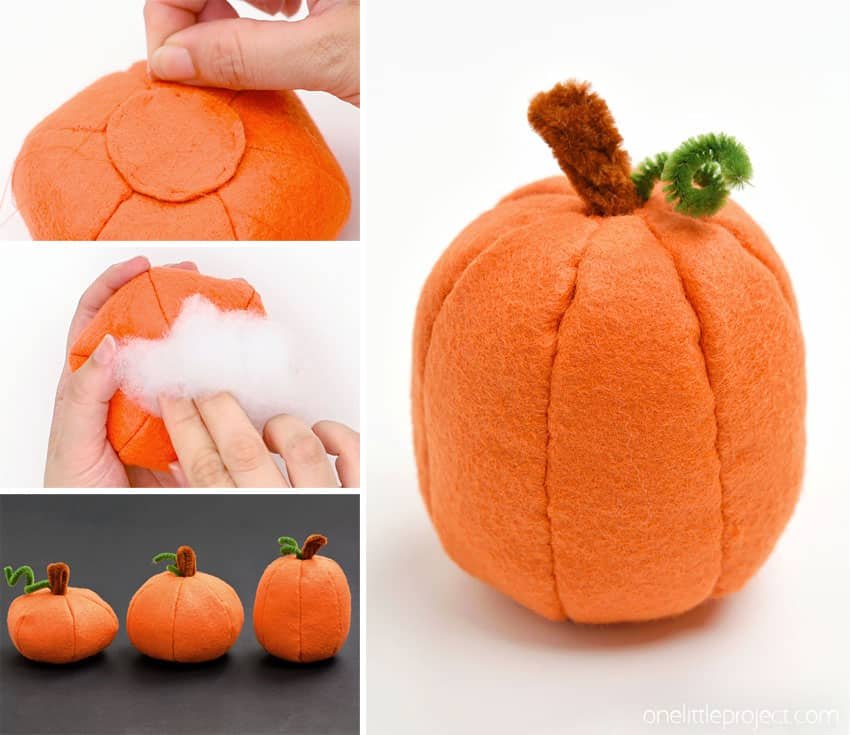
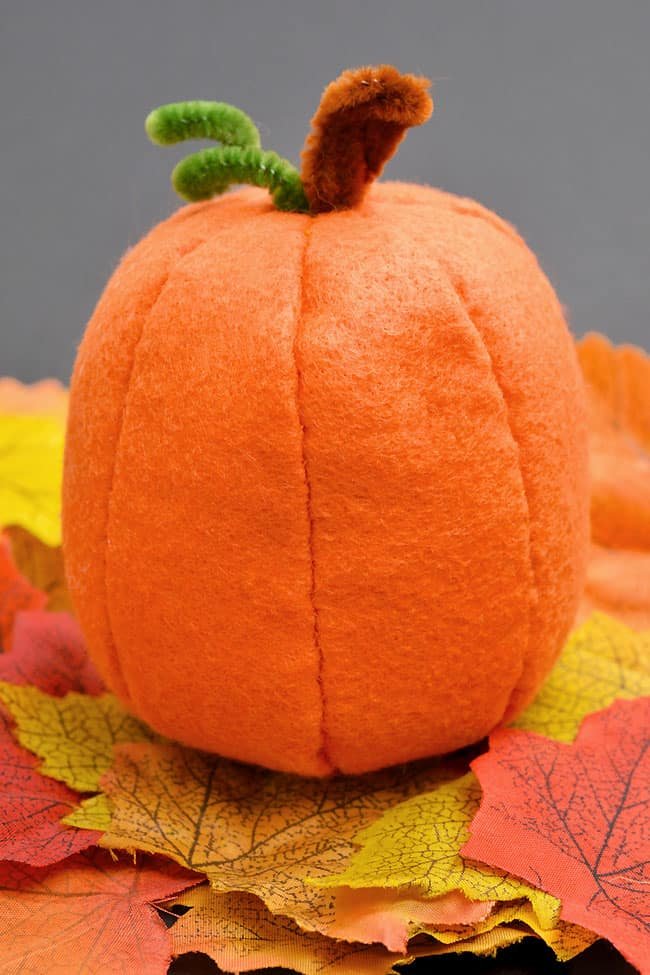
Use our free felt pumpkin pattern to make one of these super cute harvest decorations! These DIY fabric pumpkins look so pretty alongside fake leaves and acorns, or displayed together in a basket.
Here’s even more fall craft ideas:
Our book Low-Mess Crafts for Kids is loaded with 72 fun and simple craft ideas for kids! The projects are fun, easy and most importantly low-mess, so the clean up is simple!
Where to buy:
You can purchase Low-Mess Crafts for Kids from Amazon, or wherever books are sold:
Amazon | Barnes and Noble | Books-A-Million | Indiebound | Amazon Canada


