How to Make Wax Melts
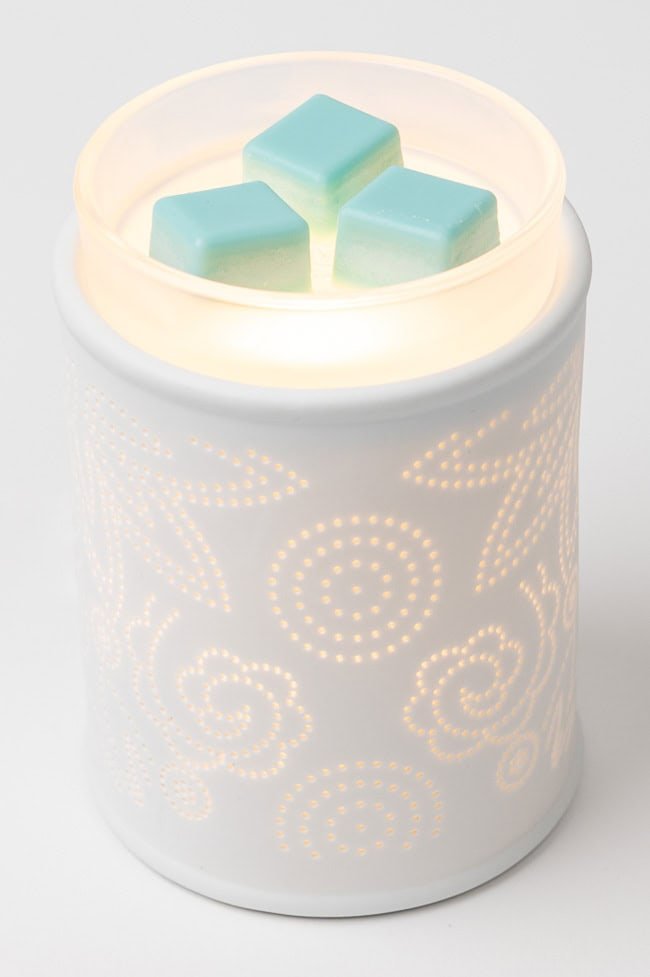
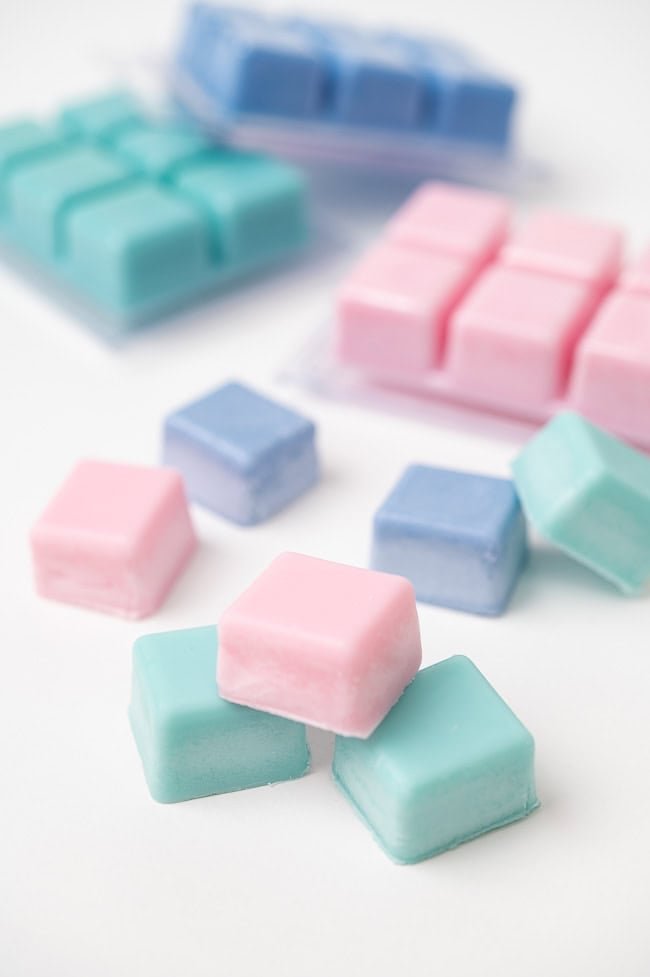
Learn how to make wax melts with this step by step tutorial! It’s SO EASY to make scented wax melts at home with natural ingredients.
DIY wax melts are even easier to make than a candle, so this is the perfect project for beginners! They have a nice, strong scent when melting (aka “scent throw”), and they also make thoughtful homemade gifts!
This post contains affiliate links. If you use these links to buy something we may earn a small commission which helps us run this website.
How to Make Wax Melts
Materials:
- 2ouncesSoy wax(we used Golden Brands 444)
- 1pinchWax dye
- 0.12ounceEssential oils(scent of choice)
Equipment:
-
Candy or deep fry thermometer(with a clip)
Instructions:
Step 1: Find what you need
-
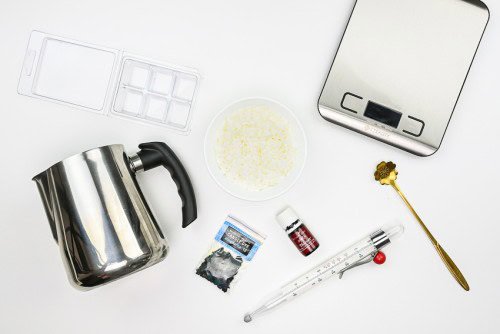
Gather your supplies and materials.

Step 2: Weight out the wax
-
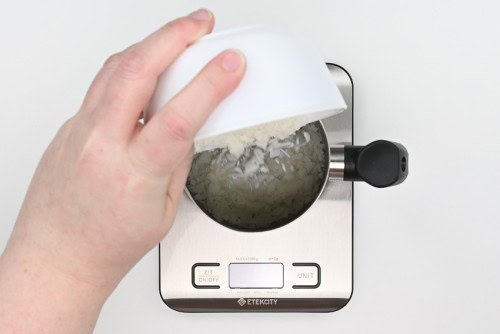
Weight the soy wax in your melting pot.

Step 3: Melt the wax and dye
-
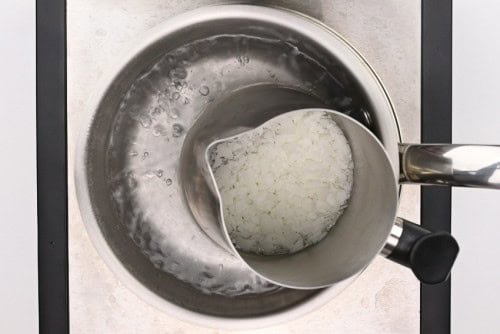
Add an inch of water to a saucepan and bring it to a boil on high heat.Place the melting pot in the boiling water, and reduce the temperature to medium or medium-low (whatever is required to maintain a simmer).

-
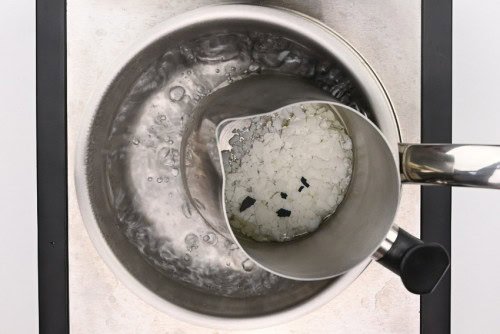
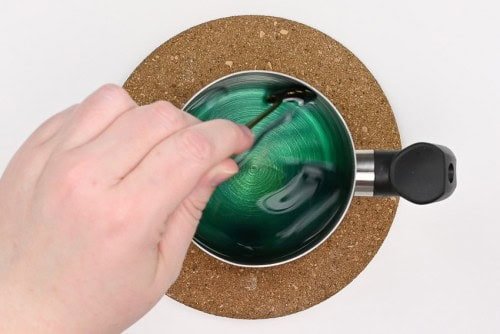
Add a small pinch of candle wax dye to the melting pot. This will result in a pastel shaded wax melt. Add more dye for a brighter shade. You can see how little dye we added in the photo below.

-
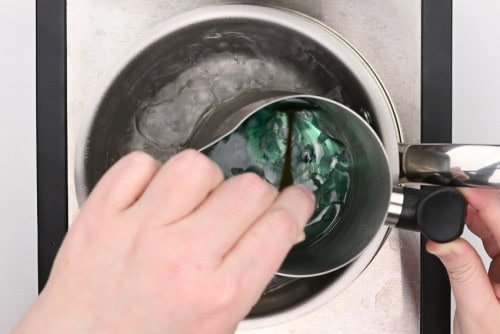
Stir the melting wax and the wax dye together.

-
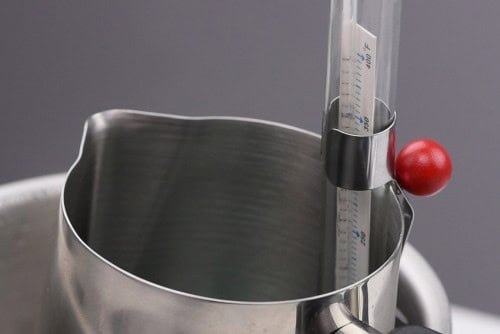
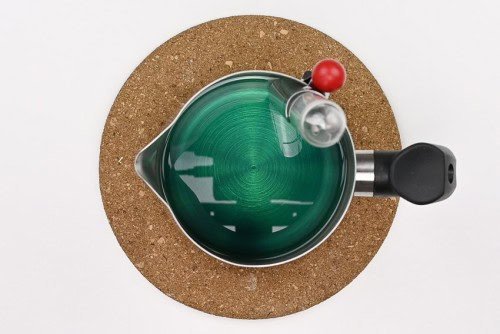
Once the wax is liquid, add the thermometer into the melting pot.Heat the wax to 185F.

Step 4: Add essential oil to the wax
-
Remove the melting pot from the water and place the pot on the scale. Zero the scale and weigh in the essential oils.


-
Stir the wax and oil together for a good 2 minutes, making sure they’re fully combined.

-
Cool the wax to 110 – 120F.

Step 5: Pour the wax into the mold
-
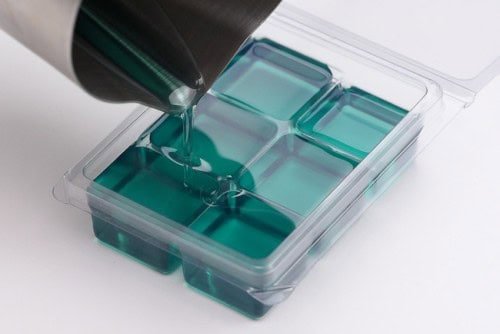
Pour the wax into the clamshell mold (or a silicone mold), slowly but steadily.Make sure to place the mold in a location where it won’t be disturbed or moved as the wax hardens.

-
Allow the wax to harden.Your wax melts are complete!
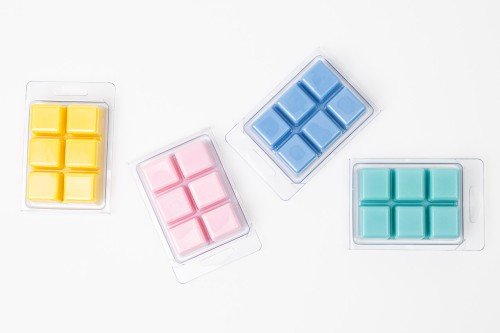

Step 6: Use the wax melts in a warmer
-
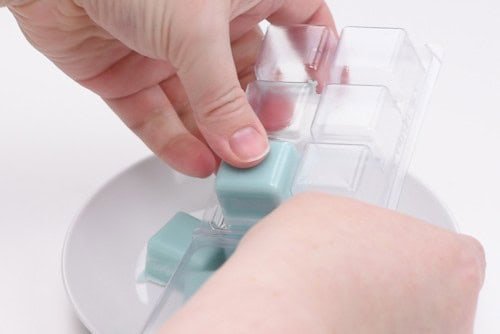
Ideally you should let the wax “cure” for a few days before using the wax melts. This helps the wax and oil to fully combine, and allows the wax to harden.Remove the wax cubes from their mold by pressing on the bottom.

-
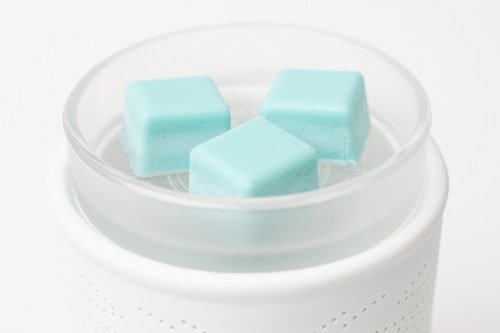
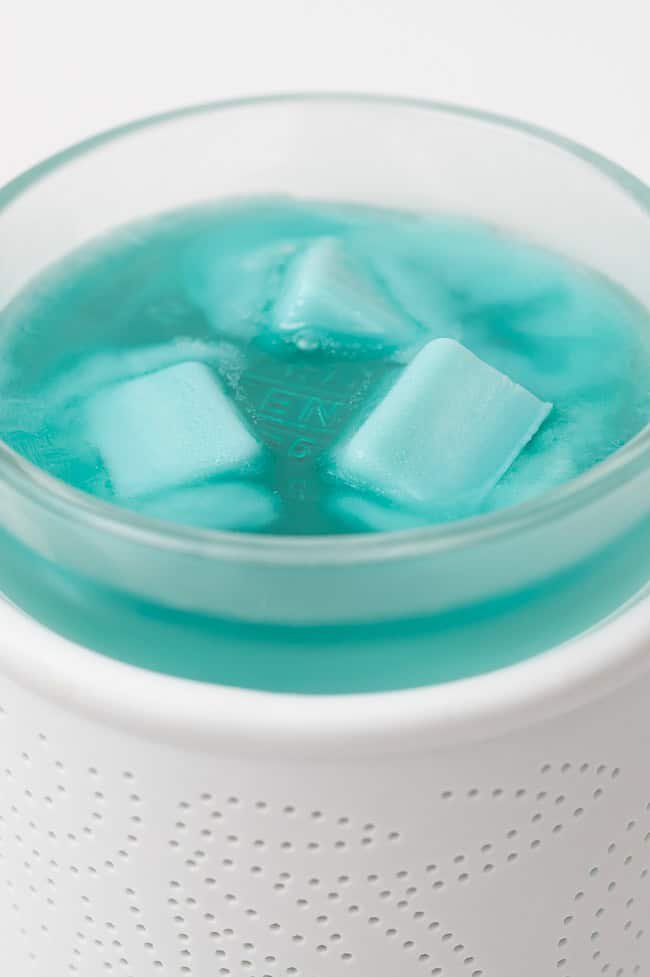
Place 1 to 3 wax melt cubes in the top tray of a wax warmer. (More cubes equals more fragrance!)

-
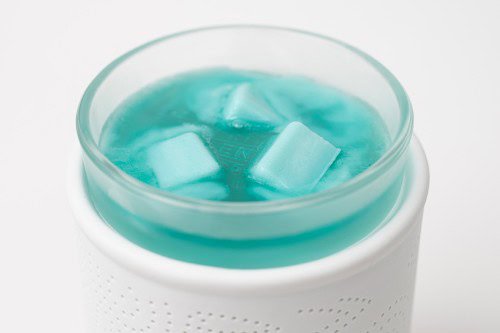
Turn on the warmer and allow the delicious smell of your DIY wax melts to fill the room!

TIP:
-
The liquid wax is a lot darker than it will be when it hardens. To check the “real” colour of your wax melts, put a few drops of wax on a sheet of parchment paper. It should harden within a few minutes and will show you the finished colour of your melt.

What are wax melts?
Wax melts are small pucks of scented wax that act as a flameless candle. They are placed on a wax warmer, and they give off a pleasant aroma as they melt.
Older wax warmers may have a tealight candle on the bottom to give off heat, but most newer wax warmers are electric and contain a lightbulb. The light creates heat, which melts the wax tarts.
Wax melts are often seen as a safe alternative to candles, especially around children and animals, since there is no open flame.
What else can I use to make my DIY wax melts?
If you don’t have plastic clamshell molds, silicone molds are perfect for this wax melt recipe. Once the wax has fully hardened they pop out super cleanly from the silicone! This is a great option because it allows you to make different shape melts, like hearts or stars.

What can you add to these wax melts?
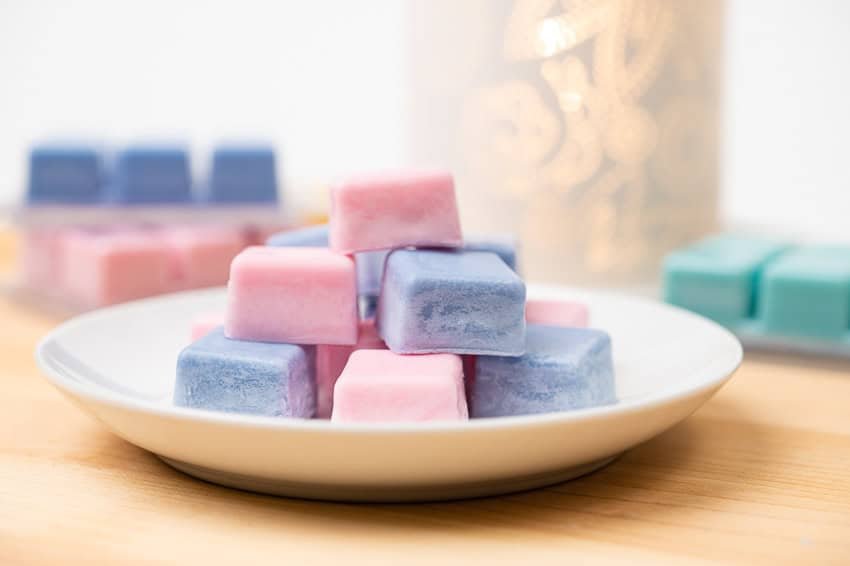
Because wax melts don’t have a wick, you can add more things to them that don’t work with candles. You can use mica powder or crayons for colouring the wax! And you can add dried herbs, dried fruit, or even glitter into these wax cubes for scent and decoration.
How long do these wax melts last?
The scent in the wax melts should last at least 10 – 15 hours. We burned 2 wax melts in our wax warmer for about 8 hours, over the course of 2 days, and they were still smelling nice.
How long the wax melts last is honestly up to you! Because the wax doesn’t evaporate like it does in a candle, you need to decide when the scent becomes too weak.

How should I store my DIY wax melts?
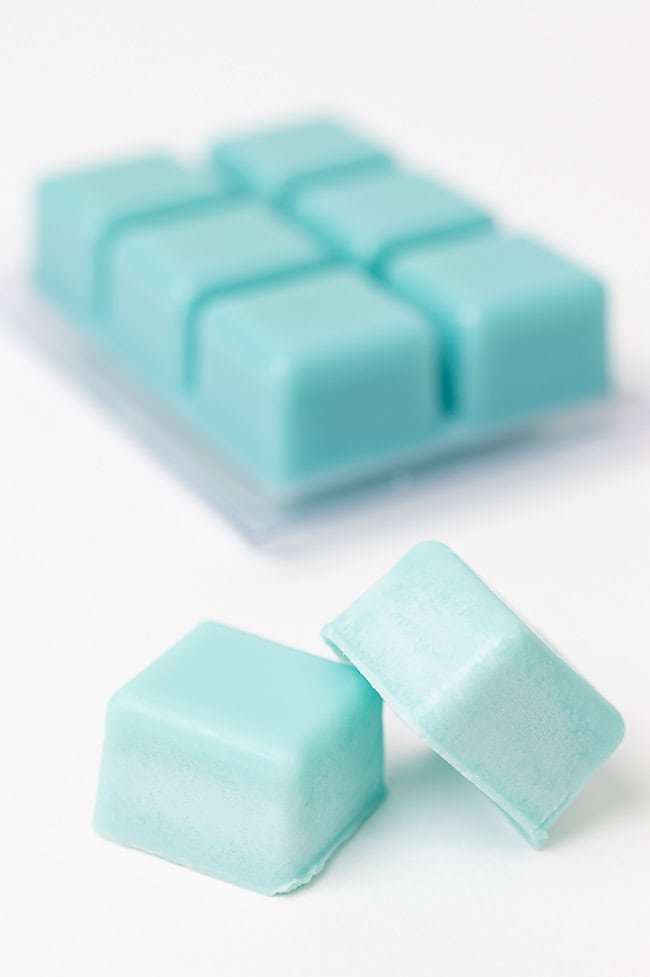
If you use a clamshell mold you can store the melts right in the container you made them in. If you use a silicone mold, place the wax melts in a plastic baggy or airtight container (with separate containers for different scents). Make sure to keep your wax melts in a cool, dark area, away from direct sunlight.
What scents are best for these wax melts?
We used essential oils, but you can also use fragrance oils to scent these DIY wax melts. Essential oils are pure plant extracts, while fragrance oils are synthetic scents.
The sky’s the limit on what type of scent to add to your melts! A lot of people prefer lavender for a nice, calming scent.
You can also buy scent blends to match the season, such as botanicals for spring, beach scents for summer, pumpkin spice for fall, and gingerbread for winter.

Can I make wax melts without soy wax?
If you don’t have soy wax, you can also use beeswax and coconut oil to make homemade wax melts. Use 2 parts beeswax to 1 part coconut oil, and then follow the instructions above.
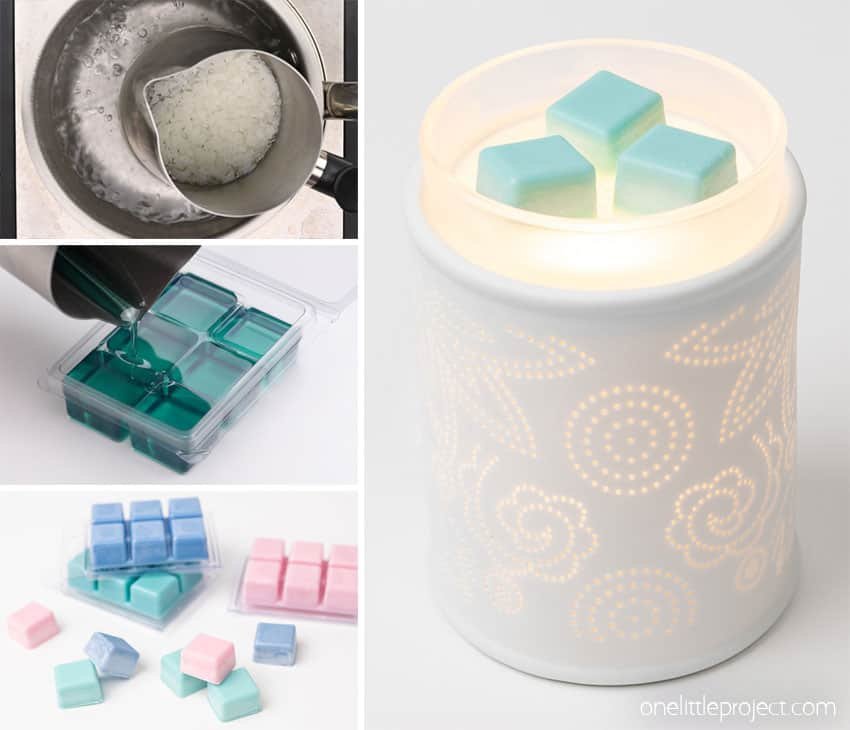

It’s so satisfying to create your own homemade wax melts, and it’s a lot less expensive than buying them at the store. Plus you can customize the scent and colour of the wax tarts to your liking. So fun!

Here’s even more scented craft ideas:
Our book Low-Mess Crafts for Kids is loaded with 72 fun and simple craft ideas for kids! The projects are fun, easy and most importantly low-mess, so the clean up is simple!


