Macrame Lanyard
Jump to:
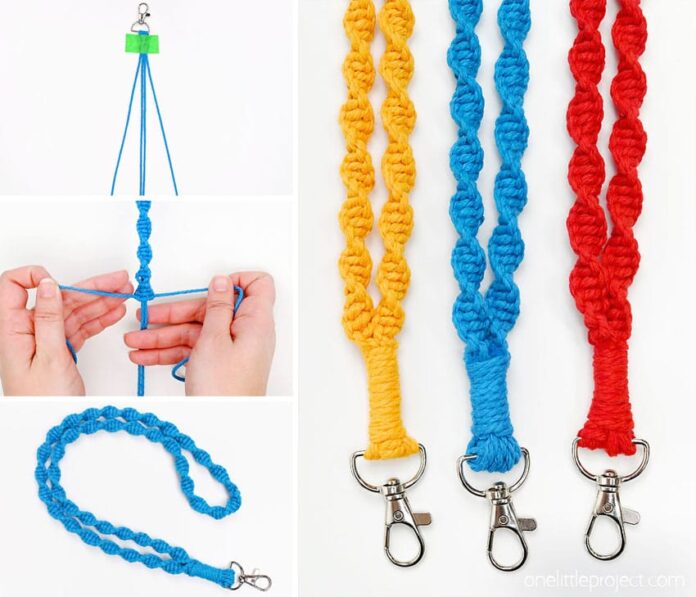
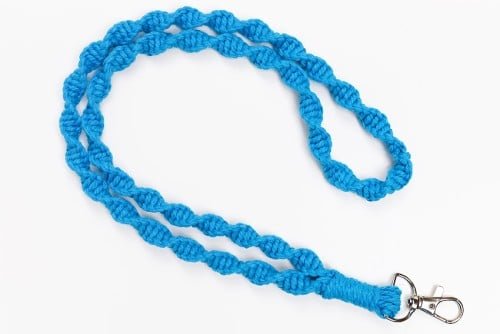
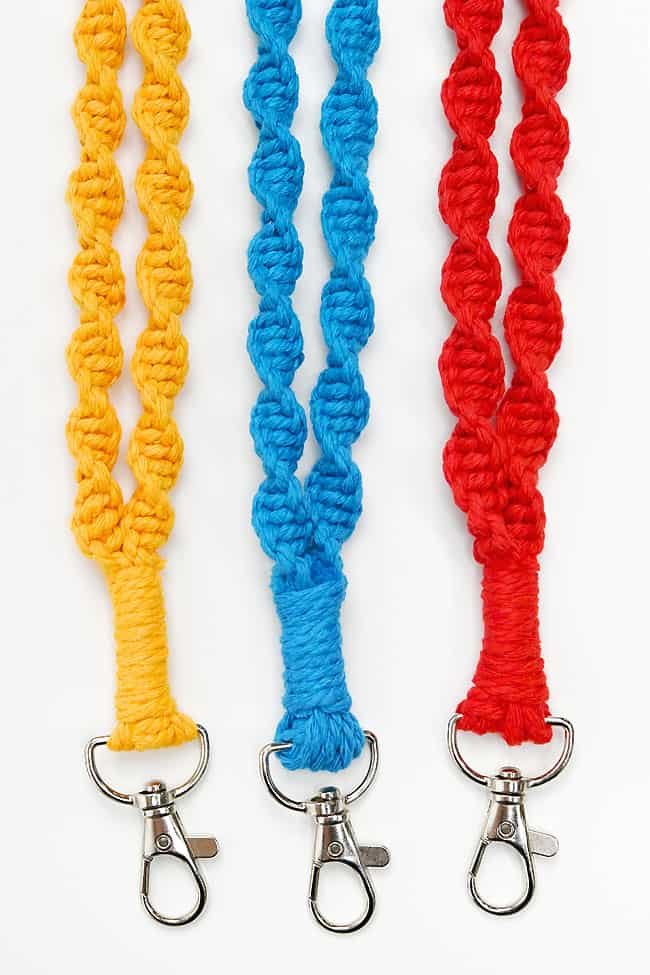
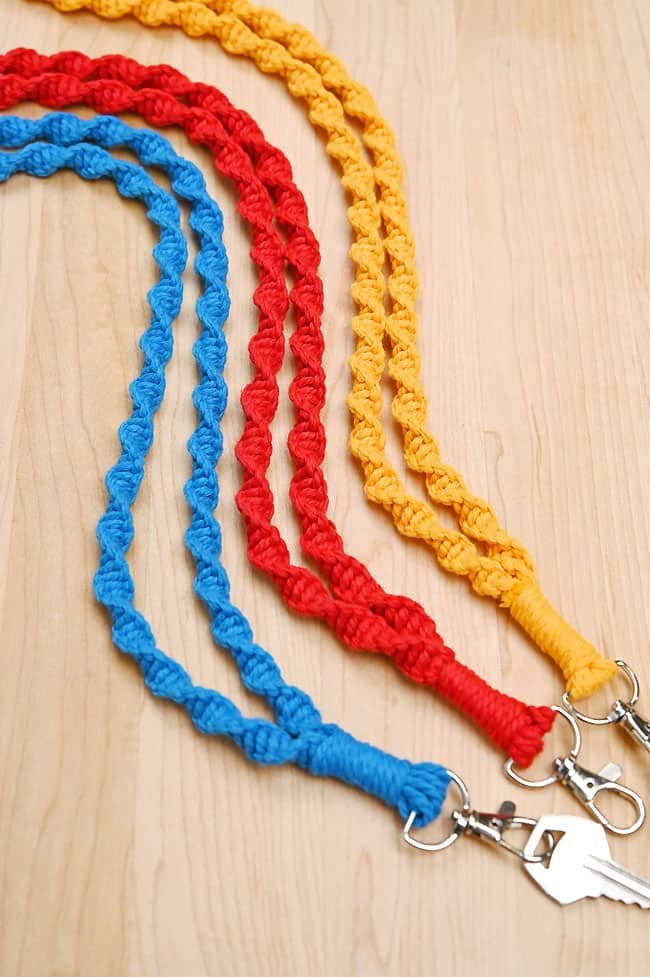
Have fun making this super cute macrame lanyard! This DIY lanyard is both pretty and functional, and it uses simple knots, making it the perfect project for macrame beginners.
Use our step by step photo and video tutorials to make a macrame lanyard with a beautiful spiral pattern. You only need basic supplies to make this soft and lightweight accessory in your favourite colour!
This post contains affiliate links. If you use these links to buy something we may earn a small commission which helps us run this website.
How to Make a Macrame Lanyard
Materials:
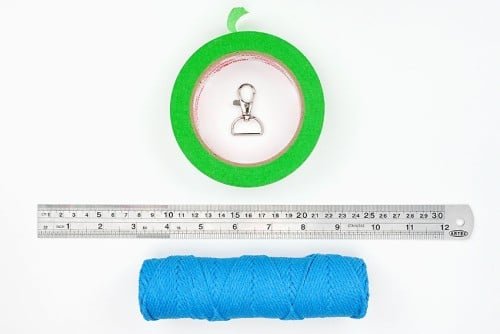
- Macrame cord(colour of choice)
- Swivel keychain clasp
Equipment:
- Tape measure(or ruler)
- Painter’s tape(or regular tape)
Instructions:
Step 1: Find what you need
- Gather your supplies and materials.


Step 2: Attach the cords to the clasp
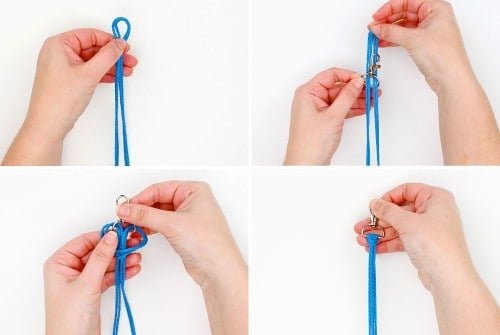
- Hold two 15 foot pieces of macrame cord together and fold them in half to find the center.Attach the cords to the clasp with a lark’s head knot. To do this, put the center loops down through the d-ring of the keychain clasp and then pull the loops over top of the clasp.Pull on the cords to tighten the knot.


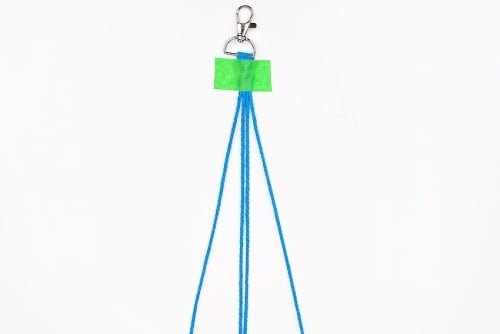
- Add a piece of tape just below the clasp, securing it to your working surface and covering about 1 inch of the cord.Arrange the cords so that 2 are in the middle, with 1 on either side.


Step 3: Make a half knot spiral
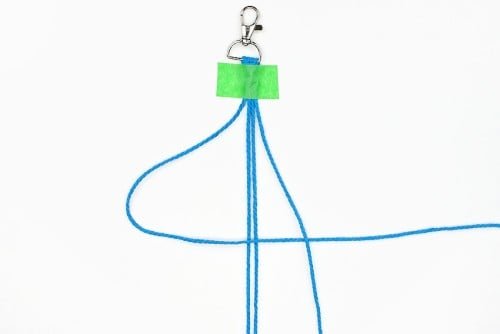
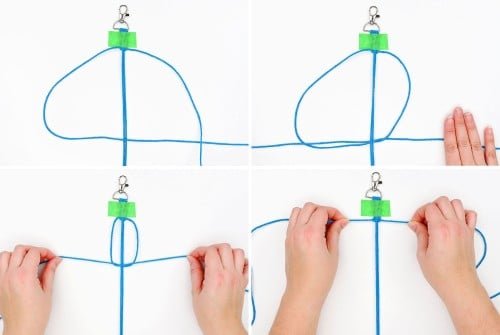
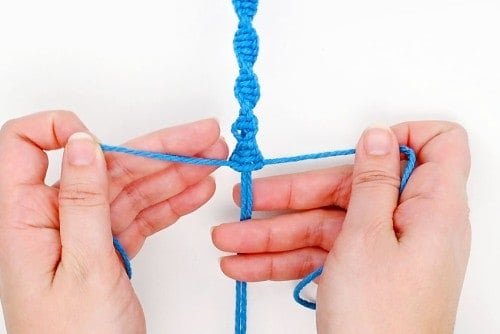
- The left and right outside cords will be your working cords, while the center two will be stationary cords you tie the knots around.Take the left cord and place it on top of the 2 stationary cords, and under the right working cord, making sure to leave a loop on the left side.


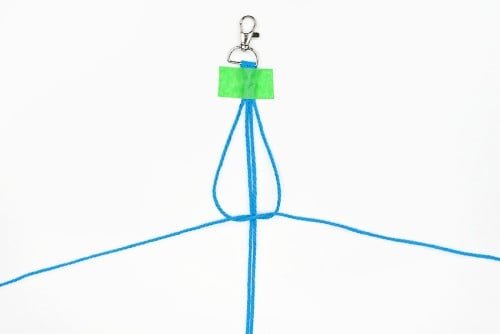
- Bring the right cord to the left under the stationary cords, pulling it up through the loop.


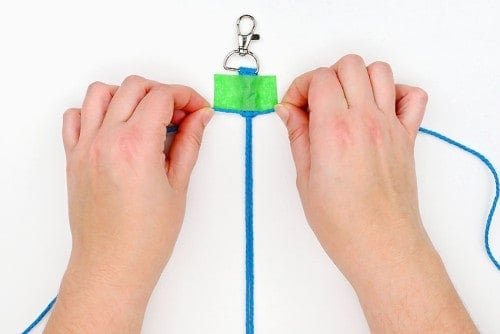
- Pull on the working cords to tighten the knot up next to the tape.


Step 4: Continue making knots
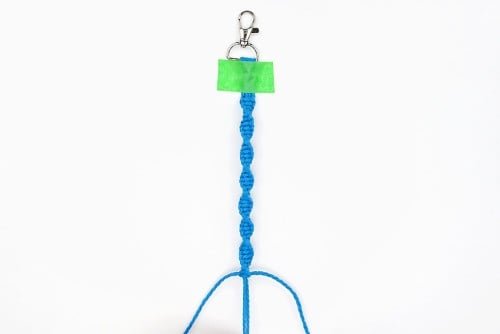
- Repeat the same knot. Bring the left cord over the center cords and under the right. Bring the right under the center cords and up through the left loop.Pull, making sure the center cords are flat, and tighten the knot, pushing it up against the previous one.


- Continue making the same knot over and over again. As you repeat the knot your work will naturally flip and curl on its own.


- Make the spiral stitch for a total of 110 times, or until your work is just over 14 inches long.


Step 5: Tie knots for the second half of the lanyard
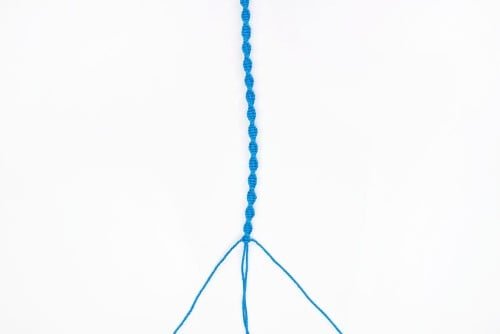
- Once you’ve knotted a length of 14 inches, bring the working cords to the middle and separate the stationary cords out to either side.These will be your new working cords.


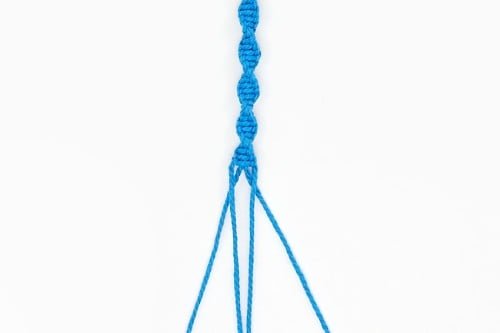
- With your new working cords, make the exact same spiral stitch knot as before.Switching the working cords will create a “fold” at the top of the lanyard, making it fall naturally around your neck.


- Repeat the same knot for a total of 110 times on this side (or another 14 inches).Measure to check that both sides are the same length.


Step 6: Put the lanyard together
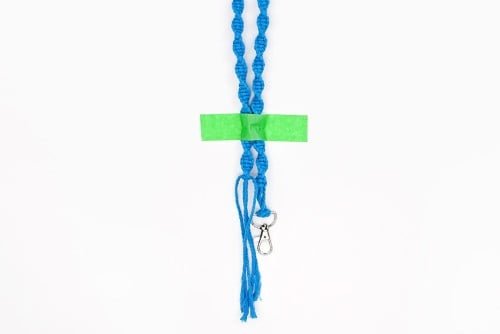
- Once your two sides are an equal length, fold your work in half, lining up the ends of the knots.Remove the tape from near the clasp and use it (or a new piece of tape) to secure the lanyard to your working surface.


- Put the loose cord ends up through the keychain clasp.


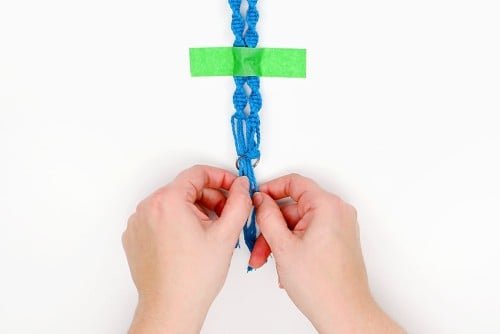
- Arrange the cords so that 2 are on either side of the original lark’s head knot. Fold the cord ends back up towards your knots.


Step 7: Finish with a wrapping knot
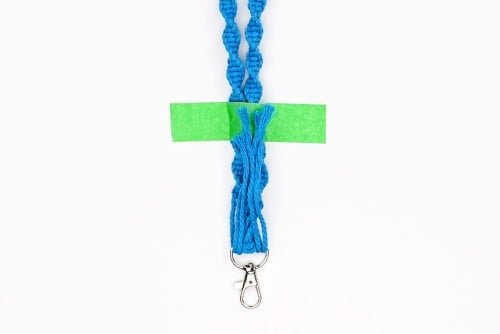
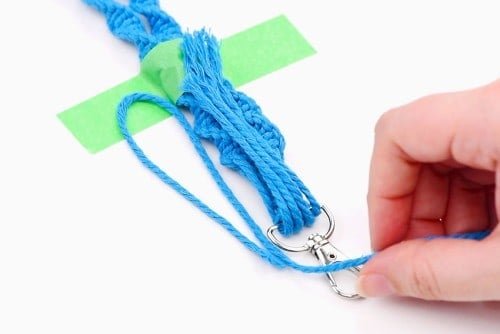
- Cut a 20 inch piece of cord and arrange it on top (or to the side) of the folded over ends.Make a loop at the top with the end of the cord going back down towards the clasp.


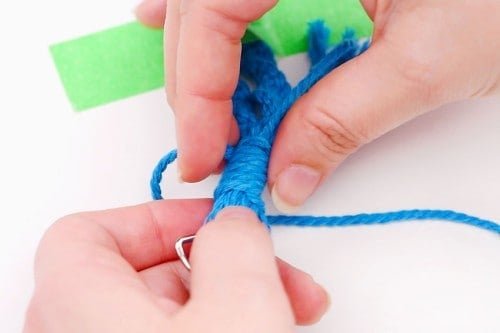
- Hold the doubled cord and the lanyard tight and begin wrapping the long end of the cord around the bundle.Start wrapping from the bottom near the clasp, and make sure the left end of the wrapping cord is still visible. Wrap tightly, and don’t overlap the cord.


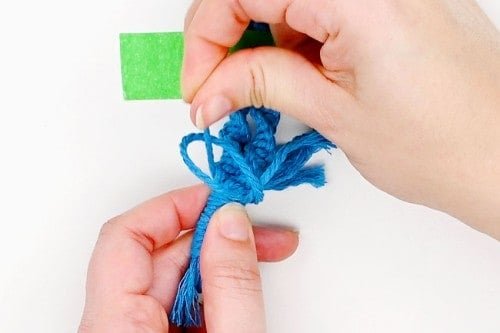
- Once you reach the knotted lanyard, put the end of the wrapping cord through the loop.


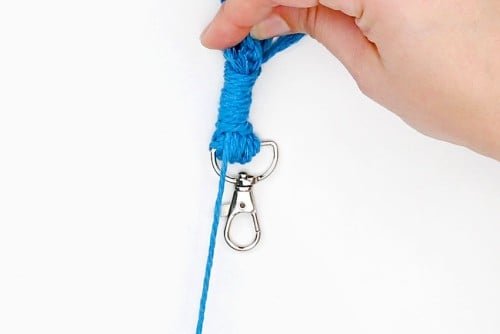
- Pull the bottom end of the wrapping cord, making sure that the other end stays in the loop.Pull until the other end disappears, creating a knot underneath the wraps.


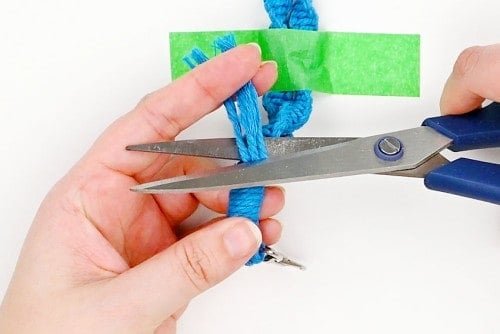
- Cut the excess cord ends as close to the wrap as possible.


- Your macrame lanyard is complete!


Helpful Tip:
- Our keychain clasp has a 1 inch d-ring, but we recommend using a 1/2 inch d-ring clasp. This will fit the lark’s head knot better without it sliding around.

What knots are used to make a macrame lanyard?
The majority of the lanyard is made with a spiral stitch, also known as a half knot spiral. This knot is made with half of a square knot.
We also used a lark’s head knot to attach the cord to the clasp, and a wrapping (or gathering) knot to finish the lanyard.
How long is this macrame lanyard?
This pattern makes a lanyard that’s 17 inches long, including the clip. Without the clasp, the lanyard is about 16 inches long.


What type of macrame cord is best for making a lanyard?
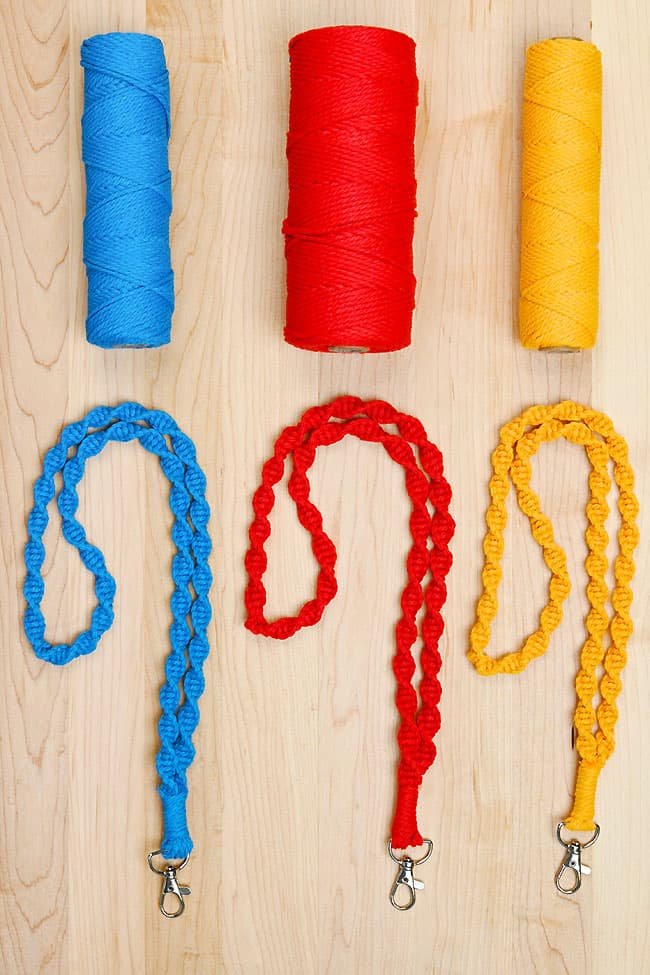
We used a 3 strand cotton macrame “rope” with a size of 2mm to make this lanyard. Cotton macrame cord is really strong, but it’s also flexible and soft, making it perfect for these lanyards.
You can also use 3mm or 5mm cord for a thicker lanyard, but you’ll need to cut the cords a bit longer to start with. The thicker the cord, the longer the strand you’ll need.
What do you need to make a macrame lanyard?
You only need 2 main supplies to make this macrame lanyard pattern: a swivel keychain clasp and macrame cord in the colour of your choice.
Besides these items, you’ll use simple equipment like scissors (sharp ones like fabric scissors are recommended), tape, and something to measure the cord with. We like to use a flexible measuring tape, but a ruler will also work.


This macrame lanyard is SO EASY to make and it’s really comfortable to wear! It’s so fun to make a a wearable craft that you can use every day.
Here’s even more macrame craft ideas:
