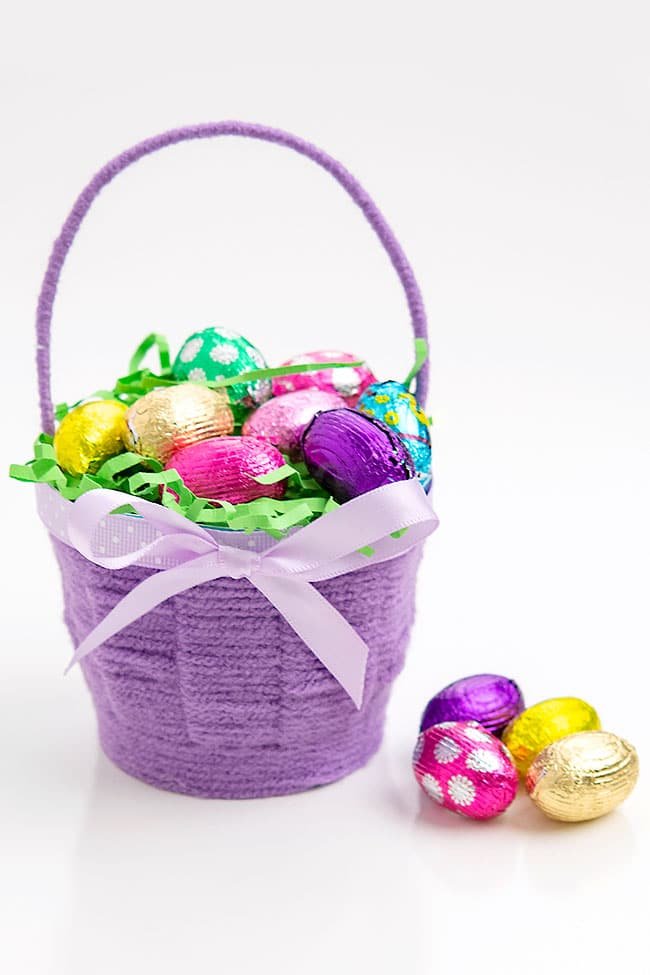
Mini Easter Basket Craft
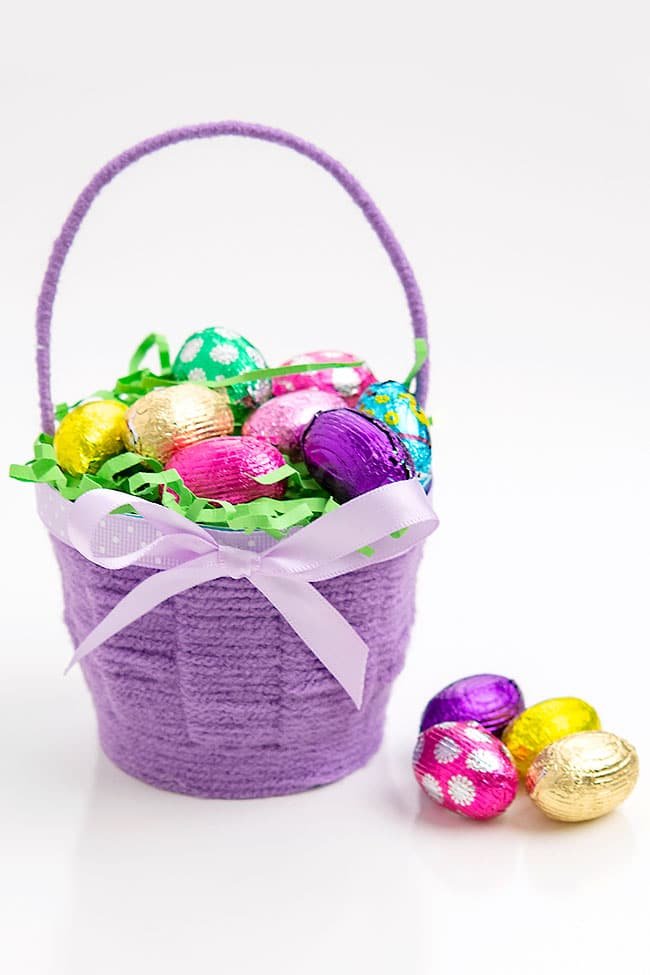
It’s SO EASY and fun to make these mini Easter baskets! Did you know that you can use yarn to transform a simple paper cup into an adorable woven Easter basket?! So cool!
These homemade Easter baskets make a great DIY addition to your Easter decor! It’s such a cute craft for spring, and the weaving is great for helping kids with their fine motor skills.
This post contains affiliate links. If you use these links to buy something we may earn a small commission which helps us run this website.
DIY Easter Basket
Check Out The Video Tutorial:
Instructions:
Step 1: Find what you need
-
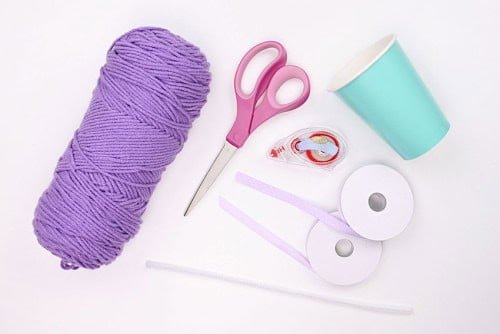
Gather your supplies and materials.

Step 2: Cut cup and attach yarn
-
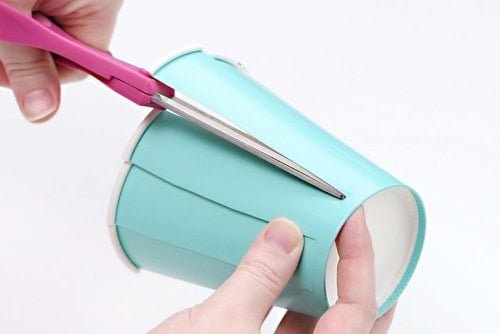
Cut down from the top of the cup, stopping when you’re just over 1/4 inch from the bottom.Make another cut about 3/4 inch from the previous cut. Continue cutting down around the cup until you have 9 strips (or another odd number – this is very important for the weaving to work.)

-
Apply a line of glue tape along the bottom of the cup.
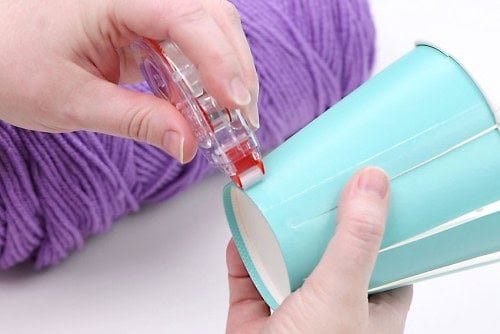

-
Attach the end of your yarn to the glue tape. Make sure the yarn lines up with the bottom edge of the cup.
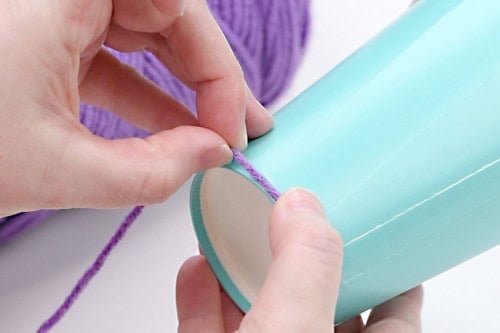

-
Wind the yarn around the cup tightly, several times, until the yarn reaches the cuts in the cup.
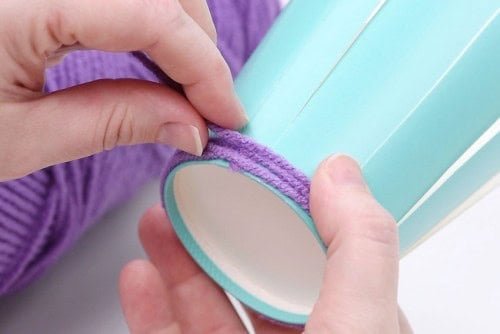

Step 3: Weave around the cup
-
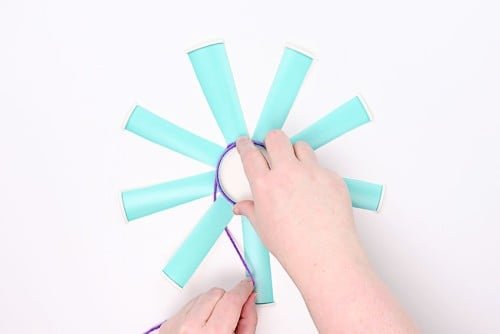
Fold back the strips of the cup and set the cup down, bottom up.
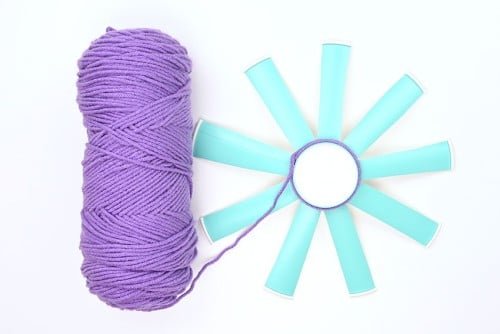

-
With the yarn still attached to the ball, start weaving the yarn through the paper cup strips.Go over one strip, under the next, over, under, over, under and so on, working your way around the cup. Try to keep the yarn fairly tight for the best results.

-
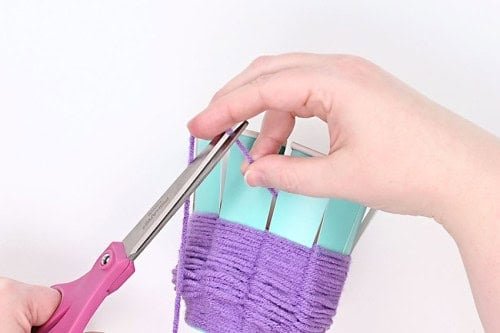
Continue weaving until you’re happy with the height of the basket, and then cut the yarn off, leaving 1 to 2 inches extra at the end.

-
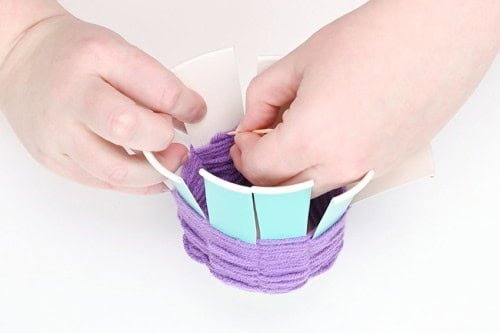
Take the extra yarn and tuck it inside, between the yarn and the cup, to secure it. (It helps to use a toothpick to push the yarn down.)

Step 4: Trim cup and attach ribbon accents
-
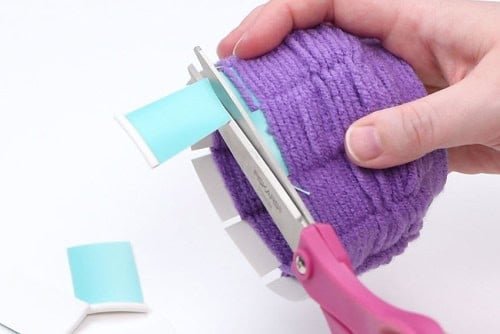
Cut the paper cup strips so there’s about 1/4 inch left above the yarn.

-
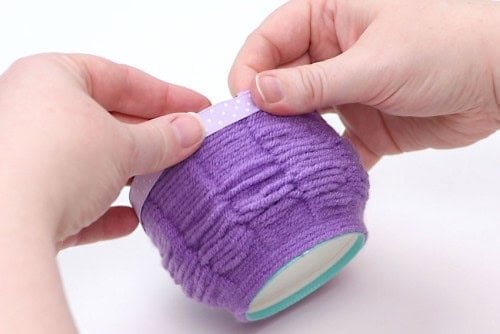
Attach polka dot ribbon around the top of the cup with glue tape or a glue gun.

-
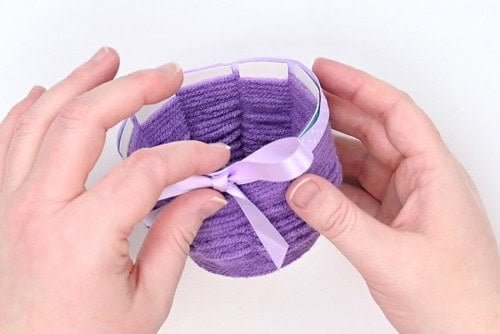
Tie a bow with silky ribbon. Add glue tape on the back of the bow and attach it to the front of the basket.

Step 5: Make and attach the basket handle
-
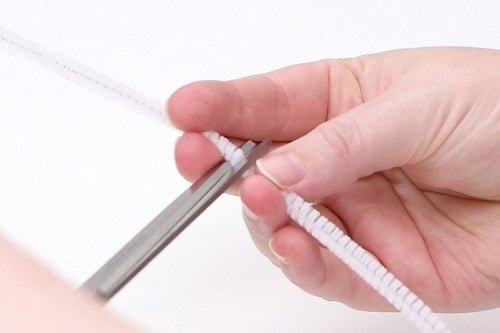
Cut a pipe cleaner to be about 10 inches long.

-
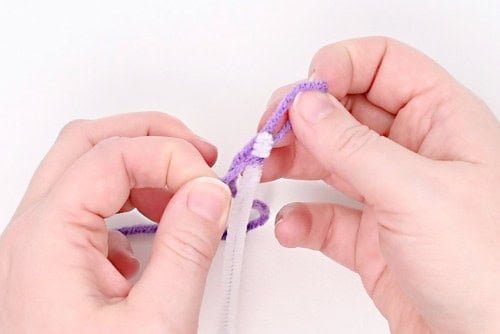
Tie the yarn to one end of the pipe cleaner.

-
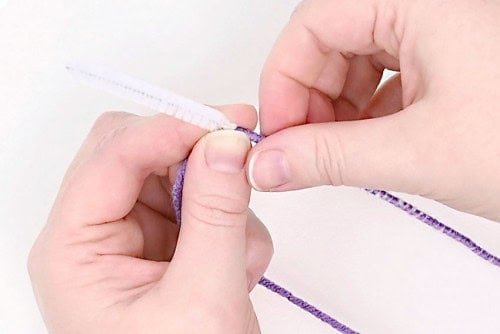
Begin winding the yarn around the pipe cleaner. We found it easiest to hold the yarn tight while twisting the pipe cleaner with our other hand.

-
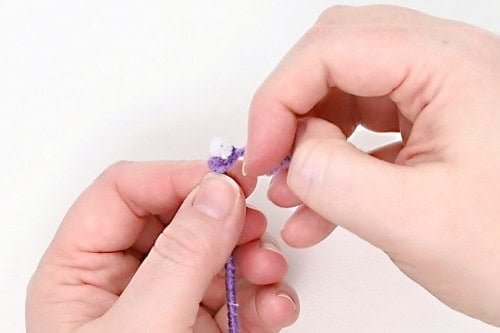
When you’ve covered the entire pipe cleaner, leave a couple extra inches of loose yarn and then cut the yarn. Tie a double knot on the end of the pipe cleaner and cut off any extra yarn.

-
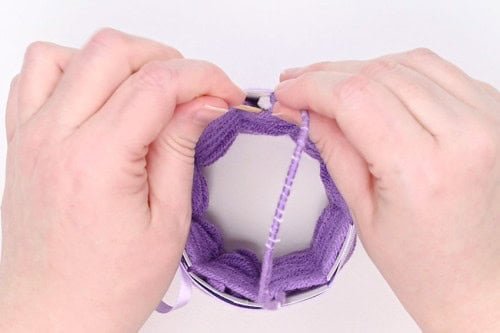
Bend the wrapped pipe cleaner in an arch and insert one end on one side of the basket, between the yarn and the cup. Repeat on the other side, using a toothpick to help push the pipe cleaner down, if needed. We left our handles loose, but you can secure them with glue from a glue gun if you’d like.

-
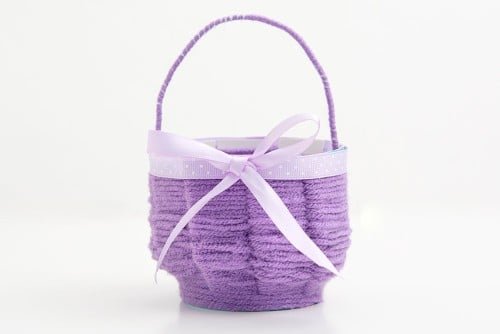
Your mini Easter basket is complete!

Helpful Tip:
If you know your baskets will be handled a lot (particularly by children), you may want to secure the yarn, ribbon and handle with hot glue from a glue gun instead of glue tape. If the baskets are just sitting on a table and won’t be handled, the glue tape works perfectly fine.
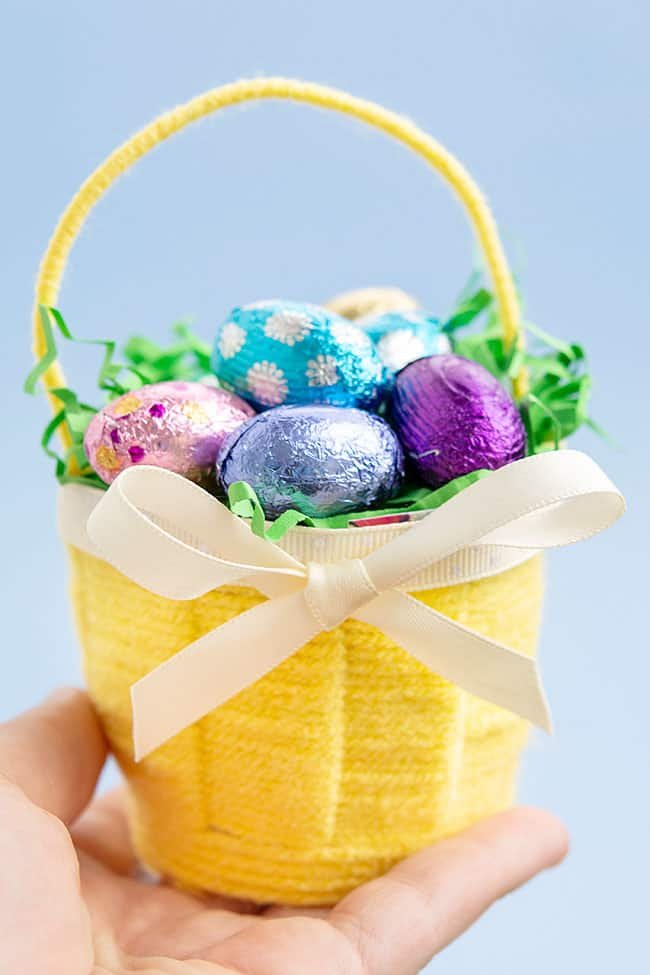

What size cup is used to make these mini Easter baskets?
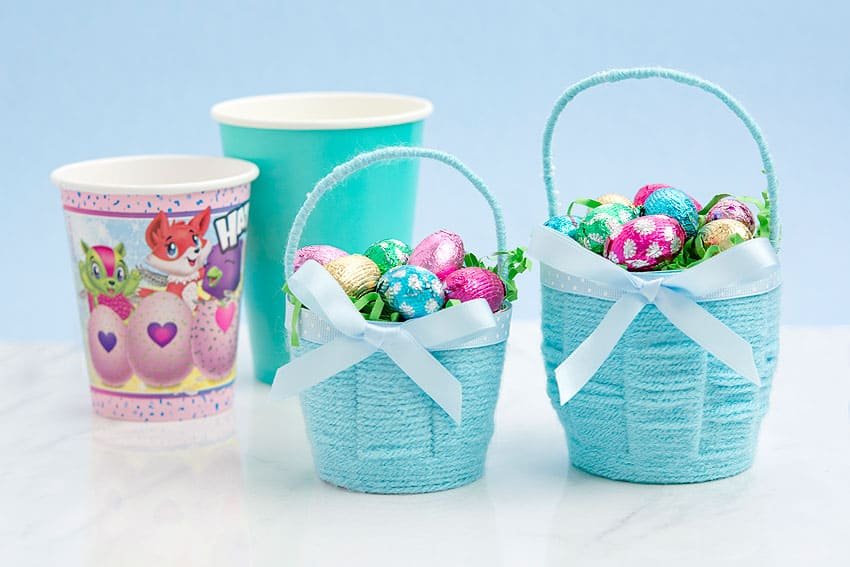
We used two different size paper party cups to make these DIY Easter baskets. Most of the baskets are made with a 12 ounce cup (4 inches tall, 3-1/2 inch diameter at the top).
We also made a fewer smaller baskets with a 9 ounce cup (3-1/2 inches tall, 3 inch diameter at the top).
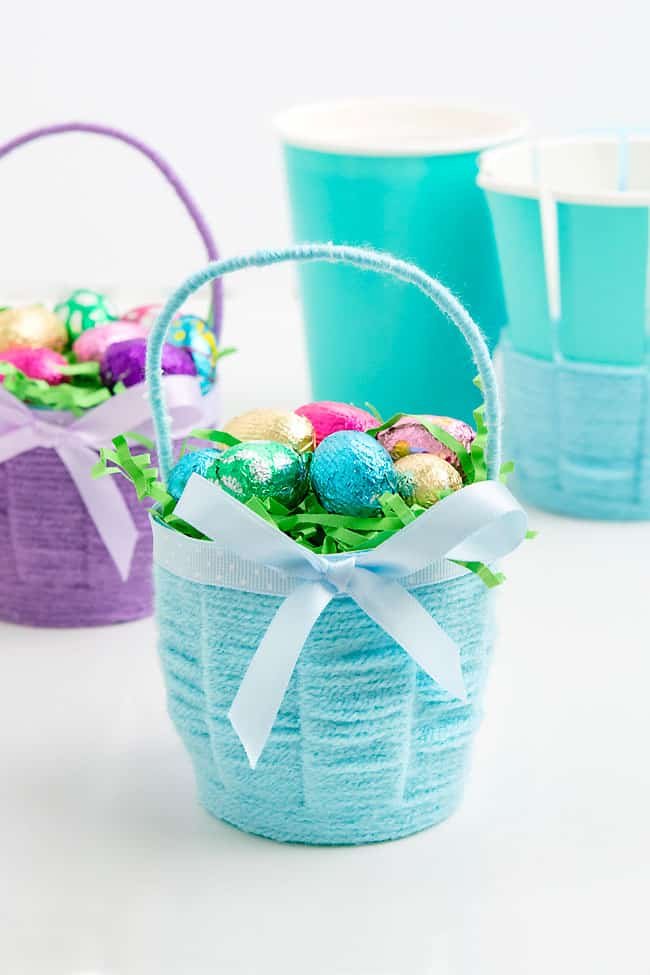

Can you lift these baskets by the handle?
If you want people to be able to pick them up by the handle, you’ll need to secure the ends with hot glue. Even then, the baskets aren’t that strong, so you may want to encourage people to hold them from the bottom.
We didn’t glue our handles onto the baskets, so they came right out whenever someone tried to pick them up by the handle.
How should I fill these Easter baskets?
You can fill your baskets with chocolate eggs, Easter candy, or other non-candy treats (erasers, fidget toys, small figurines, etc).
The cups fit a surprising amount of chocolate eggs. If you don’t want to fill the entire cup with eggs, we recommend filling half of it with Easter grass.
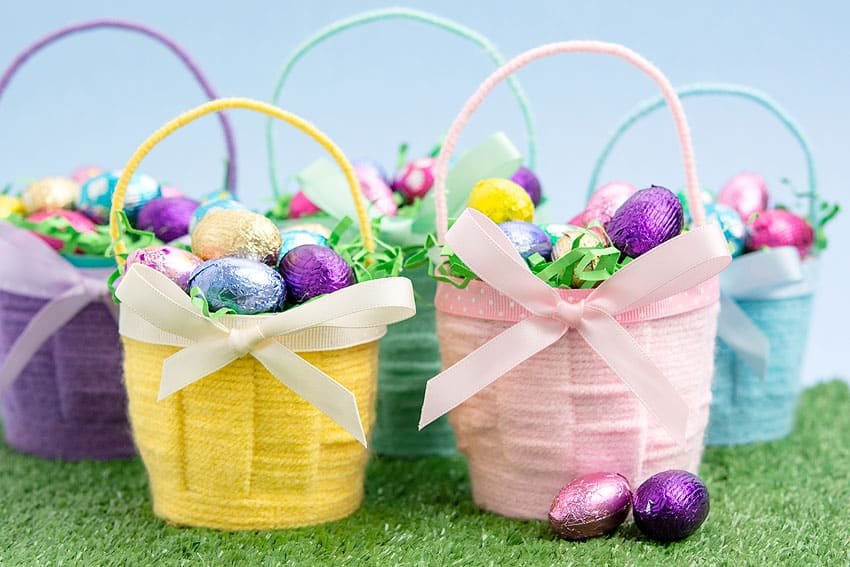

What type of yarn is best for making this Easter basket craft?
We recommend using standard to medium weight yarn so you get good yarn coverage as you weave around the cup. We used Craft Smart yarn from Michaels, which is a medium weight yarn.
Chunky yarn is too thick to weave in and out of the paper strips. However, thin twine would work nicely for these baskets and would even give them a traditional “basket” colour and texture.

How else can I decorate my DIY Easter basket?
Glue on some ribbon rosettes, paper flowers, or silk flowers to add a pretty spring touch to your woven basket. You could also use an Easter themed ribbon with cute bunnies or Easter eggs on it!
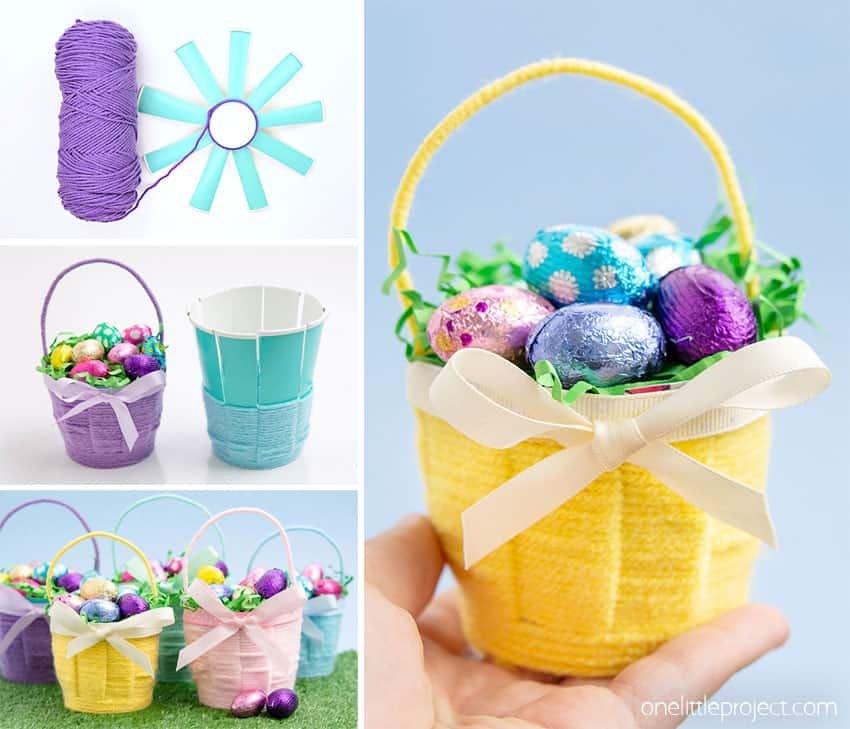

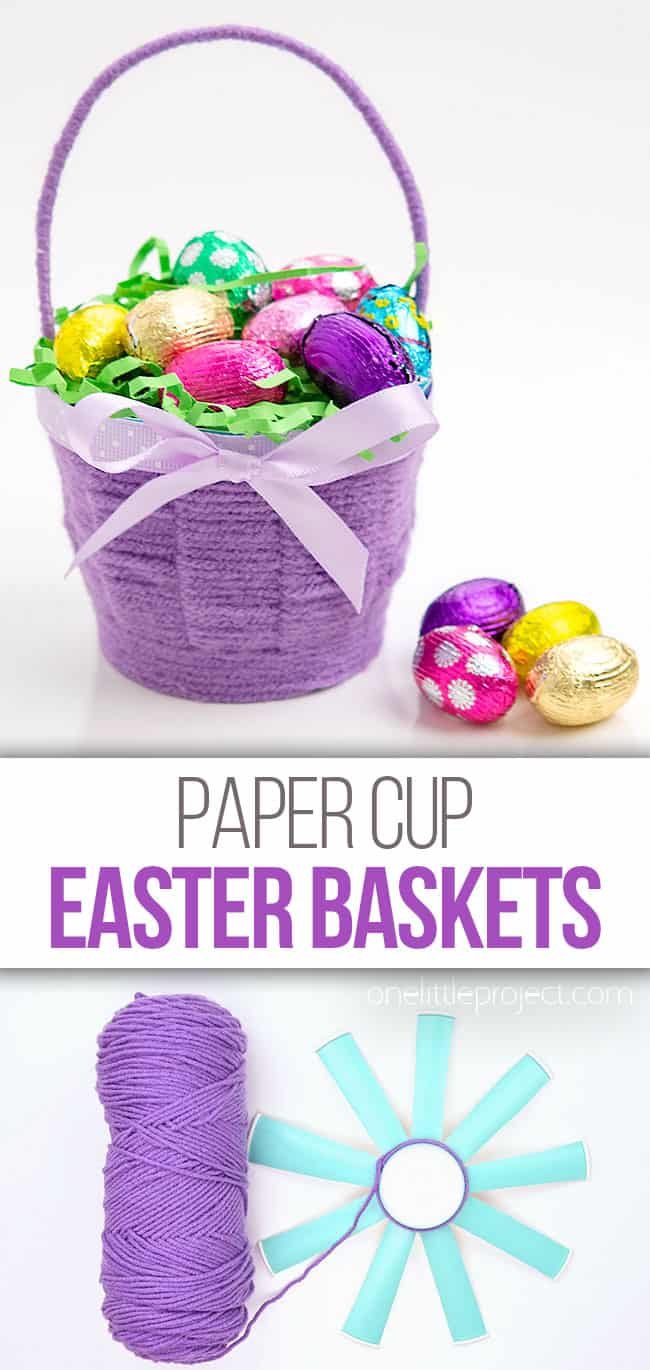
We love how simple it is to make these mini Easter baskets. It’s so satisfying to create your own DIY Easter basket, and they look so cute filled with Easter grass and chocolate eggs!

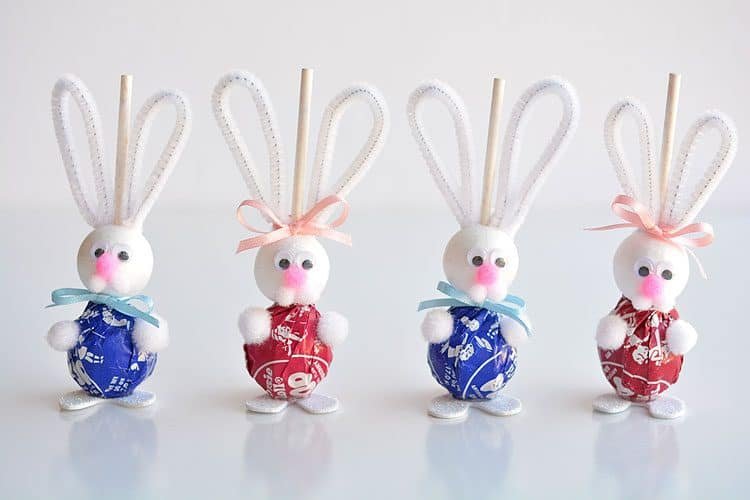
Here’s even more Easter craft ideas:

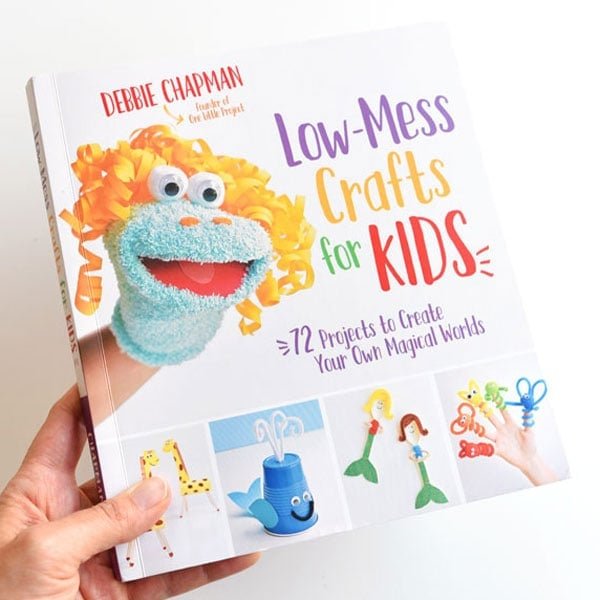
Our book Low-Mess Crafts for Kids is loaded with 72 fun and simple craft ideas for kids! The projects are fun, easy and most importantly low-mess, so the clean up is simple!
Where to buy:
You can purchase Low-Mess Crafts for Kids from Amazon, or wherever books are sold:
Amazon | Barnes and Noble | Books-A-Million | Indiebound | Amazon Canada


