Pom Pom Bees
Jump to:
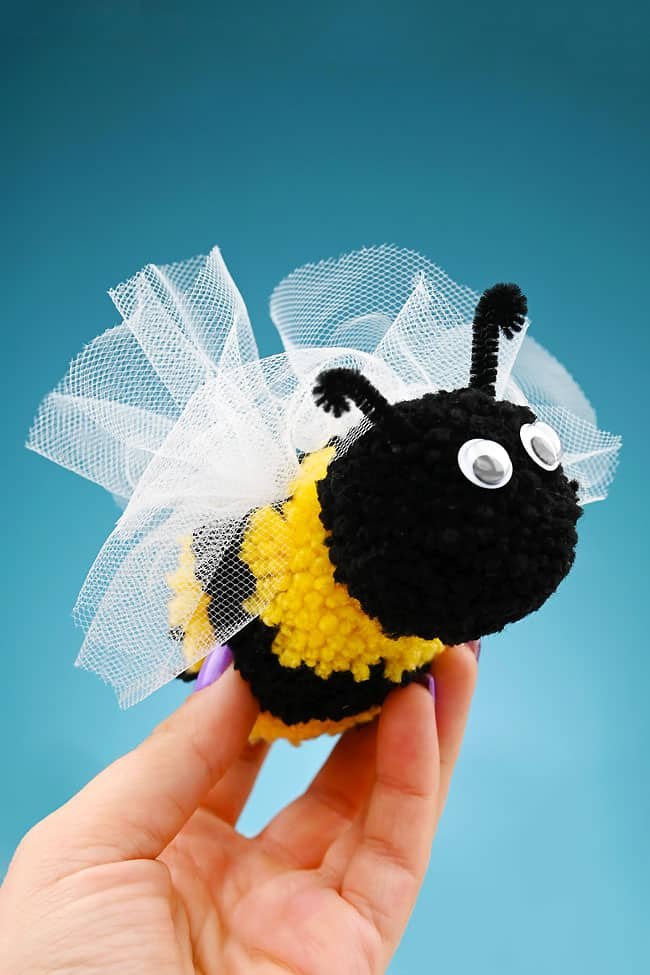
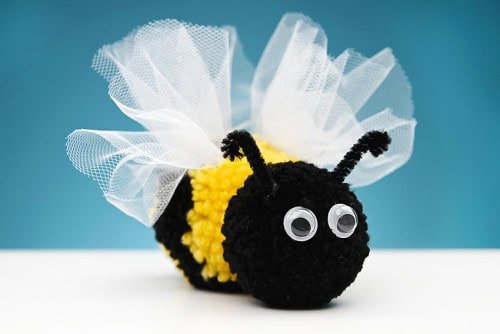
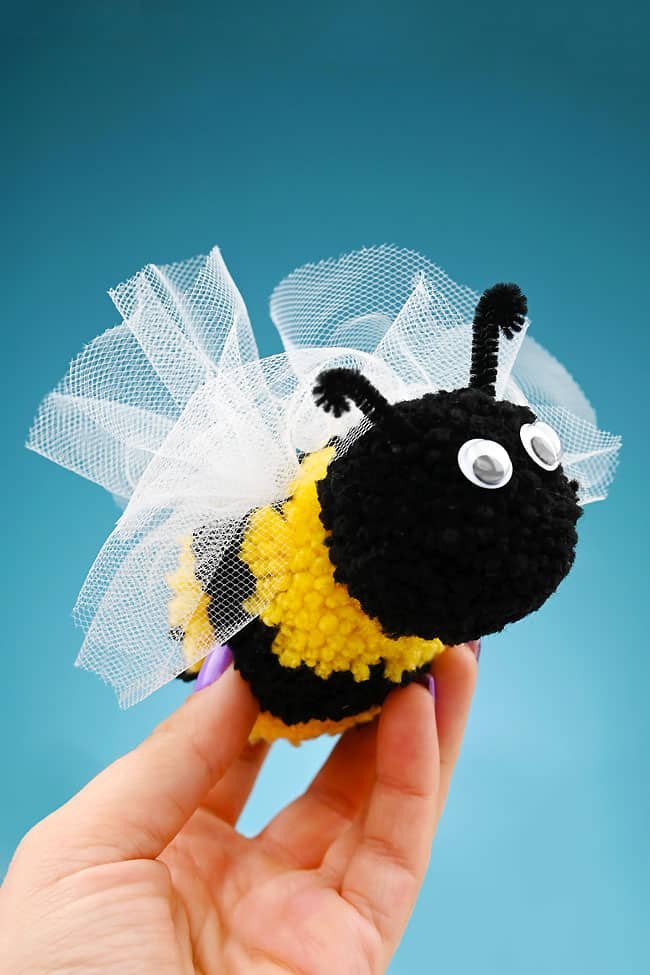
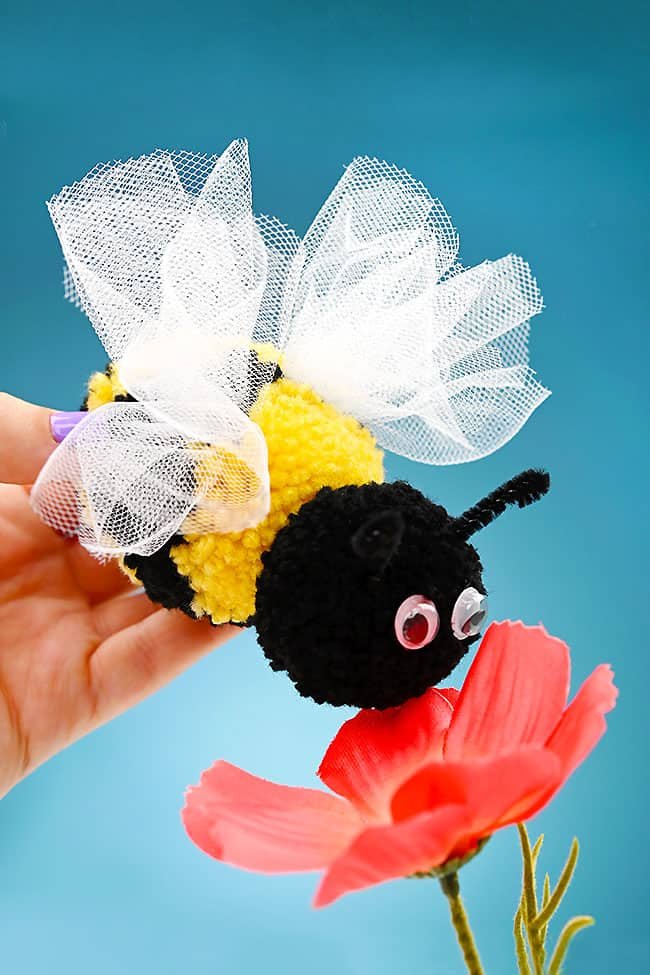
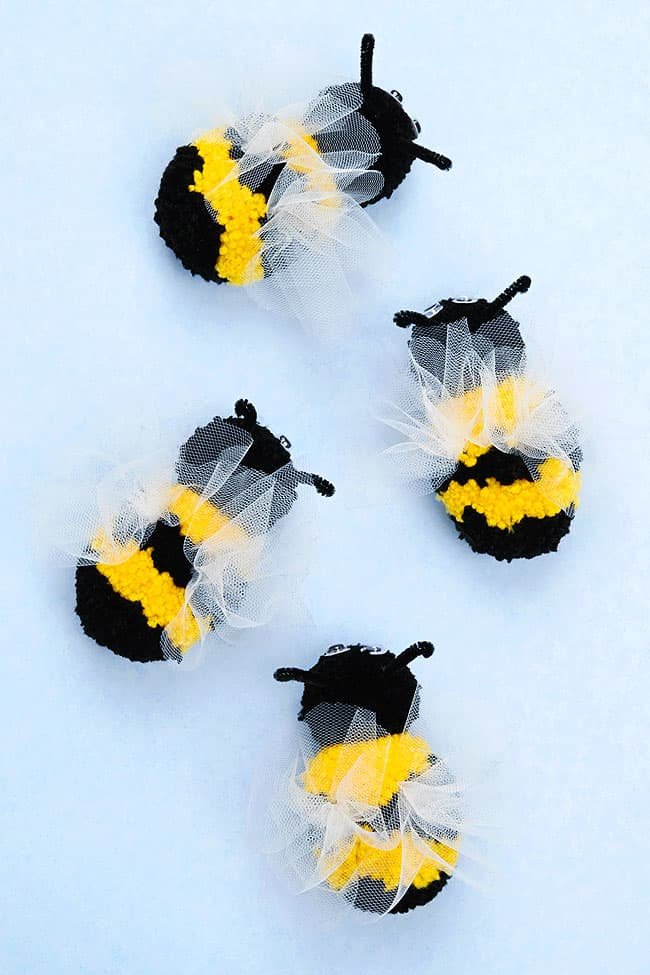
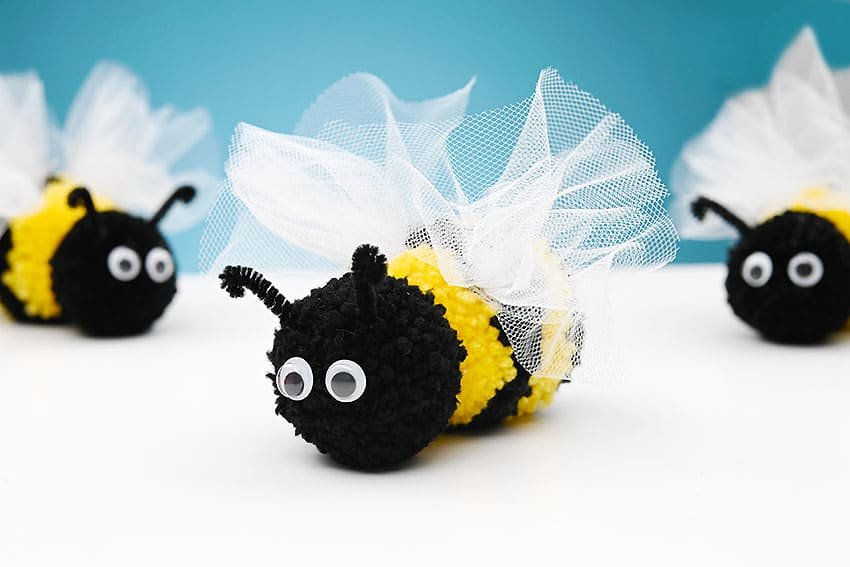
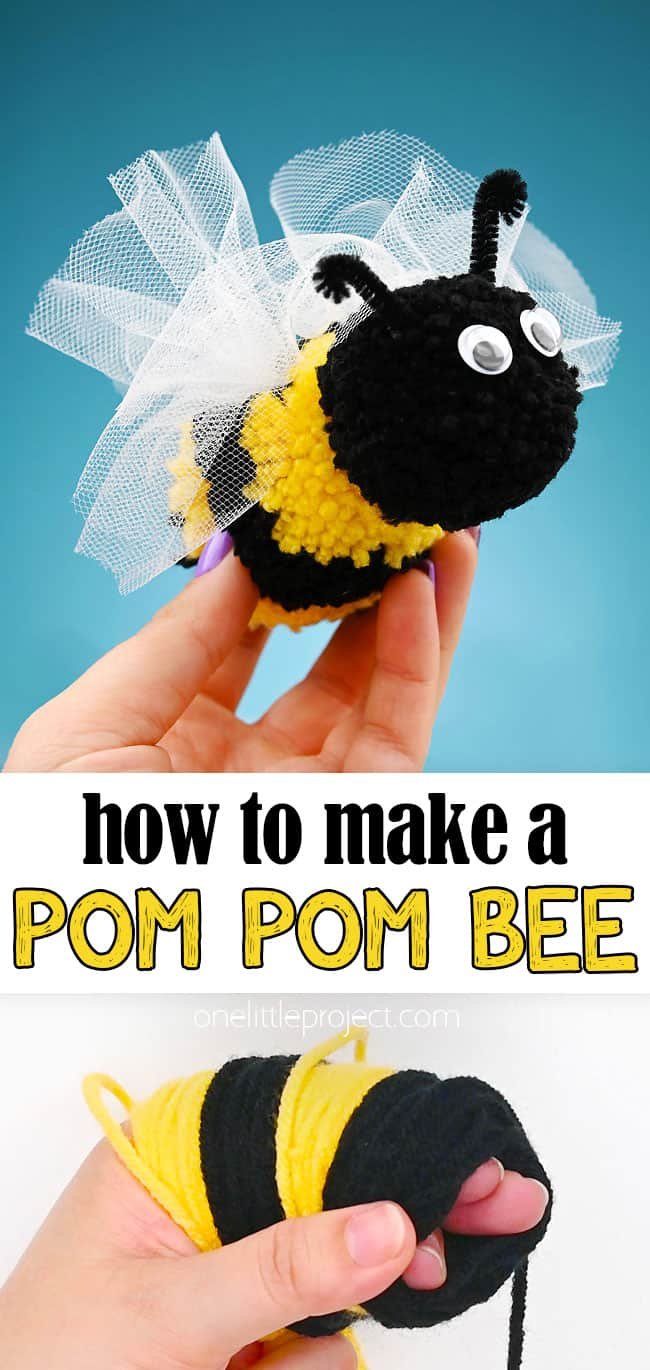
Could these pom pom bees BEE any cuter?! This adorable bee is a fun pom pom craft for spring and summer, and it’s SO EASY to make!
This DIY bumble bee craft is so fuzzy and soft! Follow our simple step by step photo and video tutorials to make a bee pom pom using only your hand, no special tools required.
This post contains affiliate links. If you use these links to buy something we may earn a small commission which helps us run this website.
DIY Pom Pom Bees
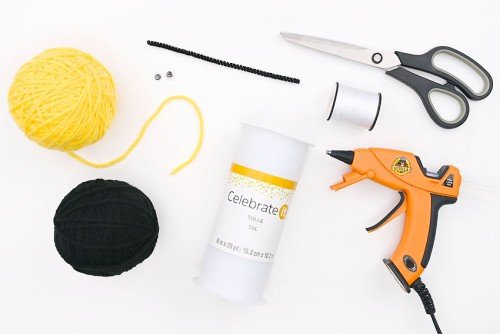
Materials:
- Worsted weight yarn(black and yellow)
- White tulle
- Sewing thread(white; or embroidery floss)
- Black pipe cleaner(s)
- 2Googly eyes(10mm or size of choice)
Equipment:
Instructions:
Step 1: Find what you need
- Gather your supplies and materials.


Step 2: Make the pom pom bee head
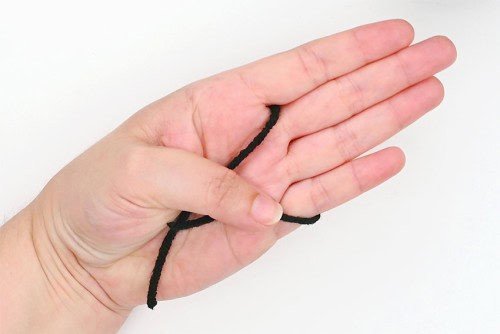
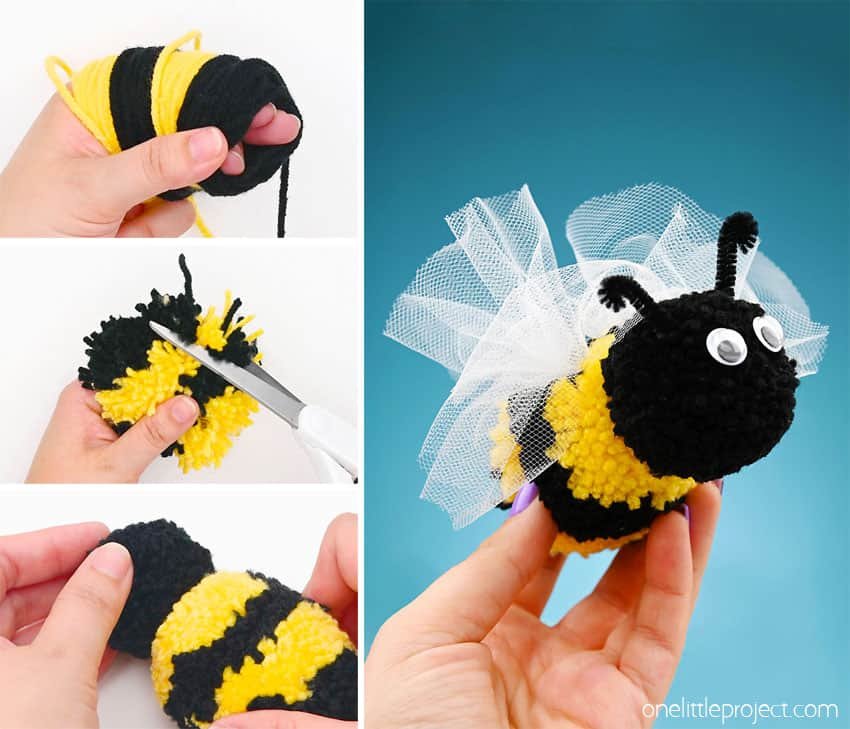
- Cut an 8 to 10 inch piece of black yarn and place it between your pointer and middle fingers.Bring the yarn from the back of your hand to your palm and hold both ends with your thumb.


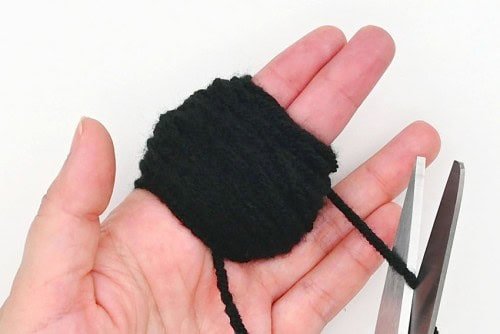
- Wrap the black yarn (from the ball of yarn) around 2 fingers100 times.After you’ve wrapped the yarn around a few times you don’t have to hold the loose ends with your thumb anymore.Cut the yarn from the ball.


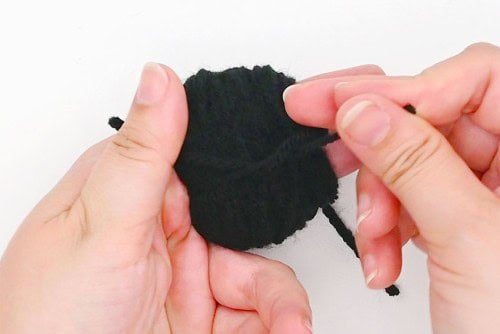
- Carefully slide one end of the 10 inch piece around to the back of your hand and tie the ends loosely around the yarn bundle.


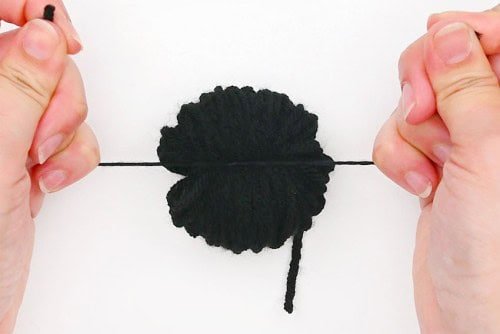
- Carefully slide the yarn bundle off your fingers and tie the 10 inch piece in a tight double knot around the center of the bundle.You can also flip the pom pom over and secure it even more by tying a knot around the other side.


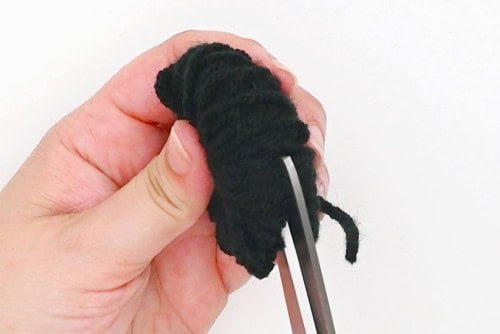
- Using sharp scissors (or fabric scissors), cut through the loops of yarn to create a rough pom pom shape.


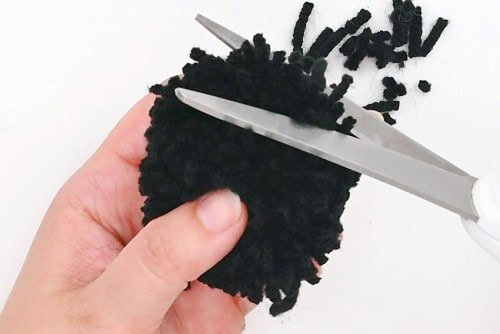
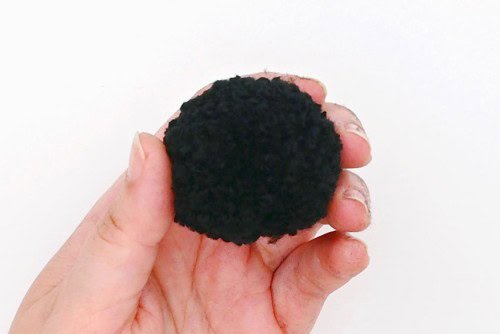
- Give the pom pom a “haircut”, trimming and shaping it until it’s a nice, even ball shape.


- You should end up with a pom pom about 2 inches in size.Trim one side of the bee’s head to be a bit flat. This is where you’ll connect it to the body.


Step 3: Make the bee’s body
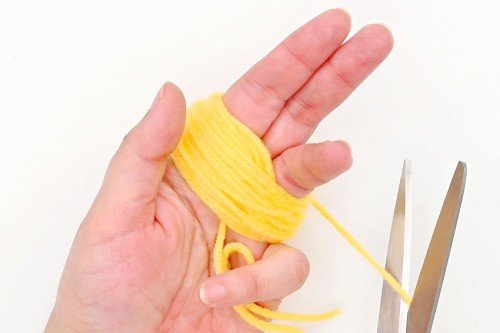
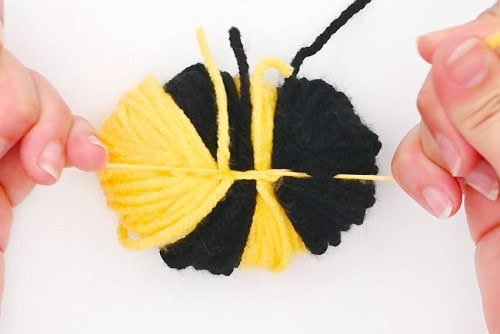
- Place a 10 to 12 inch piece of yellow yarn between your middle and pointer fingers.Wrap the yellow yarn around 3 fingers (pointer, middle, ring) 50 times.Cut the yarn from the ball.


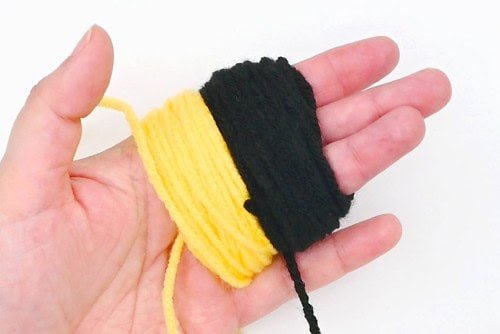
- Begin wrapping black yarn above the yellow. Try not to overlap the two colours.Wrap a total of 50 times, and then cut off the yarn.


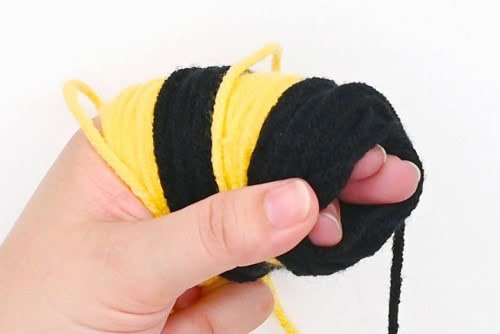
- Wrap more yellow yarn around 50 times, and then wrap the black yarn another 50 times.Try your best to keep the colours separate.


- Tie the loose 10 inch piece of yarn around the yarn and then carefully slide the bundle off your hand.Pull the yarn tight and tie it in a double knot around the center of the bundle.


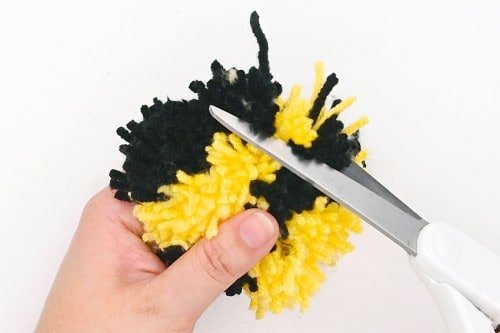
- Cut through the loops of yarn to create a rough pom pom shape.Then begin trimming the pom pom to be a rough cylinder shape.


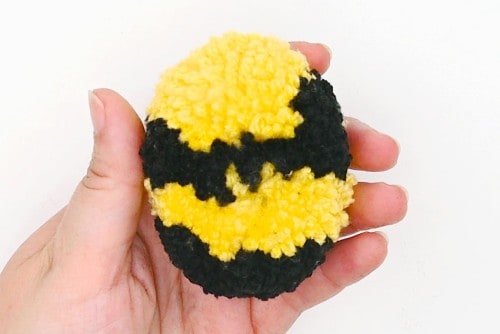
- Continue trimming the pom pom until you have an oval shape for the bee’s body.


Step 4: Connect the head and body
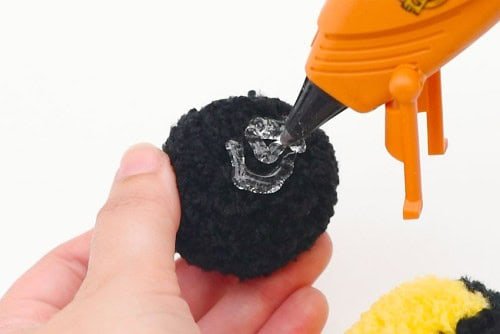
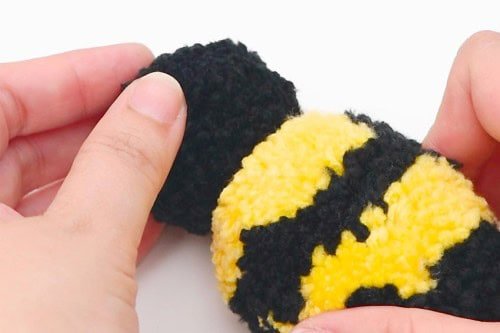
- Add a generous amount of hot glue to the flat side of the black pom pom (the bee’s head).


- Connect the black pom pom to the bee’s body on the yellow end of the oval pom pom.


Step 5: Make the tulle wings
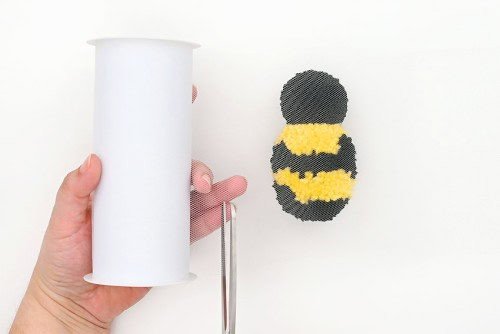
- Cut 2 pieces of white tulle to be 6 x 10 inches.


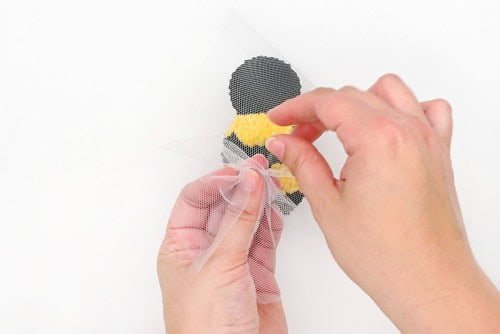
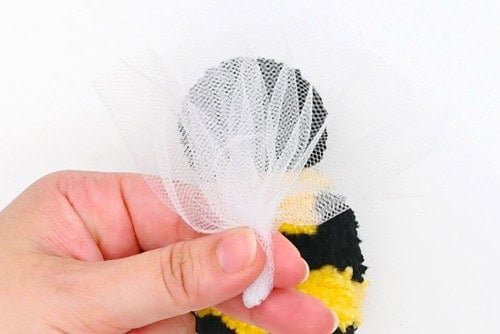
- Hold the tulle with the shorter end towards you and gather up the length of the tulle in the middle, scrunching it up.


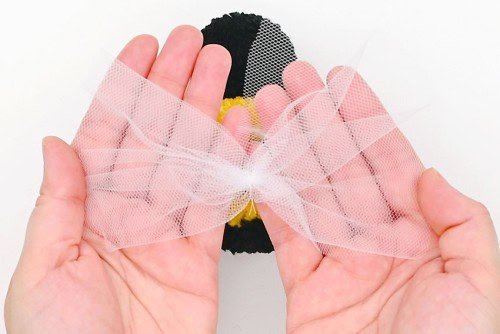
- Tie a piece of white thread around the middle of the tulle, securing the gathering in place.


- Fold the tulle in half, bringing the wings together so that the tied middle is at the bottom.


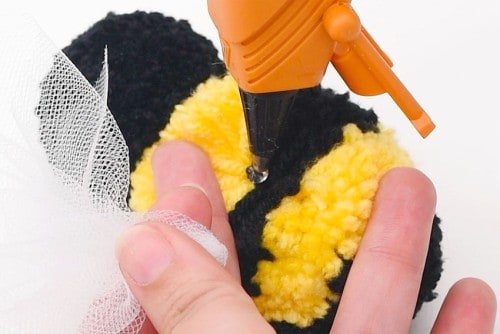
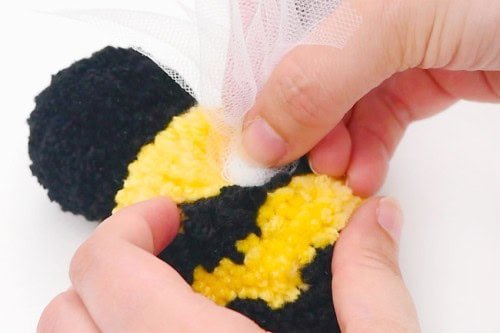
- To attach the wings you’ll need to separate the yarn to create a little trench for the tulle to slide into.Make a spot where you’d like one of the wings to sit and add some hot glue.


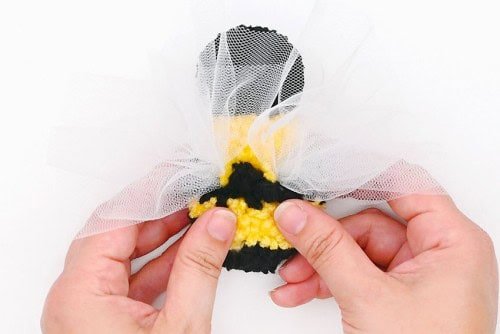
- Place the folded side of the wing into the glue so 1 wing points up and 1 points down.Hold the wing in place until it stays on its own.


- Repeat, making and attaching the second wing.


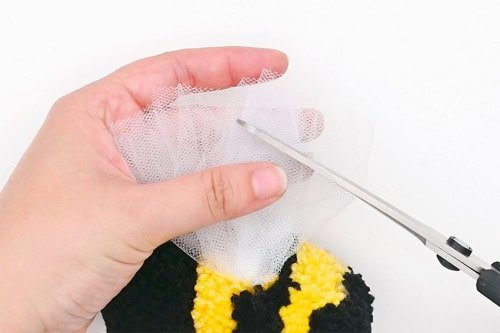
- Hold both of the wings together at the top of the bee and cut the ends into a curve.


Step 7: Add the final details
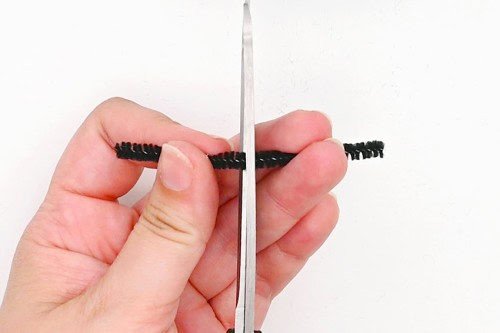
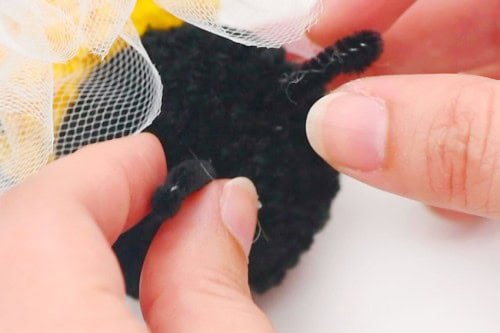
- Cut up a pipe cleaner so you have 2 pieces, each about 1-1/2 inches long.


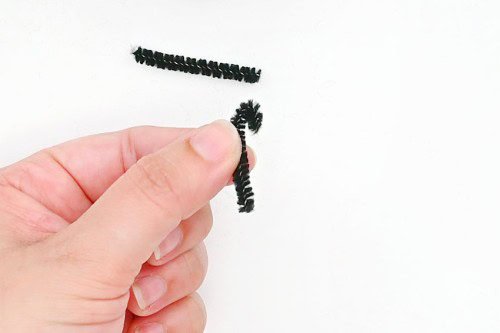
- Curve the tip of the pipe cleaner down (about 1/4 inch or so) to form an antenna.


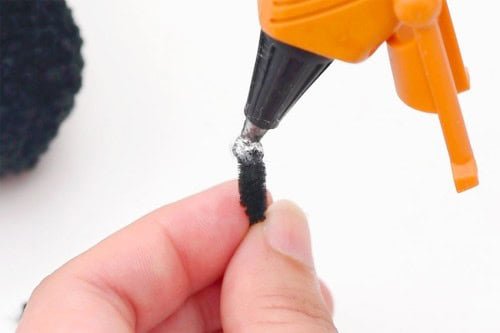
- Add a dot of hot glue to the straight end of the pipe cleaner.


- Attach the antennae to the top of the bee’s head, nestling the pipe cleaners down into the yarn.


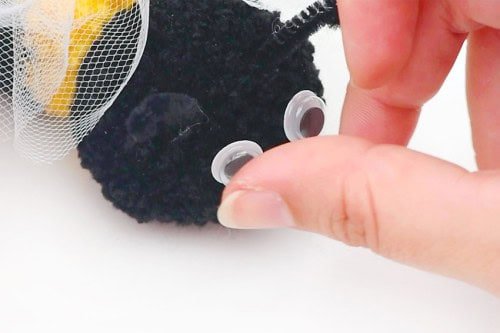
- Use hot glue to attach the googly eyes to the front of the bee’s face.


- Your pom pom bee is complete!


Helpful Tips:
- Use a lint roller to remove excess fluffs from your pom poms. You can do this before gluing the pom poms together and after you make the final adjustments.
- For a bee with a fluffy/fuzzy look, comb out the strands of yarn with a pet brush or a fine tooth comb.

Do I need a pom pom maker to make pom pom bees?
You can definitely use a pom pom maker if you’d like! Some people find it easier to make a pom pom this way, or by wrapping the yarn around cardboard.
You can read our how to make a pom pom post for more details on these methods. They work well and will keep your hands free when crafting.
But we don’t find it necessary to take out a special tool to make pom poms. We find it easiest to make a pom pom using just our hand, as described in the step by step tutorial above.

If I don’t have tulle, how can I make the wings for the pom pom bees?
We love the see through look of the tulle wings, but you can also cut wings from white felt or craft foam. You can also bend a pipe cleaner into wing shapes.
If your bee is only for display purposes you could also make transparent wings from wax paper or parchment paper.

What else can I use for eyes on the bee pom pom?
We like how the googly eyes show up on the black pom pom head! But if you want a more realistic looking bee you can glue on beads or sequins for the eyes.
What scissors are best for making pom pom bees?
You can use regular scissors to make a pom pom, but we do find it helpful to use fabric scissors. These shears have long blades and are extremely sharp. They work well to cut through layers of yarn.

These pom pom bees are definitely a buzzworthy craft. Use these cute bumblebees for pretend play, or as a prop for storytime. You can set your bee pom poms on a pot of fake flowers, or string them from a homemade garland.

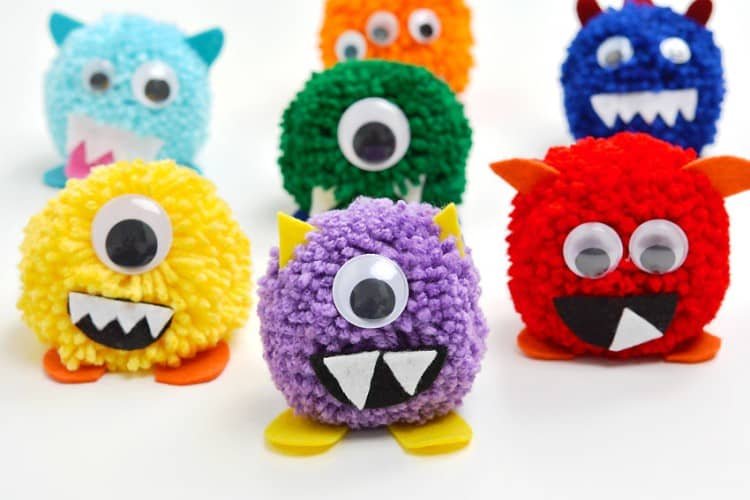
Here’s even more pom pom craft ideas:
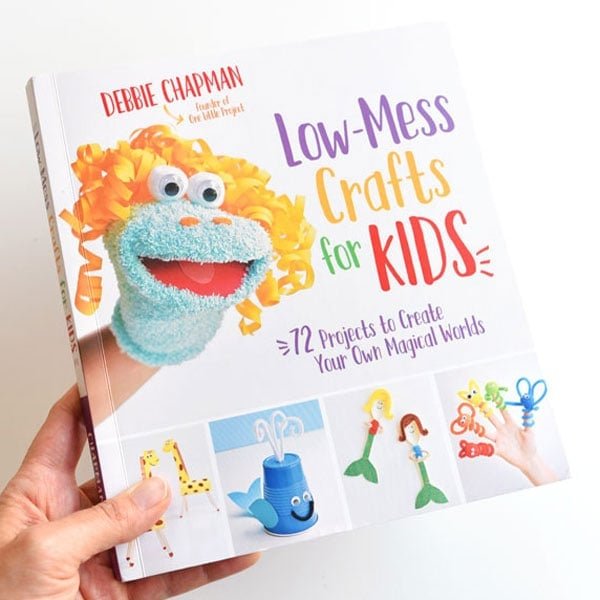
Our book Low-Mess Crafts for Kids is loaded with 72 fun and simple craft ideas for kids! The projects are fun, easy and most importantly low-mess, so the clean up is simple!
Where to buy:
You can purchase Low-Mess Crafts for Kids from Amazon, or wherever books are sold:
Amazon | Barnes and Noble | Books-A-Million | Indiebound | Amazon Canada


