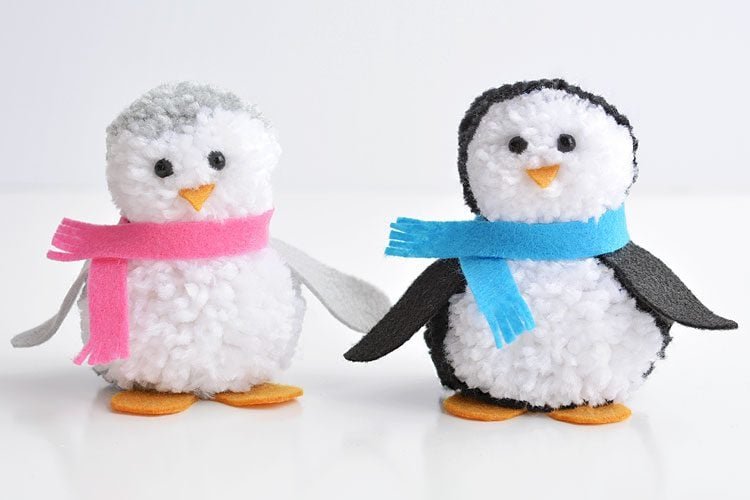
How to Make a Pom Pom: A Step by Step Guide
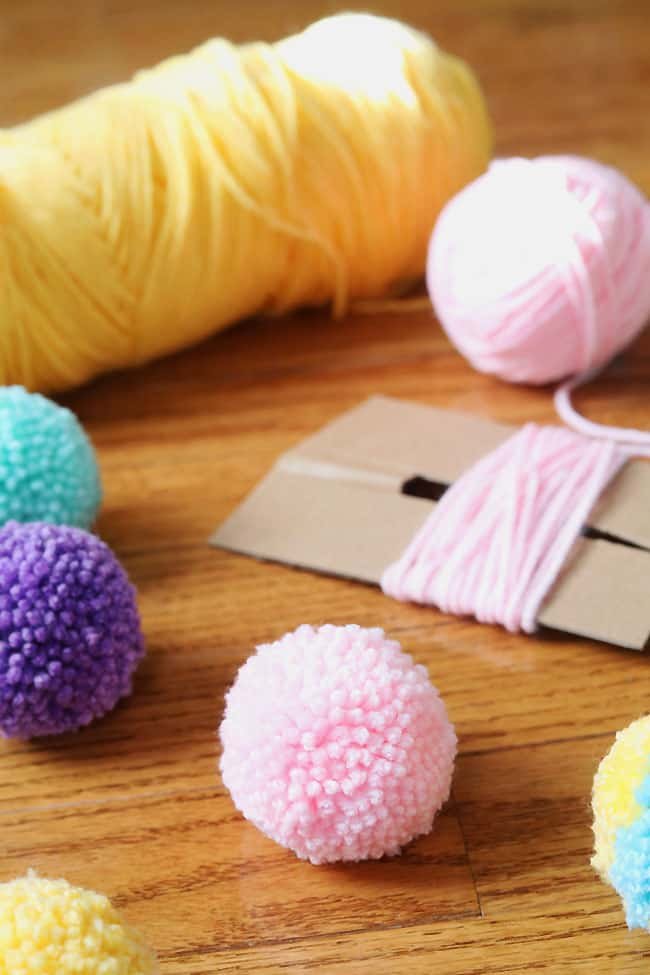
Learn how to make a pom pom using 3 simple techniques! It’s SO EASY to make perfect pom poms for a crochet hat, pom pom penguins, summer flowers, and all kinds of other fun crafts!
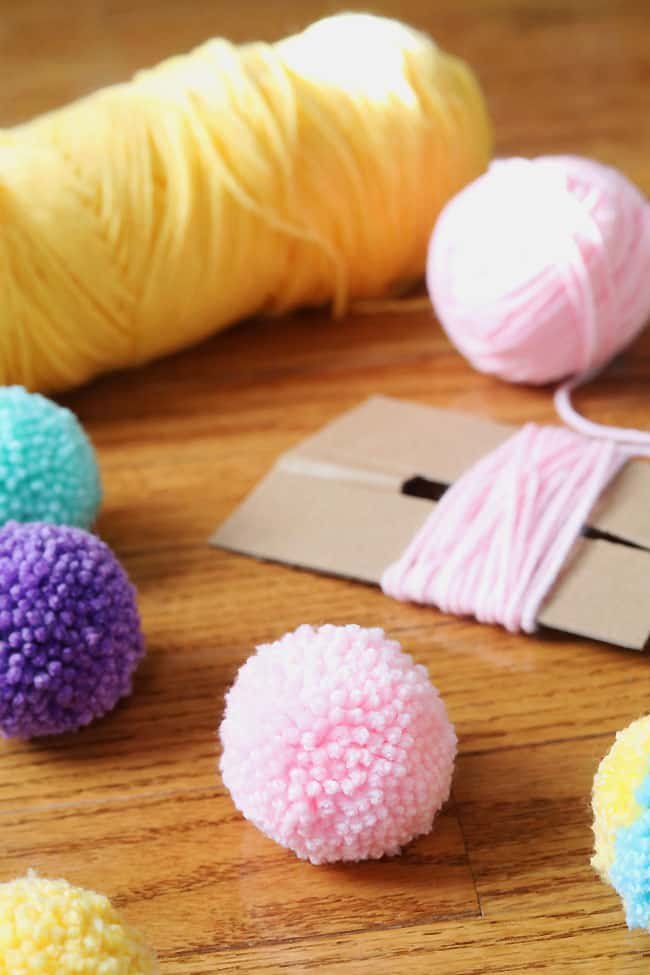
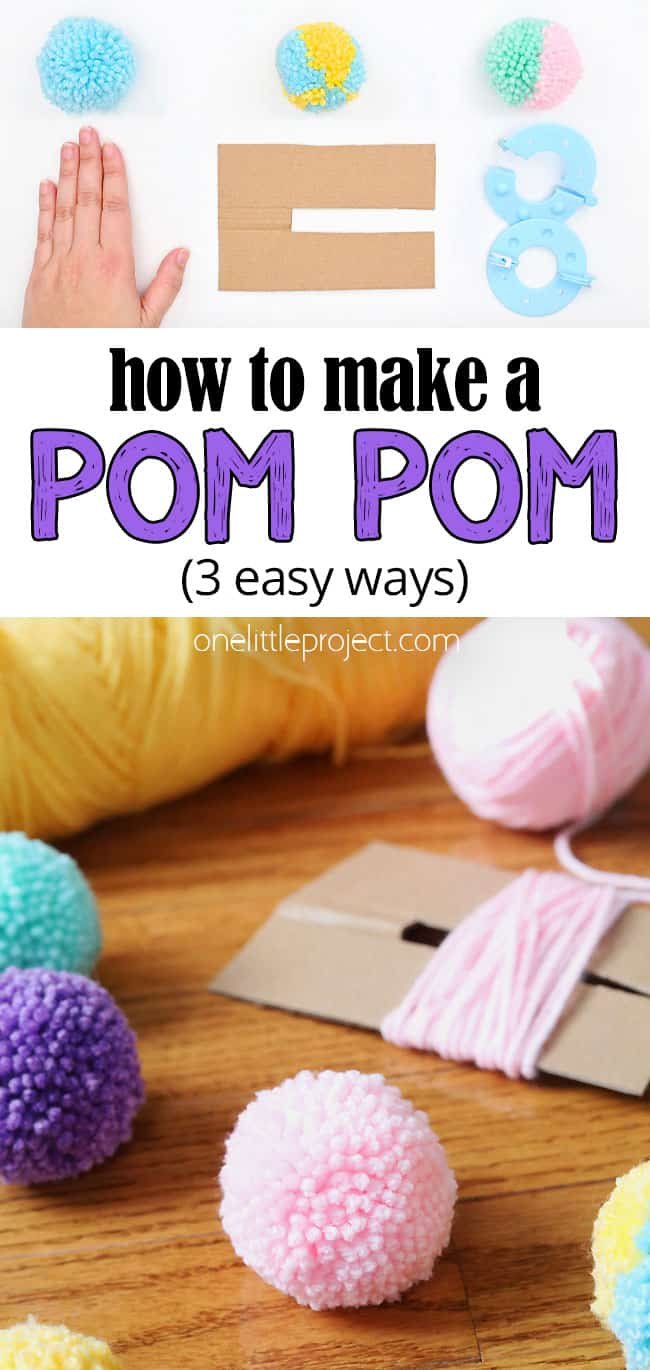
You can make pompoms without any special tools and supplies, or use a pom pom maker. Read on for helpful tips and tricks, and step by step photo and video tutorials for each of these simple methods!
This post contains affiliate links. If you use these links to buy something we may earn a small commission which helps us run this website.
How to Make a Pom Pom Using Your Hand
Materials:
Equipment:
-
Your hand!
Instructions:
-
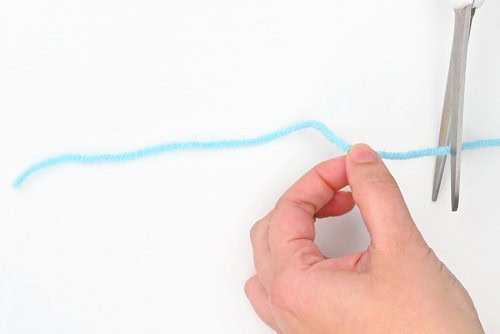
Cut a 10 inch piece of yarn.

-
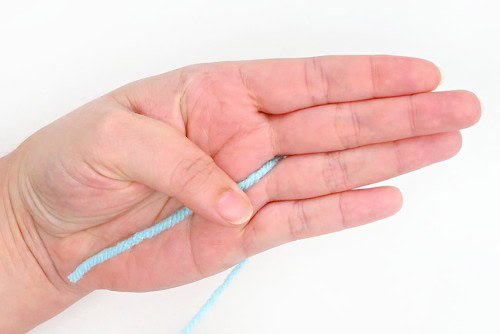
Place the yarn between your middle and ring fingers.

-
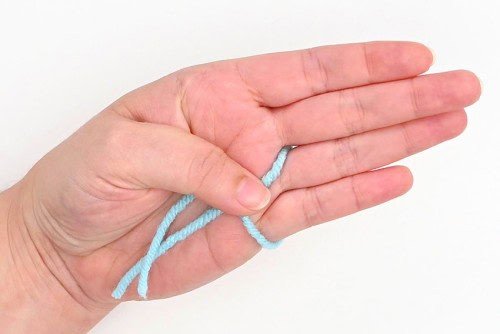
Pull the yarn from the back of your hand around to your palm, and hold it in place with your thumb.

-
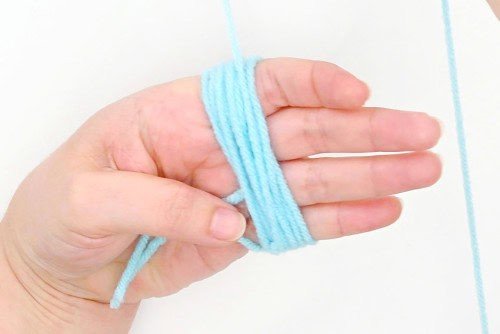
Keep the yarn attached to the ball and begin wrapping it around all 4 of your fingers.(If you’d like a smaller pom pom, wrap it around 2 or 3 fingers instead.)

-
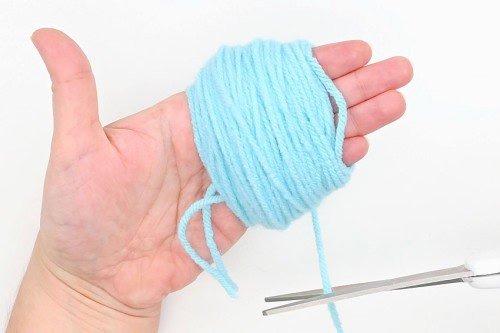
Continue wrapping until you reach approximately 140 times total. Then cut the yarn off from the ball. You’ll need to wind thinner yarn more times around your hand, but you can wind thicker yarn fewer times. The more times you wrap the yarn, the fuller your pom pom will be.

-
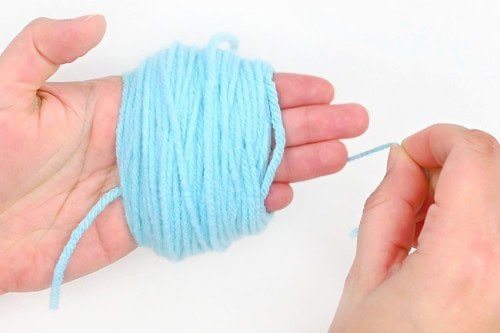
Pull one end of the loose yarn (the one between your fingers) back to the front of your hand.

-
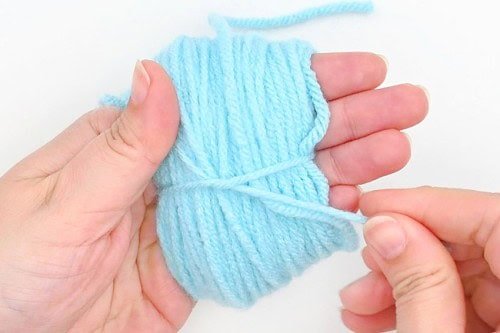
Tie the 2 ends from the 10 inch strand loosely around the yarn bundle.

-
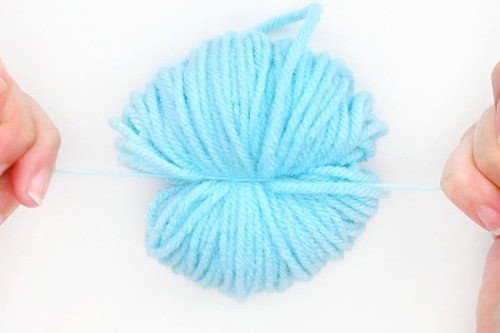
Carefully remove the bundle from your hand. Pull the yarn tight around the bundle and tie it in a double knot.

-
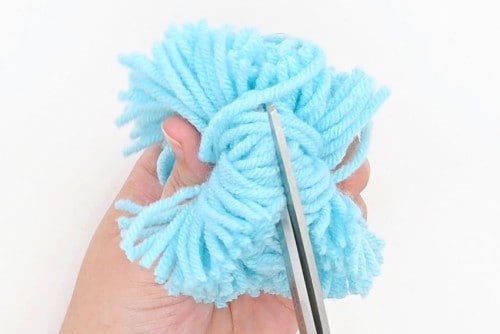
Using fabric scissors (or other sharp scissors), cut through the loops of yarn to create a rough pom pom shape.

-
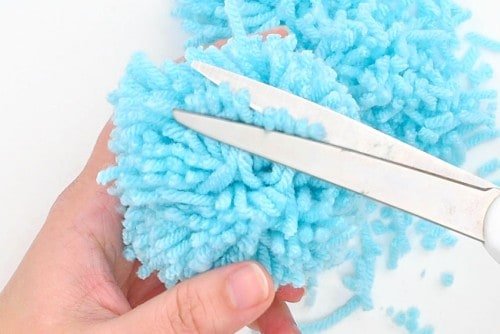
Give the pom pom a “haircut”, trimming and shaping it until it’s a round ball shape.

-
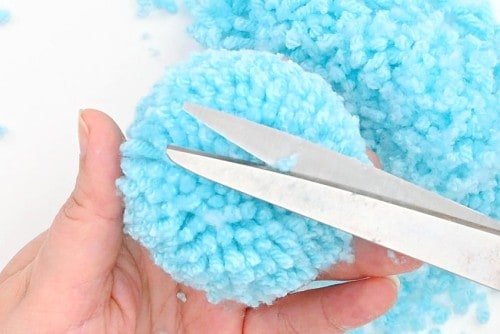
Keep trimming until you’re happy with your pom pom. The closer to the middle, the more compact and full the pompom will look.

-
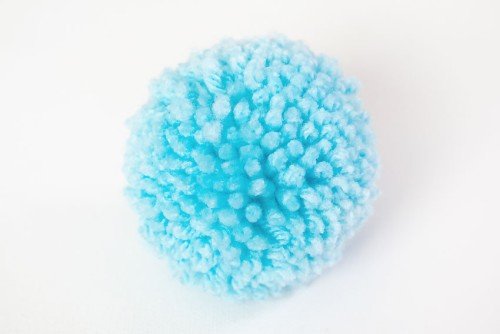
Your DIY pom pom made on your hand is complete!

How to Make Pom Poms with Cardboard
Materials:
- Worsted weight yarn(2 colours)
Equipment:
-
Cardboard (cut to 4 x 7 inches, or size of choice)
Instructions:
-
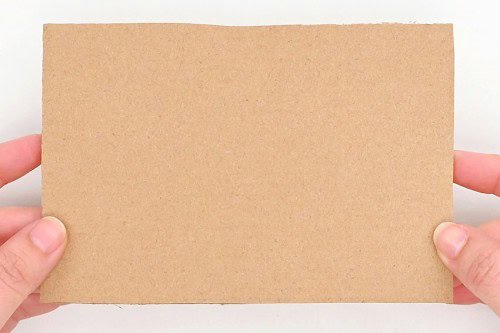
Grab a piece of cardboard from your recycling and cut a rectangle about 4 x 7 inches. The cardboard in a cereal box is not strong enough, so try to use heavy cardboard from something like a cardboard box. You can adjust the measurements to make a smaller or larger pompom.

-
Use scissors (regular scissors, not your fabric scissors!) to cut close to the middle on the short edge of the cardboard. Continue cutting about 2/3 of the way across.
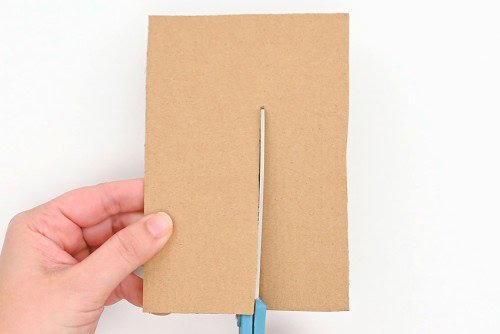

-
Cut another parallel line about 1/2 inch away.
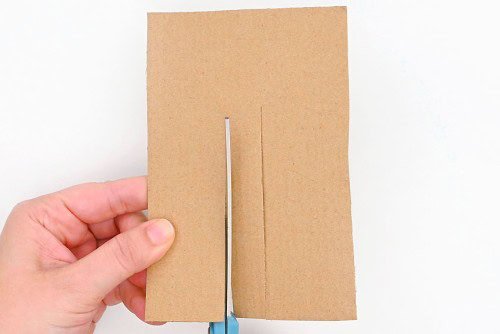

-
Cut off the 1/2 inch wide flap of cardboard.
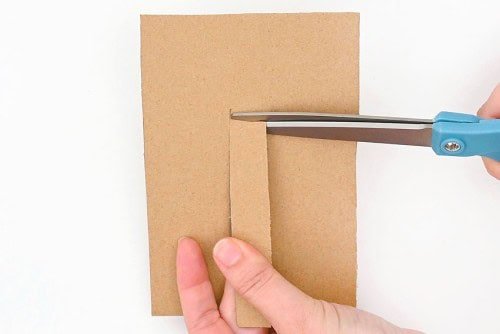

-
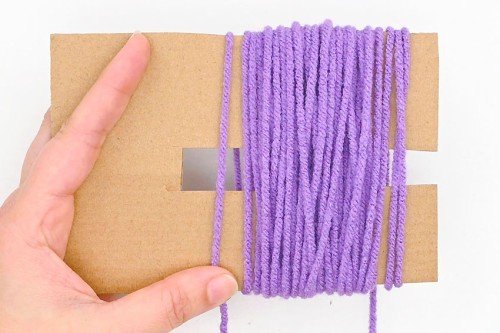
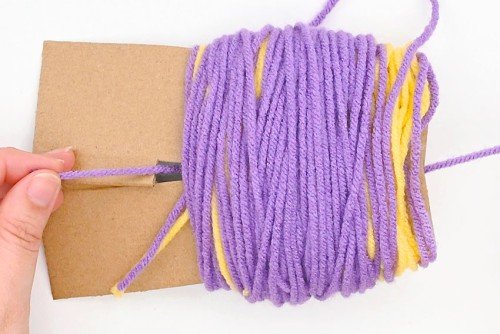
Keep the yarn attached to the ball and begin wrapping it around the long side of the rectangle.Start wrapping the yarn at least 1/2 inch from the end of the hole in the middle. You need a gap there so you can tie the yarn around the loops later.
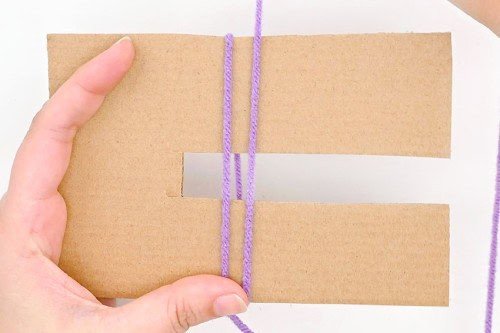

-
Wrap the yarn around the cardboard approximately 40 times. The next 2 steps will show how to make a multicolour pom pom. If you want to make a single colour pom pom, wrap the yarn approximately 140 times and skip ahead two steps.

-
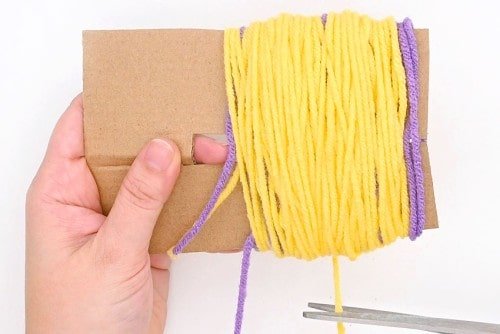
Optional: To make a multi-coloured pom pom, leave the original yarn attached to the ball and wrap a second colour of yarn around the cardboard, over top of the first colour.Wrap colour two about 50 times before cutting it off.

-
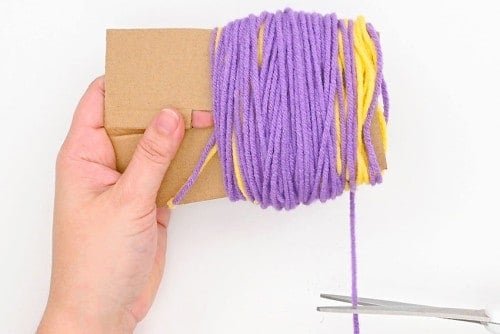
Wrap the first colour another 50 times (for a total of 140 wraps, between the two colours) and cut off the yarn.

-
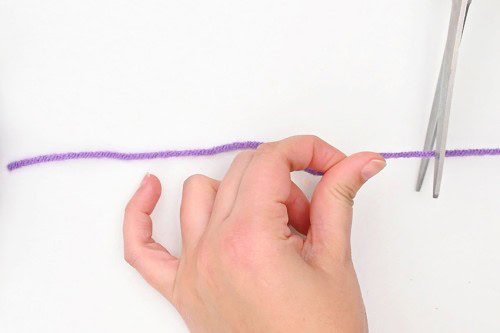
Cut a 10 inch piece of yarn.

-
Slide the 10 inch yarn through the gap in the cardboard.

-
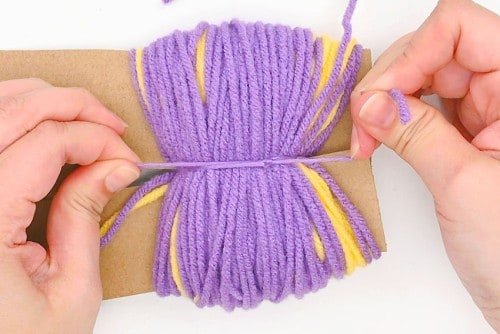
Tie the yarn tight around the bundle and into a double knot.

-
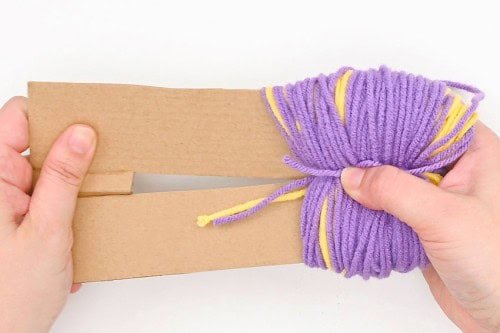
Slide the yarn bundle off of the cardboard.

-
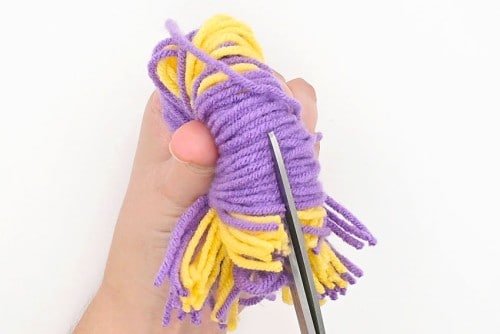
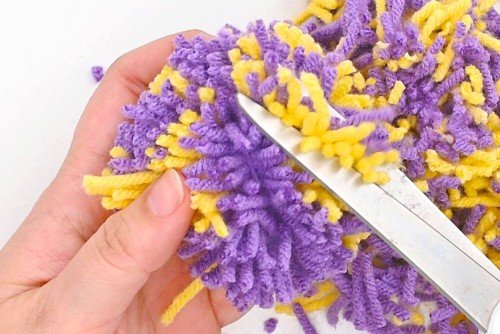
Using fabric scissors (or other sharp scissors), cut through the loops of yarn to create a rough pom pom shape.

-
Give the pom pom a “haircut”, trimming and shaping it down.

-
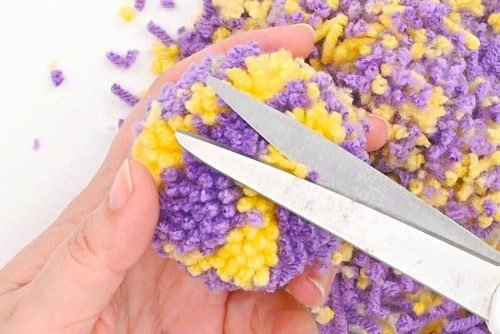
Continue shaping the pom pom until it’s an even and round ball shape.

-
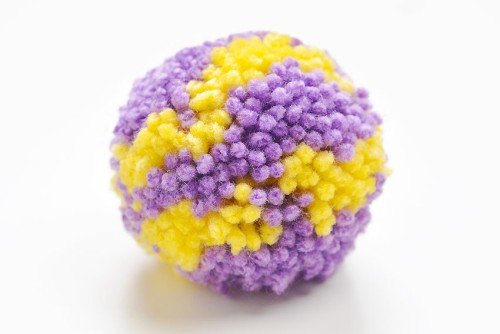
Your yarn pom pom made with a cardboard rectangle is complete!

How to Use a Pom Pom Maker
Materials:
- Worsted weight yarn(2 colours, if wanted)
Equipment:
Instructions:
-
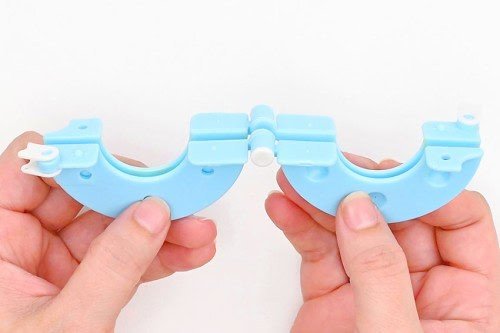
Open and align the two sides of the pom pom maker together.

-
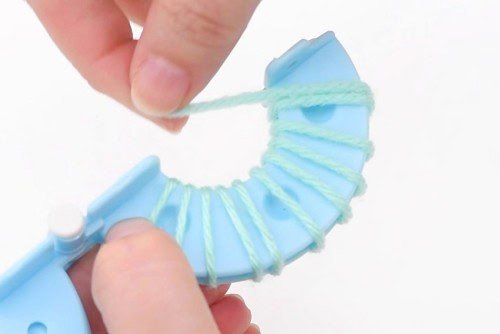
Hold the pieces of the pom pom maker together as you begin wrapping yarn around one side of it.Make sure you keep the yarn attached to the ball.

-
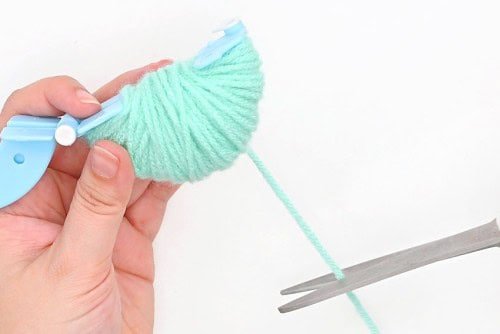
Continue wrapping until the half circle is full (approximately 140 times) and then cut off the yarn.

-
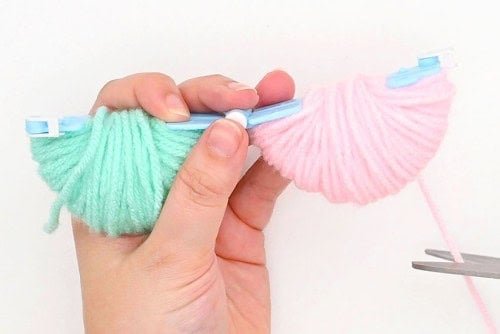
Wrap the other side of the pom pom maker with a different colour of yarn (or use the same colour yarn if you’d like a single colour pom pom).Wrap this yarn around 140 times as well, and then cut it off from the ball.

-
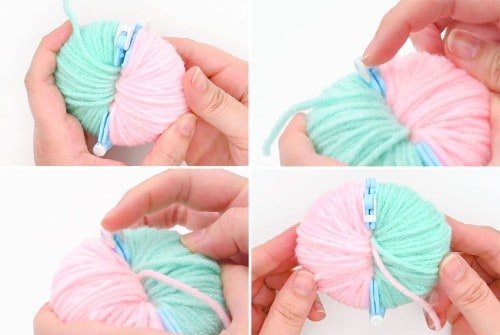
Close the 2 sides of the pom pom maker together. Secure the sides together with the little latch.Repeat, closing the latch on the other side.

-
Once the pom pom maker is secured together, slide your scissors under the yarn, between the two parts of the pom pom maker.
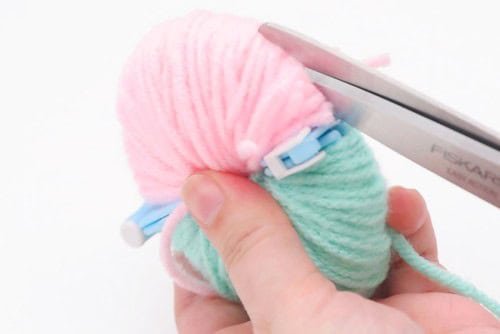

-
Cut through the middle of the yarn, keeping your scissors in-between the two sides.
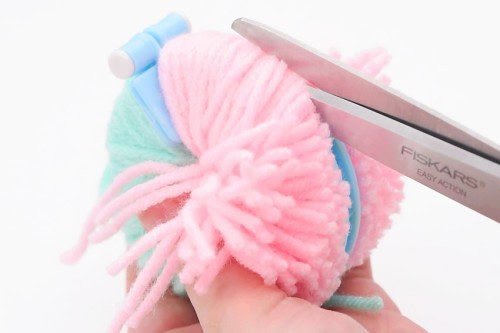

-
Continue until you’ve cut all the way around.
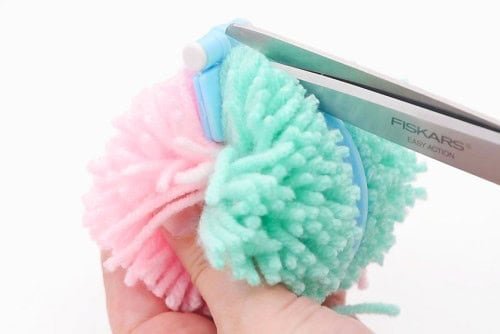

-
Cut a 10 inch piece of yarn.
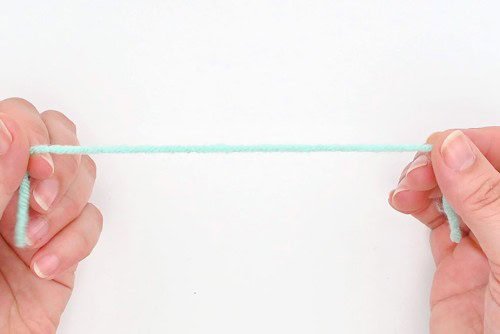

-
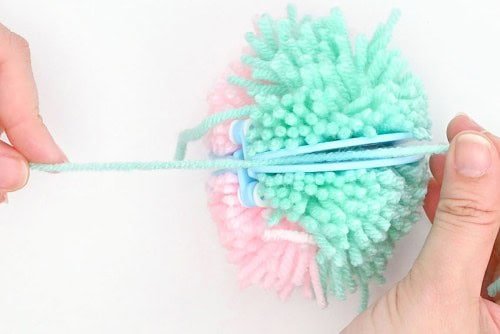
Slide the yarn between the two pieces of the pom pom maker.

-
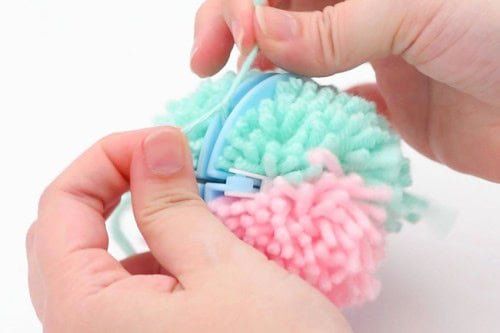
Pull the yarn tightly, looping it around a couple of times and tying it in a double knot.

-
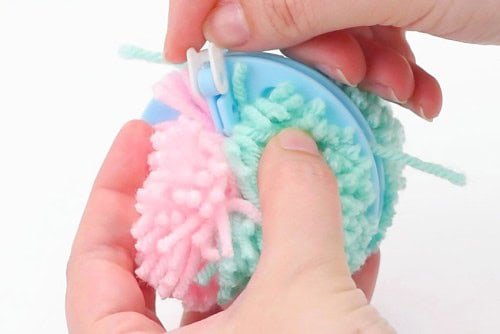
Open the latches on the pom pom maker.

-
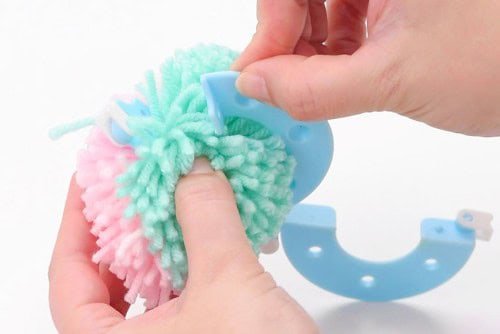
Gently slide out and remove the pieces of the pom pom maker.

-
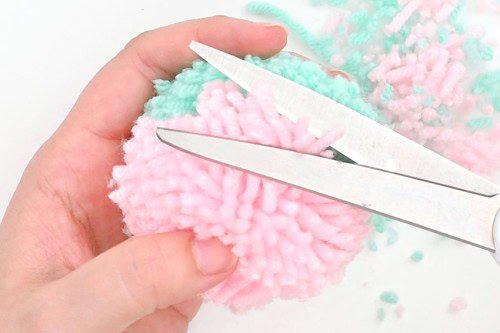
Give the pom pom a “haircut”, trimming and shaping it.

-
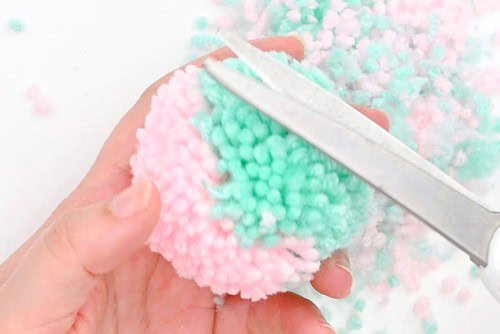
Continue trimming the yarn until your pom pom is a round ball shape.

-
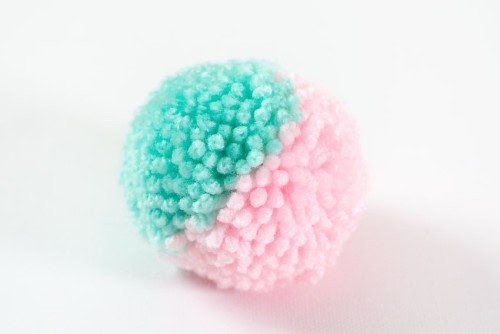
Your pom pom made with a pom pom maker is complete!

Helpful Tips:
- If you’d like to tie your pom pom to a hat or another craft, make sure you don’t cut the long pieces of yarn that are knotted around the loops. Trim down the rest of the pom pom while leaving these pieces long, so you have something to attach the pom pom with.
- Making multiple pom poms for one project? Be sure to compare the sizes as you trim them to make sure they match!
How to make a pom pom look perfect?
If your pom pom looks messy, you need to spend more time on the pompom’s “haircut”. Whichever method you choose to make your pom pom, trimming it down evenly is what will make your pom pom look its best.
Your pom pom might also look messy if you didn’t wrap the yarn enough times. Thinner yarn needs to be wrapped more times and may end up creating a shaggy looking pom pom. The only way to fix it is to trim the pom pom down to be smaller until it looks more full.
How do I make my pom pom look fuzzy?
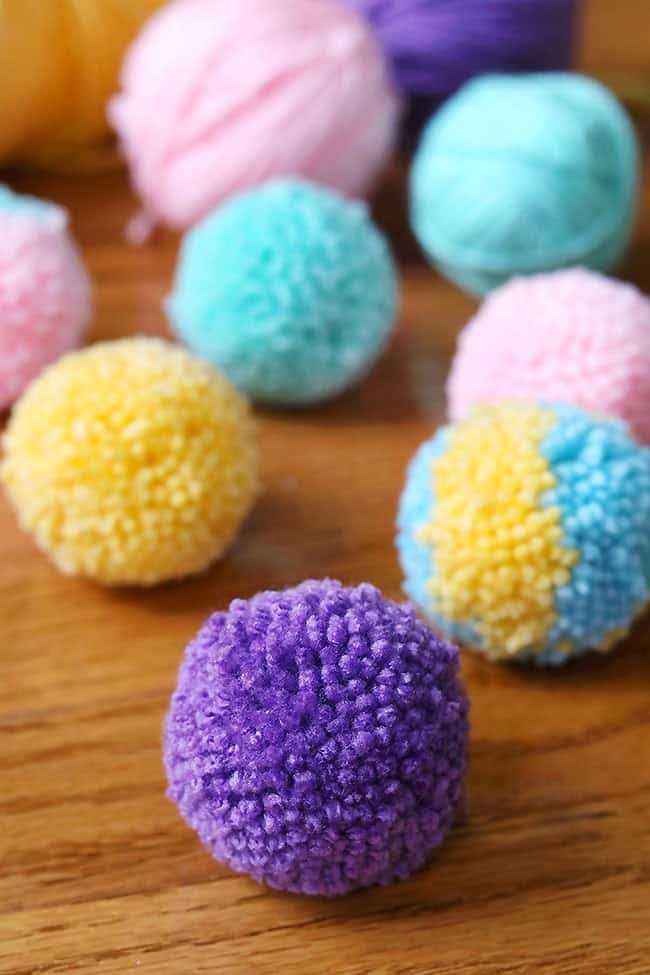
If you want to make a fluffy/fuzzy pom pom, use a pet brush or fine toothed comb to brush out the strands of yarn. It’ll give your pompom a whole different look!

What’s the best way to make a pom pom?
It’s hard to say if there’s one best way to make a pom pom. There are advantages and disadvantages to each method, so you may choose 1 way to make a pom pom for one project, while choosing another method for a different craft.
Here are our thoughts on each of the methods we used to make pom poms:
How to make a pom pom with your hand:
This is our go-to way to make pom poms. It’s really simple and you don’t need any extra tools or preparation.
The only downside is you’re limited to the size of your hand. You can wrap the yarn around fewer fingers for a smaller pom pom, but you can’t make them any bigger.
How to make a pom pom with a cardboard rectangle:
This is a great way to make pom poms of all different sizes. You can make pom poms as big and as wide as your piece of cardboard allows. (Though larger pompoms take a lot of yarn).
Using cardboard is an easy and inexpensive way to make poms poms and it keeps your hand free, allowing you to walk away from the pom pom if need be. Plus you can keep the cardboard base for future pom poms or simply recycle it!
How to make a pom pom with a pom pom maker:
Pom pom makers usually come in a pack of at least 4 pre-determined sizes. It limits you to these specific sizes, but unless you need a really large pom pom, this method works well.
We also found that this way of making a pom pom wasted the least amount of yarn. You don’t need to give these pom poms as big of a “haircut”, compared to the other methods.
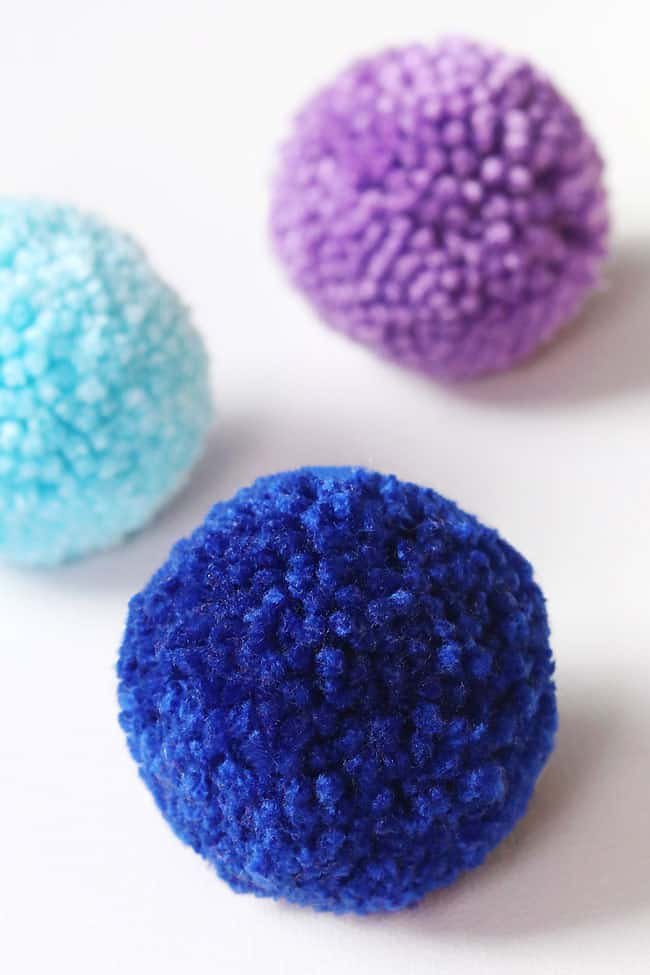

How can I use my DIY pom pom?
Pom poms are so cute, and they can be used in so many different arts and crafts! Here are some fun examples:
- Make unique and personalized Christmas ornaments
- Tie it to a stick to make an enticing cat toy
- Add as a hat topper for a crochet hat or loom knit hat
- Attach tiny pom poms to earrings
- Many small pom poms can attach as a scarf fringe
- Turn pompoms into DIY flowers attached to wrapped wire or a pipe cleaner
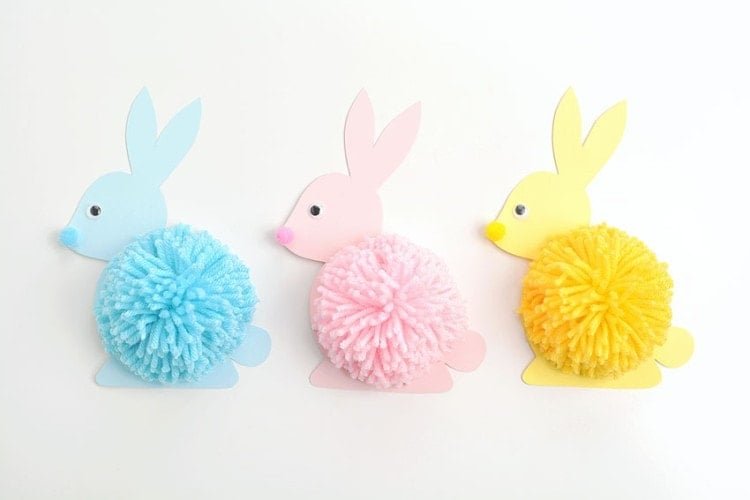
- Add a pom pom to a paper craft, creating a cute animal (like a pom pom hedgehog)
- Attach one to the top of a bookmark
- Various sizes of pom poms combined make an adorable pom pom wreath
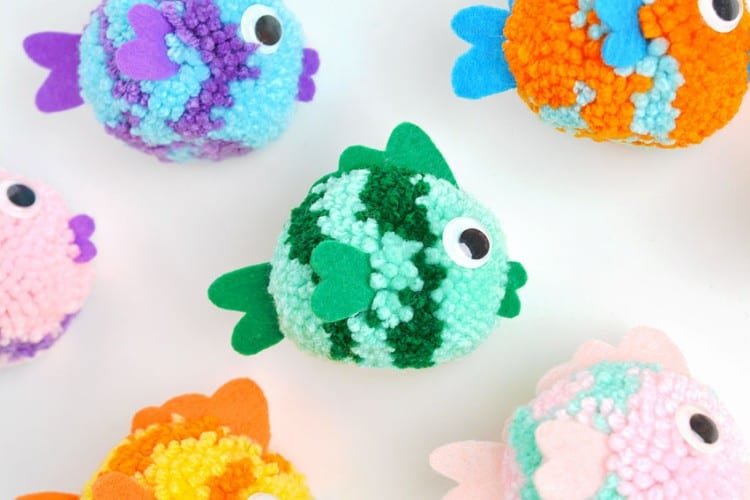
- Make fun creations for pretend play, like pom pom ice cream cones or pom pom monsters
- Sew onto the border or corners of an afghan or pillow
- Create a homemade garland strung with pom poms
- Attach a small pompom onto a keychain
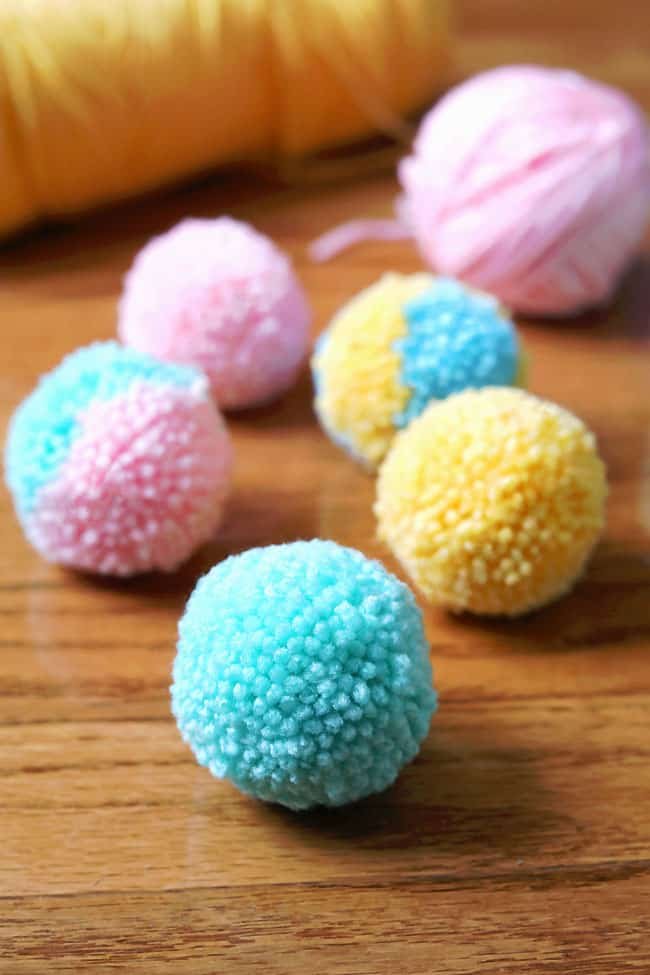

What type of yarn is best for making DIY pom poms?
We recommend using medium weight (worsted weight, 4) acrylic yarn to make pom poms. It’s inexpensive, easy to find, and it’s easy to wrap.
You can also use a chunky/bulky (5) or super bulky (6) yarn to make pom poms. This yarn is harder to wrap around a pom pom maker, but it’s easier to use with your hand, since you can wrap it a lot fewer times to make a full pompom.
What scissors are best for making pom poms?
We highly recommend using fabric scissors (also called dressmaker scissors) or another pair of really sharp scissors to cut the pom poms. Fabric scissors slice easily through the many layers of yarn.
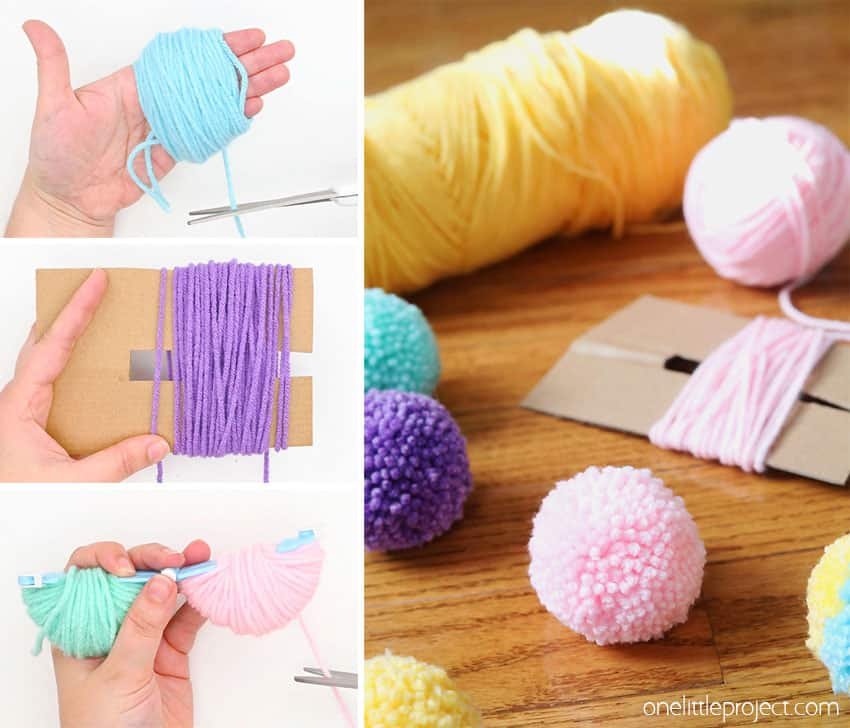

Why buy pom poms when it’s so fast and easy to make your own?! Choose your favourite method and learn how to make a pom pom in the right colour and size for your project. These fluffy accessories are so colourful and cute!

Here’s even more pom pom craft ideas:
Our book Low-Mess Crafts for Kids is loaded with 72 fun and simple craft ideas for kids! The projects are fun, easy and most importantly low-mess, so the clean up is simple!
Where to buy:
You can purchase Low-Mess Crafts for Kids from Amazon, or wherever books are sold:
Amazon | Barnes and Noble | Books-A-Million | Indiebound | Amazon Canada


