


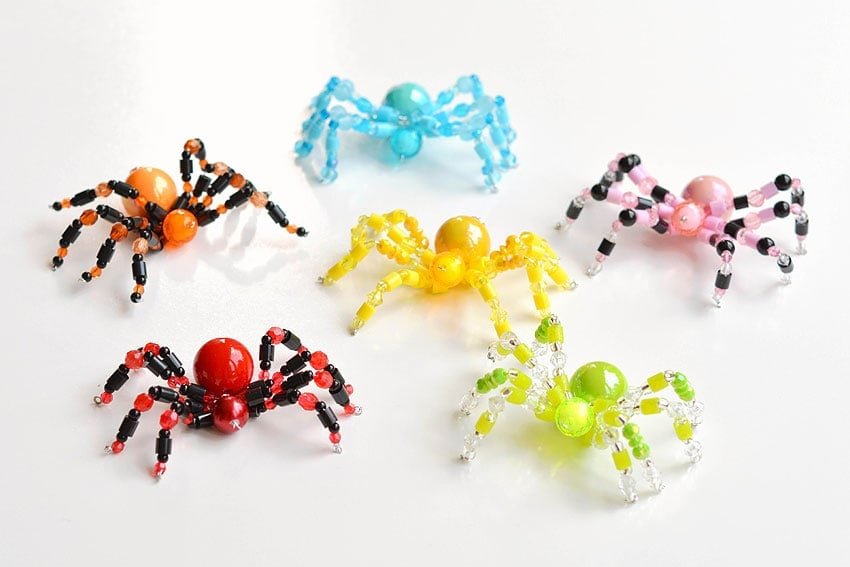
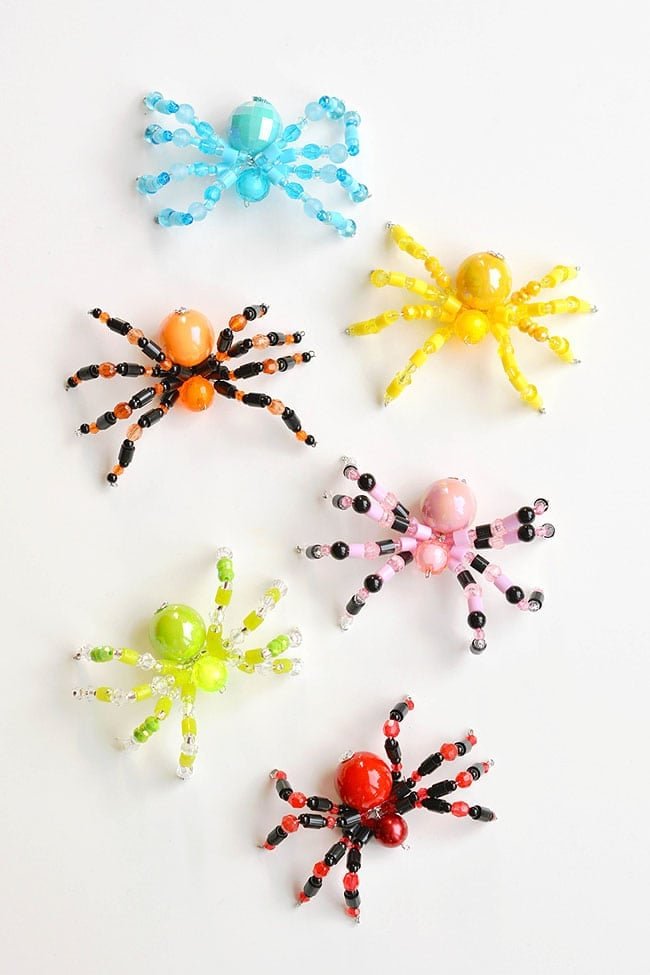
This beaded spider is made with five short pieces of jewelry wire, one large body bead, one smaller head bead, and a mix of small beads for the eight legs. The Craft Ideas version uses a simple wire-wrapping method that creates a freestanding spider you can display for Halloween, hang as an ornament, or adapt into a magnet or gift topper.
The most important parts are choosing beads that fit your wire, securing the body before adding the legs, leaving enough wire at each leg tip to make a stopper loop, and shaping all eight legs only after the beading is finished.
Beaded Spider — Quick Overview
Jump to:

| Project detail | Original tutorial setup |
|---|---|
| Body wire | 1 piece, about 5 inches |
| Leg wires | 4 pieces, about 5 inches each |
| Wire used | 24 gauge jewelry wire |
| Body bead | About 20 mm |
| Head bead | About 10 mm |
| Leg beads | Small beads, about 2–5 mm in the original project |
| Tools | Ruler, wire cutters, needle-nose pliers |
| Finished use | Halloween decor, hanging ornament, magnet, gift topper, or display piece |
Supplies You’ll Need
Original Supply Links
These are the existing product links from the original tutorial.
- Jewelry wire
- Wire cutter
- Needle nose pliers
- Large bead
- Medium bead
- Variety of smaller beads
- “gumball” bead
- 10 mm beads
- perler beads
- seed beads
- faceted plastic beads
- bugle beads
- studded “disco ball” beads
- Jewelry wire
- Wire cutters
- Needle nose pliers
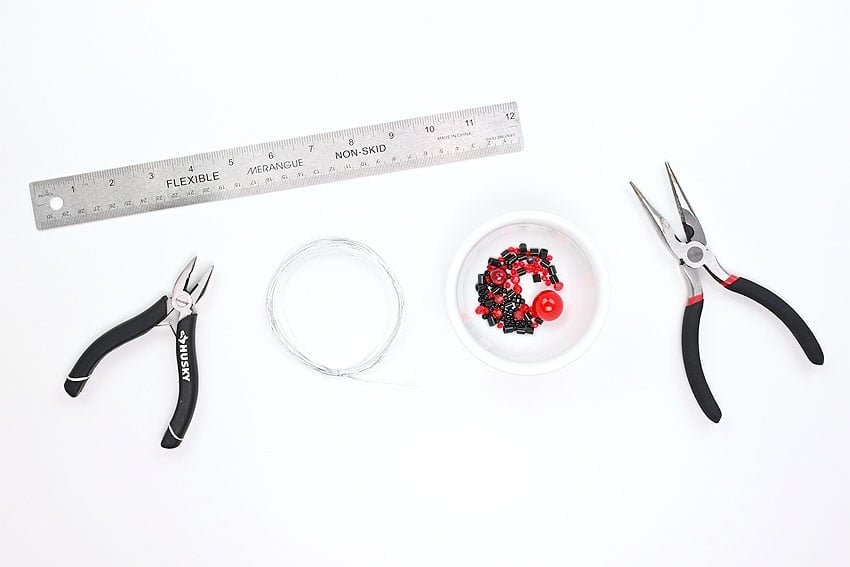
- About 25 inches of 24-gauge jewelry wire
- 1 large bead for the spider’s body
- 1 medium bead for the head
- A mix of small beads for the legs
- Ruler
- Wire cutters
- Needle-nose pliers
The original project used a 20 mm “gumball” bead for the body, a 10 mm bead for the head, and a mix of perler beads, seed beads, and faceted plastic beads for the legs. Those sizes are a useful reference for reproducing the same proportions, but you can change the bead combination as long as every bead hole fits the wire you choose.
What Beads Work Best for a Beaded Spider?
You need three basic bead roles: one large bead for the abdomen, a smaller bead for the head, and small beads for the legs.
Body Bead
The original spider uses a 20 mm round bead for the body. A large round, faceted, metallic, pearl-look, or “disco ball” style bead can all work if the center hole accepts the body wire.
Head Bead
The head should be smaller than the body. The original project uses a 10 mm bead, which creates a clear head-and-abdomen silhouette without making the front of the spider too heavy.
Leg Beads
Small seed beads are useful near the body because they can sit close to the wire junction. You can then alternate seed beads, faceted beads, perler-style beads, bugle beads, or other small beads along each leg.
Before cutting all your wire, test the smallest bead on the wire. A bead design is only useful if the holes actually fit.
What Gauge Wire Should You Use?
The original Craft Ideas spider uses 24-gauge jewelry wire. That gauge is thin enough to pass through the project’s small beads while still holding the spider’s shape once the legs are bent.
Heavier 20-gauge wire can also work with larger bead holes, but it is stiffer and may not fit small seed beads. Current beading tutorials from other makers also commonly use 20- to 26-gauge craft or jewelry wire depending on bead size and construction method.
If you change wire gauge, test it with your smallest bead first and make sure your pliers can form a small stopper loop at the end of each leg.
How to Make a Beaded Spider
Step 1: Cut Five Pieces of Wire
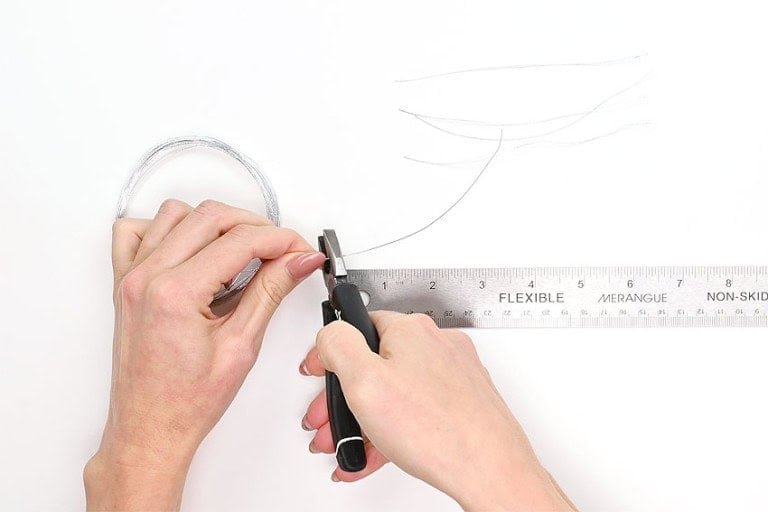
Cut five pieces of jewelry wire, each about 5 inches long.
One piece becomes the center wire for the spider’s body and head. The other four pieces become the eight legs, because each wire creates one leg on each side of the body.
Step 2: Make a Stopper Coil for the Body
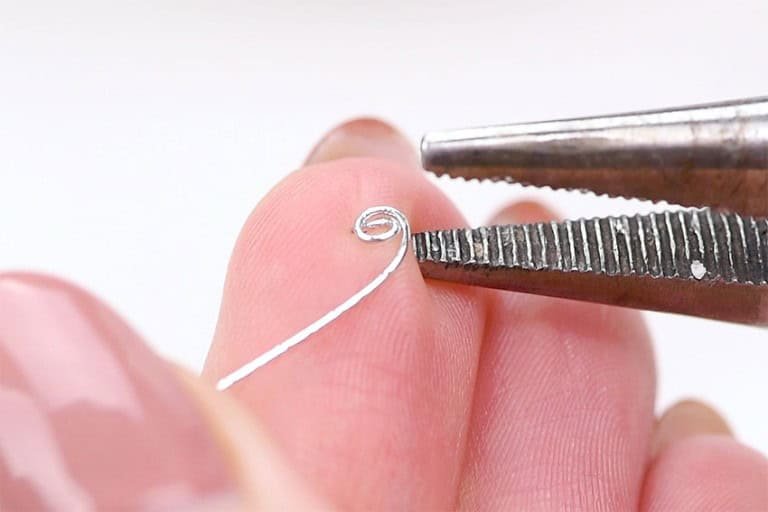

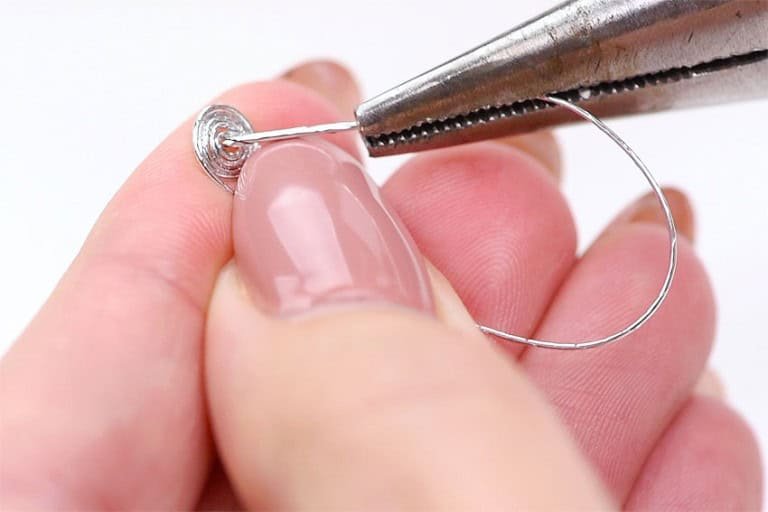
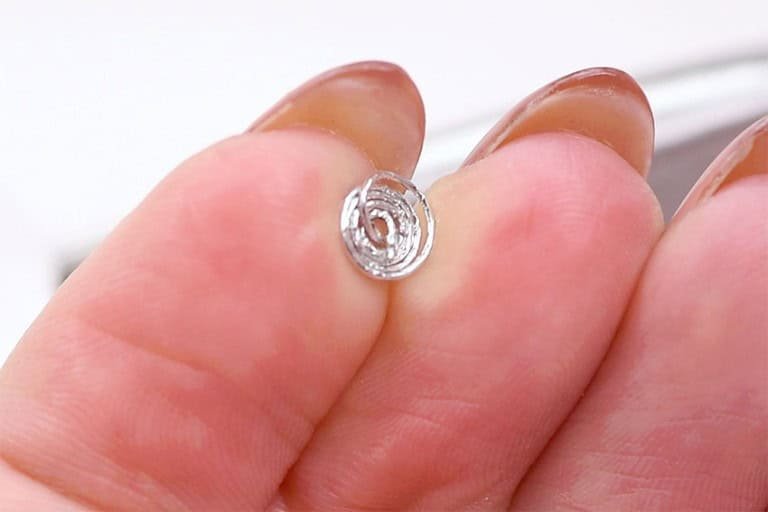
Take the body wire and use needle-nose pliers to bend one end into a tight spiral.
Continue curling the wire until the spiral is large enough to cover the hole in your large body bead. The original project made this coil about 5 mm across.
Feed the free end of the wire back through the center of the spiral and pull it snug. This locks the coil and creates a secure base for the body bead.
Step 3: Add the Large Body Bead
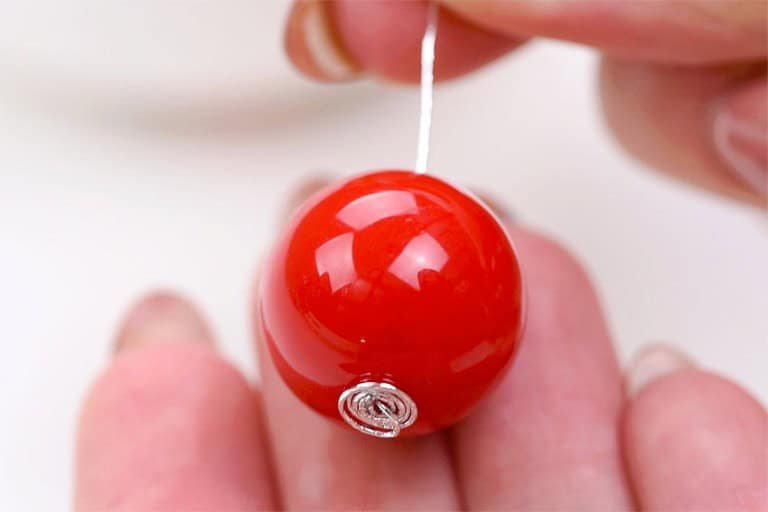
Slide the large body bead onto the center wire until it rests against the stopper coil.
Check that the coil fully covers the bead hole. If it is too small, the bead can slide over the stop; if it is excessively large, it becomes more visible than necessary.
Step 4: Attach the Four Leg Wires
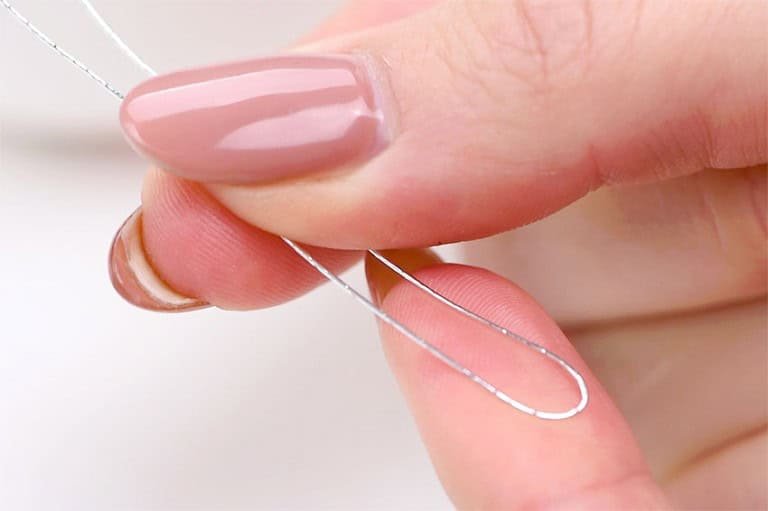
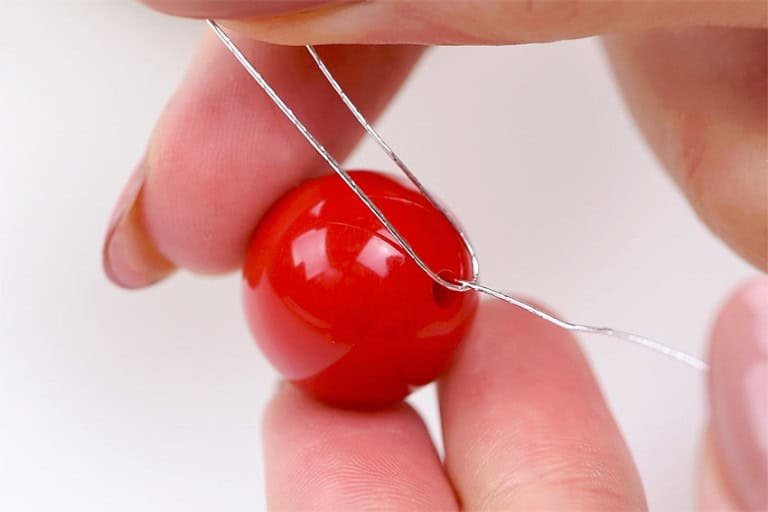
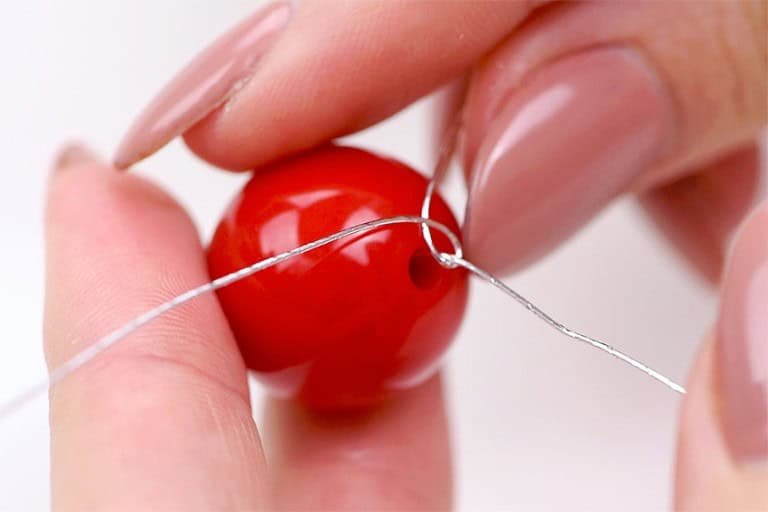
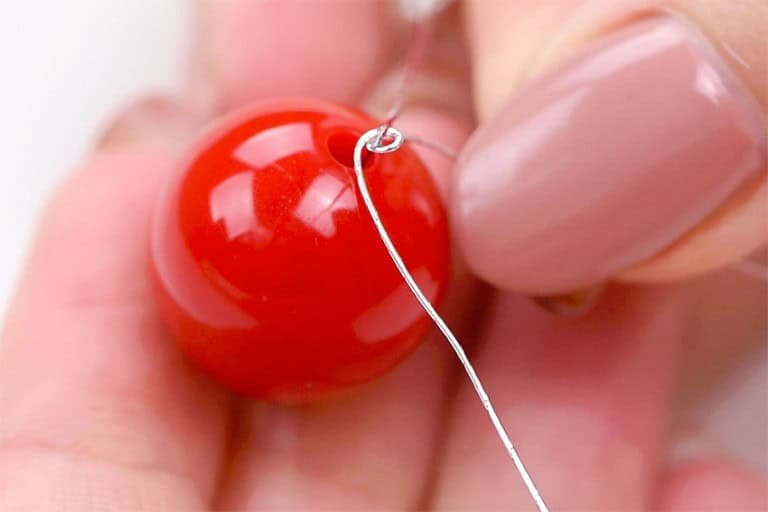
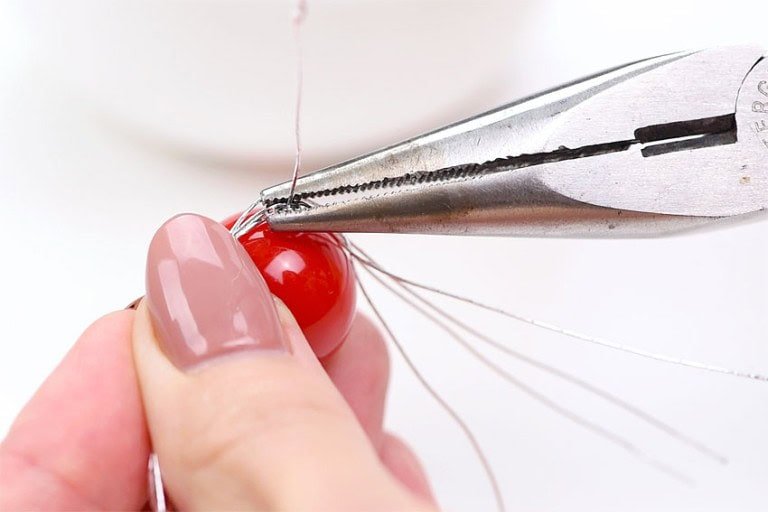
Take one of the remaining wire pieces and bend it roughly in half to find its center.
Place that center around the body wire directly above the large bead. Cross the leg wire around itself and pull both ends down so the wire grips the center stem.
Repeat with the other three leg wires. You should now have eight loose wire ends around the body.
Use the pliers to pinch the leg wires into a compact bundle. Keeping this connection tight helps reduce leg movement while you add the beads.
Step 5: Add and Secure the Head Bead


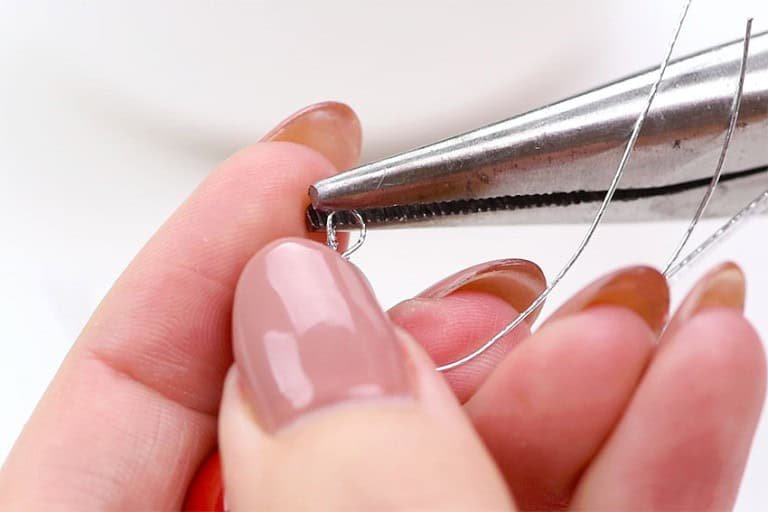
Slide the smaller head bead onto the center body wire and push it down against the bundled leg wires.
Trim the remaining center wire while leaving at least about 2 cm, or roughly 3/4 inch, which is the amount used in the original tutorial.
Use needle-nose pliers to bend the remaining wire into a small loop and guide the end back toward the bead. The loop keeps the head bead in place and can also provide a point for hanging the finished spider.
Step 6: Separate the Eight Legs
Spread the eight wire ends around the body so you can work on one leg at a time.
Do not worry about making the final spider pose yet. It is easier to bead mostly straight wires first and bend the joints after all eight legs are finished.
Step 7: Bead the First Leg
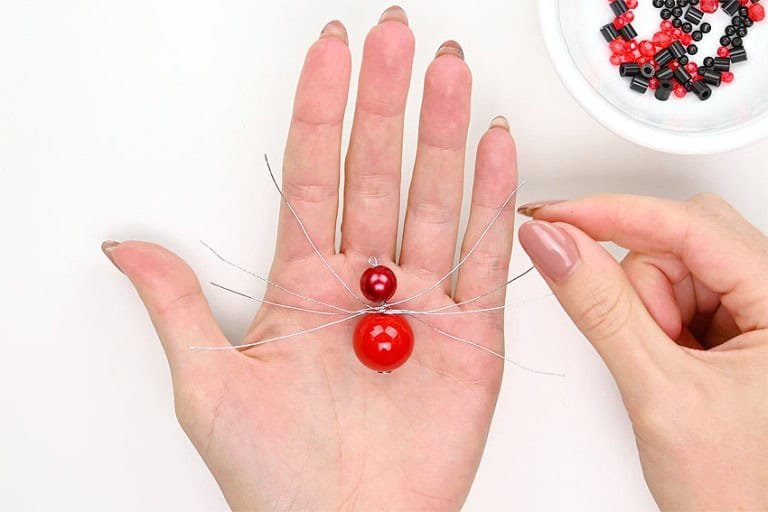

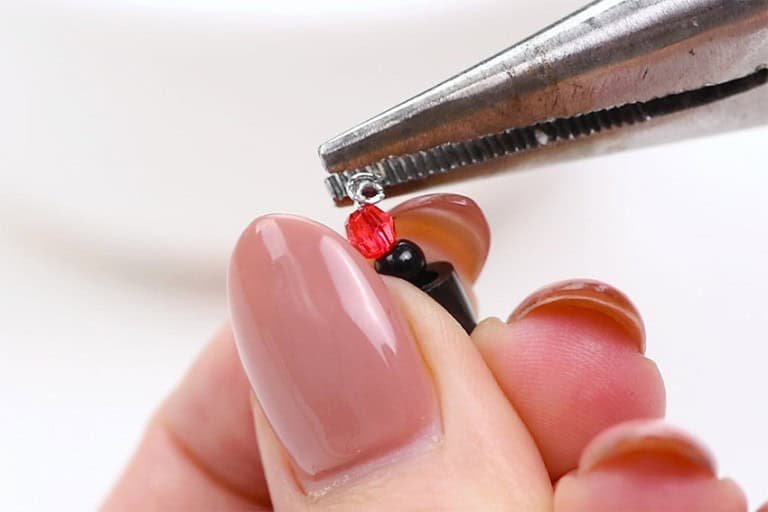
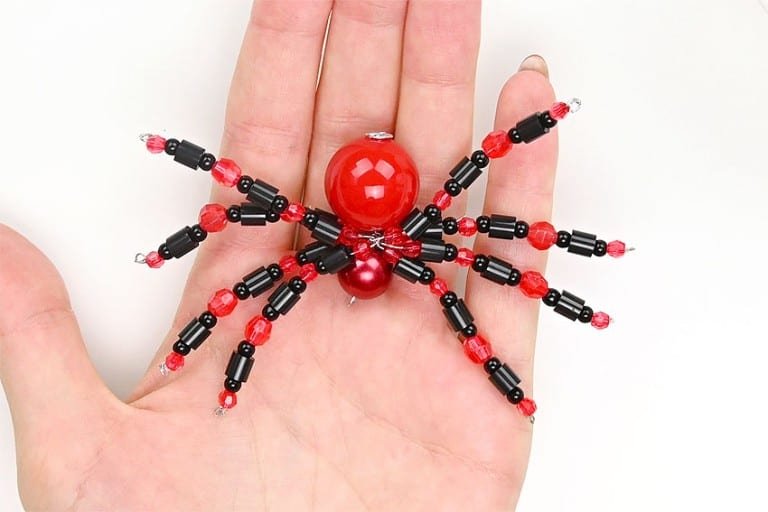
Start with a small bead close to the body so it can sit neatly beside the wire bundle.
Add a mixture of small beads along the leg. The original spider used about 12 beads per leg, but that number depends on the dimensions of the beads you choose.
Keep the bead pattern consistent across all eight legs if you want a symmetrical spider, or deliberately vary the colors and shapes for a more decorative result.
Step 8: Make a Stopper Loop at the Leg Tip
Leave about 5–10 mm of exposed wire at the end of the leg.
Use the needle-nose pliers to curl that short section into a small loop. The loop should be large enough to stop the final bead from sliding off but compact enough that it does not dominate the leg.
Step 9: Bead the Other Seven Legs
Repeat the same process for the other seven legs.
If you are using a repeated bead pattern, lay the beads out in eight small groups before threading. That makes it easier to keep the legs visually balanced and reduces the chance of running short on a specific bead halfway through the project.
Step 10: Bend and Arrange the Legs
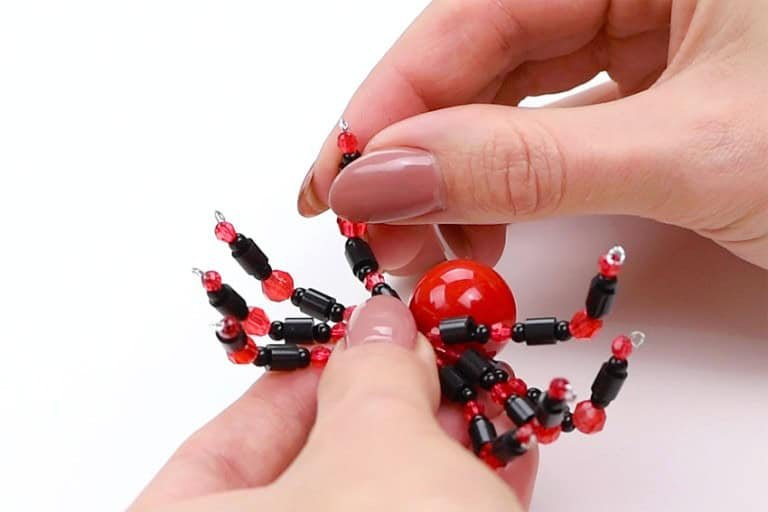
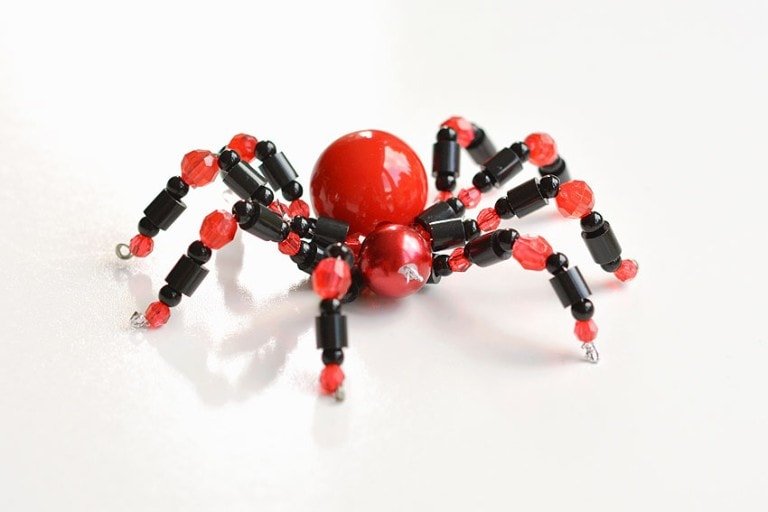
Bend each leg around the middle to create a spider-like joint.
Set the spider on a flat surface and adjust the leg angles until all eight legs make stable contact and the body sits at the height you want.
Make small adjustments rather than repeatedly bending the same point sharply, especially with thin craft wire.
How to Keep the Spider Balanced
- Use similar bead counts and bead sizes on opposite legs.
- Shape the four left legs and four right legs as mirror-image pairs.
- Set the spider on a flat surface before making the final bends.
- Adjust the leg tips, not just the middle joints, so all eight touch the surface.
- If the body rotates, gently tighten the leg-wire bundle around the center wire with pliers.
Beaded Spider Pattern Ideas
Classic Halloween Spider
Use black, orange, purple, or metallic beads. A dark body bead with alternating orange and black leg beads gives the spider a clear Halloween look without changing the wire structure.
Crystal-Style Spider
Use faceted transparent beads or pearl-look beads for the legs and a reflective body bead. Keep the leg pattern symmetrical so the sparkle looks intentional rather than random.
Minimal Black Spider
Use one black body bead, a smaller black head bead, and mostly black seed or bugle beads. This version puts more emphasis on the wire silhouette and leg shape.
Christmas Spider Ornament
Use silver, gold, clear, red, or green beads and attach fishing line or an ornament hanger through the wire loop near the head.
How to Turn the Spider Into a Hanging Ornament
The small wire loop above the head can be used as a hanging point.
Thread fishing line, thin cord, or an ornament hanger through the loop and check that the body hangs level before displaying it. If the spider tilts strongly to one side, make small leg adjustments until the weight is more balanced.
This same construction works for Halloween hanging decor or a decorative Christmas spider ornament.
What Is a Christmas Spider?
Decorative spiders have a long-standing connection with Christmas folklore in parts of Eastern Europe, especially Ukraine, where stories about spiders decorating a Christmas tree are associated with the tradition of spider ornaments and shimmering web-like decorations.
There are multiple versions of the story, so it is better treated as folklore rather than a single documented historical origin of tinsel. For this craft, the practical connection is simple: change the bead colors and hang the finished spider from its head loop to turn the Halloween project into a Christmas ornament.
Common Problems and Fixes
The Beads Will Not Fit on the Wire
Test the smallest bead before building the spider. If it does not fit, use a thinner compatible wire or choose beads with larger holes. Do not force a bead over wire that is too thick.
The Body Bead Slides Off
The spiral stop at the base is too small or too loose. Enlarge or tighten the coil so it fully covers the body bead’s hole.
The Legs Rotate Around the Body
Pinch the four leg wires more tightly around the center wire before adding the head bead. The head bead should also sit firmly against the leg bundle to help reduce movement.
The Leg Beads Fall Off
Leave enough bare wire at the end of each leg to make a complete stopper loop. If the loop is smaller than the final bead hole, the beads can slide over it.
The Spider Will Not Stand Flat
Set it on a level surface and reshape one leg at a time. Match opposite legs in pairs and adjust the tips until all eight touch the table.
The Wire Coating Scrapes Off
The original project noted that inexpensive coated craft wire can shed its coating while it is bent and tightened. If the finish matters, use jewelry wire whose surface tolerates the amount of bending required by the project.
Safety and Age Considerations
This project uses wire cutters, pliers, cut wire ends, and many small beads. It is better suited to older children, teens, and adults than to very young children working independently.
- Keep small beads away from children who may put them in their mouths.
- Have an adult handle wire cutting when appropriate.
- Turn sharp wire ends into closed loops rather than leaving them exposed.
- Pick up dropped wire pieces immediately.
More Bead and Halloween Crafts
If you want a simpler beaded project, try Beaded Pipe Cleaner Pumpkins or Beaded Pipe Cleaner Indian Corn.
For more spider projects, see the Handprint Spider Craft, or browse the Halloween Craft Ideas collection.
Frequently Asked Questions
How Do You Make a Beaded Spider?
Cut one wire for the body and four wires for the eight legs. Form a stopper coil on the body wire, add the large body bead, wrap the four leg wires around the center wire, add the smaller head bead, then bead each leg individually. Finish each leg with a small wire loop and bend the legs into position so the spider stands.
What Gauge Wire Is Best for a Beaded Spider?
The original Craft Ideas project uses 24-gauge jewelry wire because it fits the small beads used for the legs while remaining stiff enough to hold the spider’s shape. A thicker 20-gauge wire can work with beads that have larger holes. Always test the smallest bead before cutting all your wire.
What Size Beads Do You Need?
The original spider uses a 20 mm body bead, a 10 mm head bead, and smaller 2–5 mm beads on the legs. Those sizes reproduce the proportions shown in the tutorial, but they are not mandatory. The important part is keeping the head smaller than the body and choosing leg beads that fit the wire.
How Much Wire Do You Need?
The original project uses about 25 inches of wire total: five pieces that are each approximately 5 inches long. One piece forms the body/head center and four pieces create the eight legs.
How Many Beads Do You Need for the Legs?
The tutorial uses roughly 100 small beads in total and about 12 beads per leg. The exact number changes with bead size and the length of the pattern. Lay out one completed leg first, then use it as the reference for the other seven.
Can You Make a Beaded Spider Without Seed Beads?
Yes. Seed beads are helpful near the body because they are small, but you can use other small beads as long as their holes fit the wire and the finished legs remain flexible enough to shape. Bugle beads, small faceted beads, and other lightweight craft beads can all be combined.
How Do You Make the Spider Stand Up?
Bend each leg around its midpoint to create a joint, then place the spider on a flat surface and adjust the leg angles until all eight tips touch. Keep opposite legs similar in length and bead weight so the body stays balanced.
Final Takeaway
A good beaded spider depends more on wire control than on expensive beads. Secure the body first, keep the four leg wires tight around the center stem, leave enough wire for stopper loops, and wait until all eight legs are beaded before shaping the final pose.
Once you understand that structure, the same spider can be made spooky, colorful, metallic, crystal-like, or turned into a hanging ornament simply by changing the bead pattern.