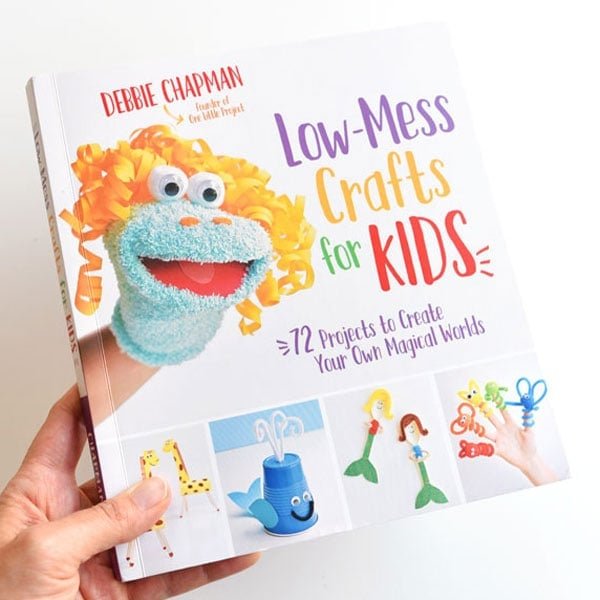
Christmas Squeegee Painting
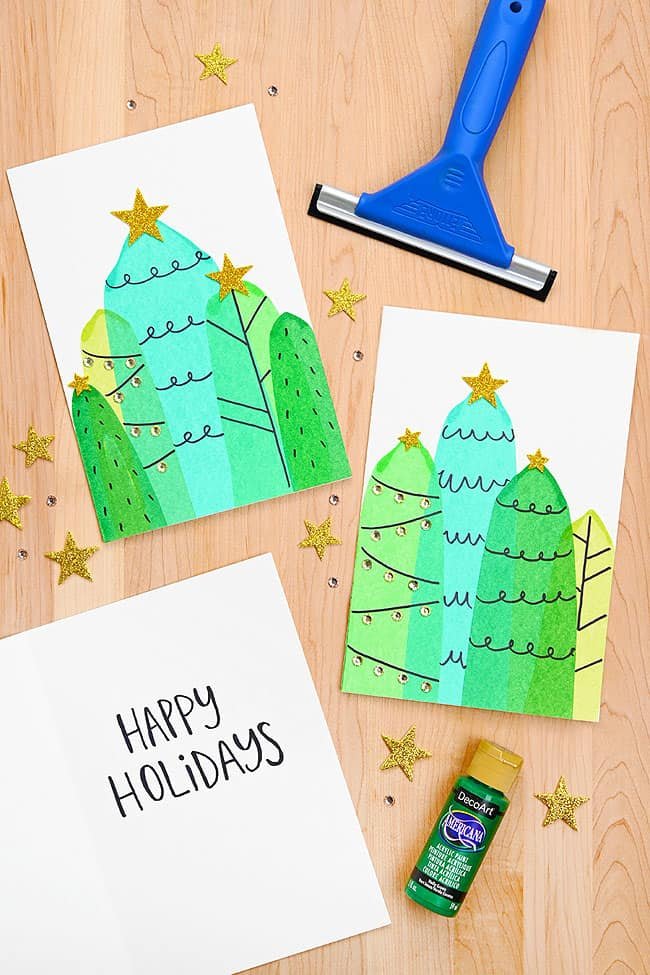
Christmas squeegee painting is such a fun and unique way to create a DIY Christmas card! If you’re looking for a holiday craft that’s easy, festive, and a little bit messy in the best way possible, Christmas squeegee art is definitely a must-try.
You can use this simple process and make your own Christmas cards using paper, just a bit of paint, and a squeegee. So grab the whole family and let’s dive into this Christmas project that’s both creative and totally satisfying!
This post contains affiliate links. If you use these links to buy something we may earn a small commission which helps us run this website.
How to Make a Christmas Squeegee Painting
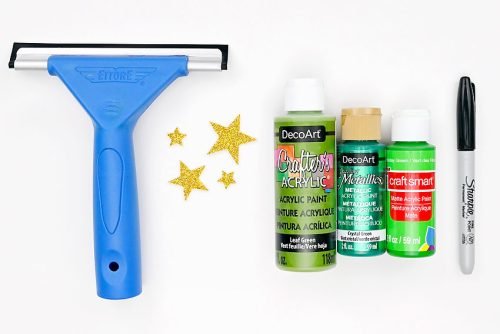
Materials:
- Watercolor paper
- Acrylic paint(different shades of green)
- Black marker
- Foam stars
Equipment:
Check Out The Video Tutorial:
Instructions:
Step 1: Find what you need
-
Gather your supplies and materials.
Step 2: Fold watercolor paper into a card
-
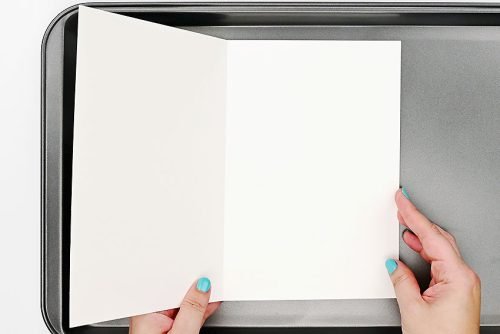
Fold a piece of watercolor paper in half to make a card. Set it down on a baking sheet (or another protected surface) with the fold on the left.(You can also buy blank cards!)
Step 3: Add a line of paint to the paper
-
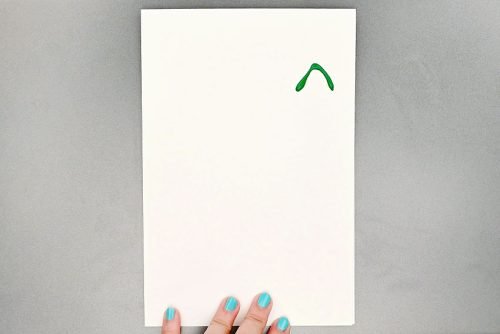
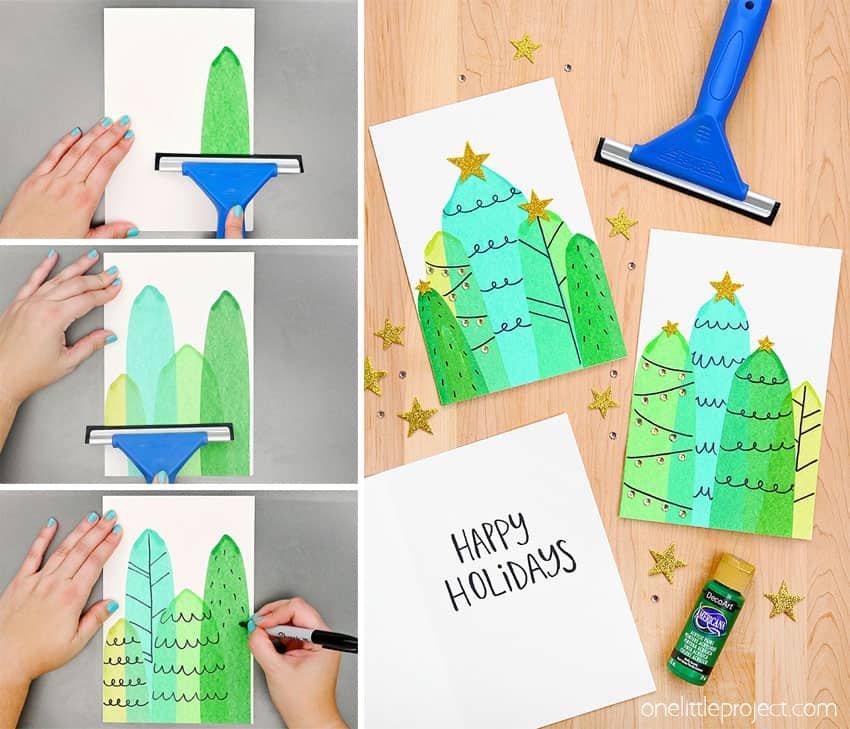
Use green paint to make an upside-down “V” near the top right of the card.
Step 4: Use a squeegee to paint the tree
-
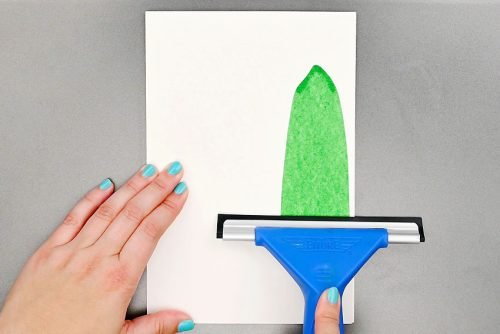
Place a squeegee down on the paper above the paint. Press down and pull the squeegee towards yourself, continuing all the way down the paper. You’ve created a tree shape!
Step 5: Paint more trees
-
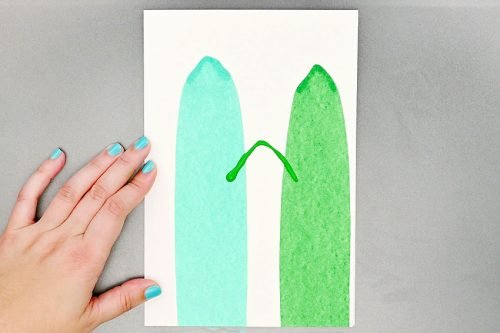
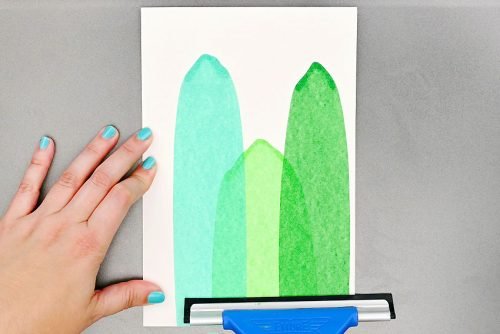
Repeat towards the left of the paper with a different shade of green. Then use a third green colour to create a wider upside-down “V” that’s shorter than the other trees and overlaps them.
-
Use the squeegee to pull the paint down the paper.
-
Then create a shorter tree on the left using a 4th and final shade of green.
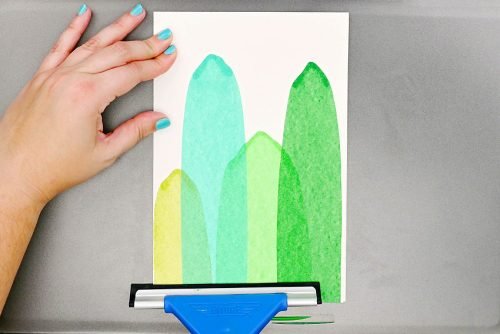
-
Allow the paint to dry.On watercolor paper this should happen quickly, within 5 minutes or less.
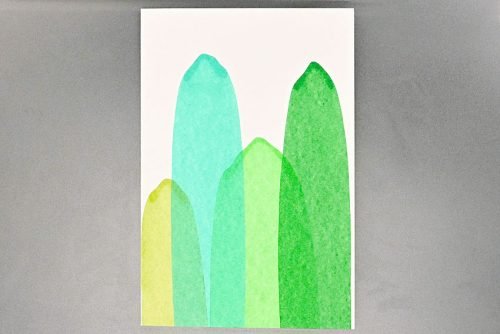
Step 6: Draw branches and add decorations
-
Use black permanent marker to draw branches on the frontmost tree.
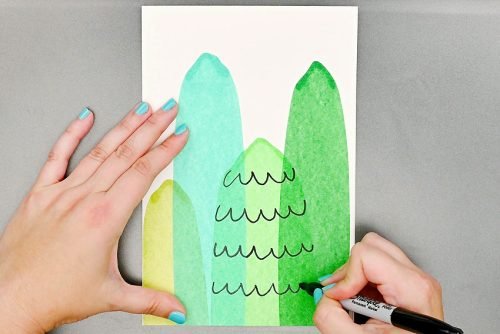
-
Repeat, adding different styles of branches to each of the trees. Draw on the front trees first and then fill in the gaps on the back 2 trees.
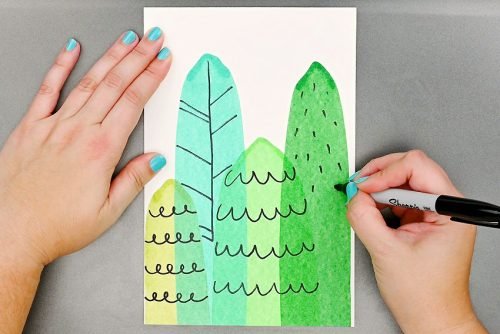
-
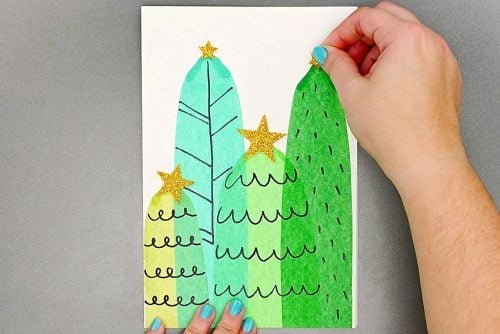
Add glitter foam star stickers to the top of each tree.
-
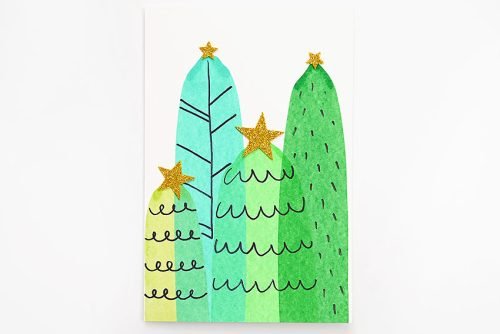
Your Christmas squeegee painting card is complete!
Helpful Tips:
- Want to create a clean fold in your watercolor paper? Hold a ruler on the center of the paper and score it with a craft knife.
- To keep the card completely clean inside, open it up and lay it flat before adding paint to the front.
What’s the best paper for Christmas squeegee painting?
We used watercolor paper to make our Christmas squeegee art. The paint dries really quickly and the paper doesn’t warp, since it’s meant to absorb liquid.
You can also use cardstock, which is a lot less expensive, but it will warp a bit as the paint dries. You can fix this by placing the card under a stack of books once the paint is dry, or covering it with a piece of parchment paper and ironing it on low heat.
If using cardstock we also recommend opening the card (or placing another piece of paper inside it) before painting it or drawing on it with marker. This will ensure the paint and marker don’t bleed through.
How can I decorate my Christmas squeegee art?
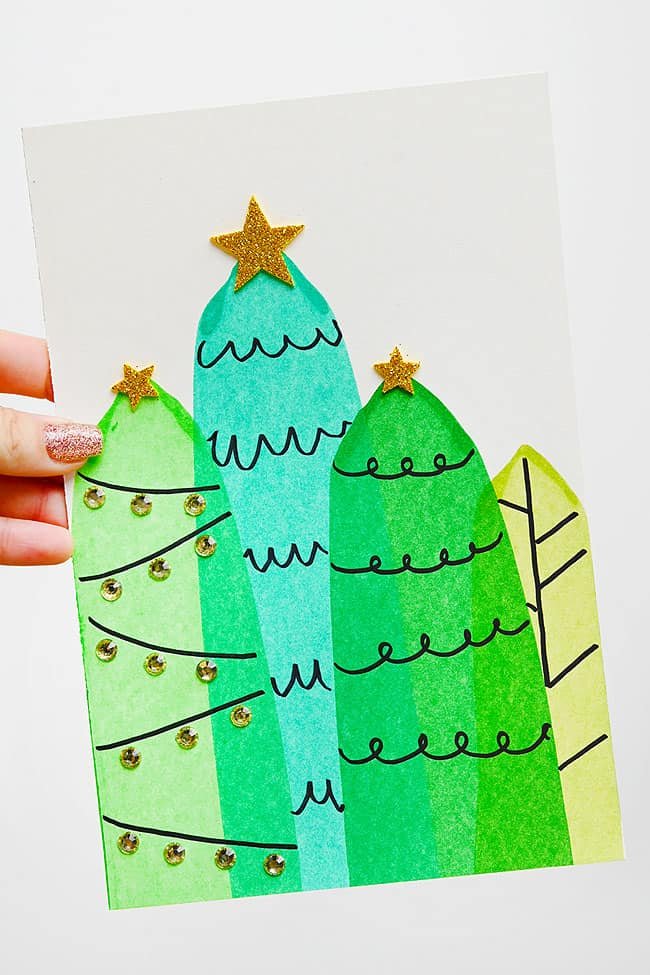
We used star stickers made from glitter foam for the tops of our trees, and rhinestone stickers as ornament decorations for some of them.
But you can also use buttons, sequins, or pom poms to decorate your Christmas cards. (Though pom poms will definitely make it harder to fit the card in an envelope!)
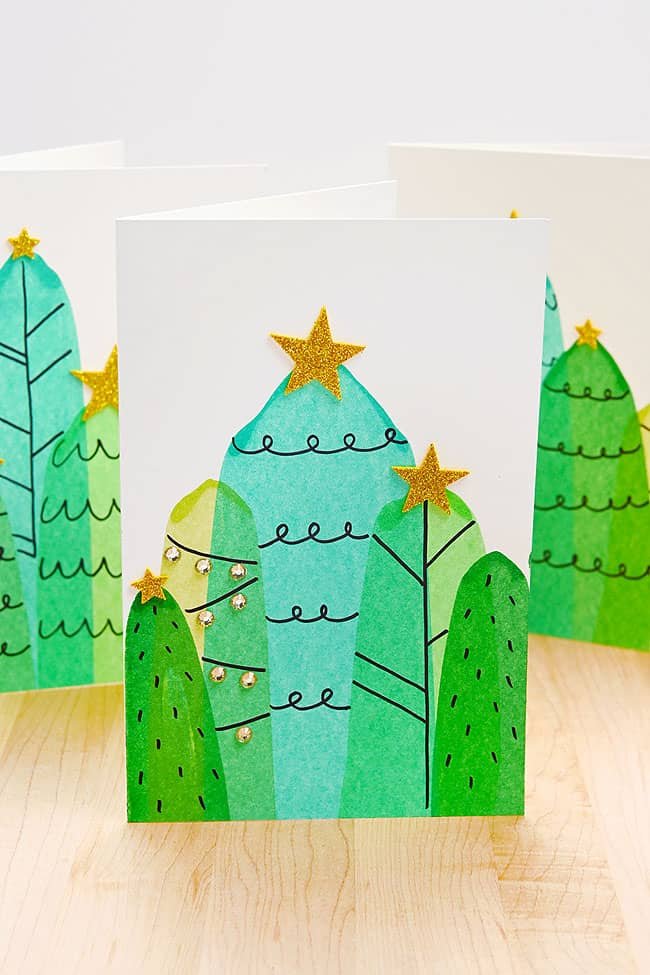
Do I have to use a squeegee to make a scrape art Christmas card?
We do recommend buying a squeegee from the dollar store if you don’t already have one. It makes this art project really simple, since the squeegee is easy to grip and gives you good control over the pressure used.
If you don’t have a squeegee you can also use a plastic ruler, an empty gift card, or a putty knife to spread the paint. All of these plastic options work well enough, and you can clean them and reuse them over and over.
You can also use a piece of cardboard to scrape off the excess paint, if that’s all you have. We only recommend this option as a last resort, since it can make the paintings a bit streaky. And you can only use the cardboard a couple times before it gets too soggy.
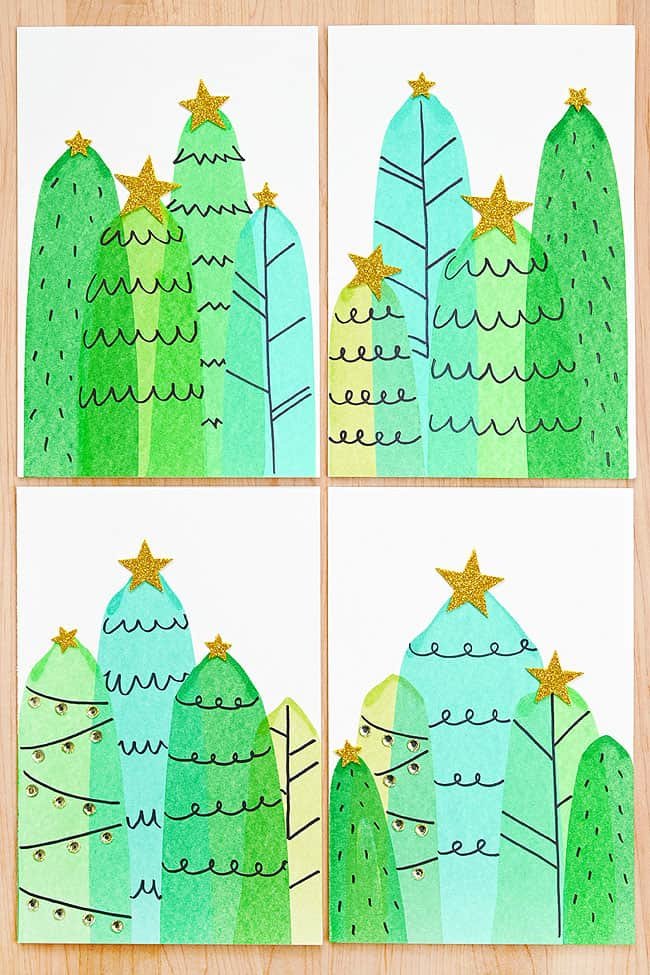
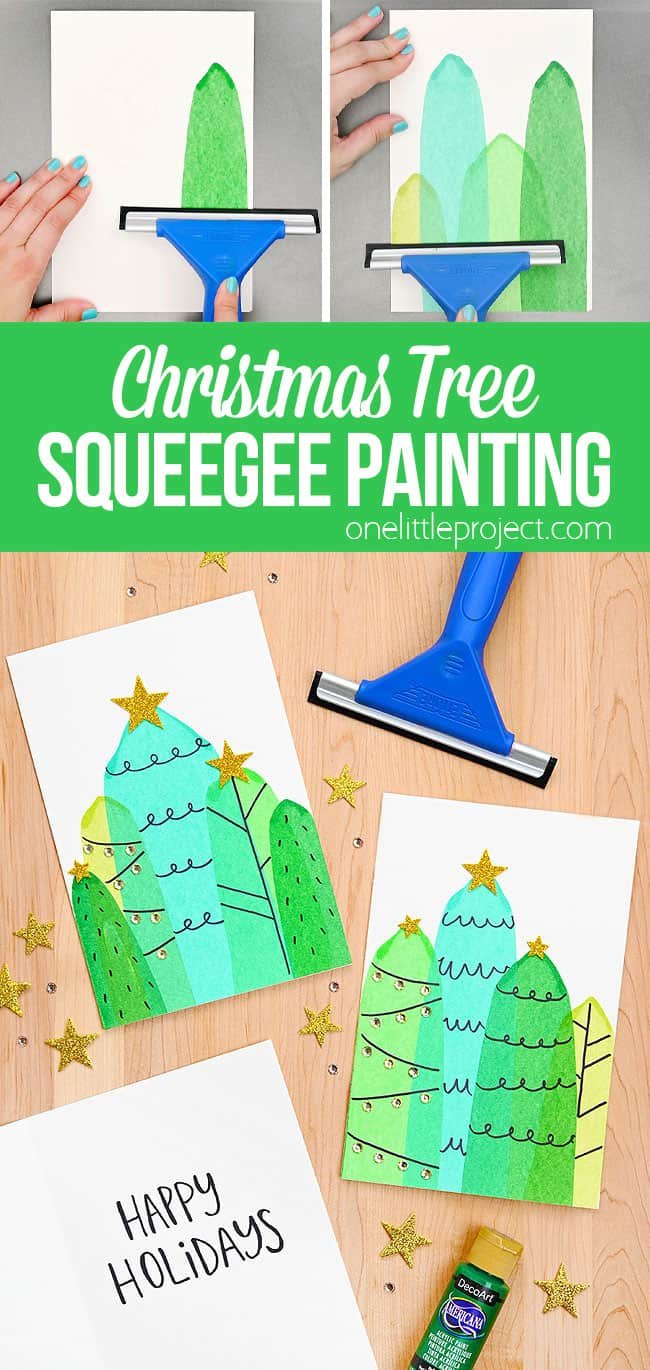
Painting with a squeegee is so much fun! Make a Christmas squeegee painting and transform a simple line of paint into a festive Christmas tree in just a few steps. These DIY scrape art cards are super festive and fun to make, and each one is unique!
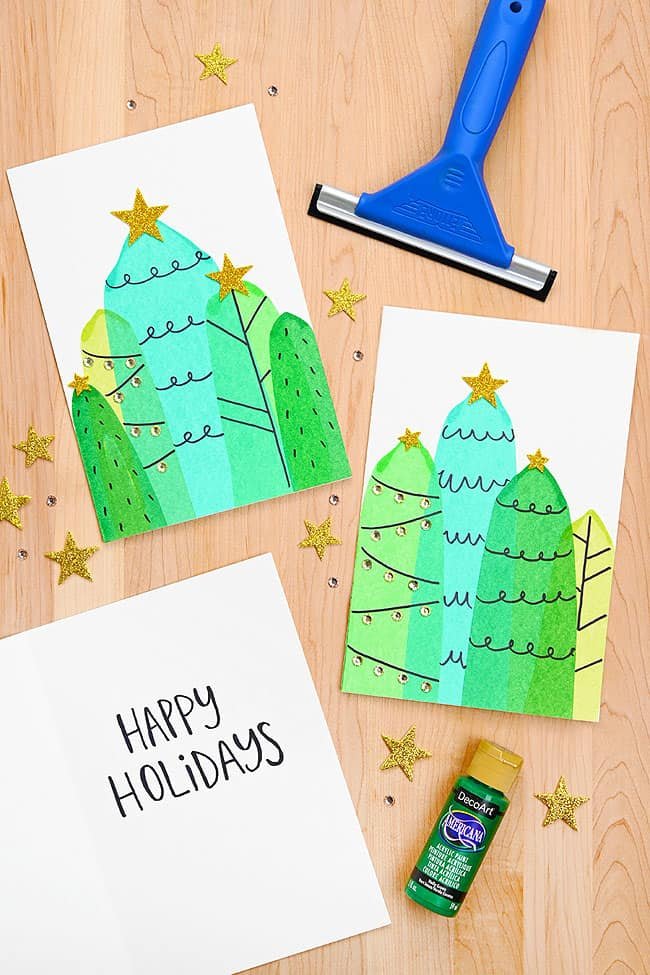
Our book Low-Mess Crafts for Kids is loaded with 72 fun and simple craft ideas for kids! The projects are fun, easy and most importantly low-mess, so the clean up is simple!


