DIY Christmas Gnomes
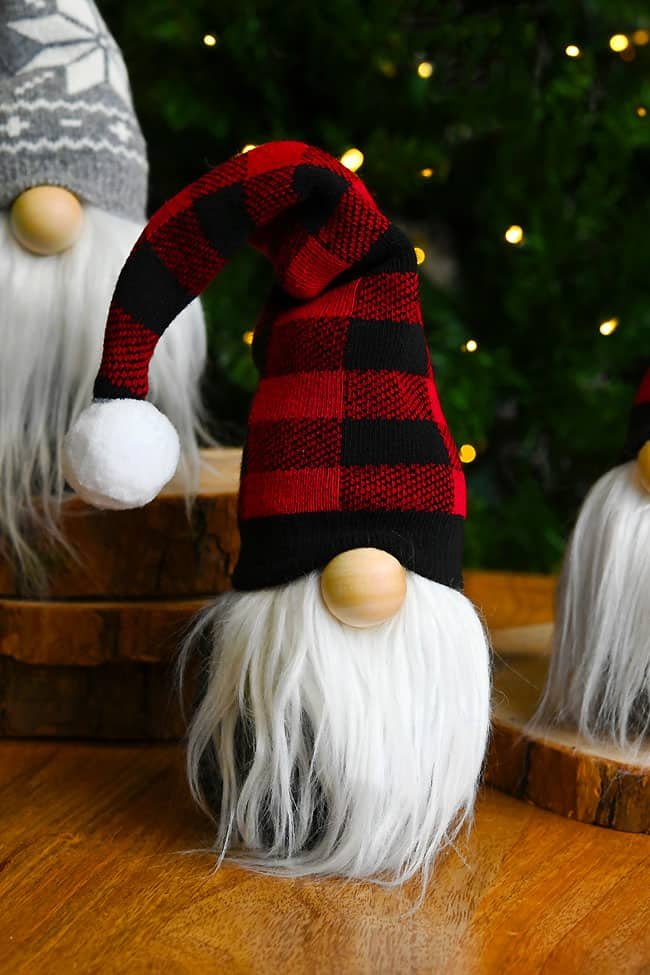
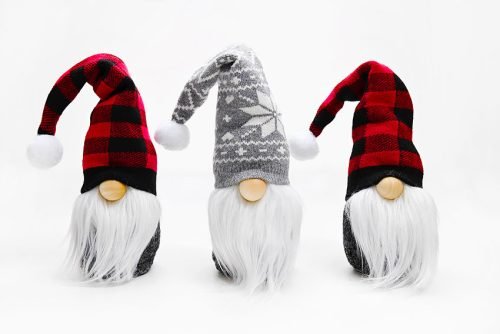
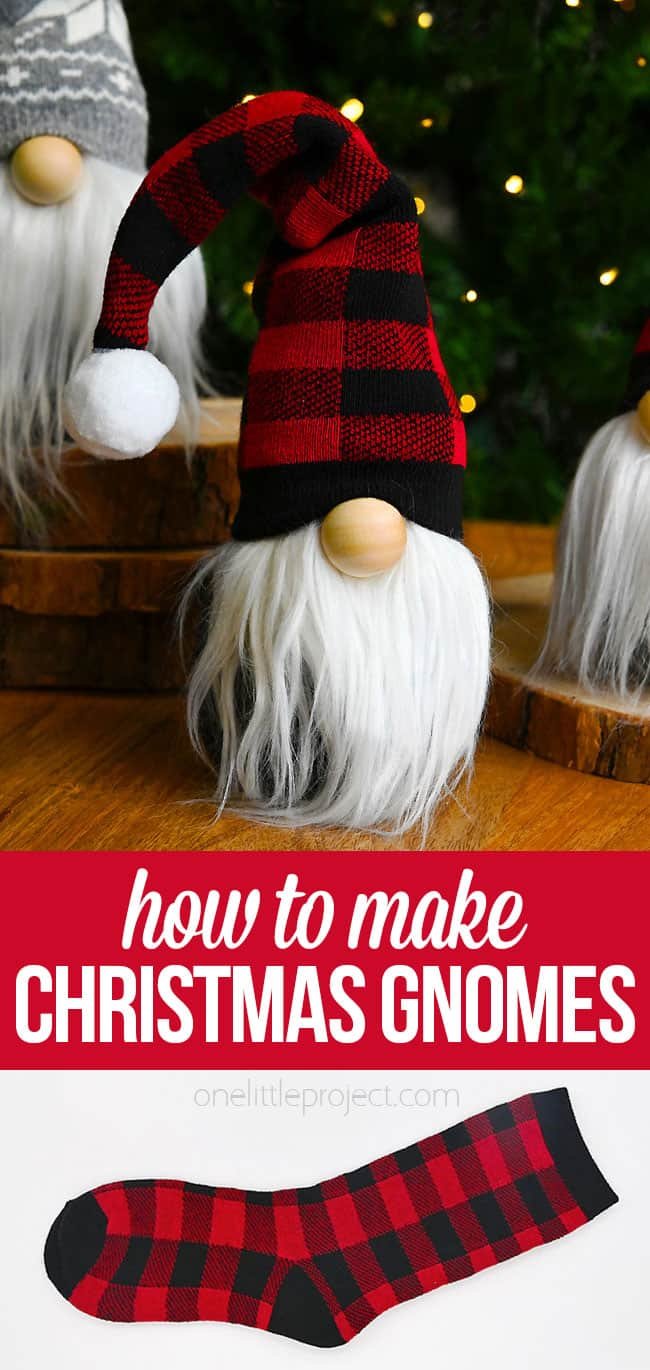
Looking for a little holiday gnome-ance? These DIY Christmas gnomes are super adorable and SO EASY to make! With their fuzzy beards, cozy hats, and charming little noses, these homemade gnomes are absolutely irresistible.
Let your gnomes hang out by the stockings, peek out from your bookshelf, or sit together as a festive table display. These tiny holiday companions are versatile enough to fit into any nook or cranny that can use a little gnome-y touch — and you can make one in 15 minutes or less!
This post contains affiliate links. If you use these links to buy something we may earn a small commission which helps us run this website.
DIY Christmas Gnomes
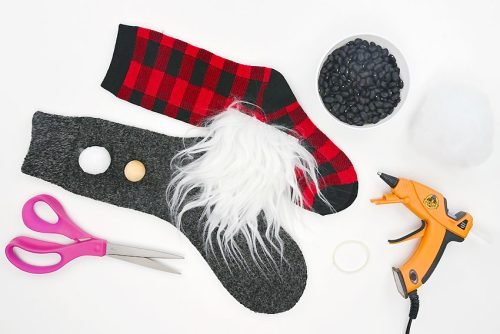
Materials:
- Christmas crew sock
- Grey sock(or other dark, solid colour)
- Dried beans
- Fiber fill stuffing
- Rubber band
- Gnome beard
- Wooden ball(1 inch)
- White pom pom(s)(1 to 1-1/2 inches)
Equipment:
-
Sewing machine(or sewing needle and thread)
Check Out The Video Tutorial:
Instructions:
Step 1: Find what you need
-
Gather your supplies and materials.
Step 2: Make the gnome’s hat
-
To make a Christmas gnome, you’ll need 2 socks: 1 dark, solid colour for the body and 1 in a Christmas pattern for the hat. This means you can make 2 gnomes with the 2 pairs of socks, or use up your lone socks to make 1 gnome!
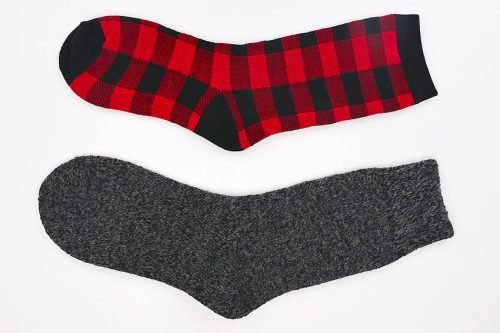
-
Turn the patterned sock inside out.
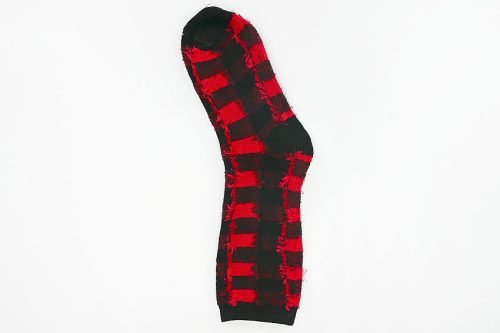
-
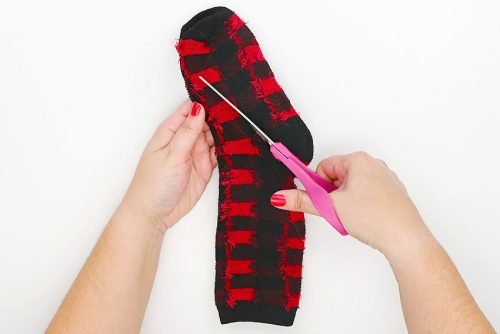
Pin a diagonal line across the sock from the top of the cuff to the opposite side, creating a hat shape about 10 inches long.Don’t include the heel in the “hat” area.
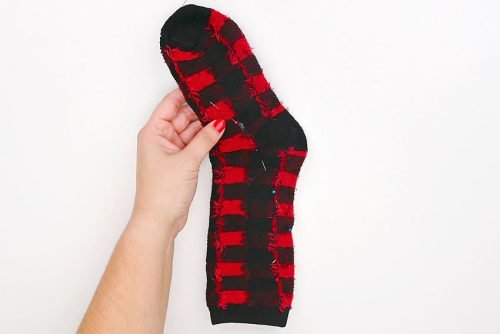
-
Sew along the pin line to create a pointed hat. You can use a sewing machine or sew the hat by hand.
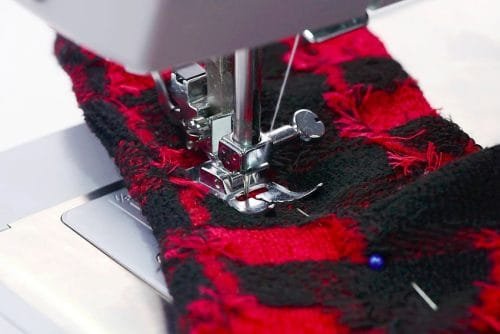
-
Cut the excess fabric, leaving a 1/2 inch seam.
-
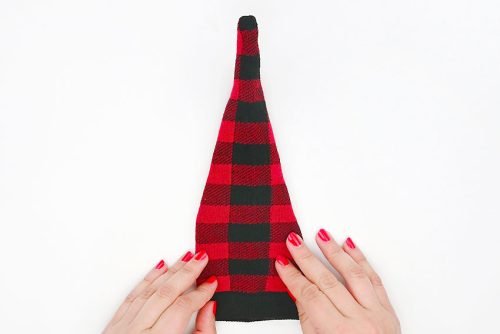
Turn the hat right side out and adjust it so the seam is on the back.
Step 3: Make the gnome’s body
-
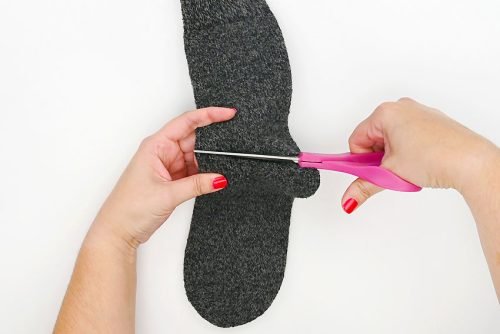
Cut the dark, solid coloured sock just above the heel.
-
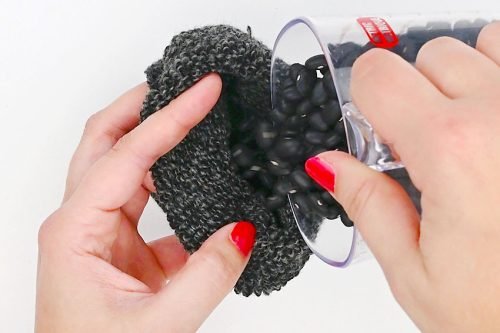
Fill the bottom of the sock with 1 cup of dried beans (or rice) to add weight. This will ensure the gnome stands upright.
-
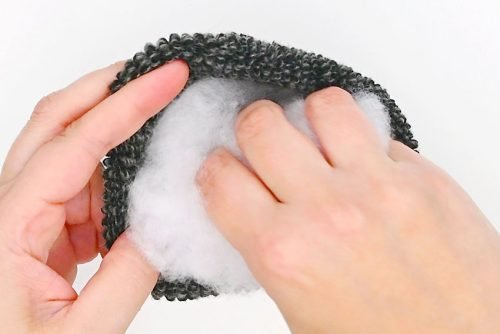
Add stuffing on top of the beans to fill the remaining space in the sock.
-
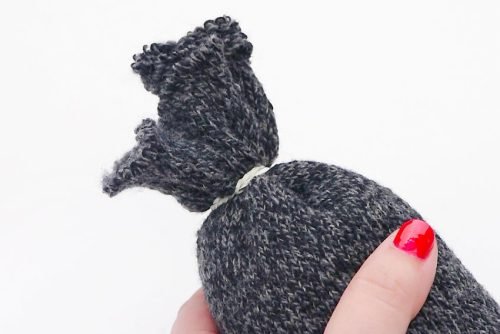
Tie the top of the sock closed with a rubber band.
Step 4: Attach the beard, nose, and hat to the body
-
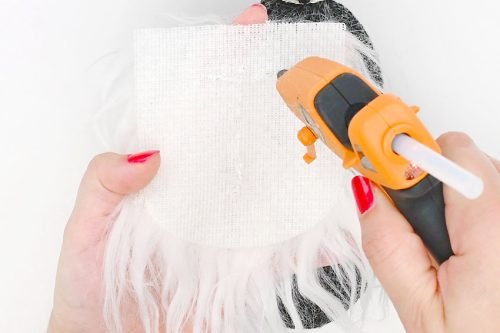
Add hot glue to the back of the gnome beard.
-
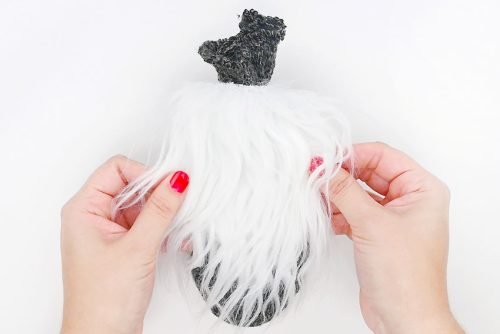
Press the beard onto the gnome’s body. Place it so the bottom of the beard reaches the bottom of the gnome, but doesn’t trail on the ground when the gnome is sitting up.
-
Stretch the hat down onto the gnome so it just covers the top of the beard.
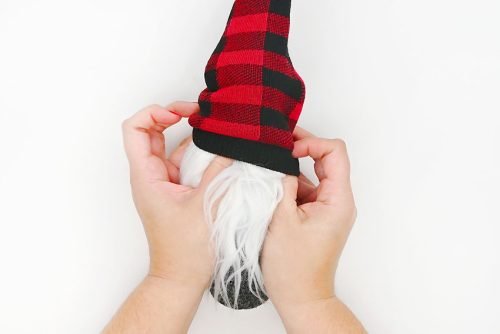
-
Add hot glue to the wooden ball and place it at the top center of the beard. Lift the hat up so it just overlaps the top of the nose.
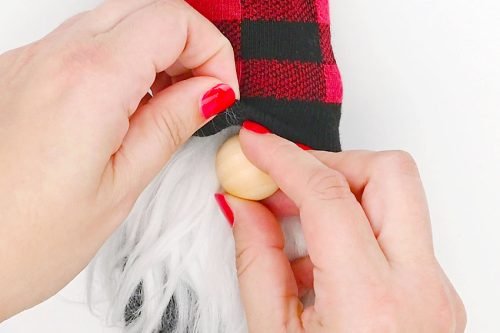
-
Add hot glue to the tip of the hat and press a pom pom into the glue.
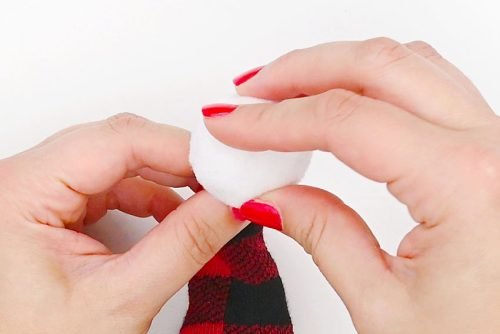
-
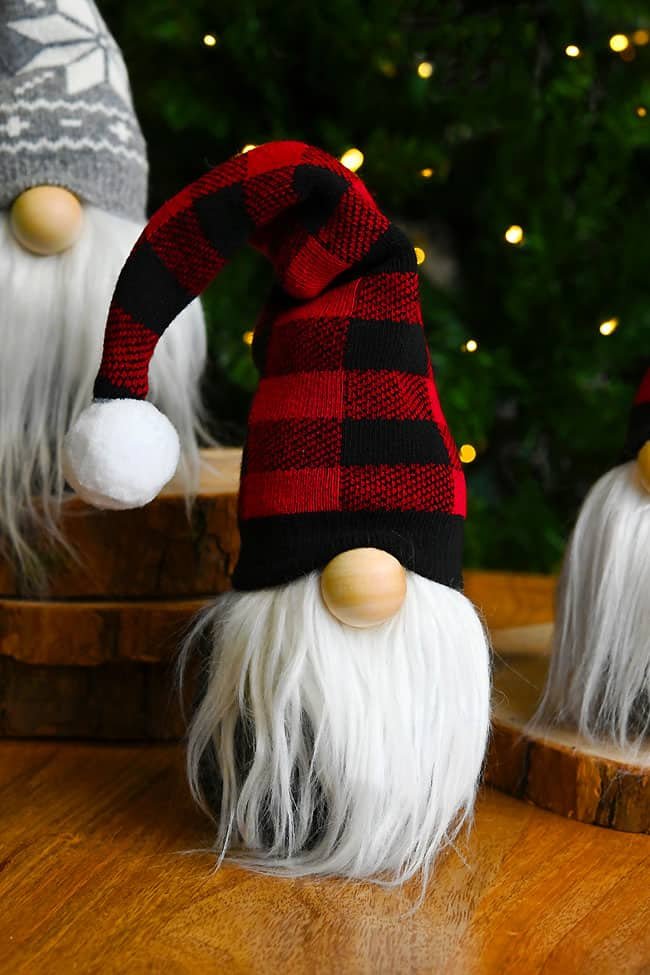
Your DIY Christmas gnome is complete!
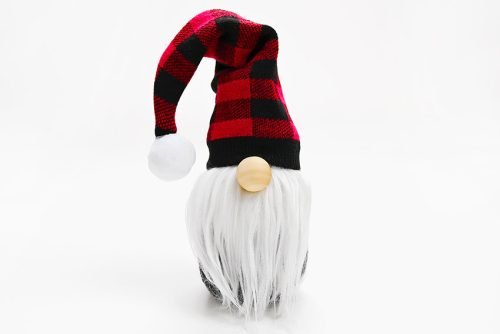
-
Use up those lone socks to make a group of adorable Christmas gnomes. The more the “merrier!”
Helpful Tips:
- Does your Christmas gnome’s hat look too hollow? If you want the hat to stand straight up, add some stuffing before attaching it to give it some shape.
- Measure the beard against the body to see if you need to trim the top at all before gluing it on your DIY Christmas gnome. Try to place the beard high on the body so it won’t trail on the floor. It can be hard to judge this when the body is lying down, so sit the body upright to test the beard length.
- Sock cuffs can be really tight and may cause the hat and body to squish in when you connect them. If you’re using new socks, be sure to stretch them out before working with them.
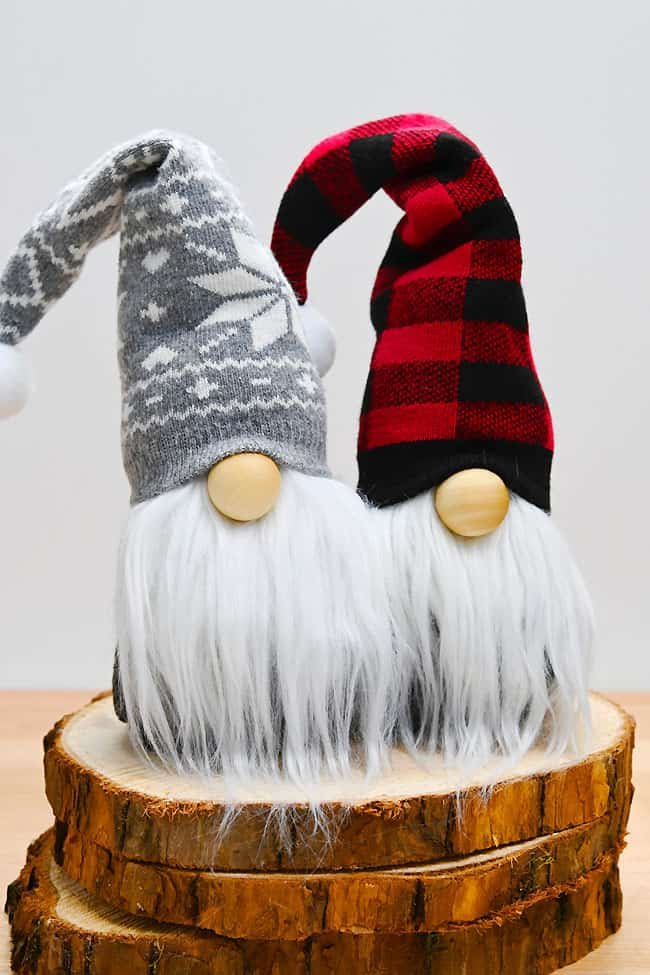
What else can I use to make a hat for my DIY Christmas gnomes?
Patterned socks make a really fun and easy hat for your holiday gnome, but you can also use fabric, felt, or even a festive tea towel to make a gnome hat!
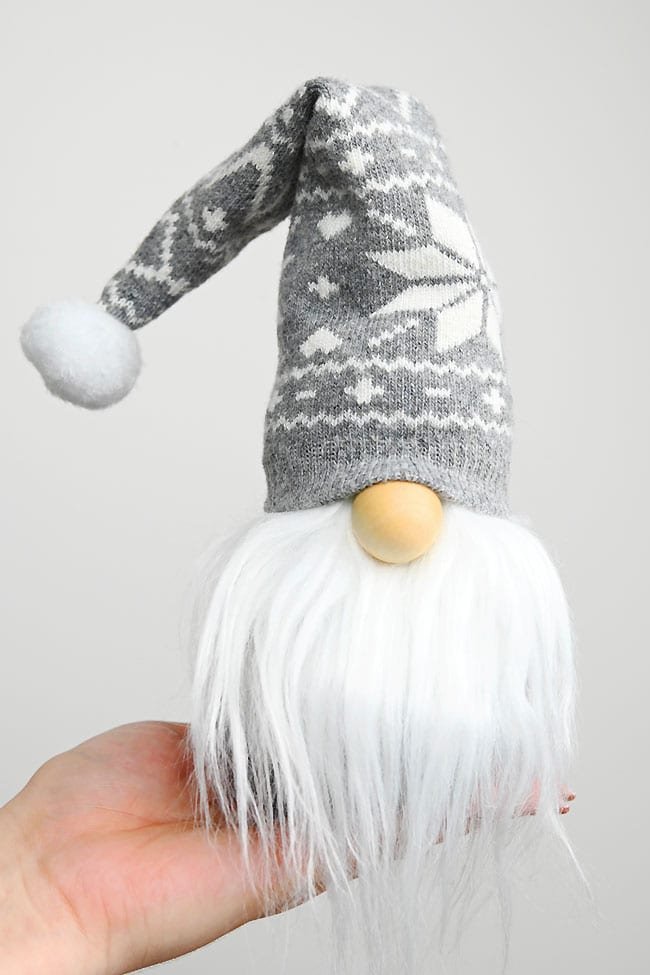
What makes a good nose for Christmas gnomes?
We like using a wooden ball for our gnome noses, but there are plenty of other options that also work well:
- Pom pom
- Polymer clay, shaped into a round nose and baked
- Stuffed nylon or stocking, cut to size
- Fabric wrapped around stuffing
- Sock, cut into a round shape and stuffed
- Styrofoam ball, plain, painted, or covered in pantyhose fabric
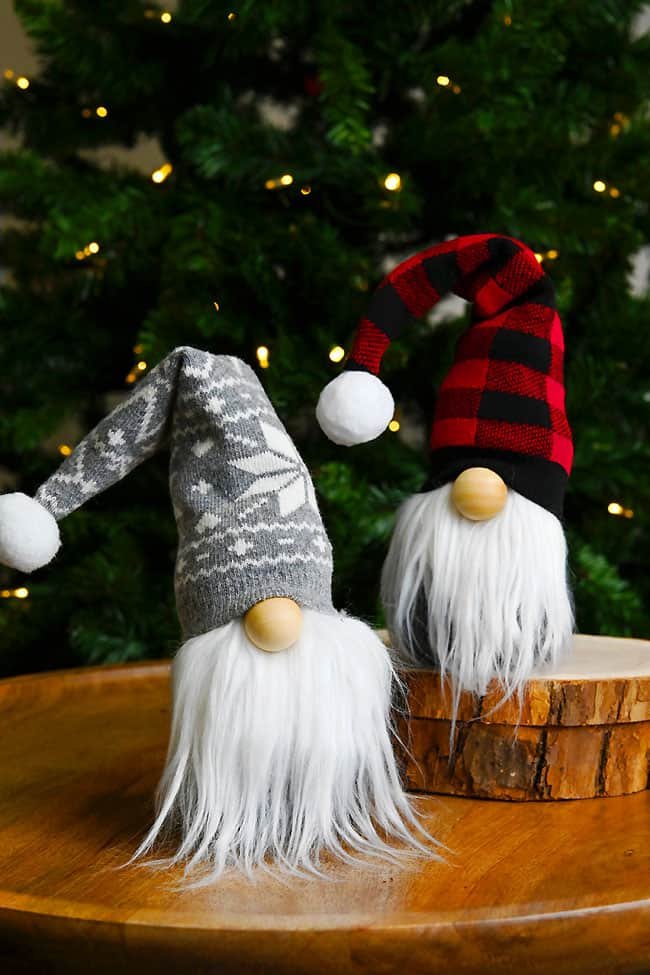
How can I give my Christmas gnome arms?
Remember the top part of the sock that was leftover when you made the gnome’s body? It can be cut in half and used to make arms for the gnome!
Then sew small pouches of felt for the gnome’s hands. The arms can be held in place with glue and/or the elastic band from the top of the body.
For step-by-step instructions on making arms for your gnome, check out our fall gnomes post.
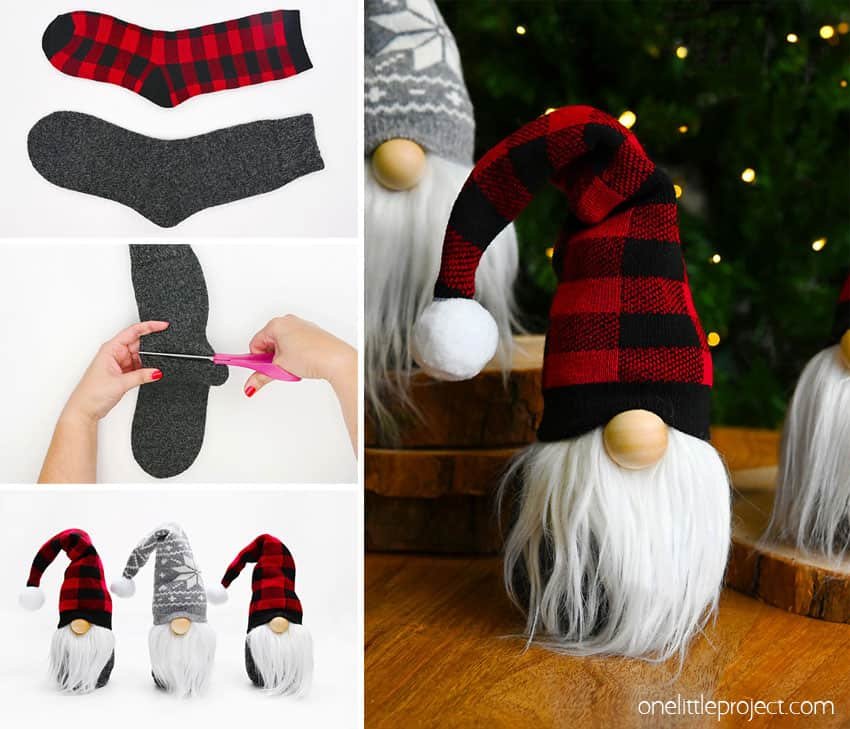
These DIY Christmas gnomes are SO FUN to make, you’ll want to make a whole family! Whether they’re greeting guests at the entryway, hanging out by the Christmas tree, or spreading cheer on your work desk, there’s gnome doubt that these DIY gnomes are the ultimate holiday sidekicks!
Our book Low-Mess Crafts for Kids is loaded with 72 fun and simple craft ideas for kids! The projects are fun, easy and most importantly low-mess, so the clean up is simple!


