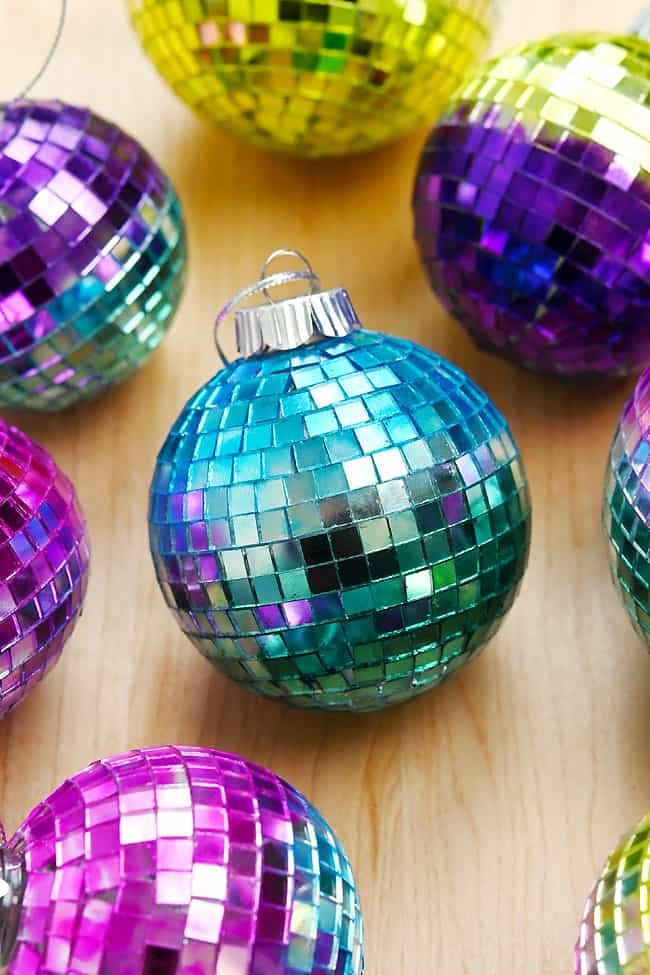
DIY Disco Ball Ornaments
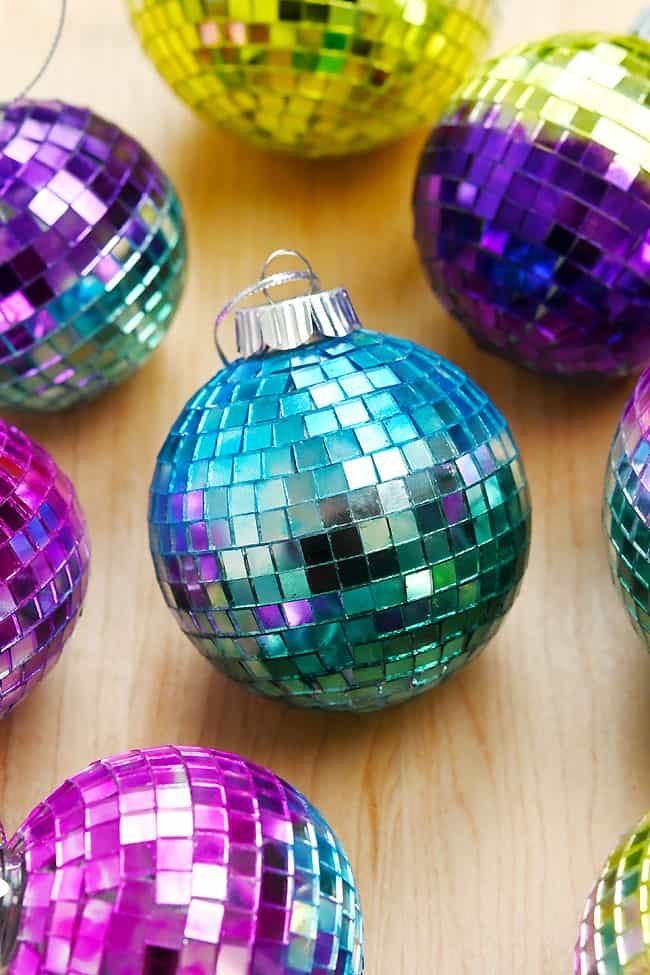
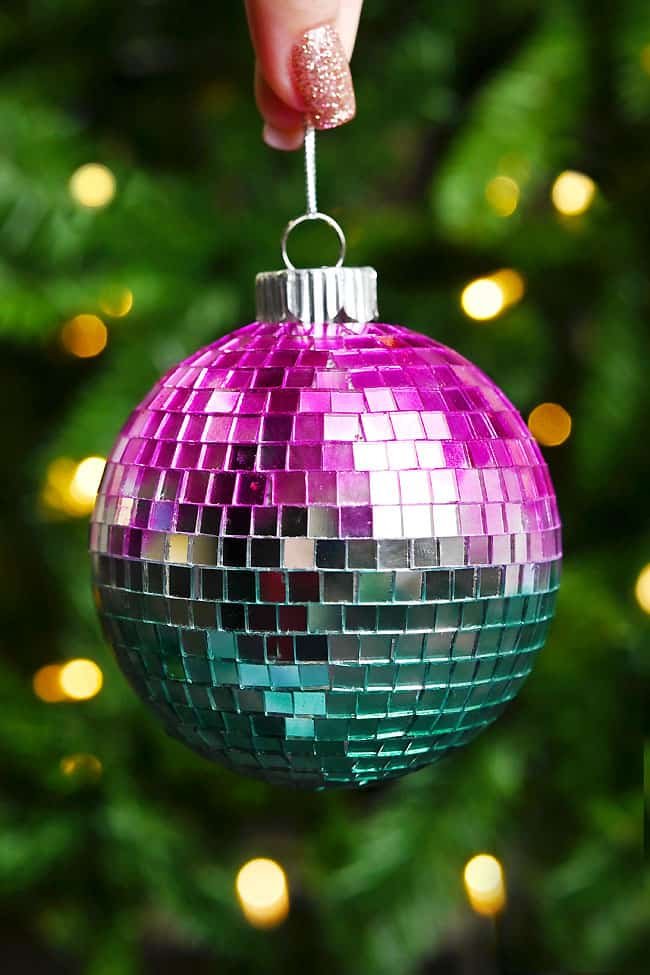
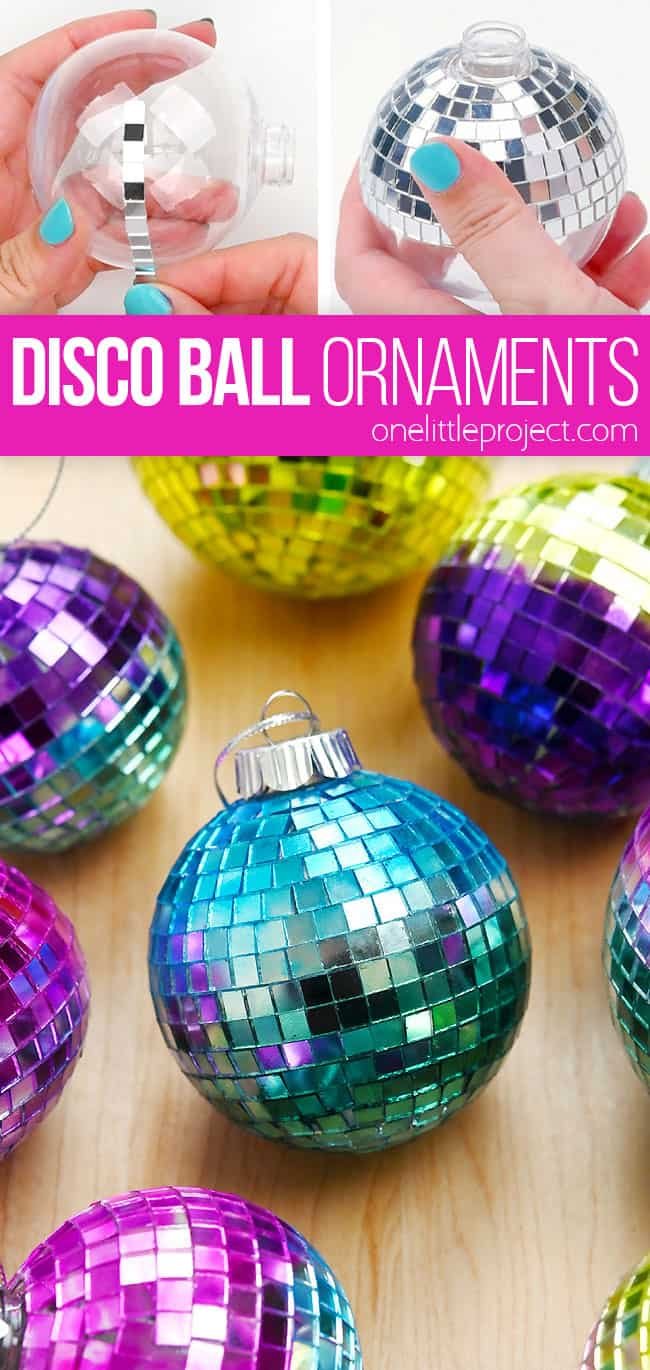
These DIY disco ball ornaments are SO FUN and add just the right amount of retro sparkle to your festive decorations! You’ll have a ball making this super easy Christmas craft!
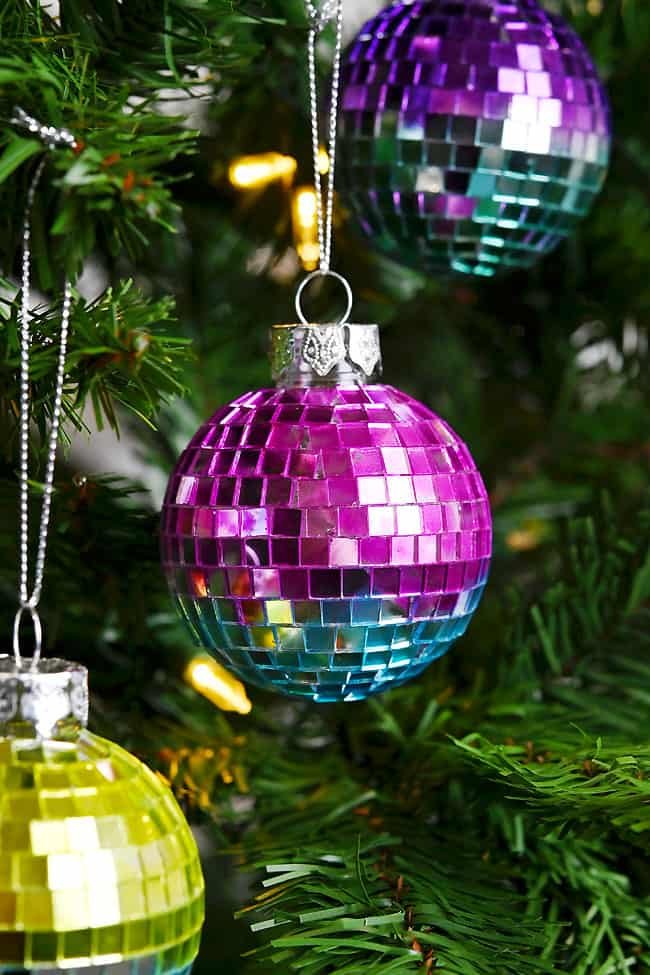
Hang these dazzling mirror ball ornaments on your tree, use them as fun accents around the house, or gift one to a friend who’s all about the glam!
This post contains affiliate links. If you use these links to buy something we may earn a small commission which helps us run this website.
How to Make Disco Ball Ornaments
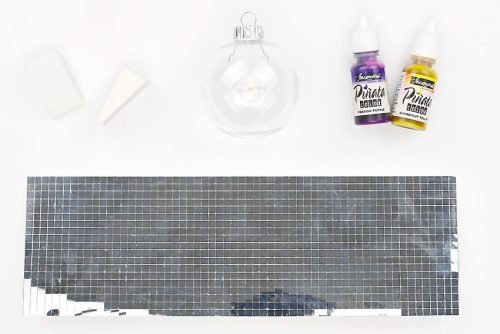
Materials:
- Clear plastic ornament
- Self-adhesive mini mirror tiles(5mm)
- Alcohol inks(optional, various colours)
Equipment:
-
Tweezers(optional, for placing tiles)
-
Small sponges(optional, for applying alcohol inks)
Check Out The Video Tutorial:
Instructions:
Step 1: Find what you need
-
Gather your supplies and materials.

Step 2: Add tiles to the ornament
-
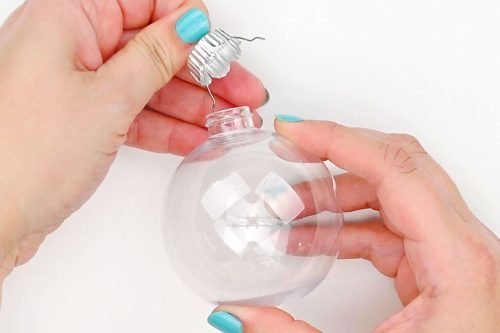
Remove the cap from the ornament.

-
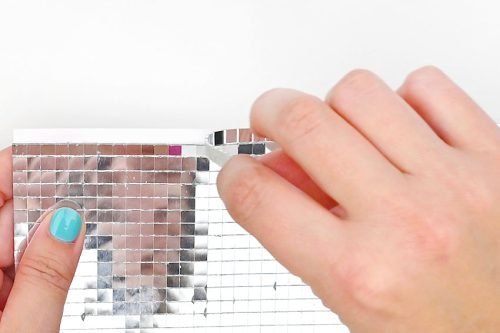
Peel a row of self-adhesive mirror tiles from its backing.

-
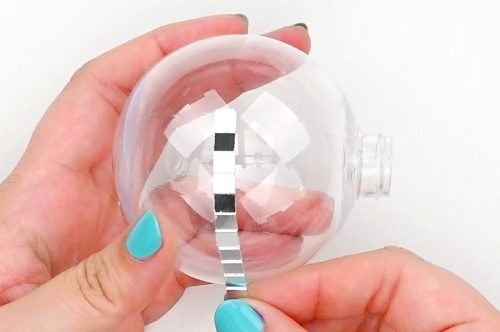
Place the tiles around the middle of the ornament from one side to the other, like a belt.

-
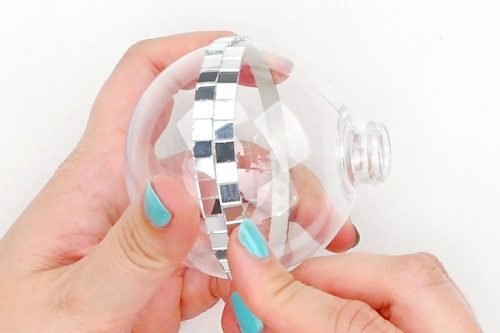
Peel another row of tiles and place it around the ornament just above the first row. The 2 rows of tiles should touch, with no gaps.

-
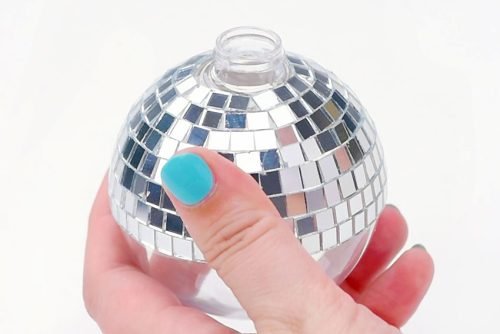
Continue adding rows of tiles until the whole top half of the ornament is covered.Cut between the tiles to make the rows shorter, as needed.

-
Repeat, covering the bottom half of the ornament until there’s no space left for a full row of tiles.
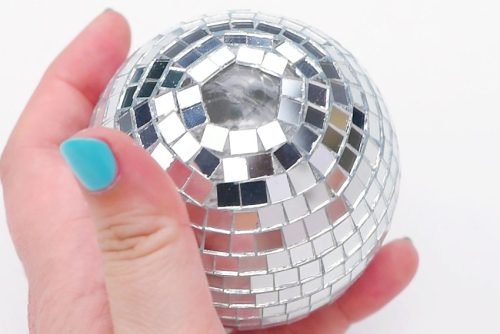

-
Cut a few individual tiles and place them into the remaining space, fitting as many as you can.
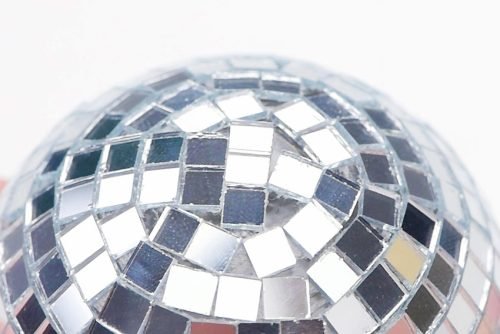

Step 3: Paint the ornament (optional)
-
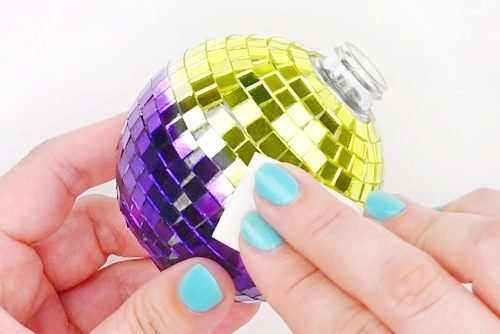
Place a few drops of alcohol ink onto a small sponge (we used a makeup sponge).
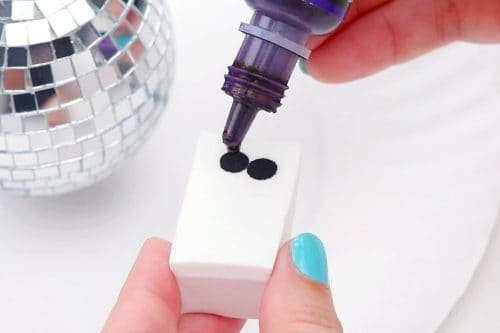

-
Dab the colour onto the ornament with the sponge, covering one half of the ornament.
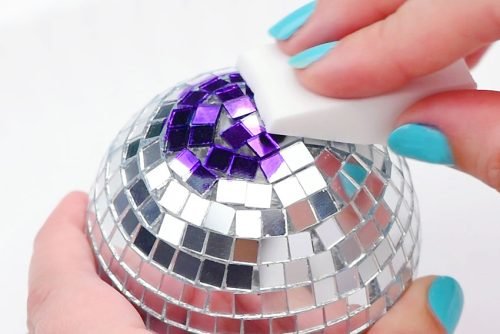

-
Repeat, using a new sponge to cover the rest of the ornament with another colour.

-
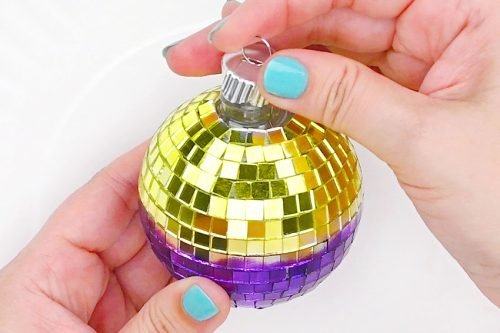
Once the ink has dried, put the cap back on the ornament.

-
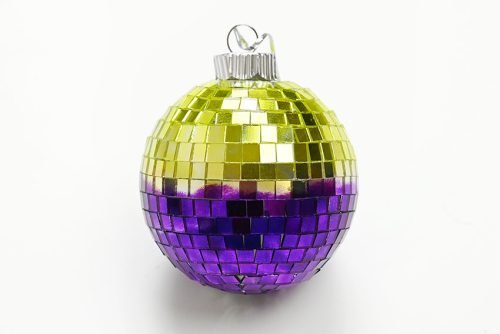
Your DIY disco ball ornament is complete!

-
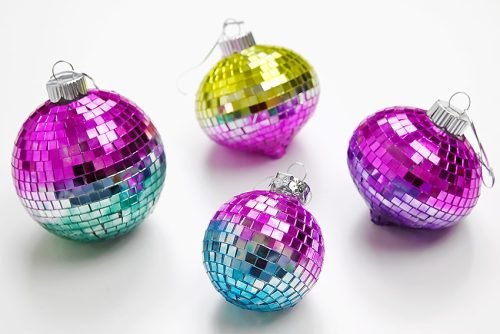
Now have fun making disco ball ornaments in all different colours, shapes, and sizes for varied and vibrant decorations!

Helpful Tips:
- Clean the ornament before adding the mini mirror tiles. This will help the tiles stick securely. Dish soap and water or rubbing alcohol will both work for cleaning the surface of the ornament.
- Before using alcohol inks to colour your ornaments, cover your work surface with wax paper or a plastic tablecloth. You may also want to wear gloves so your hands don’t get dyed. If a spill happens, blot the ink up with a paper towel. Any remaining colour can be cleaned up with rubbing alcohol. Be sure to work in a well-ventilated area when using alcohol inks.
- To let your painted ornaments dry without touching any surfaces, a foam block with wooden skewers pushed into it makes a great drying stand! Place the ornament upside down on the skewer, inserting it through the hole where the cap goes.
- Once the alcohol ink is completely dry you can apply a clear acrylic spray sealer to protect the colouring.

What brand of alcohol inks work best on a disco ball ornament?
We used Jacquard alcohol inks on our mirrored disco ball Christmas ornaments, and they worked really well! We tried some others from Amazon and found they wouldn’t stick to the tiles.
If you can’t get Jacquard inks, try to find another high quality, highly pigmented brand. You can test the ink on a small strip of mirrored tiles to see if it’ll work before painting the whole disco ball ornament.

How can I blend the alcohol inks on my DIY disco ball ornaments?
You can use rubbing alcohol (91% or higher) to help blend the alcohol inks on your mirror ball ornaments. After applying the ink, dip a clean sponge in the isopropyl alcohol and gently dab where the colours meet. This will create a smooth blend from one colour to the next.

What designs can I paint on my disco ball Christmas ornaments?
There are so many possibilities for colouring mirror ball ornaments! Here are a few ideas we came up with:
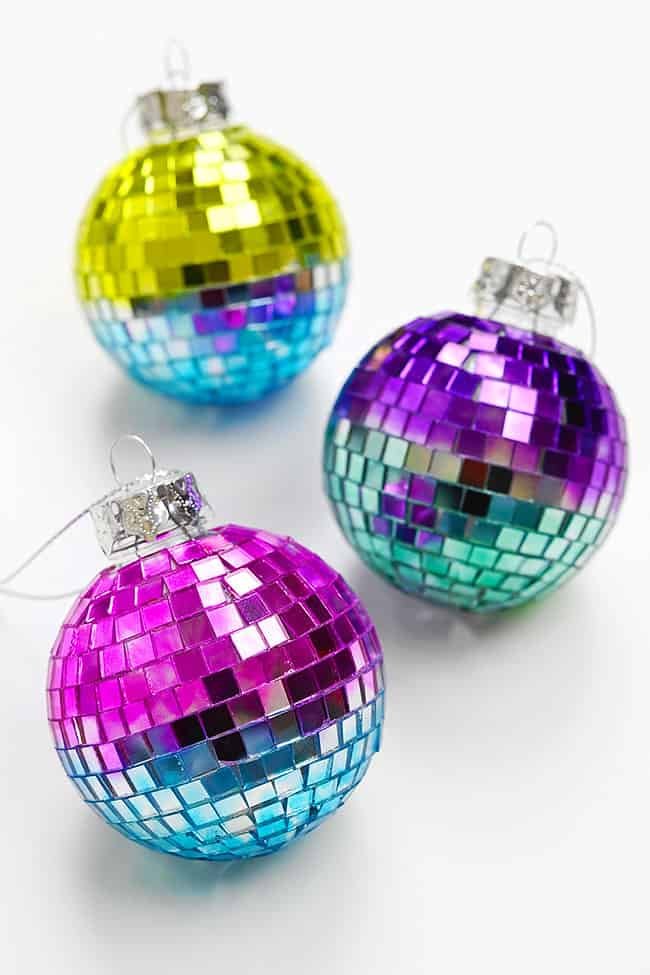
- Ombre: Choose 3 colours in the same colour family, like dark, medium, and light blue. Add the darkest shade to the bottom of the ornament, the medium to the middle, and the lightest to the top. Using a clean sponge, dab isopropyl alcohol at the colour transitions to blend them together for a smooth ombre effect.
- Rainbow: Add the colours of the rainbow in bands around the ornament, using a different colour for each row of tiles. Again, blend the colour transitions with rubbing alcohol, if wanted.
- Tie-Dye: Drop multiple colours of alcohol ink onto one section of a sponge to create a multicoloured palette. Press the sponge to the ornament randomly and let the colours overlap, creating a splotchy effect. Continue, covering the entire ornament. Add more ink to the sponge, as needed, for bold colours. To blend and create a marbled effect, let a few drops of rubbing alcohol drip onto the ornament and swirl them around with a cotton swab.
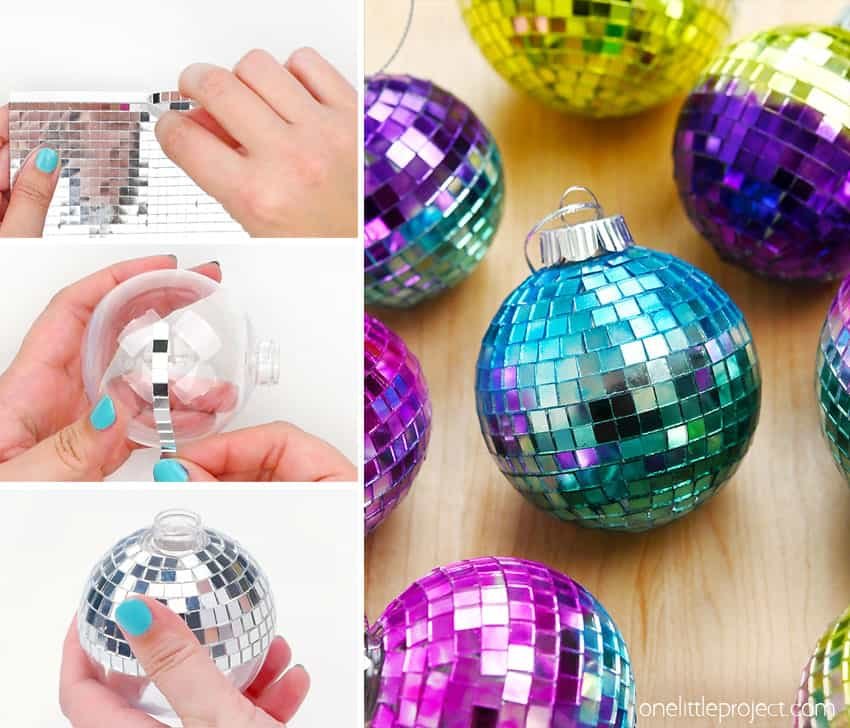

These disco ball ornaments are bright, shiny, and definitely reflect the spirit of the season! Hang these DIY mirror ball ornaments around the house, or add a bit of Christmas joy to your tree. You can even tie them on a gift box or make them the star of your holiday party centerpiece!

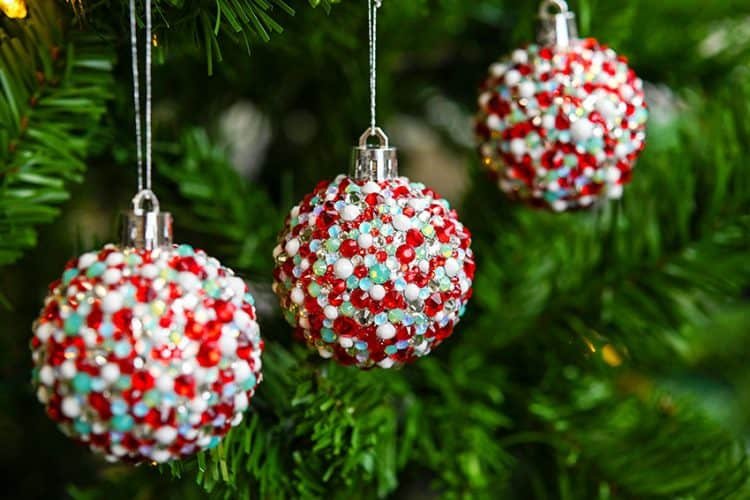
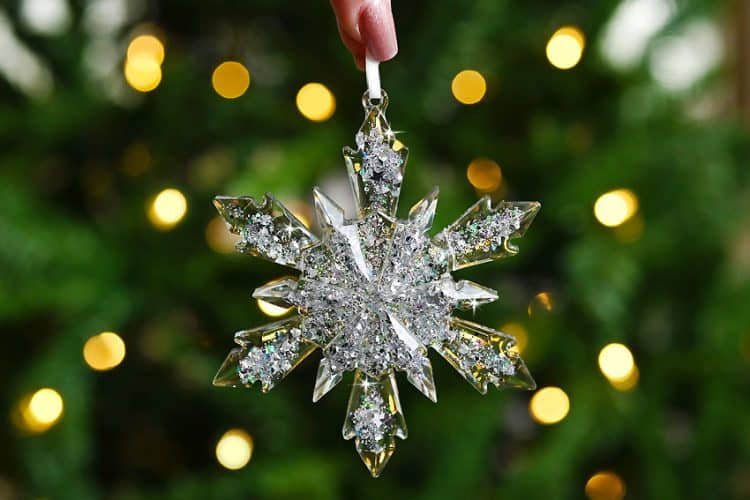
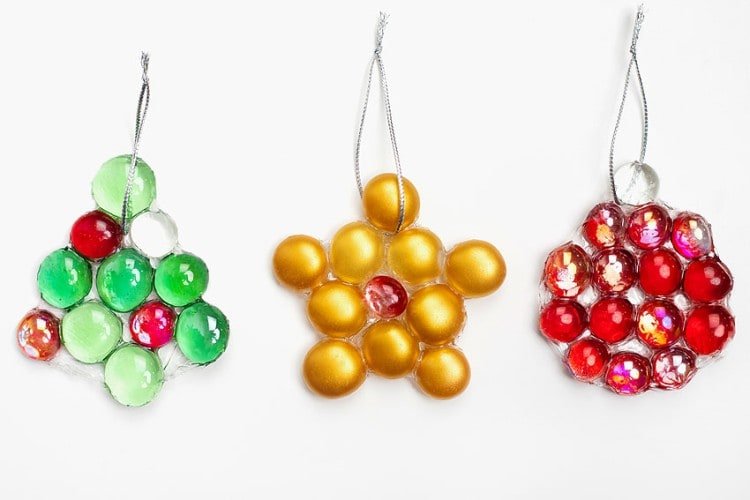
Here’s even more Christmas ornament ideas:
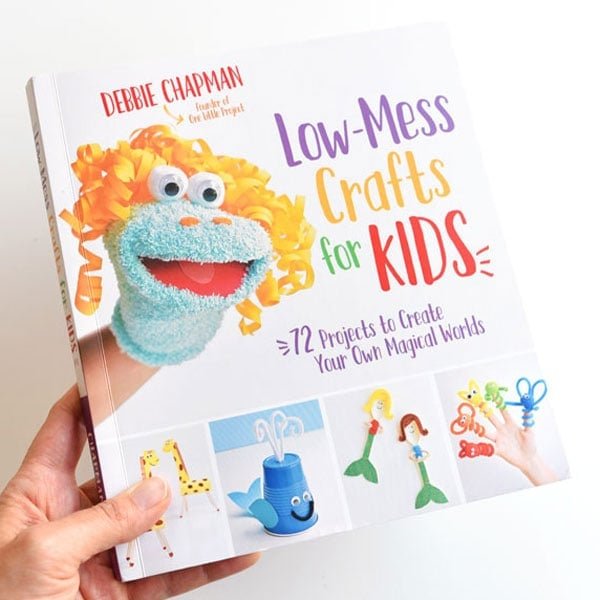
Our book Low-Mess Crafts for Kids is loaded with 72 fun and simple craft ideas for kids! The projects are fun, easy and most importantly low-mess, so the clean up is simple!
Where to buy:
You can purchase Low-Mess Crafts for Kids from Amazon, or wherever books are sold:
Amazon | Barnes and Noble | Books-A-Million | Indiebound | Amazon Canada


