Mason Jar Leaf Lanterns
These mason jar leaf lanterns are SO PRETTY and they’re so easy to make! This is such a great DIY fall decoration!
Decorate a mason jar by adding fabric leaves with Mod Podge. They’re perfect for the fall mantle or a Thanksgiving table. Such a great grown up craft and a fun little decoupage craft for fall!

This post contains affiliate links. If you use these links to buy something we may earn a small commission which helps us run this website.
How to Make a Mason Jar Leaf Lantern
Materials:
- Mason jar(s)(8 ounce / 1 cup size)
- Fabric leaves
- Mod Podge
Equipment:
Check Out The Video Tutorial:
Instructions:
Step 1: Find what you need
- Gather your supplies and materials.


Step 2: Prepare the jar and leaves
- You need the leaves to lie as flat as possible. So that means that you have to peel the plastic ribbing off from each of the leaves. It’s a lot easier than I thought it would be – just slip your fingernail underneath the end of one, and it peels right back.


- This is important – You need to thoroughly wash your jar with dish soap and water to remove any surface dirt or grease.


- Then wipe down the outside of the jar with rubbing alcohol. If you skip these two steps there’s a good chance your leaves won’t stick.Once you’re done washing the jar, be careful not to touch the sides of the glass where the leaves are going to go. (You don’t want to add any oils from your fingers back onto the jar.).


Step 3: Add the first leaf
- Using a small sponge brush, add a thin layer of matte finish Mod Podge to the outside of the jar – just larger than the size of your leaf.


- Wait a few minutes for the glue to start drying so that it gets a little sticky. Then carefully press a leaf onto the glue.Don’t try adding the leaf onto the glue right away or it won’t stick. The Mod Podge needs to start getting a little sticky before the leaf will adhere to the glass.


- Once the first leaf is sticking nicely (all the edges should be stuck, and it shouldn’t shift around at all), add another thin layer of Mod Podge where the next leaf is going to go.


- Again, you’ll need to wait until the glue starts to get tacky before you add the next leaf. I used a fan to help speed up the process.


Step 4: Cover the rest of the jar
- Add a second leaf onto the Mod Podge. You can overlap the leaves as much or as little as you’d like.


- Use the sponge brush to press down any edges of the leaves that aren’t quite sticking. Don’t add any extra Mod Podge. There should be plenty leftover on the sponge brush – it’s a sponge, so the Mod Podge kind of soaks into it.


- Use your finger (or the sponge brush) to press down any pesky edges that don’t want to stick. Make sure all the edges are sticking nicely before you move on to the next leaf.


- When you’ve finished adding all the leaves, wait for them to dry enough that they don’t move. Maybe 15 to 20 minutes in front of the fan? It depends how much Mod Podge you added.Once the leaves seem to be good and stuck, squeeze on a generous amount of Mod Podge.


- Use the sponge brush to (carefully) brush a layer of Mod Podge around the entire jar.


Step 5: Allow the jar to dry
- Then let the jar dry. Mine was dry to the touch in about 1 hour, but there were little areas that still looked white. So I left it overnight to finish drying.


- By the next morning it was completely dry and there were no more white glue spots. It looked so pretty!
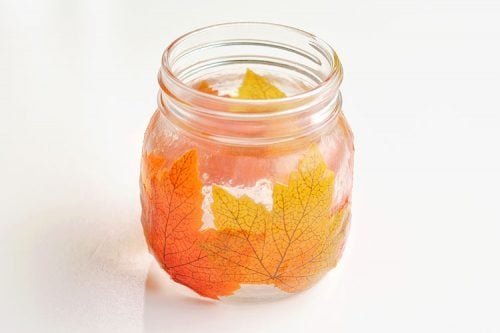

- Place a candle inside and light it. Your mason jar leaf lantern is complete!I love how it turned out!


TIP:
- If you iron your leaves before placing them on the jar they stick a lot easier!We re-made this craft recently and didn’t need to use a fan or wait for the Mod Podge to get sticky when we used leaves that had been ironed.


What type of leaves are used to make these mason jar leaf lanterns?
I recommend using fake/fabric fall leaves from the dollar store. I bought these leaves from the dollar store a few years ago. (Don’t you LOVE it when you have the supplies at home already!?). Try to choose the thinnest leaves you can find. And make sure they don’t have any kind of a waxy finish on them.
I’ve read that you can also use real leaves, but I feel like it would be a LOT harder to get them to stick? But if you do a quick Pinterest search, it looks like other people have tried it, so who knows??


What type of candle should I use in this mason jar leaf lantern?
You can use either a battery operated tea light or a regular tea light.
If you’re going to use a real, flaming candle, just make sure that there isn’t any Mod Podge on the inside of the glass jar. Mod Podge will melt if it gets too hot. Not to mention that the leaves are flammable, so make sure all the fun stuff is on the outside of the jar.
I had my real flame tea light burning for at least an hour when I was testing these out, and I didn’t have any issues.


Mason Jar Leaf Lanterns
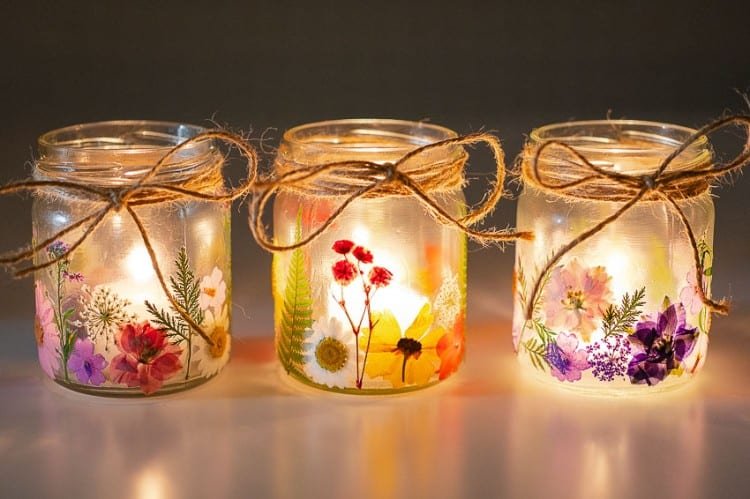
These candle holders would look so beautiful on the Thanksgiving table! And if you make a group of them they’d look so pretty on a fall mantle!
These mason jar leaf lanterns are such a pretty way to celebrate fall. I found this craft very satisfying! I’ve been focused on kids crafts for awhile now (make sure you check out my new kids craft book!), but it was so much fun to make a new “grown up” craft.


I was sitting on my little craft stool, literally watching the glue dry, but it was so peaceful and relaxing. I kept turning my head to look out the window while I waited and was admiring the beautiful fall leaves outside that are just starting to change colour. There is something so gratifying about taking a plain little jar and turning it into something beautiful!
From start to finish it took about an hour and a half to make my one little mason jar leaf lantern – plus it had to finish drying overnight. But if you make more than one lantern, the glue for each leaf can dry as you work on the next one. So you can probably make quite a few of them in just a couple hours??


I was reading all the Pinterest tutorials online, and a lot of people seemed to have trouble getting their leaves to stick to their jars. My first leaf was a little tricky, but the rest of my leaves stuck to the glass without any issues. (And for some reason, my yellow leaves stuck way better than the red leaves???)
The biggest thing I can recommend, is to make sure that you wash the glass jar thoroughly and wipe it down with rubbing alcohol to make sure there’s no grease on it. If you’re still having trouble, you could even try washing your fake leaves.
This post was originally published on October 19, 2018.


Here’s even more candle craft ideas:
Our book Low-Mess Crafts for Kids is loaded with 72 fun and simple craft ideas for kids! The projects are fun, easy and most importantly low-mess, so the clean up is simple!
Where to buy:
You can purchase Low-Mess Crafts for Kids from Amazon, or wherever books are sold:
Amazon | Barnes and Noble | Books- A- Million | Indiebound | Indigo | Amazon Canada


